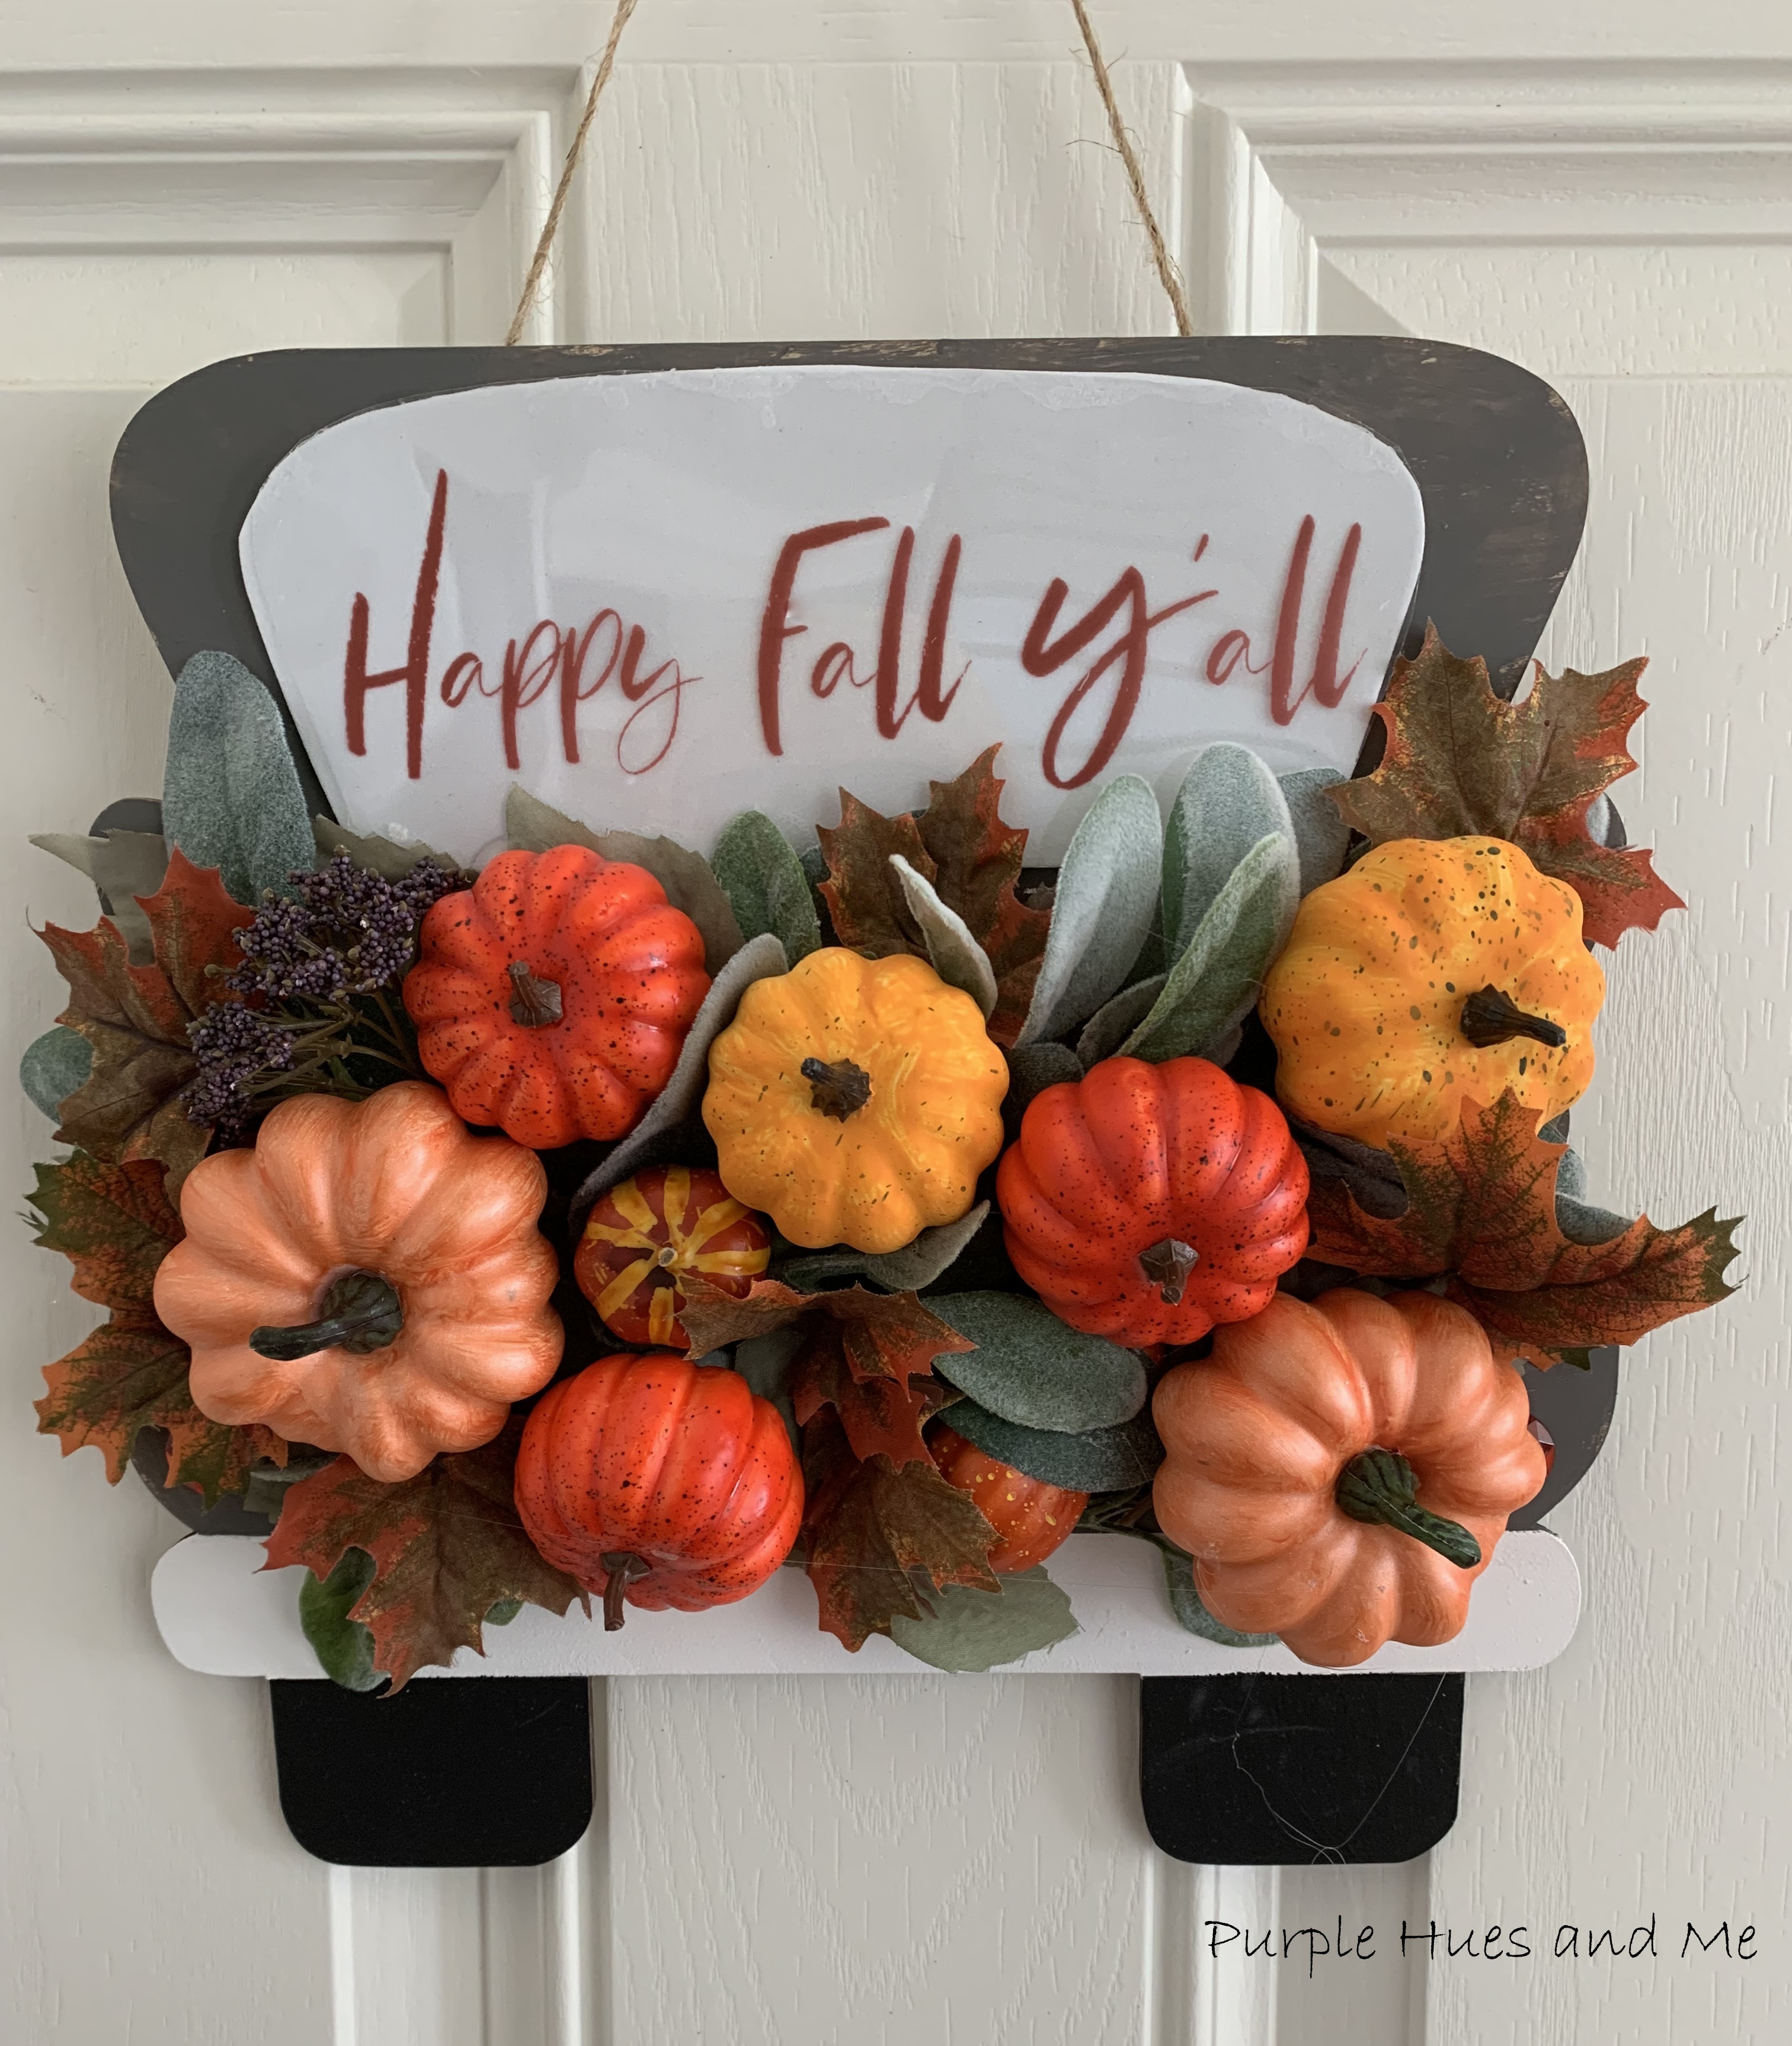
Welcome Fall with a pumpkin theme truck bed wall or door hanging! I found the unfinish wood truck bed plaque among my craft stash items. I don't remember where I got it. I'm thinking I might have gotten it from AC Moore during it's going out of business sale. In any event, once finished, it's a fun way to greet family and guest with this charming alternative to a fall wreath! It's also a perfect project for this month's Do It Over Designers - 'Do Over' project. In case you don't know, the Do It Over Designers is a group of talented bloggers who love to recycle/upcycle/DIY, hosted by Anne @The Apple Street Cottage. It happens the 4th Saturday of every other month and it's all about taking something old and/or unused and 'doing it over' into something new. Anything from fabric, old dishes, and decor to dressers and hutches. Items found in closets, cabinets, barns, garages, yard sales, thrift stores, you name it! I hope you'll visit all the super creative bloggers to see their amazing "do over" projects. The list of participants are at the end of this post.
Materials Used:- Unfinish wood truck bed
- Acrylic paint/brush
- Masking tape
- Foam Sheet
- Red Flat Round Jewels
- Clear Transparent Sheet/Sign
- Florals/Fall Leaves
- Small Pumpkins
- Hot Glue
- Command Hooks/jute twine
How to:
First, remove any dirt and grime from the truck by wiping it down with a combination of dish soap mixed with lukewarm water. This is a mild cleaner that works for untreated, unfinished wood. Let dry.
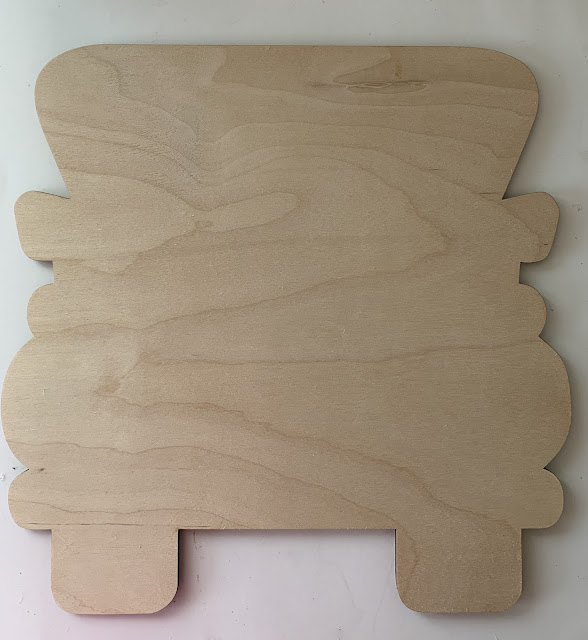
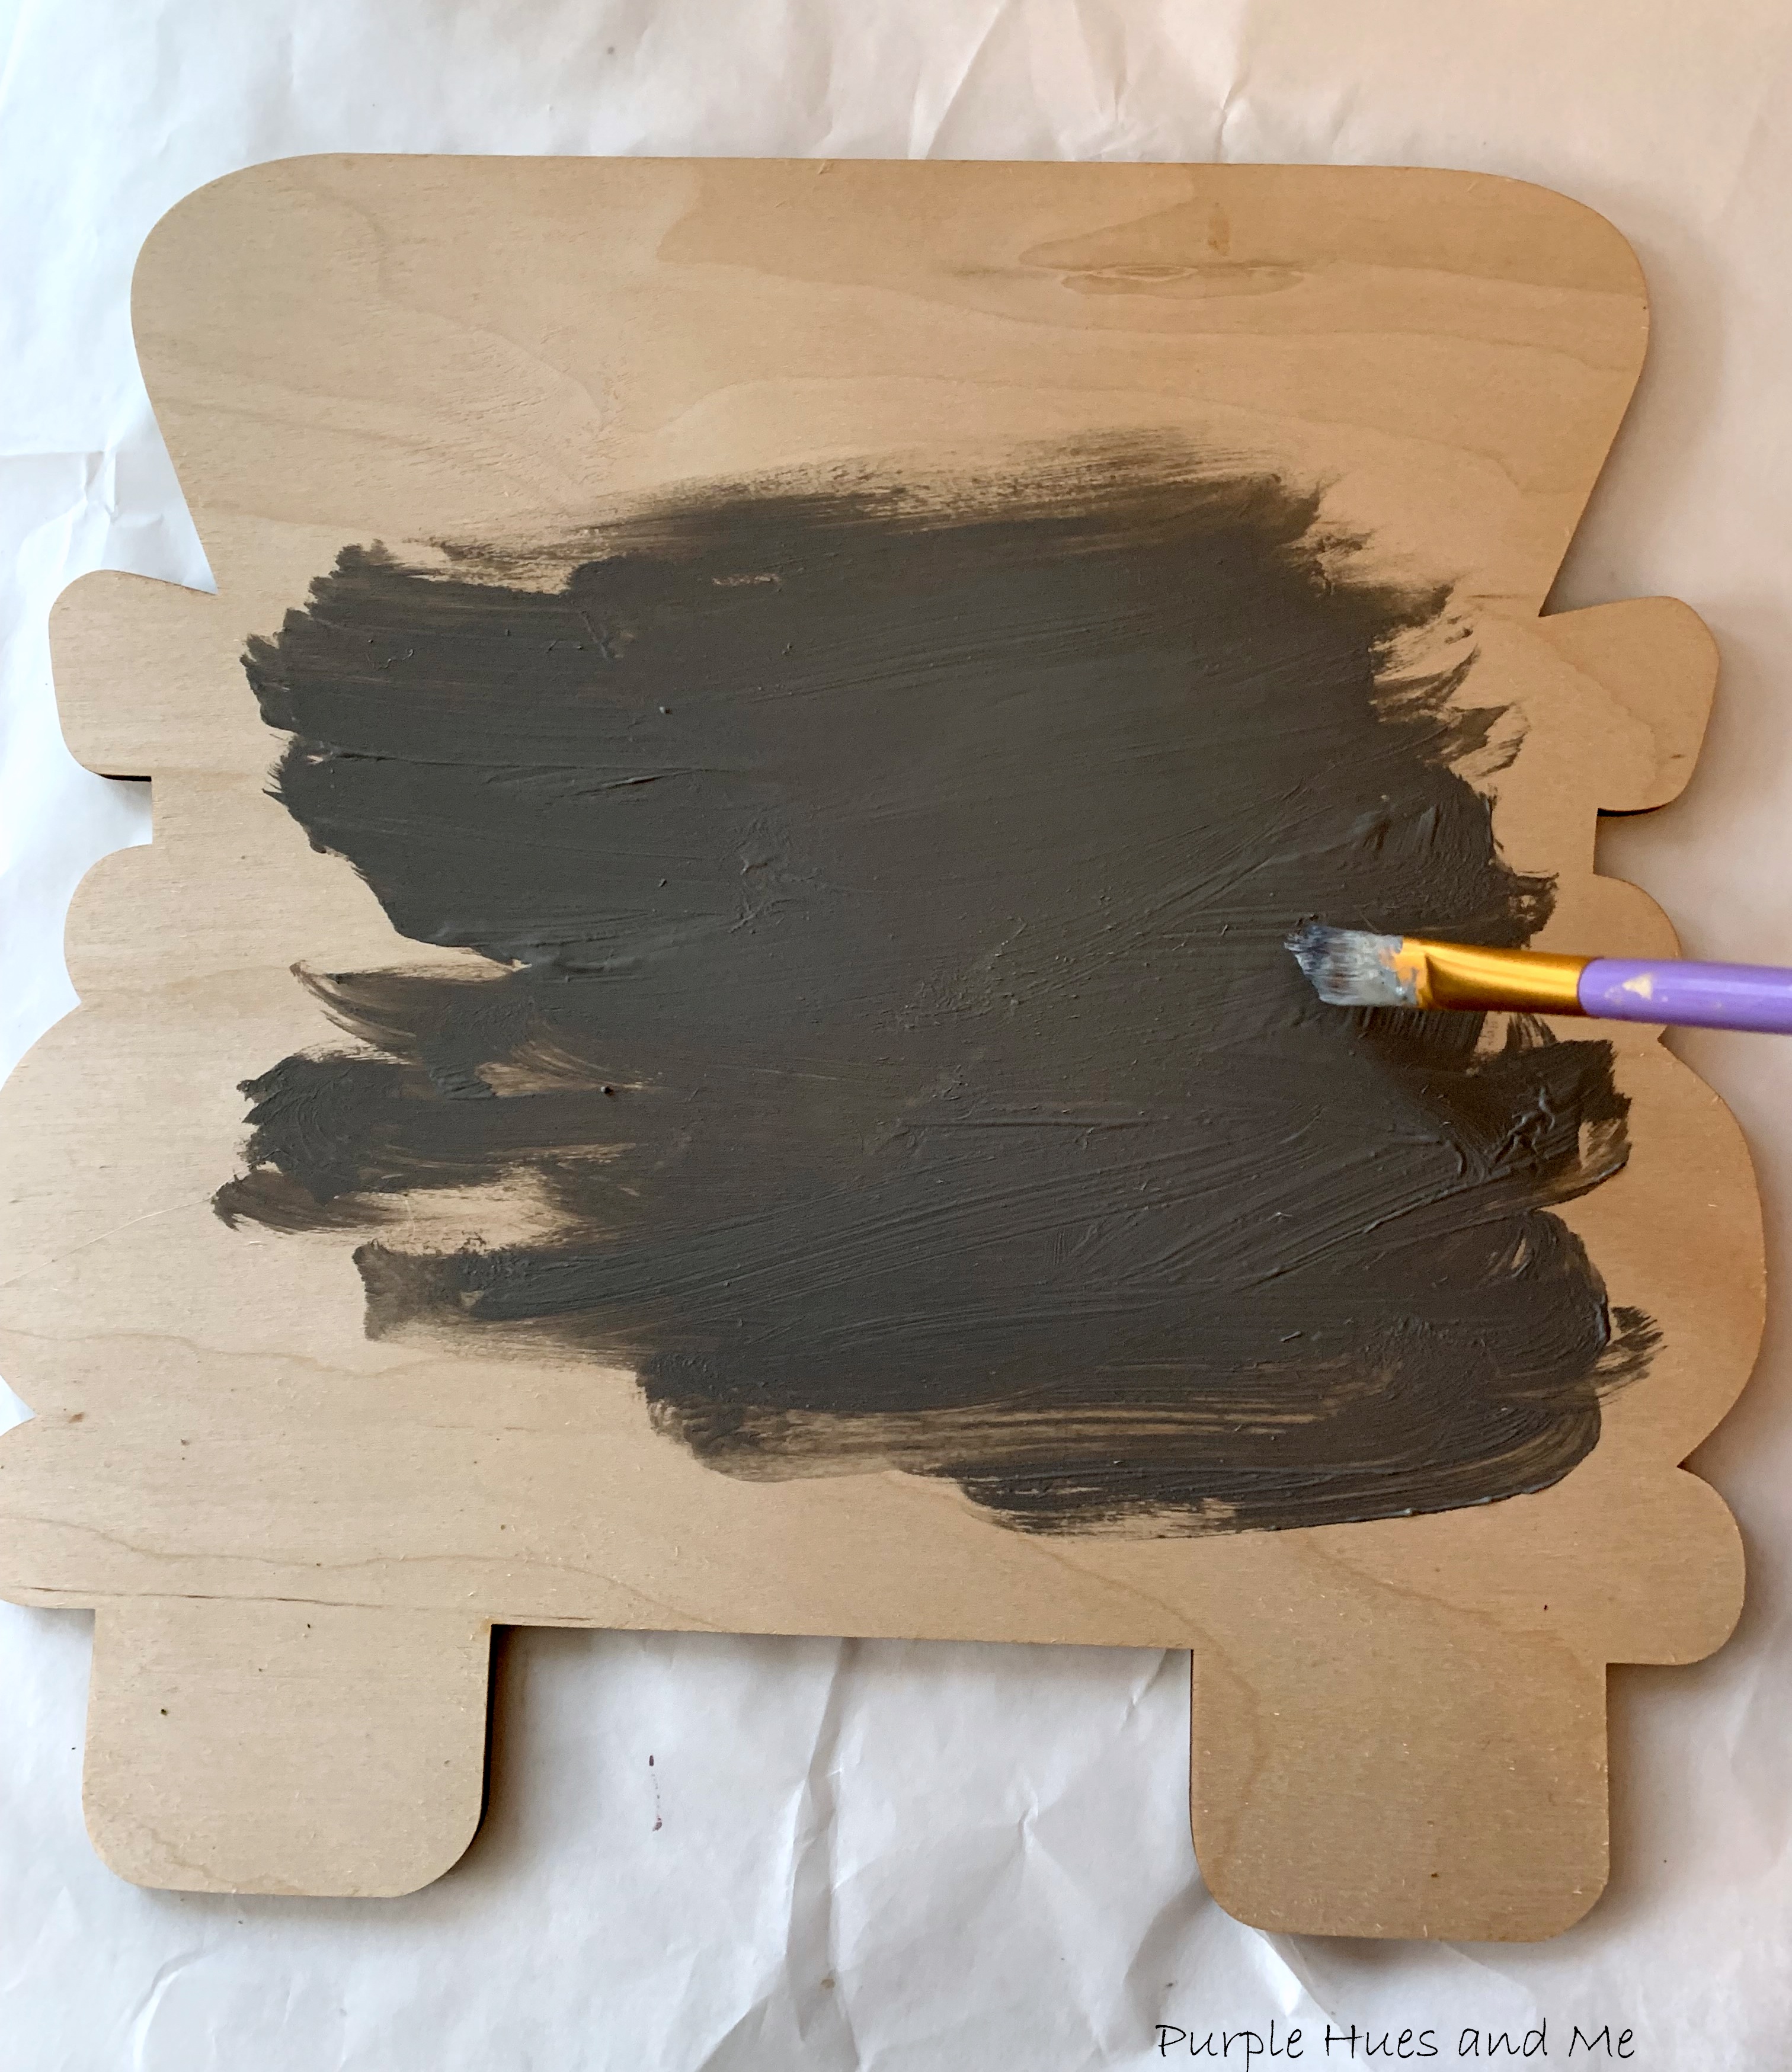
Then, simply paint a few layers of acrylic paint onto the unfinish wood truck bed and . . .
let dry.Once the paint is completely dry, lay masking tape across bottom and wheels to outline the bumper and . . .
paint the bumper.Next, cut out a window shape using white foam sheet and glue in place. Then glue on red flat round jewels for the back lights and begin gluing on greenery along the truck bed.
Oops, I was so eager to see how the florals would look, I forgot to paint the wheels black after painting the bumper! (not pictured)
Then start gluing on small colorful pumpkins, randomly . . .The 'Happy Fall Y'all' saying was printed on clear transparent film (to give a glass effect) and cut out the same size as the foam sheet. Then applied fabric glue along the edges to attach - drying clear.To hang, command strip clips were applied to the back and jute twine wrapped around the clips.
Colorful faux pumpkins displayed in the bed of the truck adds a dramatic look to fall decor, rounding out the design with vibrant fall leaves and a welcoming sign to create a warm Fall greeting!
I hope you enjoyed my tutorial on making a Truck Bed Pumpkin Theme Hanging! Be sure to pin for inspiration to make one as an alternative to a fall wreath! Now check out the other creative 'Do Over' Designers' projects listed below!
Sum of Their Stories
Tea and Forget-Me-Nots
The Apple Street Cottage
Birdz of a Feather
Exquisitely Unremarkable
Southern Sunflowers
Purple Hues & Me



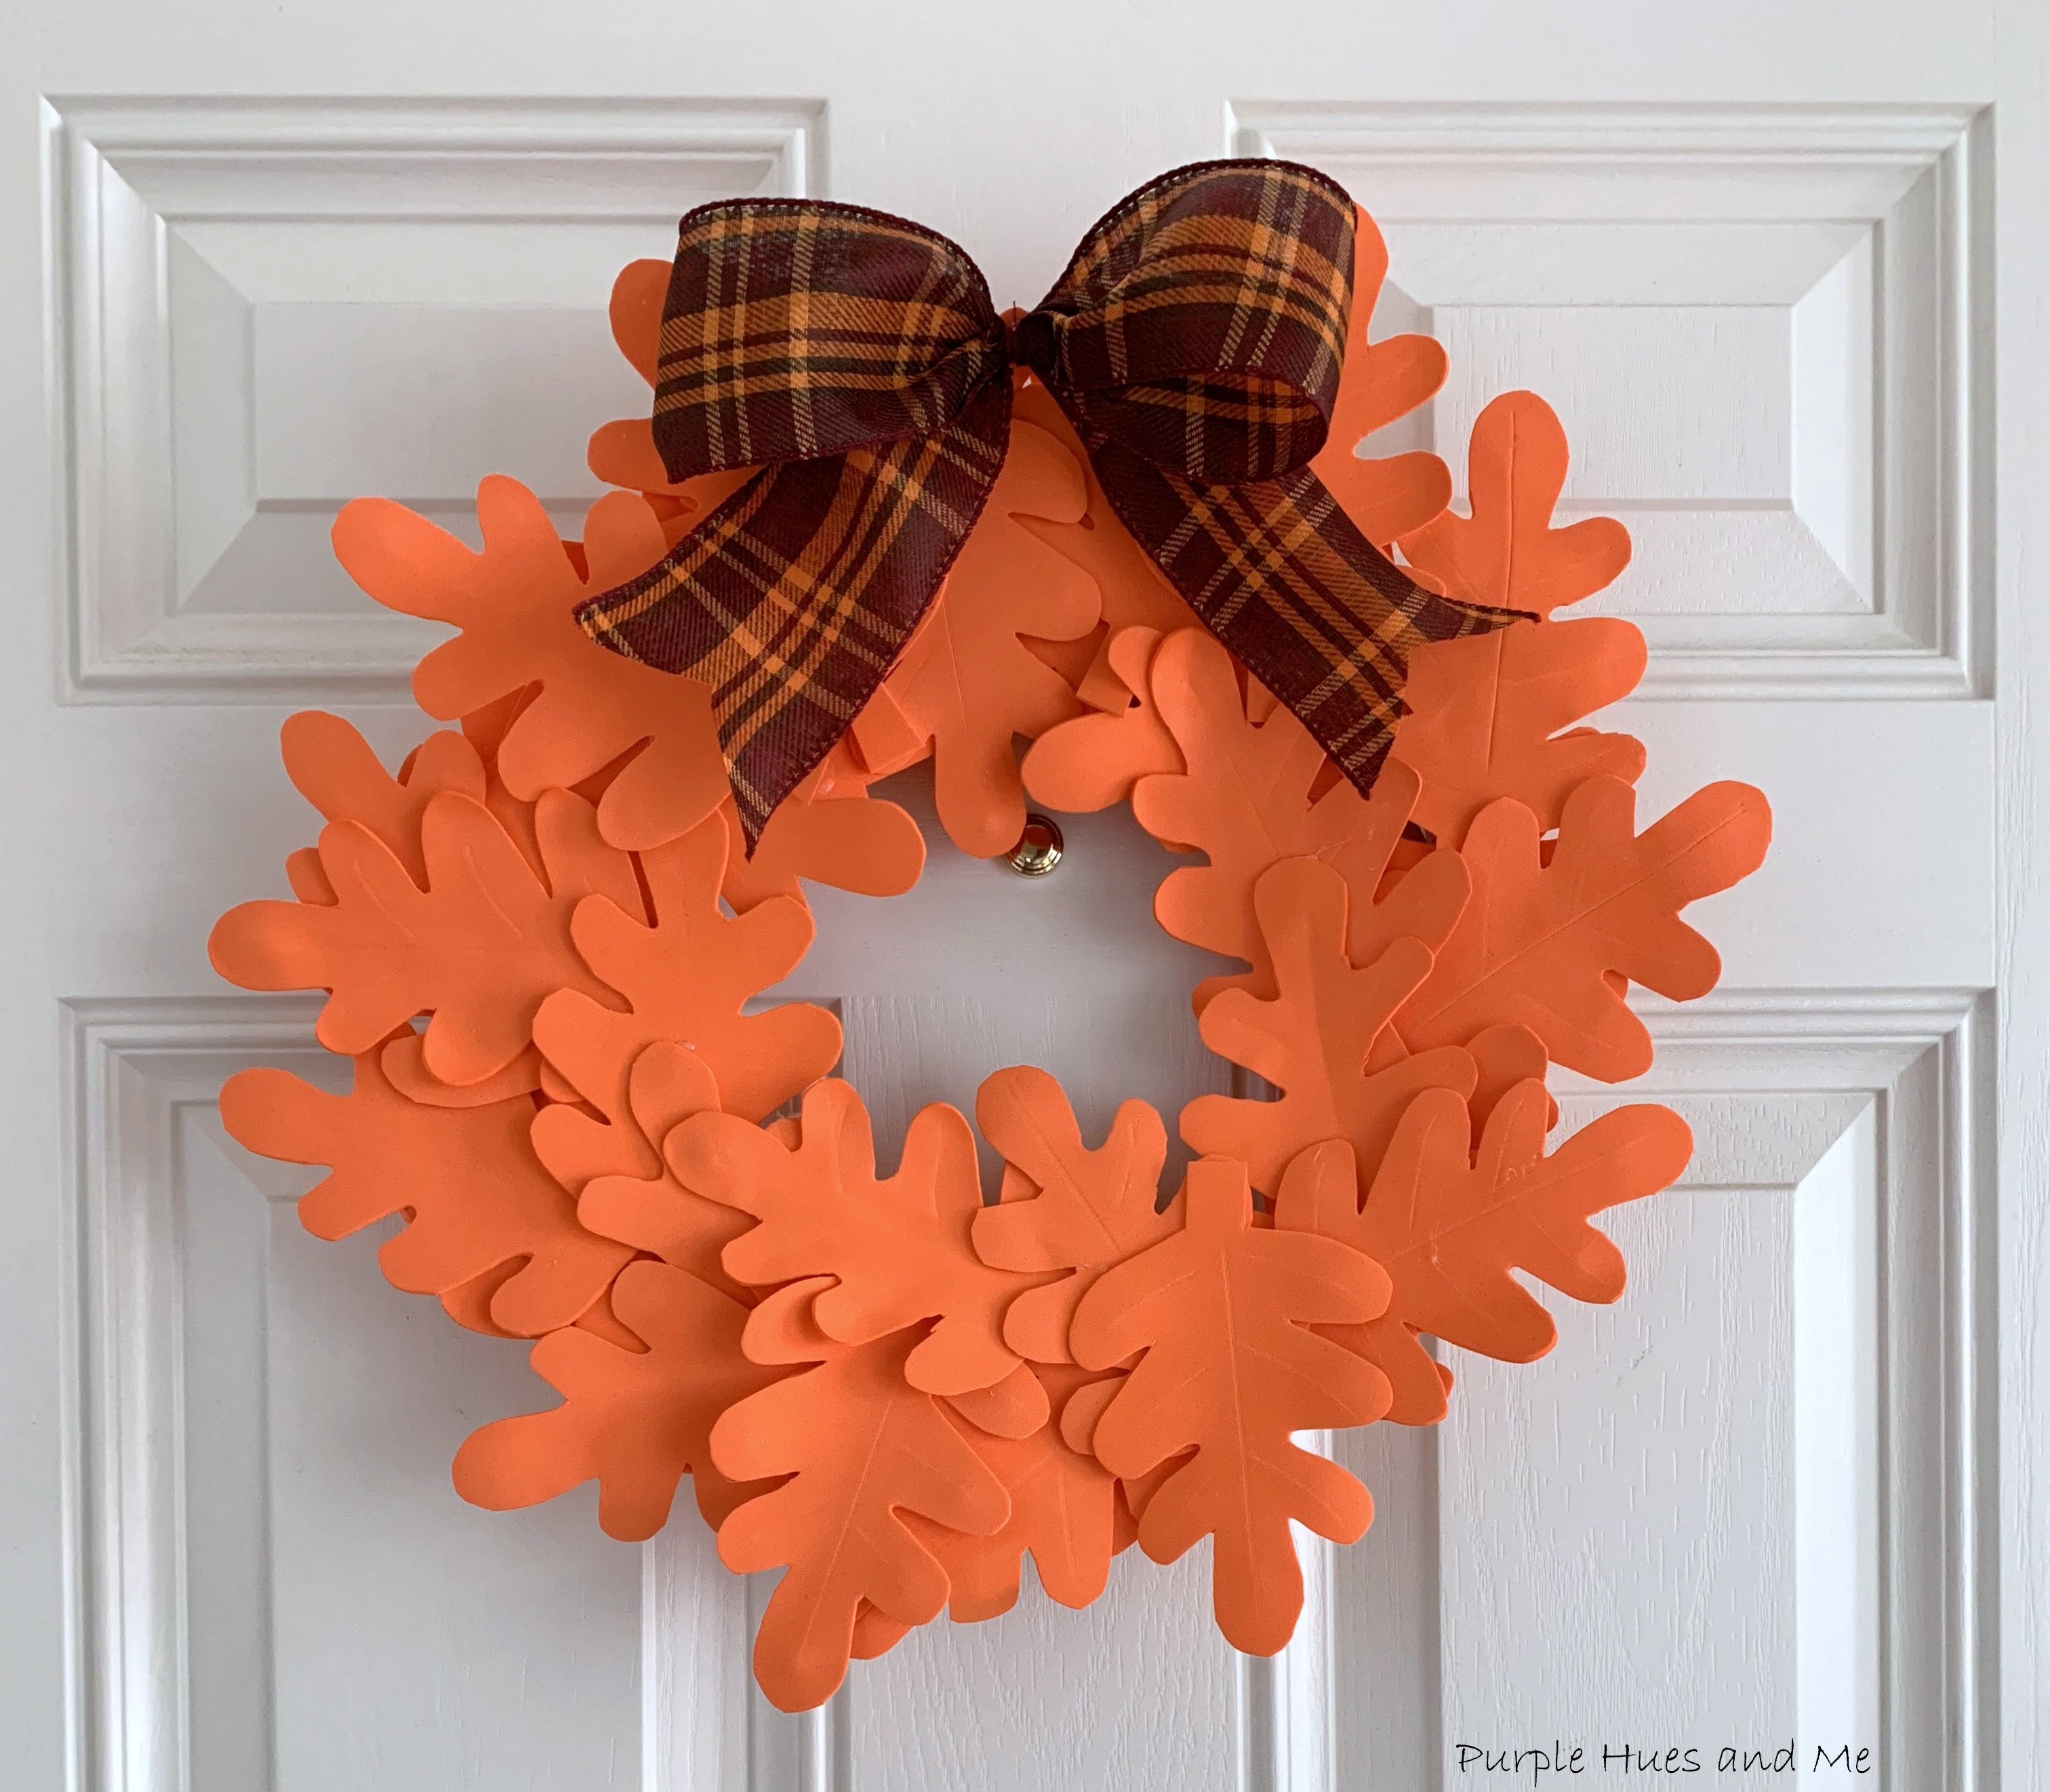 My taste for diy wreaths run towards a simplistic design. I don't like a lot of gaudiness or froufrou in making my wreaths. You know the old saying, less is more! Well I was inspired to make an evafoam oak leaf wreath from a festive Norwegian design wreath I saw online. I bet right now you're going "wow" how did she come up with that? Just take a look at this picture: