Monday, December 29, 2014

My Top Craft Tutorials in 2014


This past year has been so exciting for me with crafting.  So much so that I started a "Let's Get Crafty" class at my community clubhouse earlier this year.   I love creating something a bit different by putting my own spin on what has inspired me and expanding my crafty ideas.

These tutorials represents the most viewed and favorites in 2014.  You can also see some of my all-time favorites for 2013 here.

But before I start the countdown, I want to THANK YOU for following me in my crafting journey!    THANK YOU for stopping by and giving me words of encouragement and most of all,  THANK YOU for being a part of this wonderful blogging community!  


#12 - Loopy Jute Twine & Bell Garland
http://plumperfectandme.blogspot.com/2014/11/loopy-jute-twine-garland-with-bells.html


http://plumperfectandme.blogspot.com/2014/10/decoupage-paper-napkins-on-pumpkins.html
 
 
 http://plumperfectandme.blogspot.com/2014/09/corrugated-cardboard-jewelry-how-to.html


#8 - Clothespin Napkin Holder


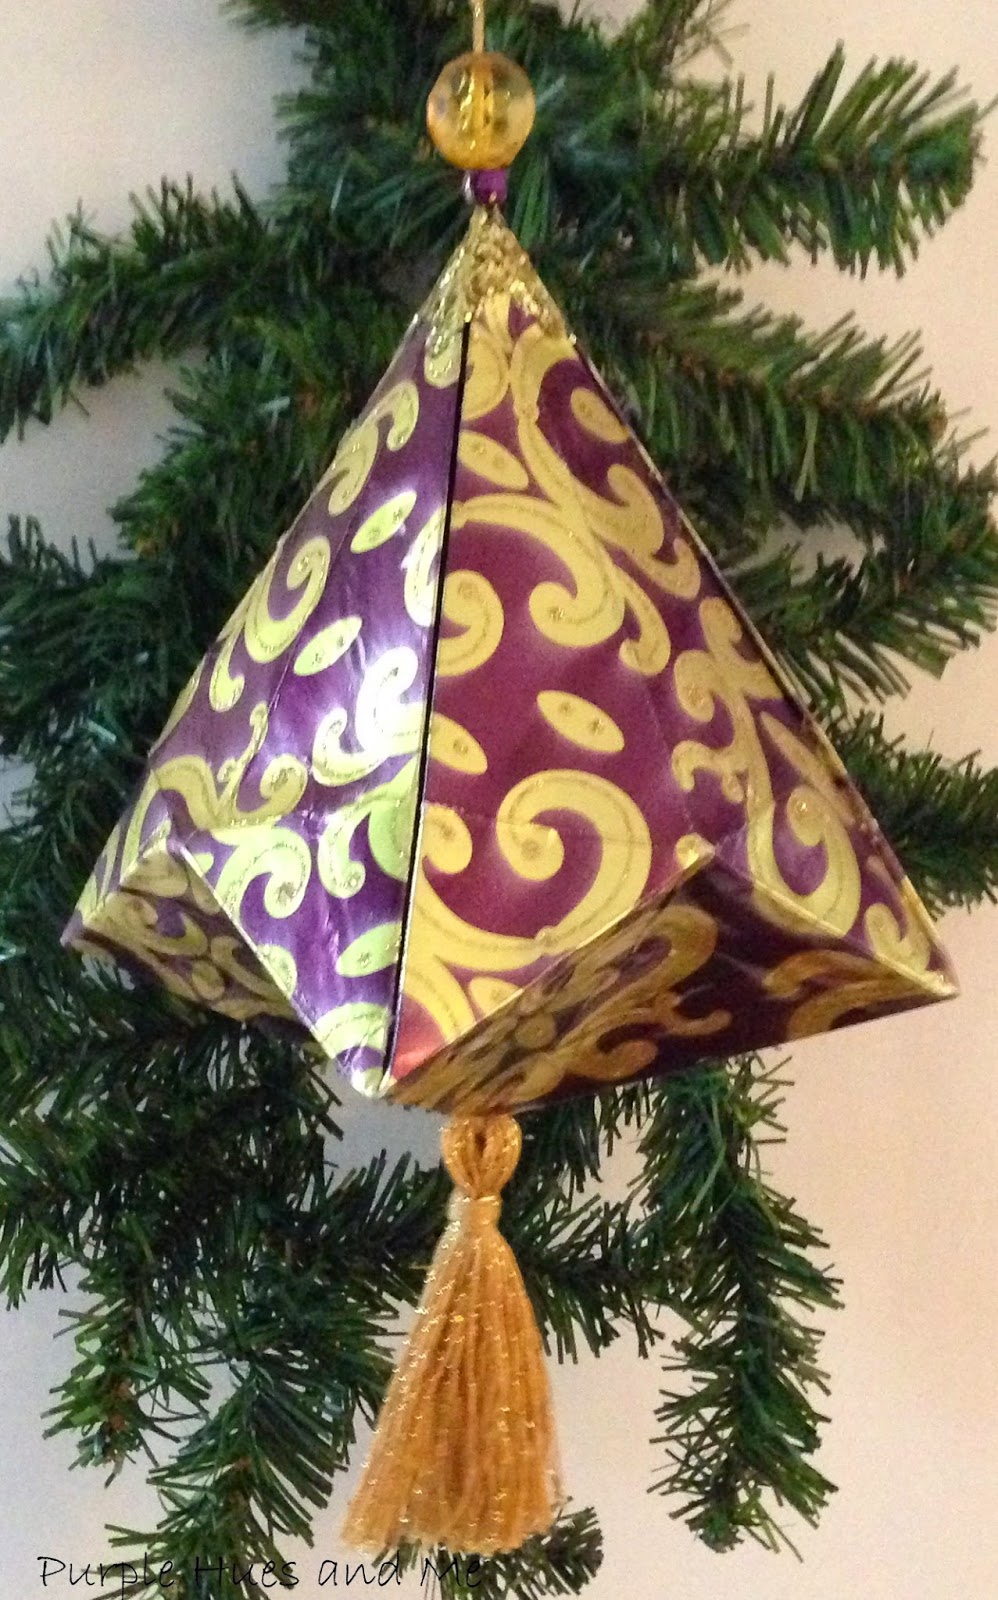
#5 - German Bell Ornament & Tassel DIY
http://plumperfectandme.blogspot.com/2014/11/german-bell-christmas-ornament-tassel.html

 
 http://plumperfectandme.blogspot.com/2014/07/how-to-cut-book-into-vase.html


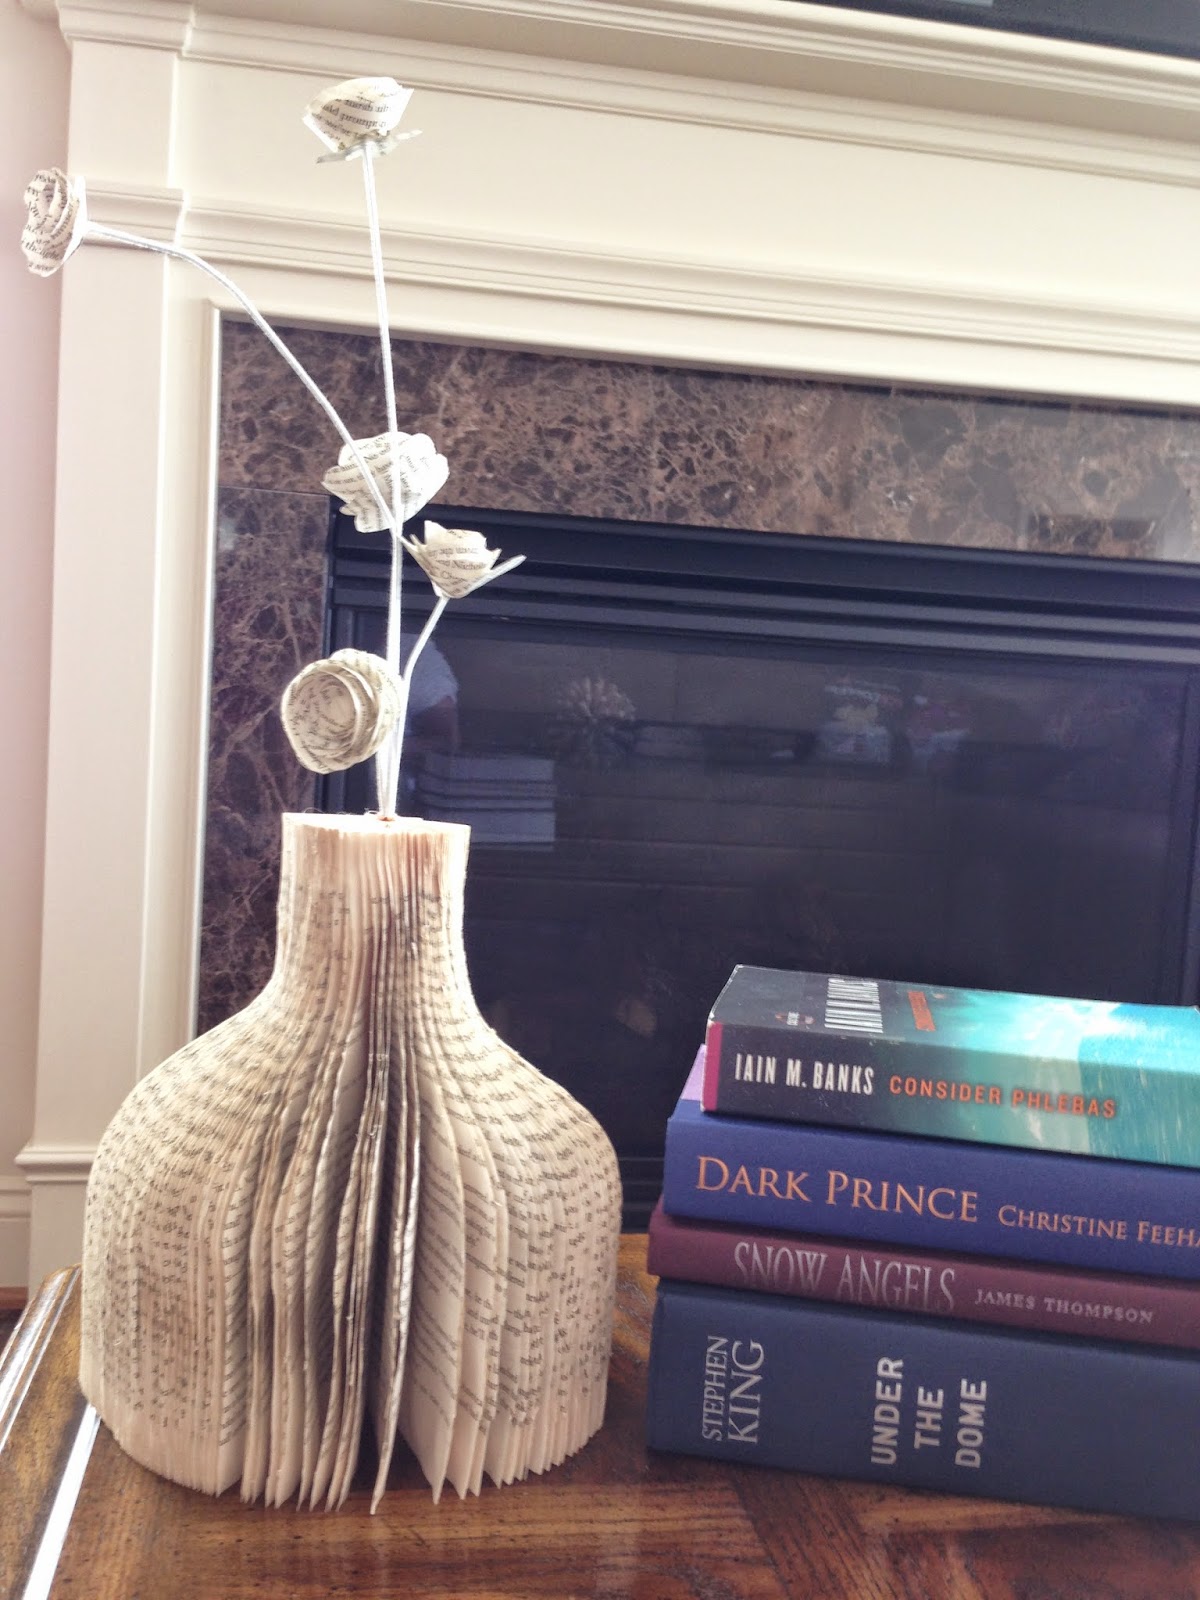
#2 - Recycled Newspaper Bowl w/Lid DIY


  This diy post about ruffled foam sheet circles on poster board cones had over 3000 views in just two weeks which is absolutely amazing to me. Thank you so much!


Hopefully you've had fun re-creating some of these favorites as much as I had in showing you how they're made.  Stay tuned for more crafty ideas in 2015 and all the best to you in the new year!


Saturday, December 27, 2014

Homemade Pine Needle Facial Toner


Before you throw that real pine Christmas tree out or dismantle those lovely natural pine wreaths and garlands you put together for the holidays, gather some pine needles* and make a homemade batch of facial toner using just three ingredients.  Pine needles, witch hazel and water.

Let's consider the three ingredients:  Pine needles are high in vitamin C and helps improve circulation and complexion.  Witch hazel is an astringent produced from the leaves and bark of the North American Witch-hazel shrub.  It tightens the skin, reduce swelling, helps repair broken skin and also fights bacteria.  Water.  It's best to use filtered water or distilled water where the impurities have been removed. Combine the three ingredients and you have a wonderful fragrant natural facial toner.

A facial toner is an astringent and used primarily after cleansing your face and helps to shrink pores.  This helps to firm your skin and give it a radiant, luminous look!  Here's how to make the perfect natural toner:

2 cups green (fresh) pine needles - not brown
1 cup filtered or distilled water
1/2 cup witch hazel

Place pine needles and water in a small saucepan. Bring to boil and then remove from heat.  Allow to cool completely. 


Strain water and discard pine needles. Stir in the witch hazel and pour into a small capped bottle. 


Apply to face with a cotton ball after cleansing and let dry.    Store in cool, dry place.
*You can also cut off fresh pine needles from a living tree anytime of the year.


This is a mild fragrant, refreshing homemade astringent toner.
It has a wonderful smell and is so cool to your face!
Take a little time to enjoy
and
Happy Crafting!


Tuesday, December 23, 2014

Christmas Greetings


Somehow,
not only for Christmas
but all the long year through,
the joy you give to others
is the joy that comes back to you."
                        John Greenleaf Whittier


With warm appreciation for the

support and thoughtful things

you've done or expressed,

May the peace of the season

bring holiday cheer to you,

Always uplift you,

 and always be near to you!


Have a Wonderful Holiday Season!


Friday, December 19, 2014

3D Cardboard Christmas Tree


Ok, remember the 3D cutouts we made as kids?  When I made one back in the fall in the shape of a pumpkin I knew I would be making another one for Christmas, this time in the shape of a tree.  I think we all made 3D trees for Christmas way back when.  

Cardboard cutouts is a great recycle way to use some of  the boxes we accumulate during the holidays.  I had a couple of large pieces of cardboard 17" x 13" I found in some packing.  I decided to make a contemporary tabletop tree with straight lines.

Materials used:
  • Corrugated cardboard - (2) 17"x13"
  • pencil
  • ruler
  • xacto knife
  • 2 1/2" circle
  • Snow-Tex*
  • 3 - 2 1/2" unbreakable ornaments
  • glitter (optional)

Directions:

1.  First, find the center of the cardboards 13" width at 6 1/2" and draw lines down to the ends at the bottom, left and right, forming a triangle. Do the same for the second piece.

2.  Cutout using an xacto knife.

3.  Draw a center line slot, one from the top down stopping half way on one tree, and draw one from the bottom up to the center on the other and cutout.

4.  Draw three 2 1/2" circles on one form and cutout. 

5.  Use the cutout openings to draw on second tree form for an exact match and cutout. Slide the two pieces together to form a dimensional tree that stands on its' own.

6.  Cover cardboard with snow-tex*  (because I didn't have enough snow-tex for complete coverage, I used spackling that I had on hand thinking that would be ok - this proved to be a BIG mistake.  The cardboard kind of bowed and cracked on a couple of ends as the spackling dried). Lesson learned. 

7.  I used a knife to spread the paste on and then took the back of a spoon to add texture.

8.  I wanted to add glitter while the spackling was wet but the paste made the cardboard damp and fragile so I skipped that and just allowed the whole tree to dry overnight with hope of salvaging this project.

9.  Add unbreakable 2 1/2" ornaments to the openings.


Luckily, I was able to salvage this craft that I ended up calling my Charlie Brown tree since it's kind of bowed. If you're asking why I used spackling instead of going out and buying more Snow-Tex it's because I saw a Lowe's video using caulking on cone trees that looked pretty good so I thought spackling would have the same results - but I was wrong.

I do think this is a wonderful recycle cardboard Christmas project and the tree looks great too!


Take a little time to enjoy

and

Happy Holiday Crafting!


Wednesday, December 17, 2014

Ruffled Foam Sheets & Glitter Christmas Tree Cones


I've made my share of decorated Christmas tree cones.  I think someone could easily do a post on 1001 ways to decorate a cone tree.  

To add to this, I'm showing you yet another way a cone tree can be decorated using foam sheets and glitter.  This is totally a diy craft starting with making the cone out of poster board, cutting out circles of foam sheets, turning the circles into ruffles using an iron, sprinkling the glue coated edges with glitter and finally gluing the ruffles on the cone tree with hot glue.  That's all it takes to make this easy and elegantly looking tree. 

To start, it was hard for me to take pictures of making a cone for this project since I was alone at the time, but you can go here to see how I made one out of poster board. After making the cone, I started cutting out circles using a 2 1/2" circle punch but found the circles too small so I


traced around the mouth of a 3" plastic cup and cut out around 100 circles at first. I know, very time consuming, but I turned on the Hallmark channel and watched and listened to a marathon of Christmas movies.

Then, I sandwiched the circles between sheets of parchment paper and applied the iron for about 15 seconds. 

Heating up the circles made the foam pliable and easily shaped by cupping it in the palm of my hand and forming what looked like ruffles to me

Using a brush to apply white glue to the edges .  .  .
and then dipped them into glitter
and allowed to dry.


Once dry, the ruffles were glued onto the cone starting at the base.


It's amazing to see how each ruffle would intertwine with the other when gluing them on.
The ruffled Christmas tree cones turned out to be very impressive looking.
Besides using them at Christmas, they could easily fit in as wedding and party décor!
The tallest finished tree measures 24" and the smaller one, 15 inches.


What  glorious ruffled Christmas trees!

Take a little time to enjoy
and
Happy Holiday Crafting!


Friday, December 12, 2014

Ornament Exchange Goodies


This is my first year joining Vicky's @Life on Willie Mae Lane Annual Ornament Exchange.  Some of my blogging buddies were signing up so I had to participate too!  I don't know how Vicky managed to pair up the givers and receivers but she did an awesome job with matching our likes and dislikes.  I was given   Denise @ Denise's Delights in her Coffeeberry Cottage, someone whom I've been following for quite a while and a lover of purple, too!  Yay! She is a very lovely Christian lady who truly loves life and family.  I enjoy reading her posts so much!  In my excitement with making her ornaments and sending her my package, I forgot to take pictures.  Oh well, you'll just have to check out her blog to see what she received and enjoy reading about her everyday adventures.

 I had no idea who had my name and Vicky told me mine was coming from overseas and that got me very excited.  

The other day I opened the frontdoor and to my surprise, there was a cutely wrapped package (see picture below) waiting for me. My beautifully wrapped package was all the way from Australia!  The outside was decorated in holiday style with gold wire poinsettia and candle trimmed paper. I had never seen anything like that before! 


Carefully I opened the box and this is what I found:

 A wonderfully written holiday note, an awesome Merry Christmas with a star hang tag and a gorgeous silver poinsettia clipped onto purple tulle decorated Christmas box.  Whew!

 Inside the box on top of lavender tissue paper was the cutest burlap angel that matched perfectly with my loopy jute garland!  Who knew????


And inside the tissue paper were six adorable purple teardrop ornaments and six vintage purple lightbulb ornaments.  All together, twelve of the cutest purple ornaments you've ever seen!


I'm in a purple winter wonderland with these .  .  .

 
.  .  .  and these!!!


And see how the burlap angel matches my garland?  I could make lots of burlap angels to attach to the garland! What an inspiration and how adorable would that be!
 

All of this from the lovely Belle in Oz - The Land Down Under! Thank you so much!  I've sent her an email, thanking her and wishing her and her family a very Merry Christmas and Holiday Season!  Belle doesn't have a blog but I do hope she is inspired to start one. For now, we'll just develop our friendship through emails. 

And thank you Vicky for hosting this wonderful ornament exchange!  It was so much fun!
Happy Holidays!