Thursday, May 27, 2021

DIY Knotted Tote Bag


Disclosure I am a participant in the Amazon Services LLC Associates Program, an affiliate advertising program designed to provide a means for us to earn fees by linking to Amazon.com and affiliated sites, this post may contain links. I may receive a very small commission at no cost to you! The affiliate money I earn helps pay my crafting expenses. Thanks so much for your support!

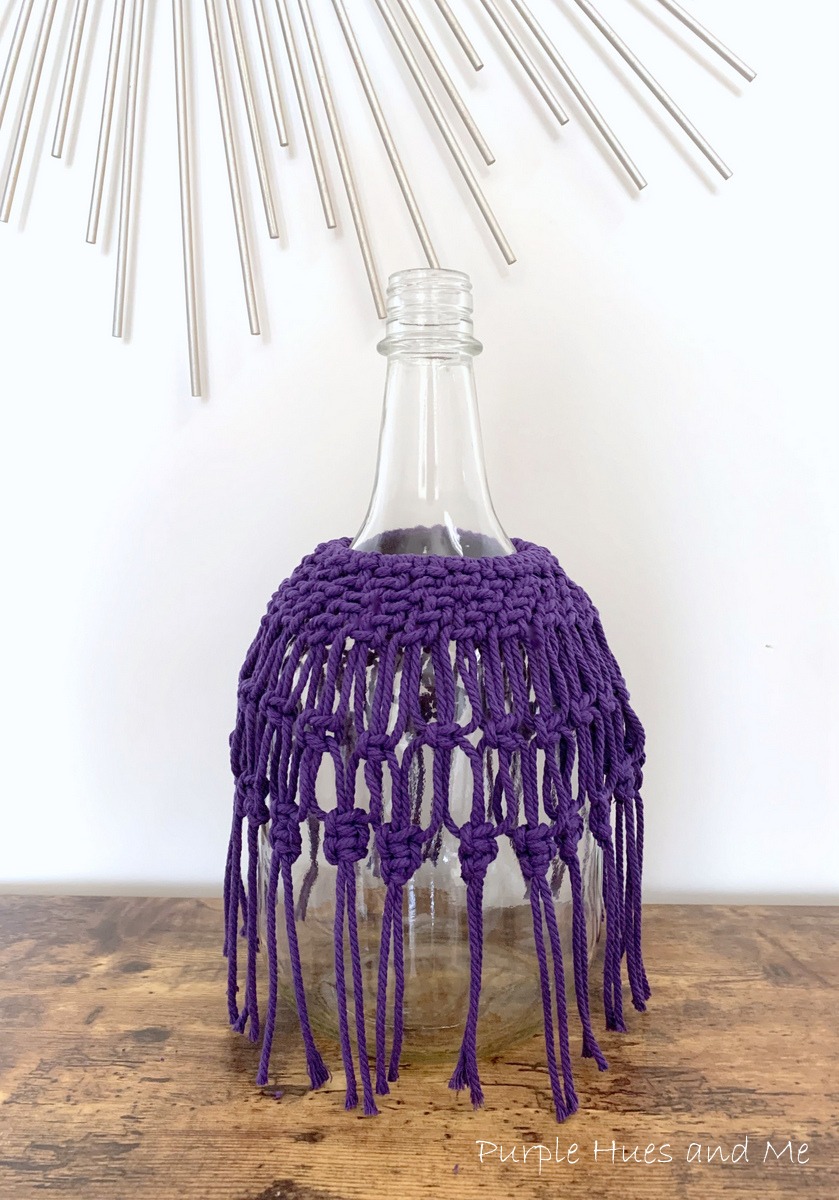
How often do you wish you had a stylish tote bag to use at any given moment? You won't believe how easy it is to make one! Since I had lots of macrame cording left from a previous project I wanted to make a simple knotted tote bag perfect to carry groceries, books, or whatever! Some of you might think this is a macrame bag - but I prefer not to call it that. When you say macrame, you think of rather intricate ways of tying knots. But this bag is made by tying just a basic overhand knot - over and over - a knot most of us learned as a child. 


So, for this bag, you just take a cord and make a loop and insert one end of the cord into the loop. Pulling both cord ends in opposite directions so that the knot is tight - making knots over and over again. How easy is that!

Materials:
Macrame Cord - 3mm (328 ft.)
Board (13x20") wood, cardboard, or rod to hang cords on
Clips to hold the cords
Measuring tape
Scissors
Thread
Wide eye needle

Directions:
Decide how wide and deep you want the bag to be. I measured 4 times the length of the bag (20"x4) I should have doubled the 20" to 40" (front and back) I Cut 7 cords 80" long and folded in half to get the center. Tie  a knot in the center of all the cords.  

This will be the bottom of the bag.


Drape the cords over the board and place the knots at the top. Secure knots with clips to keep in place. Begin tying knots alternating cords using the right/left cords first.

Once the first row is tied, turn the board over and tie the cords on the back, making sure to tie the side cords (one from the front and one from the back) together.
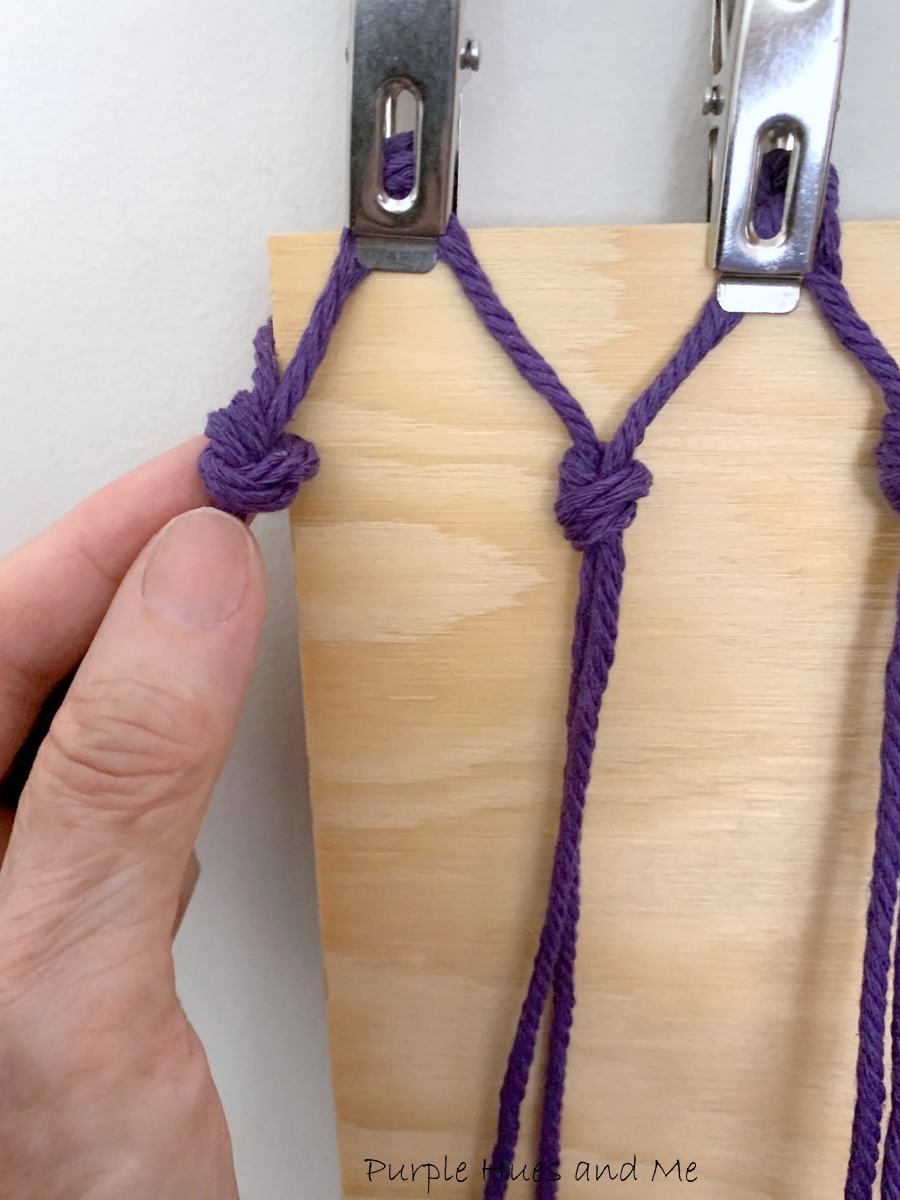
Begin alternating cords .  .  .
tying simple knots .  .  .
Front .  .  .
and back .  .  .
for the next ten rows.
Then, gather the cords in two groups to make handles, tying together in a knot. At this point I realized I didn't have enough cords to make a shoulder length handle. So I cut more cords and tied them together on each side. Overlapping ends in a u-shape for handles.
Use thread to wrapped around the cords where they are tied and overlapped together.
Next, cut two cords, 24ft long to wrap the handles by creating  half slip knots the entire handle length. Make a loop with one cord and use finger to grab the opposite cord and pull through the loop .  .  . 
creating a slip knot. It's quite time consuming making these - pulling the long cord through - so sit down and watch a tv show, lol!
Continue making slip knots .  .  .

along the entire length of the handle .  .  .
making sure to push the loops together along the handle to keep it neat.
When finish knotting, use a wide eyed needle to thread the cord ends down through the loops .  .  .
to secure. Cut off excess cords.
Talk about looking stylish! You bet!
Perfect for groceries .  .  .
or to hold a few books!

Welcome to the Monthly Creative Craft Hop

hosted by Andrea of Design Morsels

If you're coming over from Mary @Home is Where the Boat Is, WELCOME! Wasn't her flower garden stake adorable! Up next after me is Carol @Bluesky at Home sharing how to paint a flower pot using ceramic paint! You won't want to miss this!

Be sure to have fun and get inspired by all of the wonderful creations this month by clicking on the links below!


Saturday, May 22, 2021

Macrame Decorative Bottle


It's that time again for our 'Do It Over' Designer's Blog Hop that happens the 4th Saturday of every other month! 'Do It Over' Designers is a group of talented bloggers who love to recycle/upcycle/DIY, hosted by Anne @The Apple Street Cottage

It's all about taking something old and/or unused and 'doing it over' into something new. Anything from fabric, old dishes, and decor to dressers and hutches. Items found in closets, cabinets, barns, garages, yard sales, thrift stores, you name it! 

Disclosure I am a participant in the Amazon Services LLC Associates Program, an affiliate advertising program designed to provide a means for us to earn fees by linking to Amazon.com and affiliated sites, this post may contain links. I may receive a very small commission at no cost to you! The affiliate money I earn helps pay my crafting expenses. Thanks so much for your support!

For this month's project, I wanted to macrame a design on 
a "sangria" bottle that I had saved, using purple cording that was left over from a previous project

Adding macrame to bottles is a great way to add a design to clear glass that gives it a unique decorative look! It truly is a fun way to tie knots into decorative patterns that will add a boho-chic touch to any home decor.  And it's also the perfect and beautiful way to upcycle a bottle!  

 
Supplies:

Macrame cord - 3mm

Round, shaped bottle

Ruler

Scissors

Fabri-Tac fabric glue


Directions:

Remove the label from the bottle and clean with soap and water. Use a paper towel saturated with alcohol to remove any residual oil and grease and let dry.

It's very easy to learn basic macrame knots to make beautiful designs. For this project, I'm just using two macrame knots - with variations - lark's head and square knot. 

To begin, lets start with making an anchor cord.  Measure around the bottle just where it begins to flare out from the top and add two inches for tying into a knot (16"). Cut one piece of macrame cord of this measurement. 

Next, measure from the same spot that you used for the anchor cord down to the bottom end of the bottle and multiply the number 4 times. (9x4=36") Then cut forty-four strips of macrame cords 36 inches long. These are your working cords.


Make a lark's head knot by folding the cord in half placing the loop over the horizontal cord. 

Pull the loop down behind the horizontal cord and pull the two cords down and through the loop. Pull and tighten the knot. .


Then fill the anchor cord with lark's head knots .  .  .  44 for this bottle and tie the cord around the bottle with a simple knot.

Next, beginning where the cord is tied, make a half square knot by taking four cords - two working cords - left, right and two filler cords (center). Take the left cord and make a "L" shape over the two middle cords. *the photo is showing it over the right cord which should be under it.
Move the right working cord under the two filler cords and over the left working cord. Pull both working cords to tighten, keeping the filler cords straight. This is a left facing half square knot.
Continue tying the half square knots around the bottle .  .  .  
making several rows .  .  .
creating a lovely decorative knotting effect.

Next, measure approximately one inch down grabbing two cords from left, right   
to make a square knot. The first side you make is a half square knot, and when you make the second side (another half square knot) you will have a full square knot.
all around the bottle.

Then measure down another inch to make two square knots together, again, all around the bottle.


Be sure to pull the two working cords (left/right) tight as you can .  .  ..
to cut off. Add a dab of fabric glue to seal end. The filler cords should hang straight .  .  .
And finally, cut off the excess hanging cords at the bottom at the same length so they'll hang straight - all the way around the bottle.  (sorry for the blurry pic)


The decorative cover is easily removed to show the pretty effect.


Be sure to check out all the 'Do It Over Designers' listed below to see their lovely "do overs" too! 

Birdz of a Feather

Cloches & Lavender

Exquisitely Unremarkable

Little Vintage Cottage

Pandora’s Box

Purple Hues & Me

Unique Creations by Anita

My Hubbard Home

The Apple Street Cottage