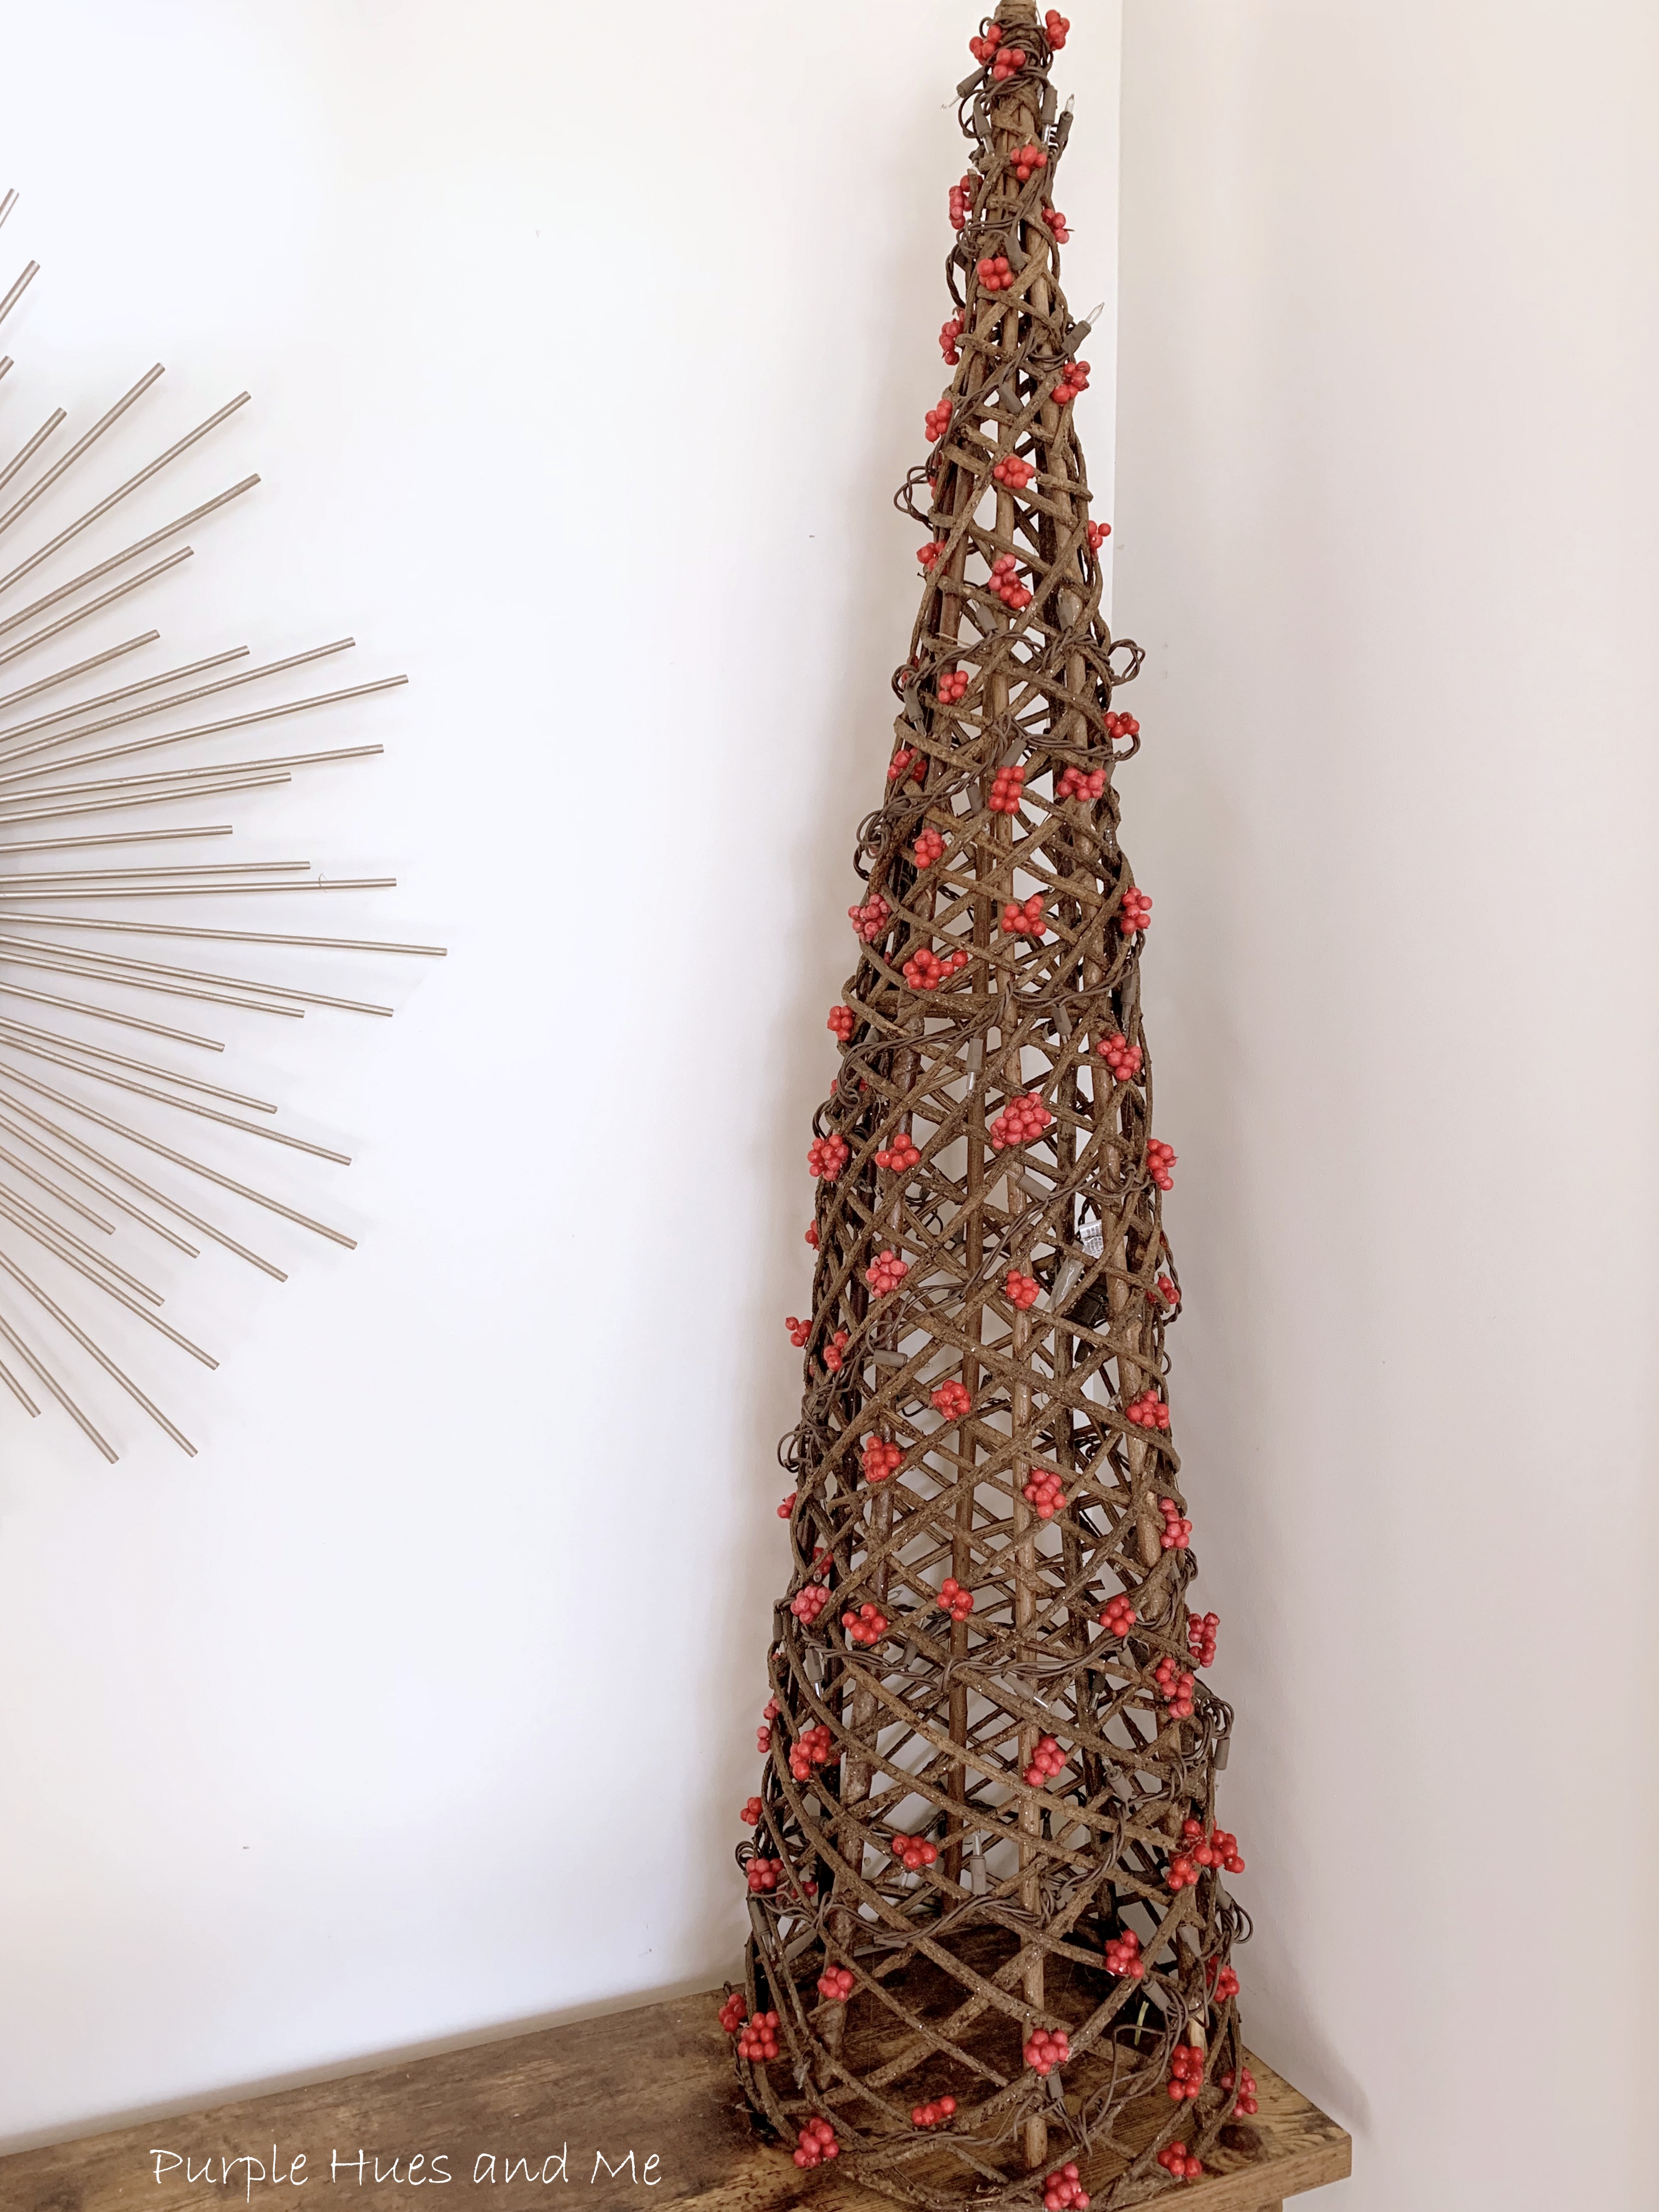
It's been there all along! Yes, this natural woven tree has been tucked away in my garage for at least seven years. Oh my! I was drawn to it in a thrift store and couldn't resist the price of six dollars for a handmade woven grapevines and limbs to weave an intricate pattern into a cone tree over four feet tall! Amazing! But, as the Christmas seasons rolled around year after year, I would look at it and just wonder how could I possibly decorate it? It was so rustic! So, I would cover it up or push it aside and move on . . . until this year!
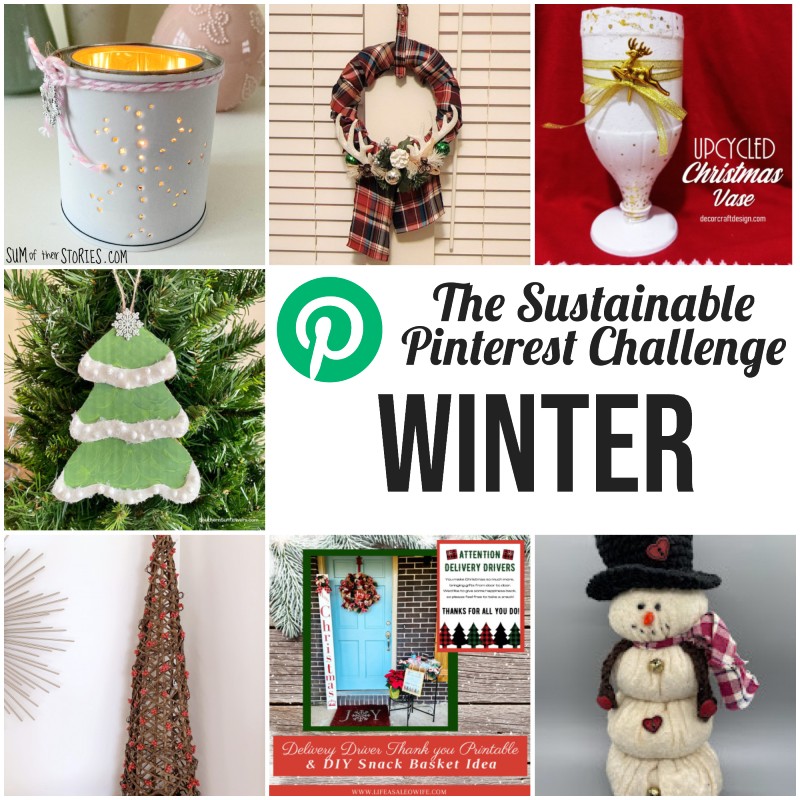
Now, I belong to a monthly Sustainable Pinterest Challenge Group hosted by Julie @Sum of Their Stories. The theme for December is Winter - which can include quite a bit of ideas! The purpose of this Pinterest Challenge is to motivate all of us to create a project that a) is inspired by a pin on one of our Pinterest boards and b) have some sort of a sustainable element to it. This could be an upcycling or recycling element, or something that reduces waste, uses leftovers, etc. The problem I had was most handmade grapevine trees on Pinterest were quite small with the grapevines wrapped around a wire frame in a circular pattern like this pin. But then this pin mimics natural elements in a whopping size of eight feet, and even mentions sustainability and organic charm, I guess because it was handmade out of iron.

Julie | Sum of their Stories
Gail | Purple Hues and Me
Julie | Treasures Made From Yarn
T’onna | Sew Crafty Crochet
Niki | Life as a LEO Wife
Mel | Decor Craft Design
Allyson | Southern Sunflowers
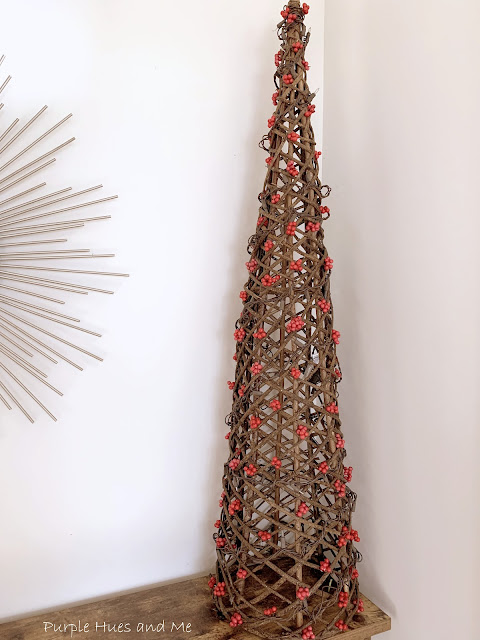
So, I'm finally hauling this awesome handmade woven cone tree out of hiding, oh I mean, storage and sharing how I decorated it using natural elements I found in my backyard!
After doing a bit of research on types of grapevines, I believe this tree is woven using muscadine grapevines. They are known to get quite chunky and thick with woody, stalky vines. And they are one of the strongest vines grown in the wild. Just take a look up close to see how thick these vines are.
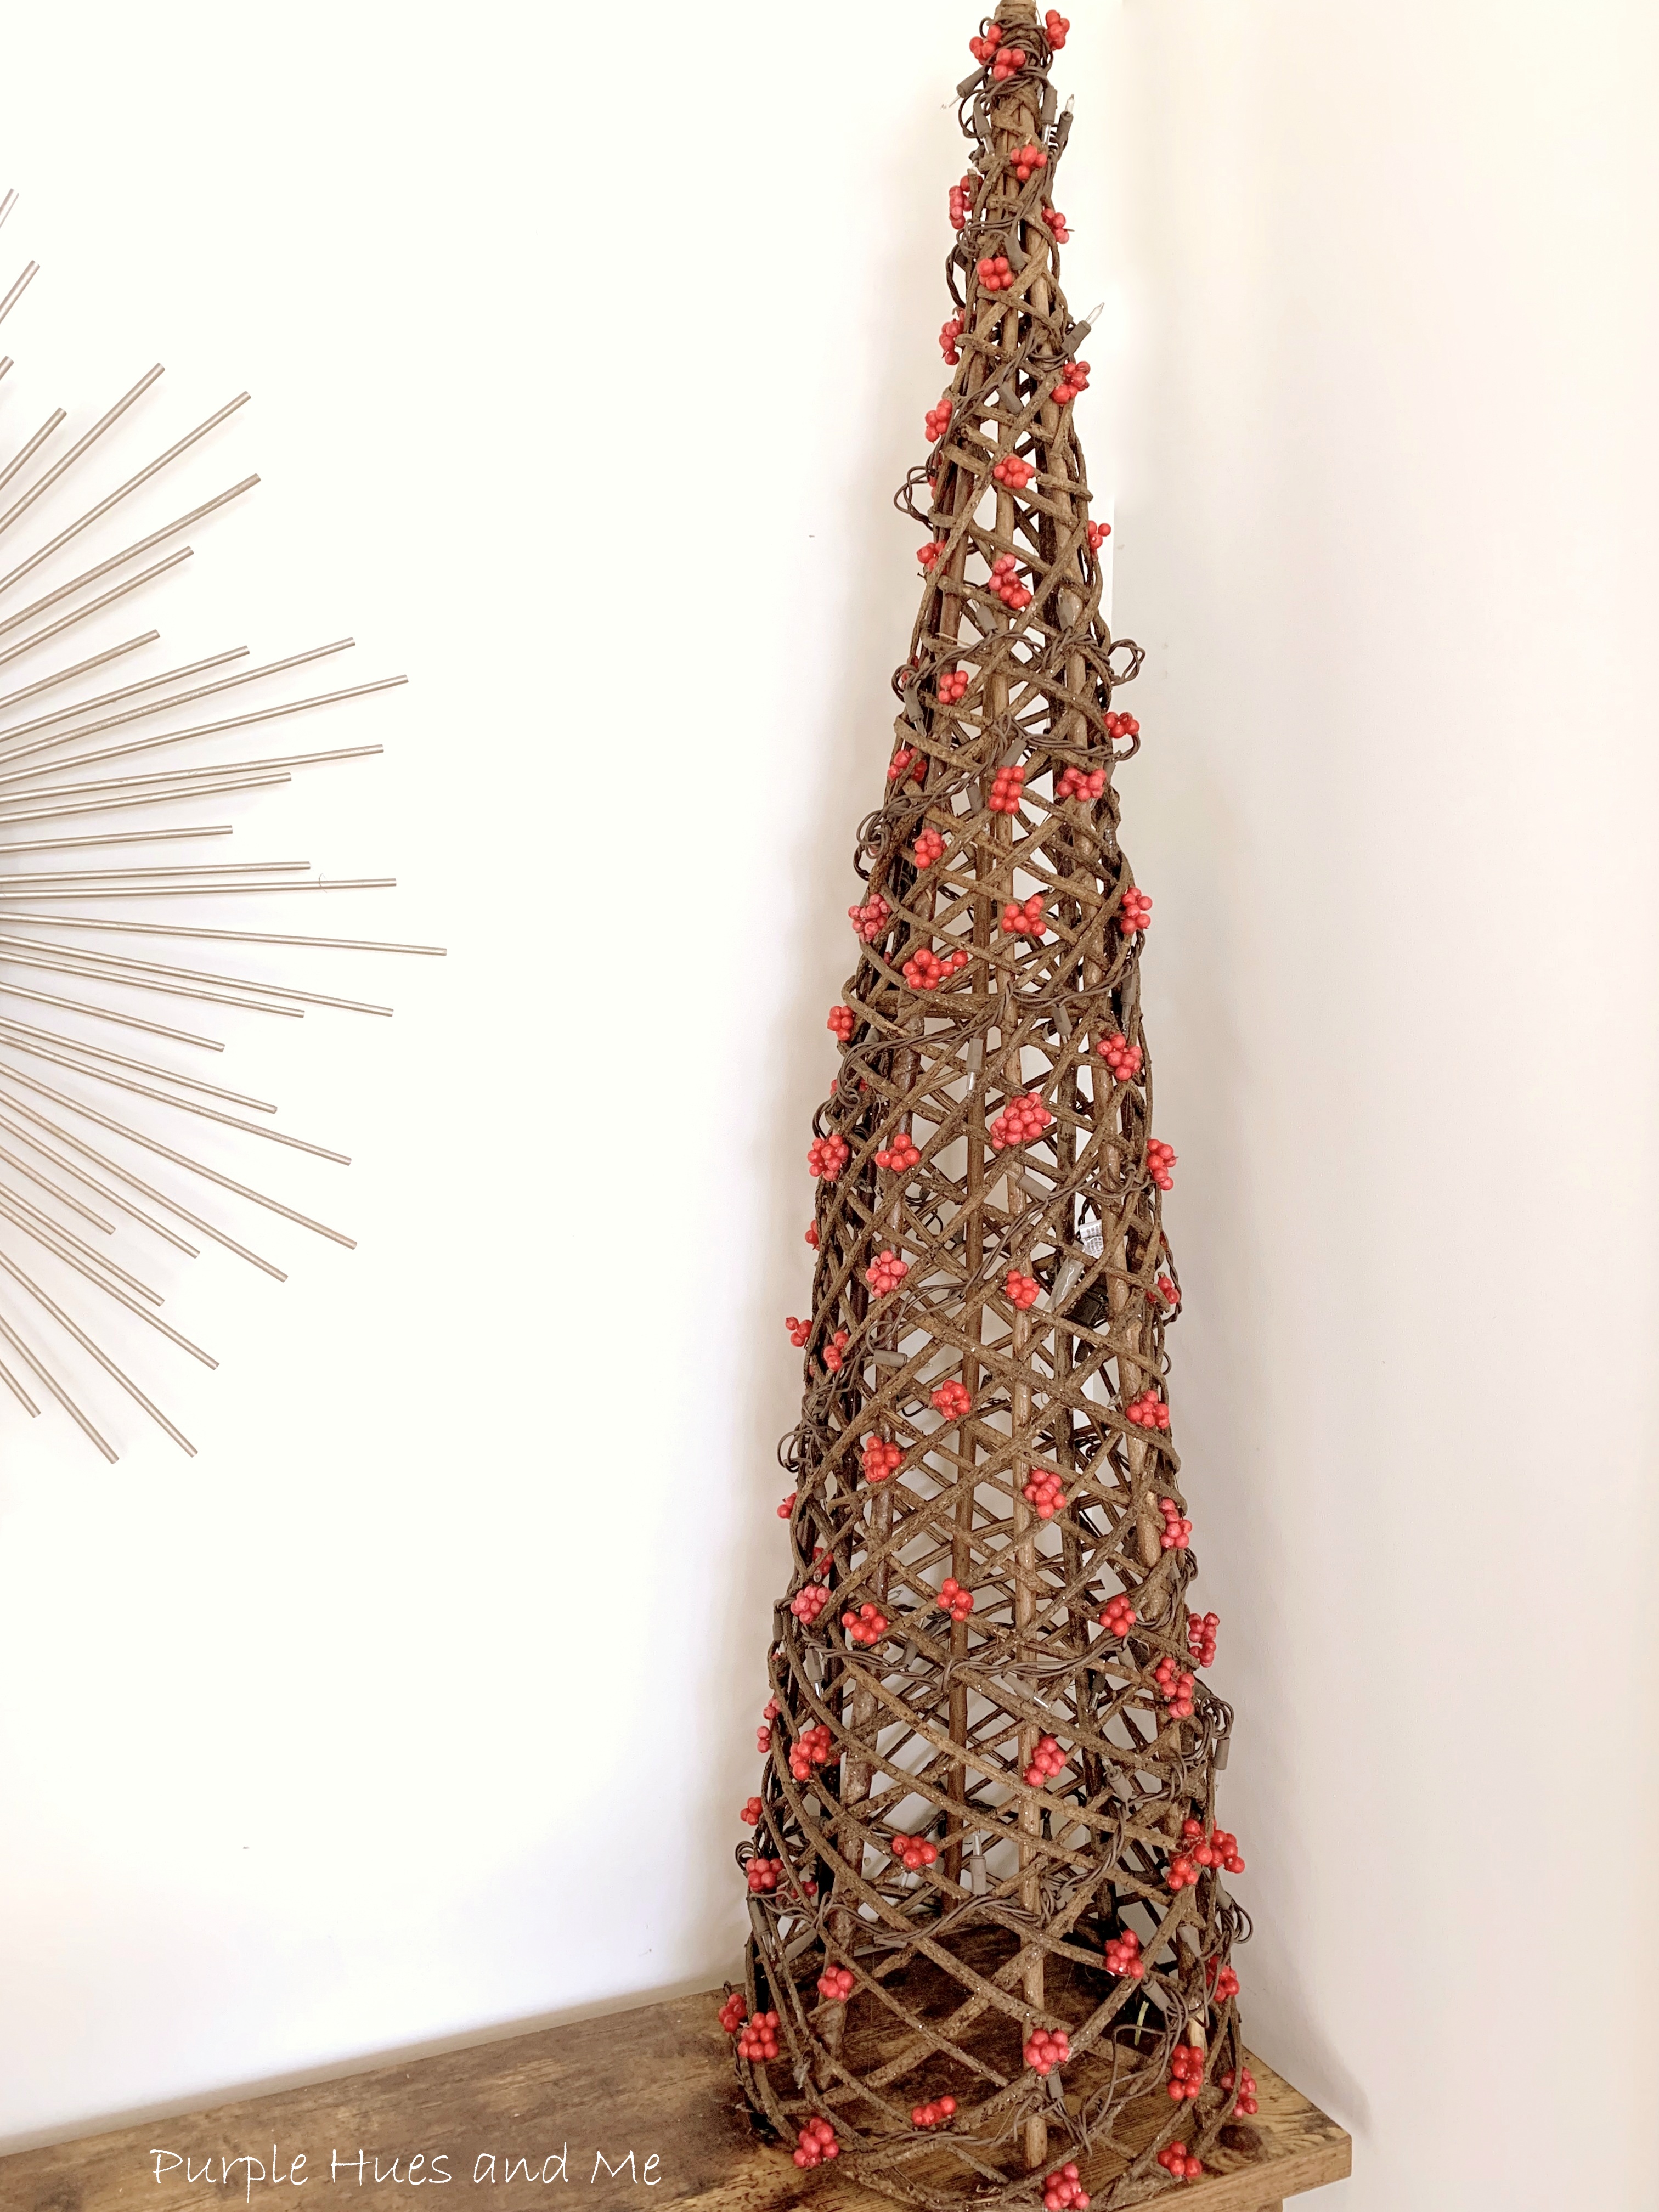
In my neighborhood, those of us living on the north side of my street have an open hilly berm surrounding our backyards and it's filled with lots of pine trees with pinecones, ornamental grasses, and pretty plants like this Nanina bush which has lovely but poisonous red heavenly bamboo berries. Since I have no young children in my life or any visiting me, I decided to pick a few of these berries to decorate my woven tree.
After wrapping the tree with brown wired LED lights, I randomly tucked groups of berries . . .
around the tree, starting at the top.
Adding a natural touch to a holiday decorative piece.
It really looks cool sparkling with lights!
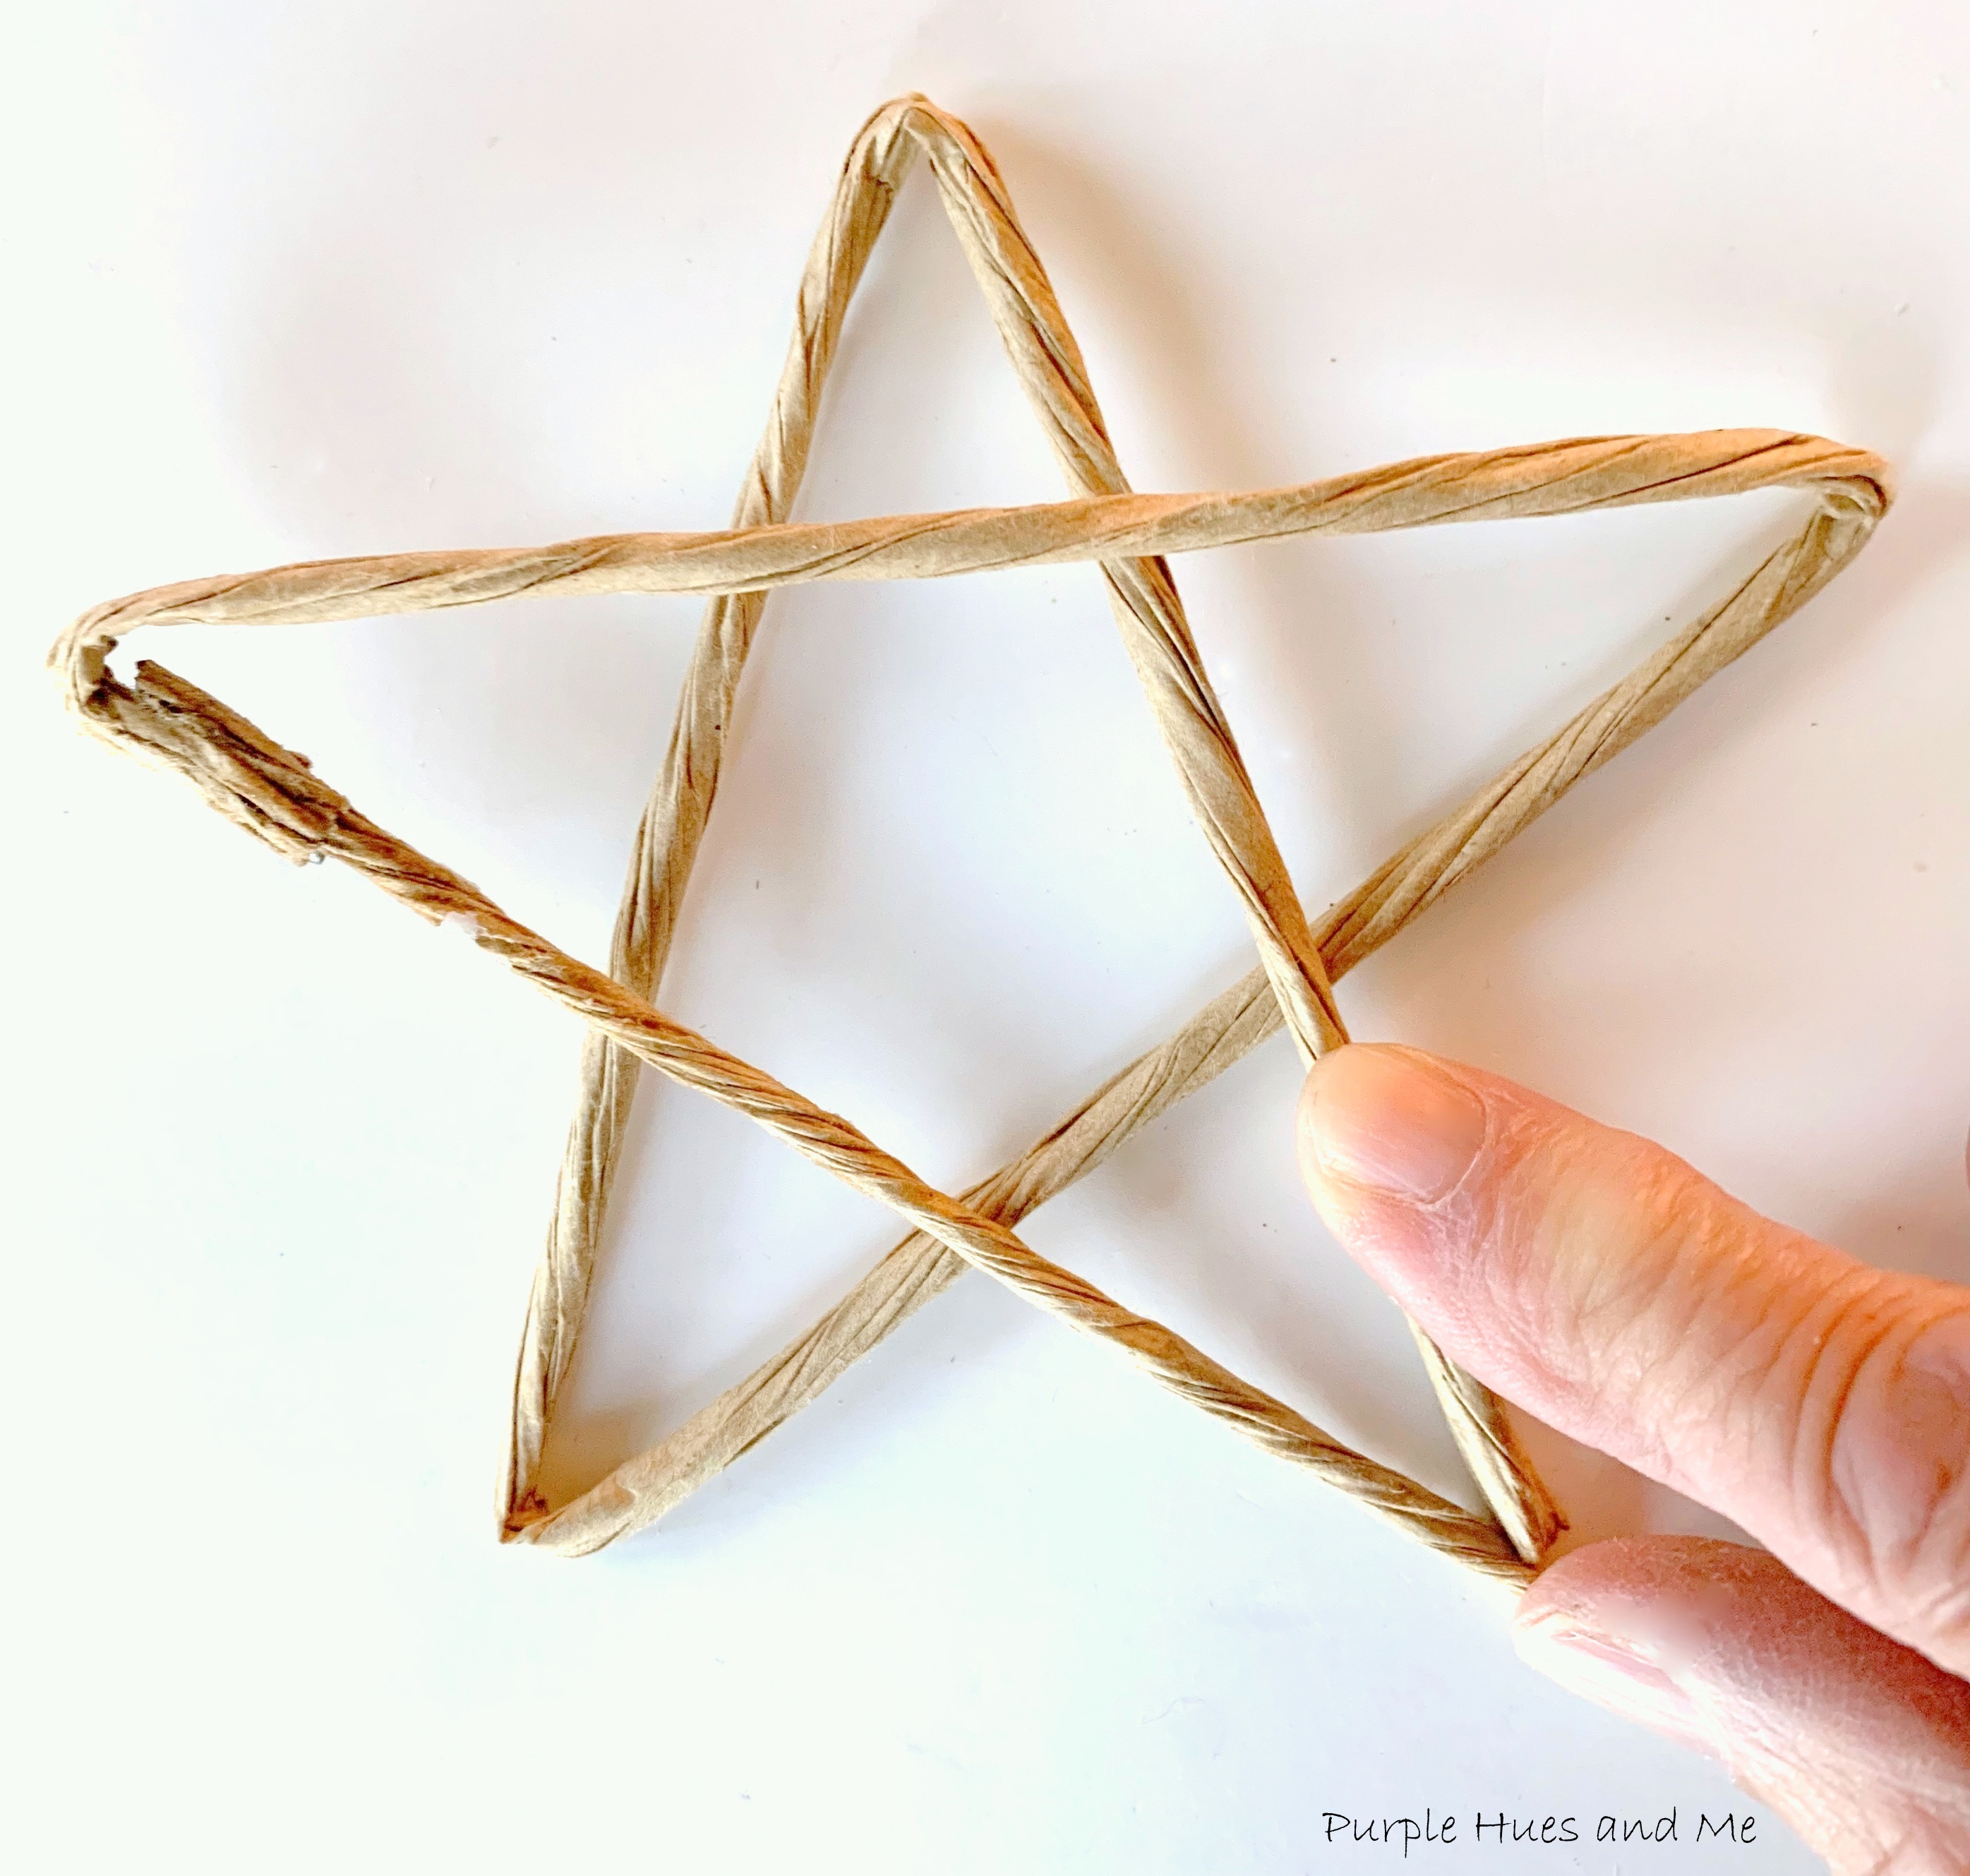
This looks great but then it needed a star on the top! I've made recycled newspaper woven stars before, but time was not on my side, so I had to come up with a simple to make star. One made out of paper stem wire folded into the shape of a star with stem wire wrapped around it.
How to Make a Star:
Glue together the ends of two paper stem wires (18") using a quick grab all purpose adhesive (RapidFuse) and let dry. Once dry, measure the extended stem 4.5 inches and fold into a upside down "V."
Then measure another four and a half inches and fold another "V" shape.
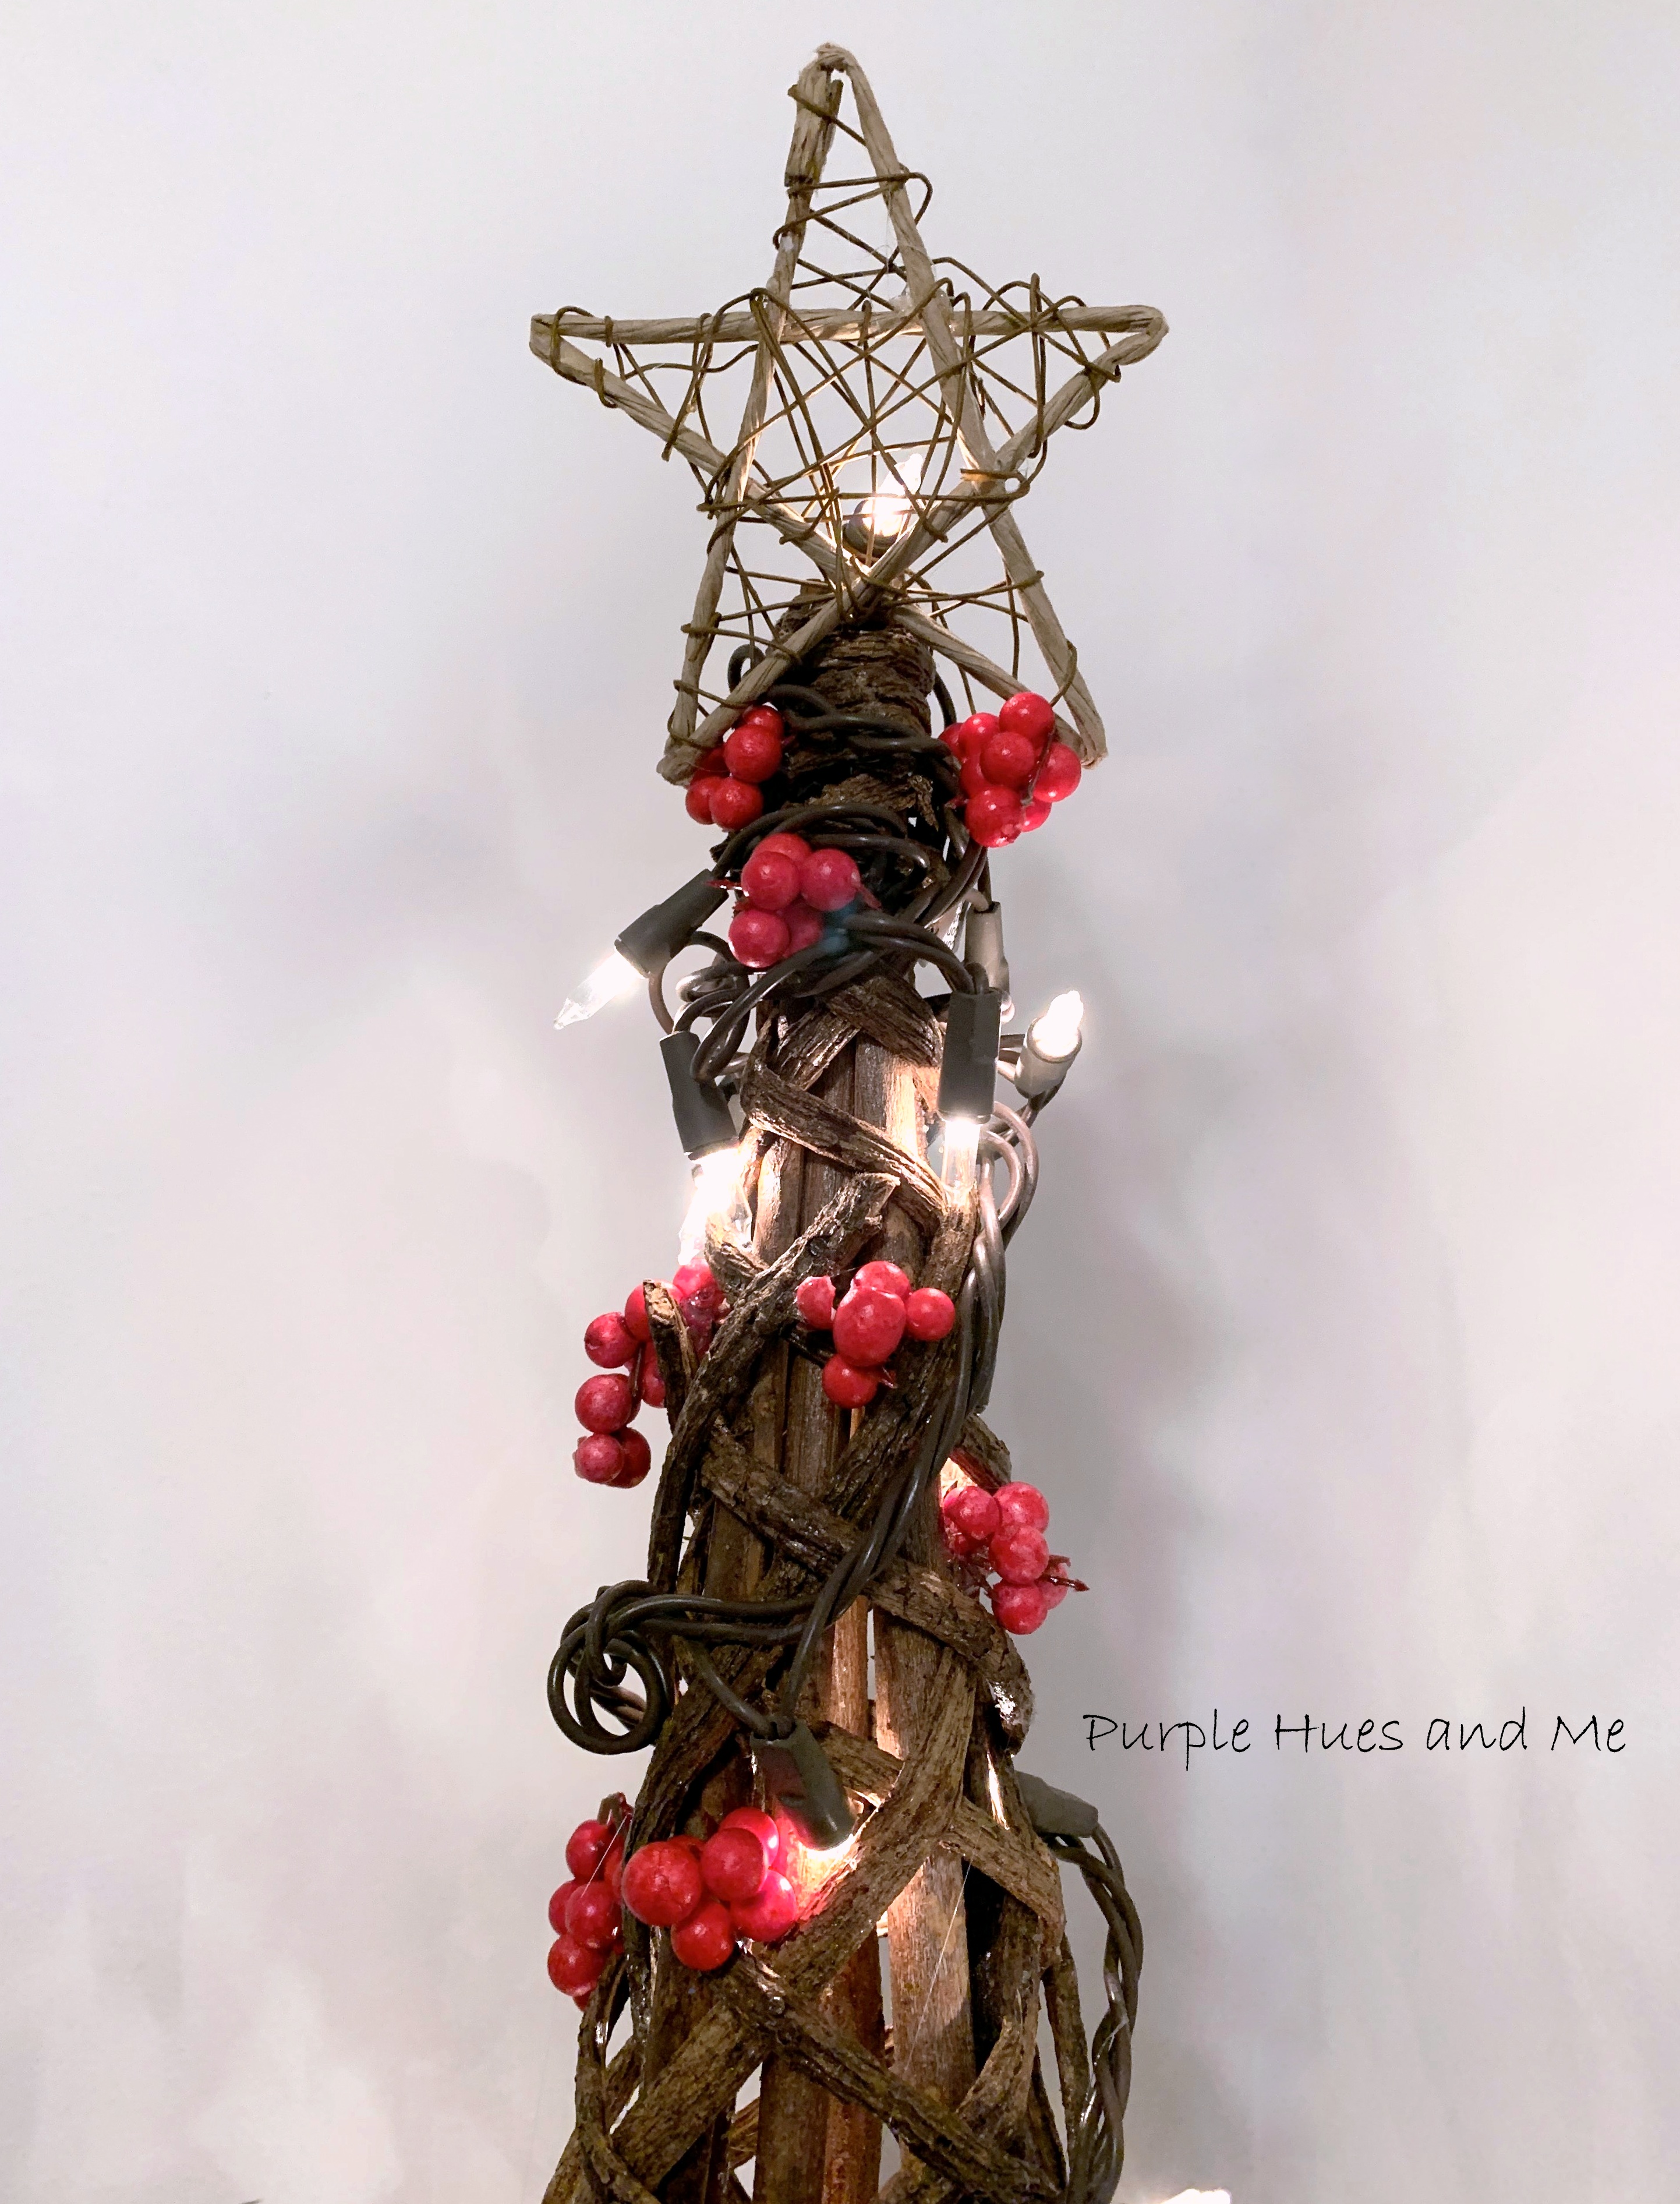
Continue folding the stem wire at four and a half inches to form five "V" shapes -shaping the stem wire . . .into a star - cutting off excess wire and gluing the ends together. Place a drop of glue underneath where the stem wires cross to seal together.Then wrap plain stem wire around the star . . .
varying the direction . . .until satisfied with the look.Then attach star to the top of the woven tree . . .to complete the lovely look!
Now, it's time to meet the other Sustainable Pinterest Challenge participants and their awesome Winter projects:

DIY Punched Tin Lantern Upcycle
Free Printable Thank you & DIY Snack Basket for Christmas Delivery Drivers
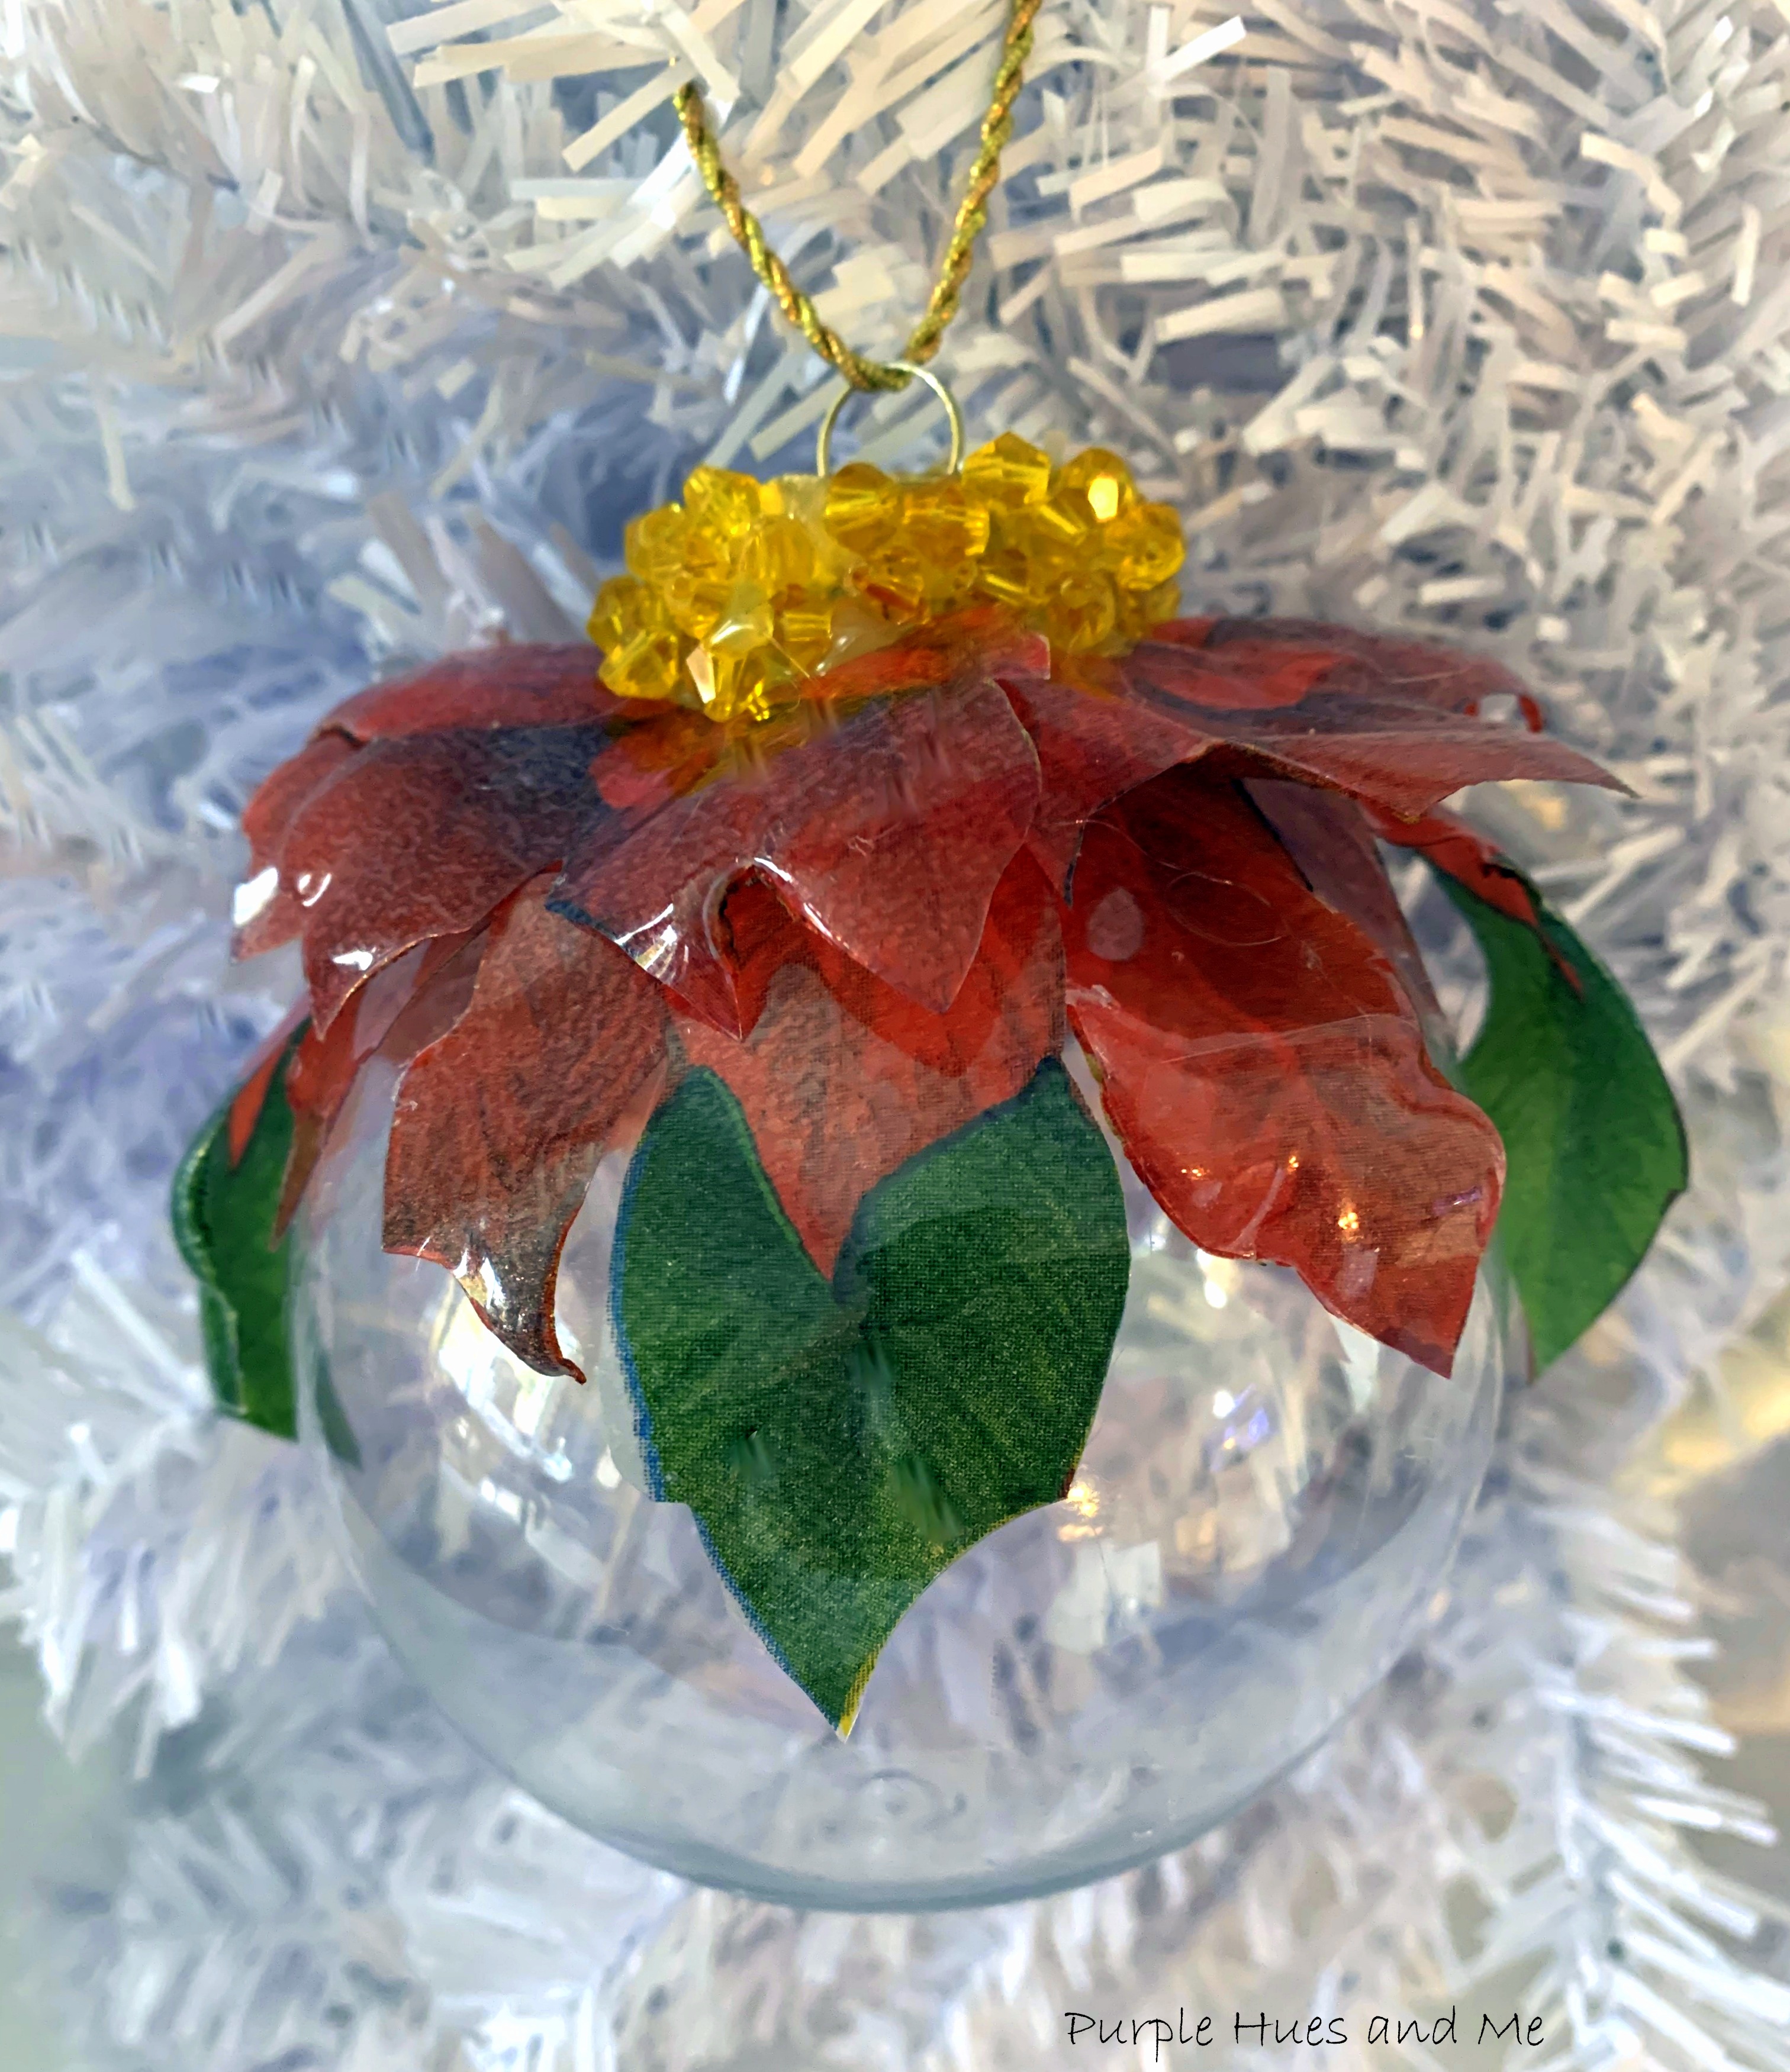
Cardboard Ornament Craft Idea
Upcycled Christmas Vase
Upcycled Plaid Scarf Wreath
Snowman
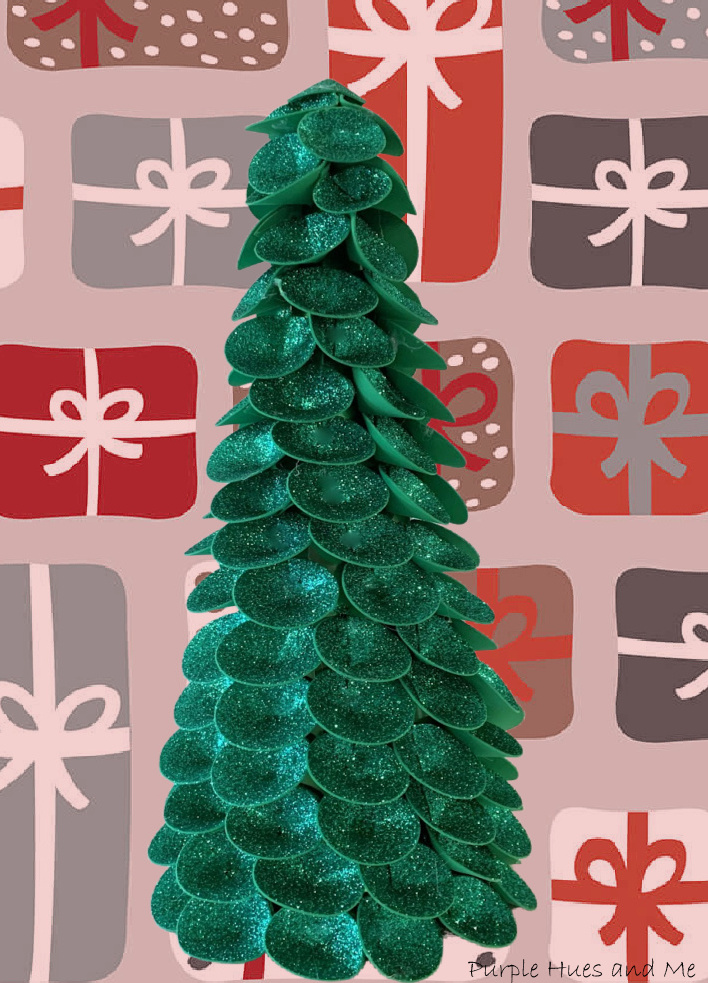
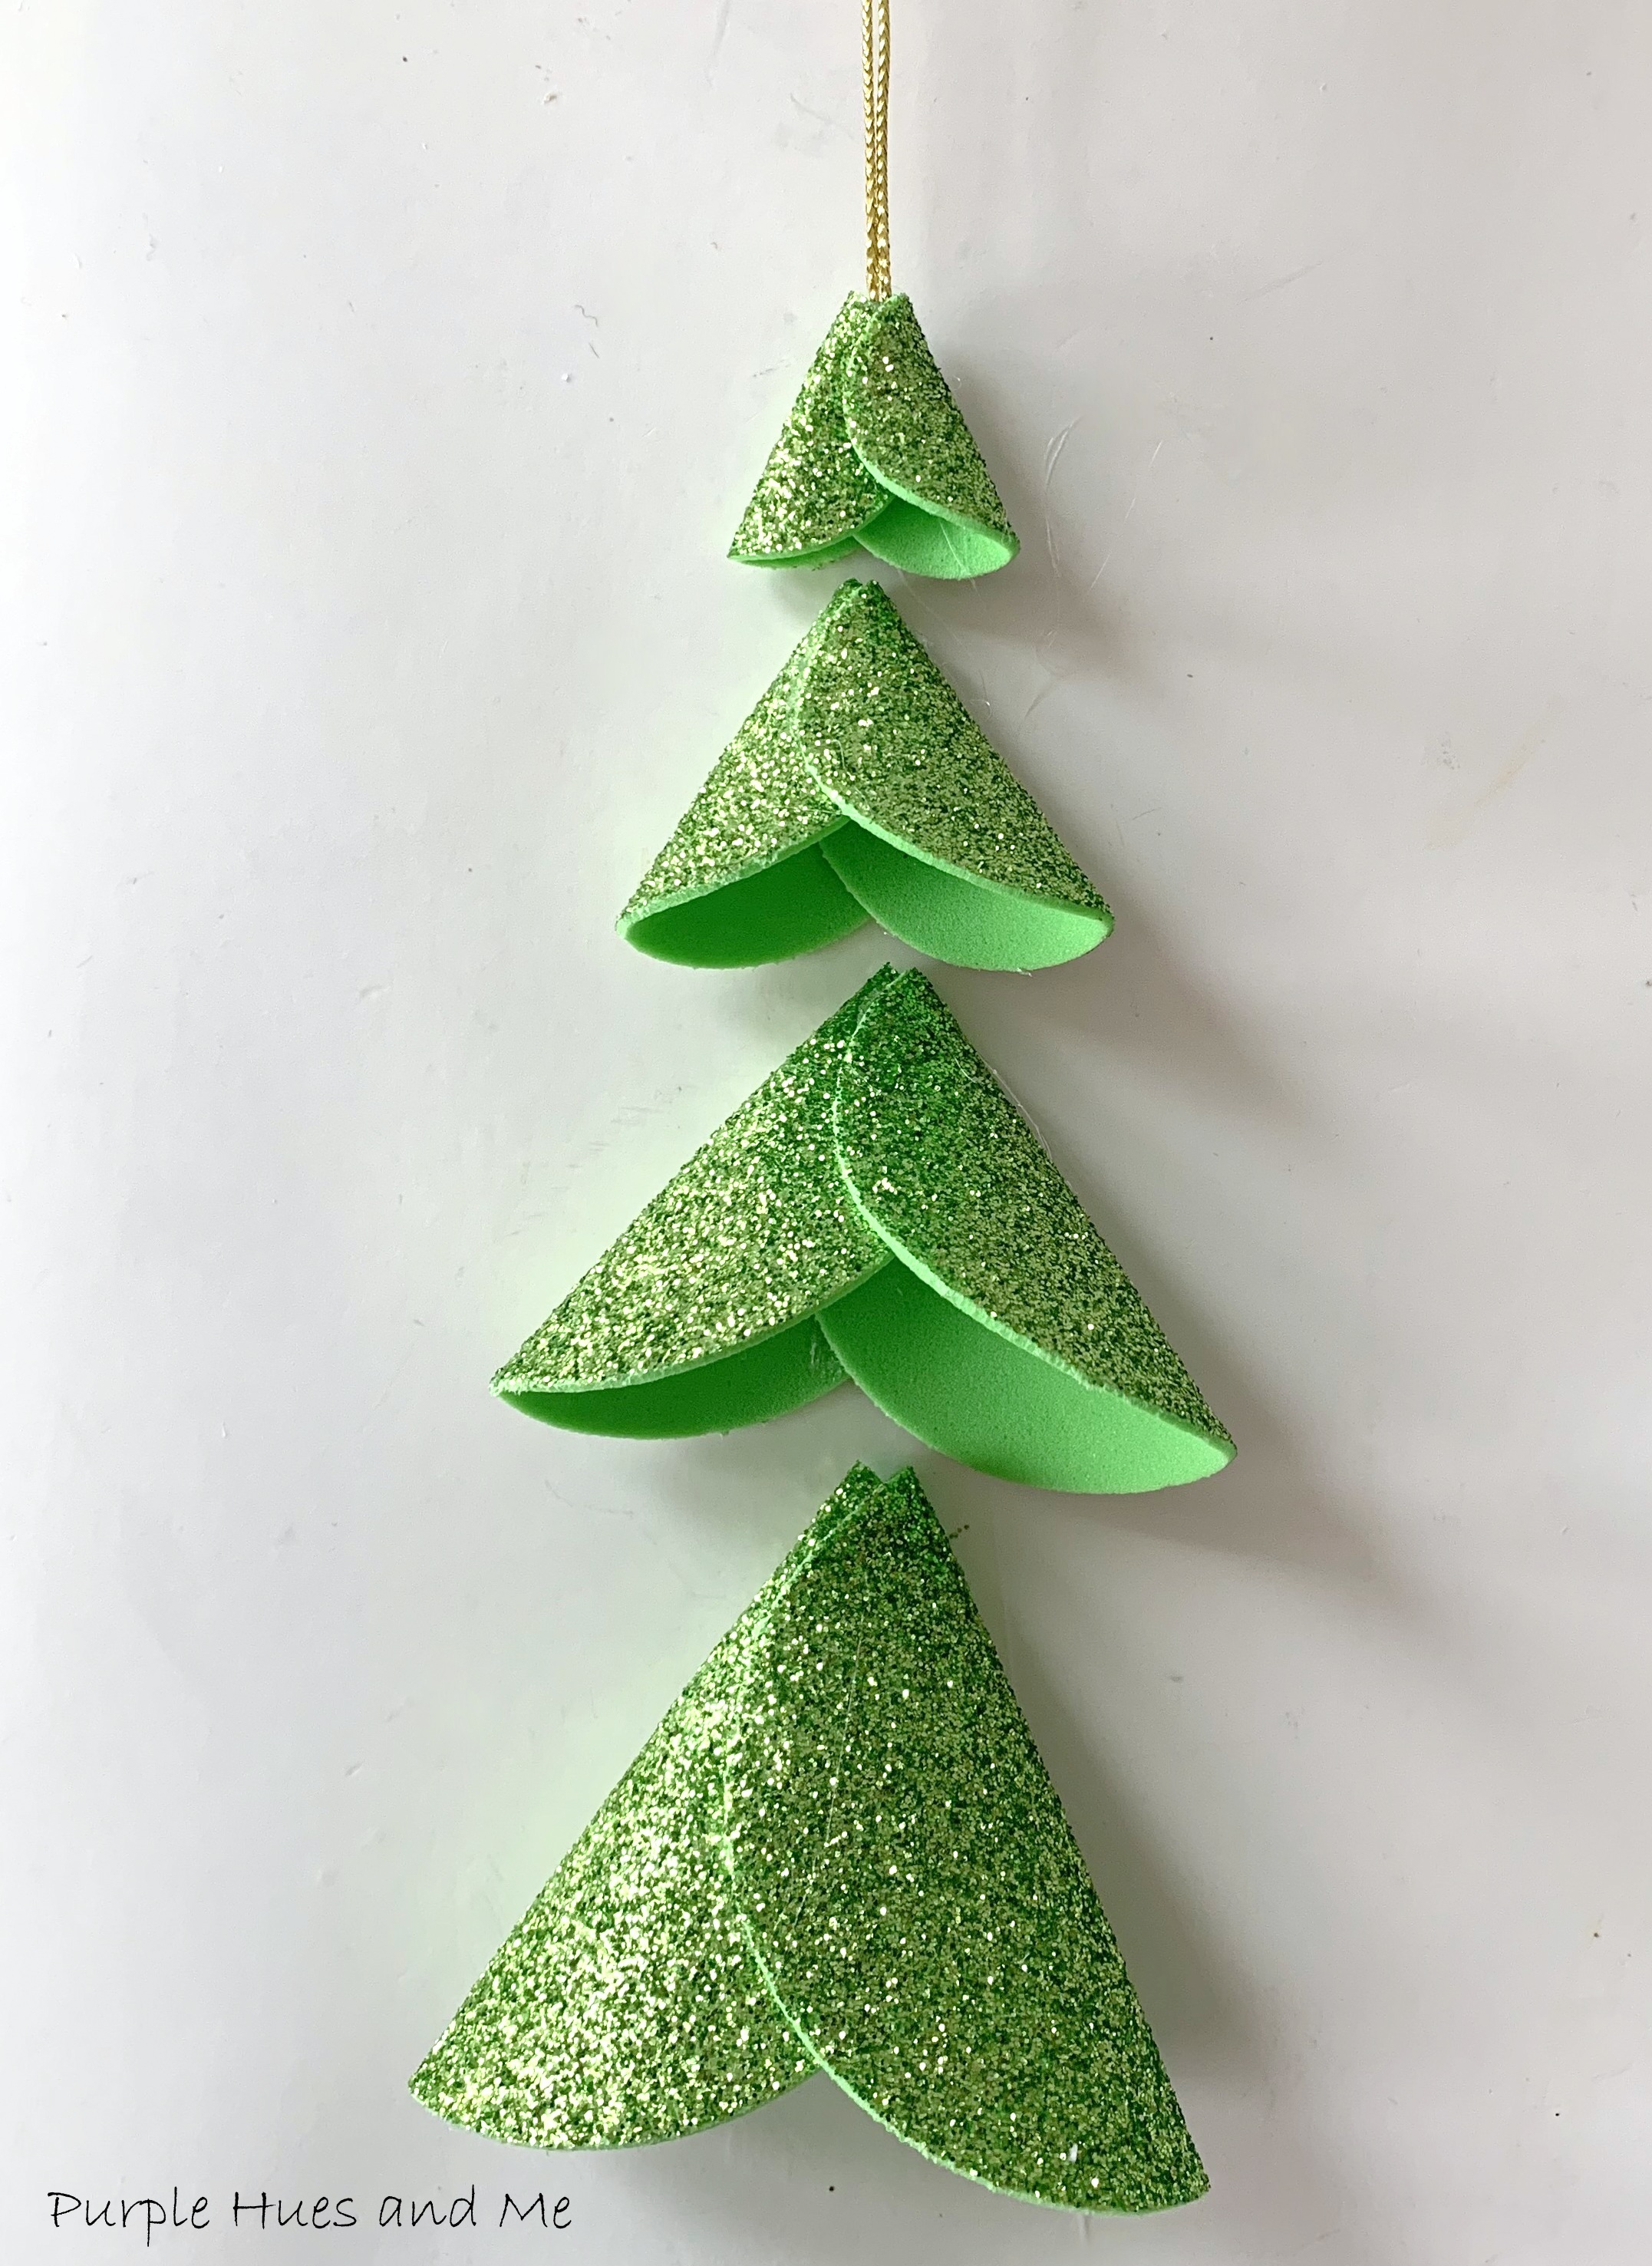
Natural Woven Tree with Berries


b.jpg)