Showing posts with label Fall Crafts Blog Hop. Show all posts

Wednesday, September 14, 2022

Gold Hot Glue Leaves on Pumpkin


For fall, have I got a fun way to glam up your pumpkins with hot glue leaves coated with a sparkling gold finish! Why not take your fall decor to the next level with this "hot" idea! 

Materials Used:

  • Pumpkin
  • Acrylic paint/Mod Podge Gloss/brushes
  • Leaf silicone mold
  • Hot glue gun/glue sticks
  • DecoArt Extreme Sheen 24K gold metallic paint

For this project, I started with an old pumpkin I had in my stash. It had a silver finish which I easily peeled off to reveal a white foam pumpkin. Next, I started painting the pumpkin with FolkArt's Multi-Surface acrylic paint called Berry Wine. 

I applied three coats .  .  .
letting the pumpkin dry between coats. Then sealed with Mod Podge Gloss
Next, painted the stem with DecoArt Extreme Sheen in 24K gold.
While the stem was drying, began making the hot glue leaves using a silicone mold with eight small leaf molds.  Just to fill two molds half way, I used one regular 4" glue stick.
So I went through lots of glue sticks. - about 15, I think. After the last leaves set, I put them in a box and .  .  .
spray painted them with Rust-oleum gold metallic spray paint outside. And let them dry overnight.

Once the leaves were dry, started gluing them on .  .  .
randomly around the stem.

I love how this pumpkin turned out.  It's simply beautiful!
And goes with my decor, perfectly!   Welcome Fall!

Welcome to this month's Fall Blog Hop hosted by Shae @ Sweet Southern Grace 
Be sure to check out all of the wonderful Fall projects from the participants in this month DIY Fall Challenge:
                                            Hannah @ Baggott Farmhouse

Monday, September 12, 2022

Loopy Yarn Wrapped Pumpkin

I was in Hobby Lobby recently, trying to take advantage of their fifty percent off on Fall and Christmas items. So naturally I'm going aisle by aisle looking for goodies when I came across loopy yarn in maroon, pink and white! Wow, I was loving the color combination! Now, I don't crochet or knit so I immediately thought of wrapping it around a pumpkin! There are so many ways to use loopy yarn! You should see the fabulous wreath my blogging friend, Michelle @Our Crafty Mom, made with loopy yarn.

But how hard would that be to wrap a pumpkin? At first, all of five minutes - from start to finish! Here's the yarn and pumpkin!

 After putting a few strips of double sided tape around the pumpkin, began laying the loopy yarn on top and around the pumpkin!
               

Going around and around .  .  .
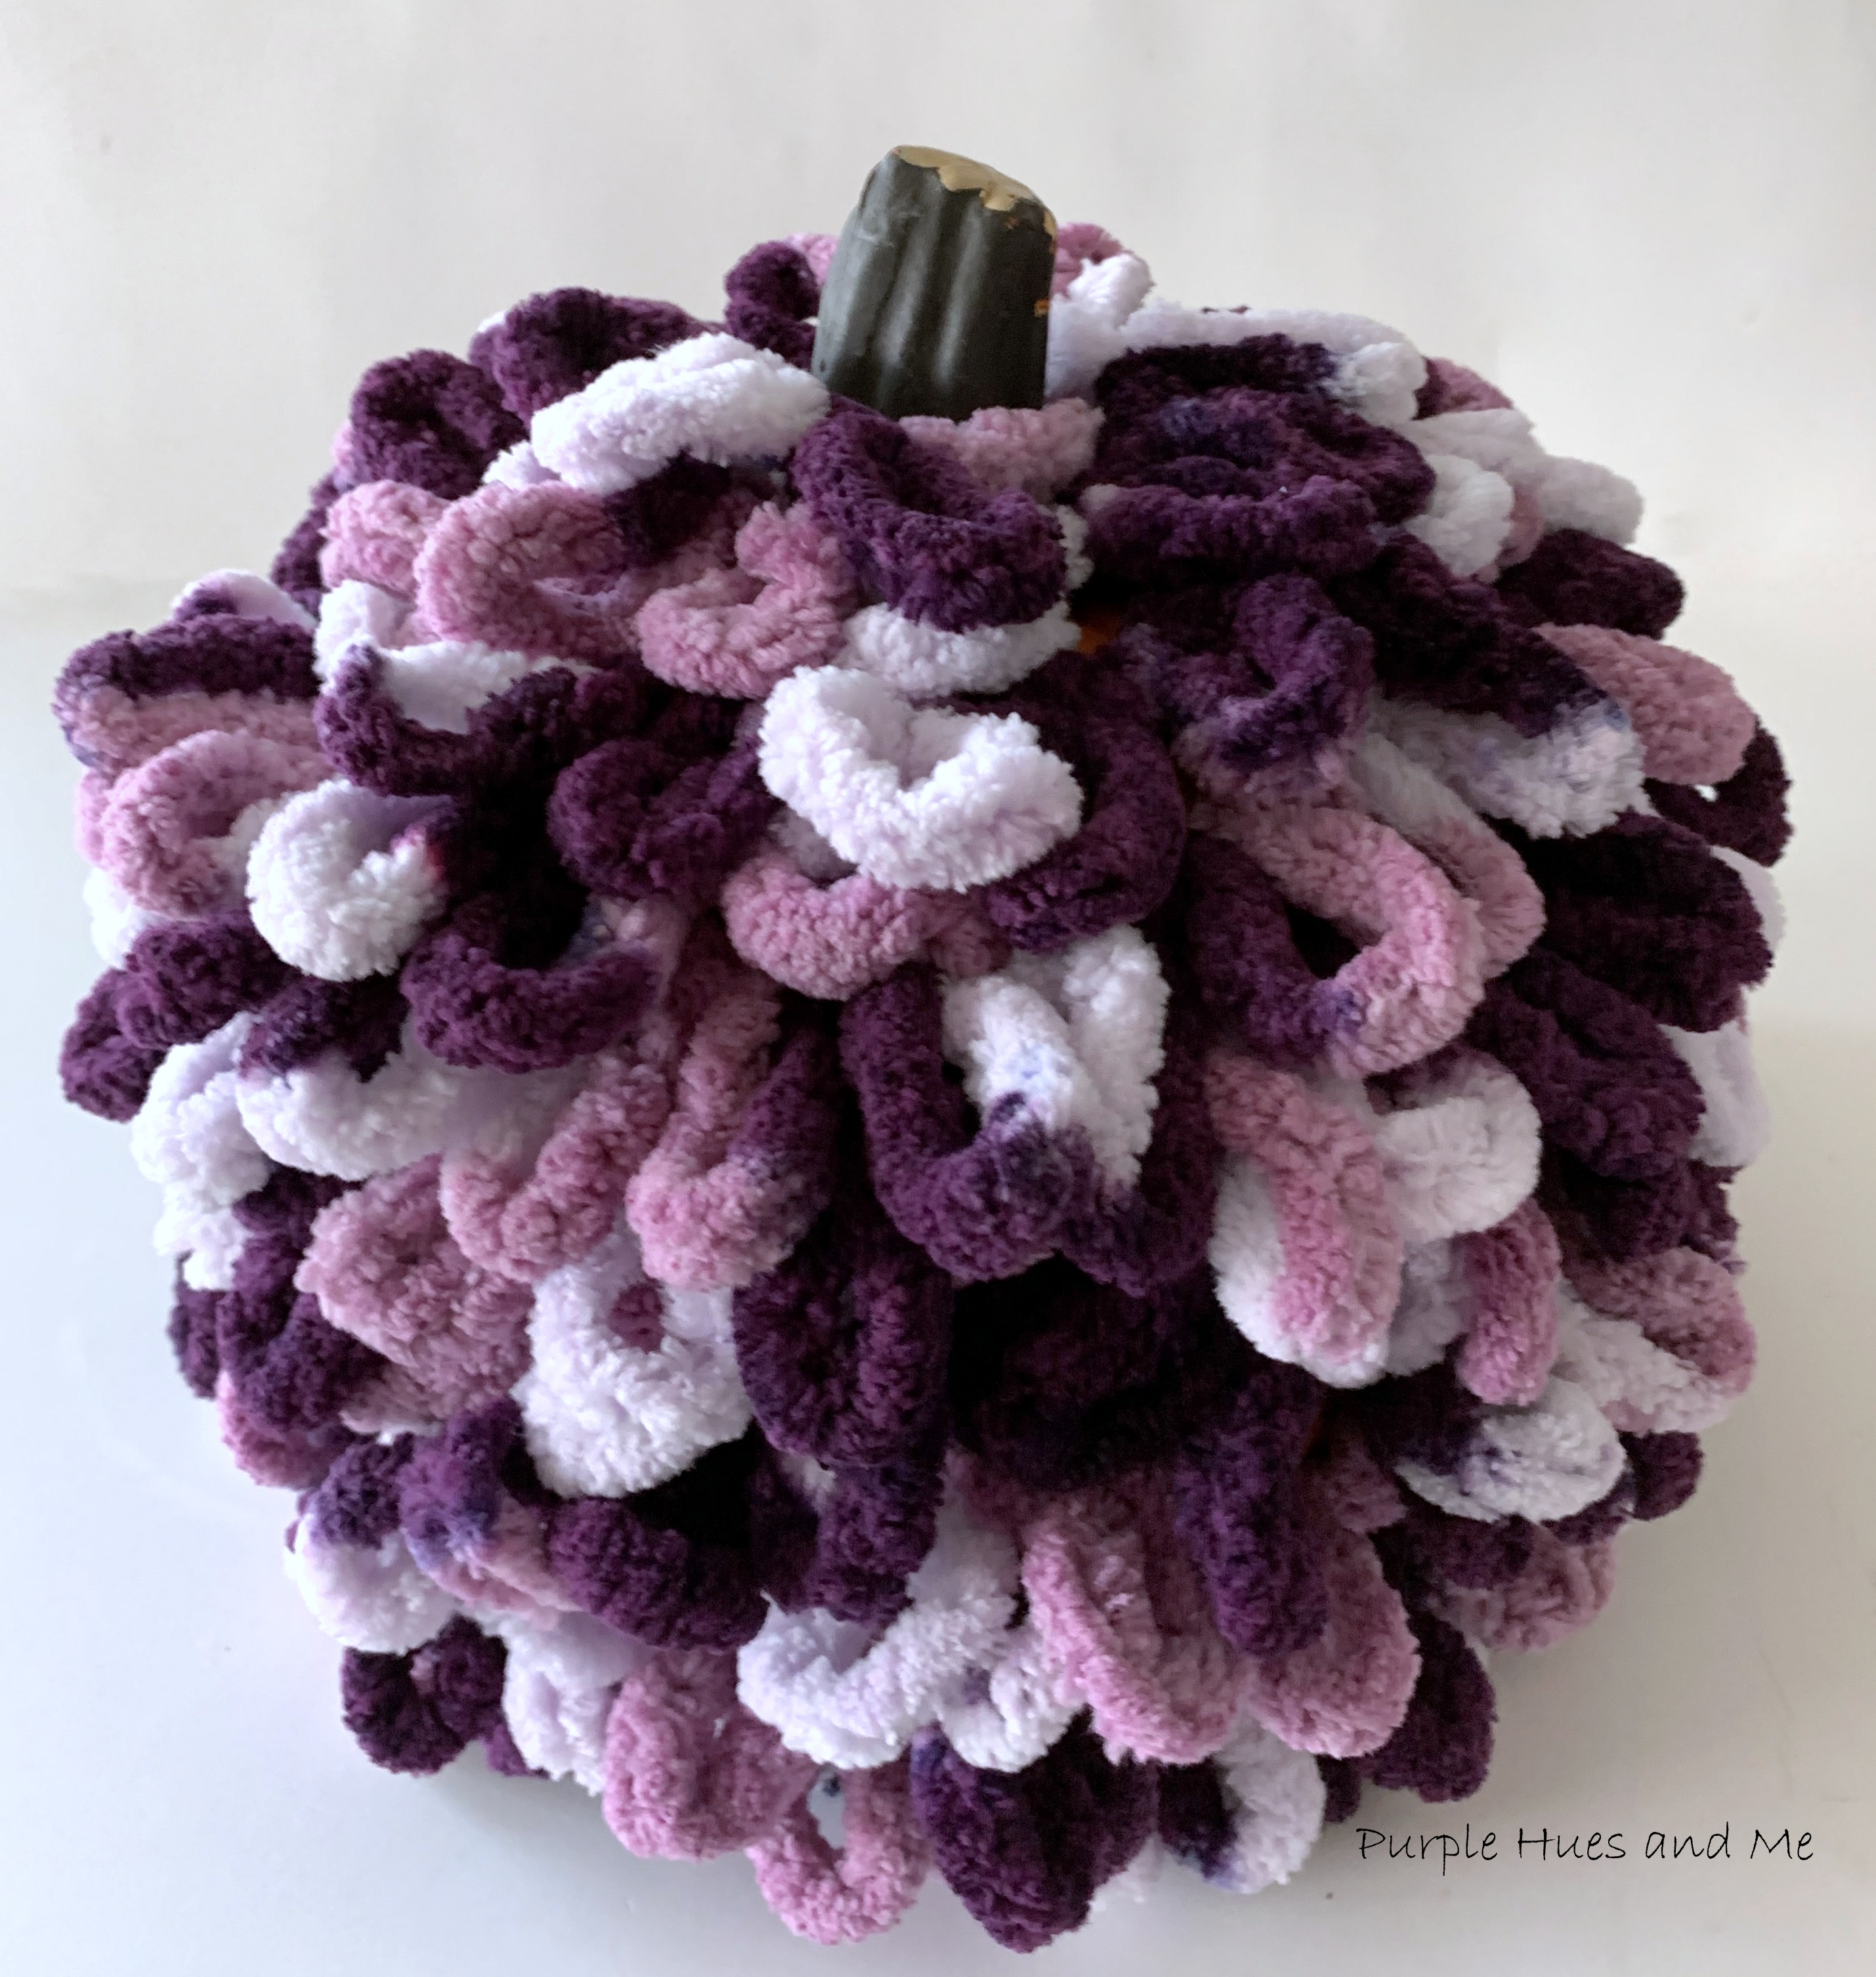
until the pumpkin was completely covered. I think this might be the quickest craft I've ever done!
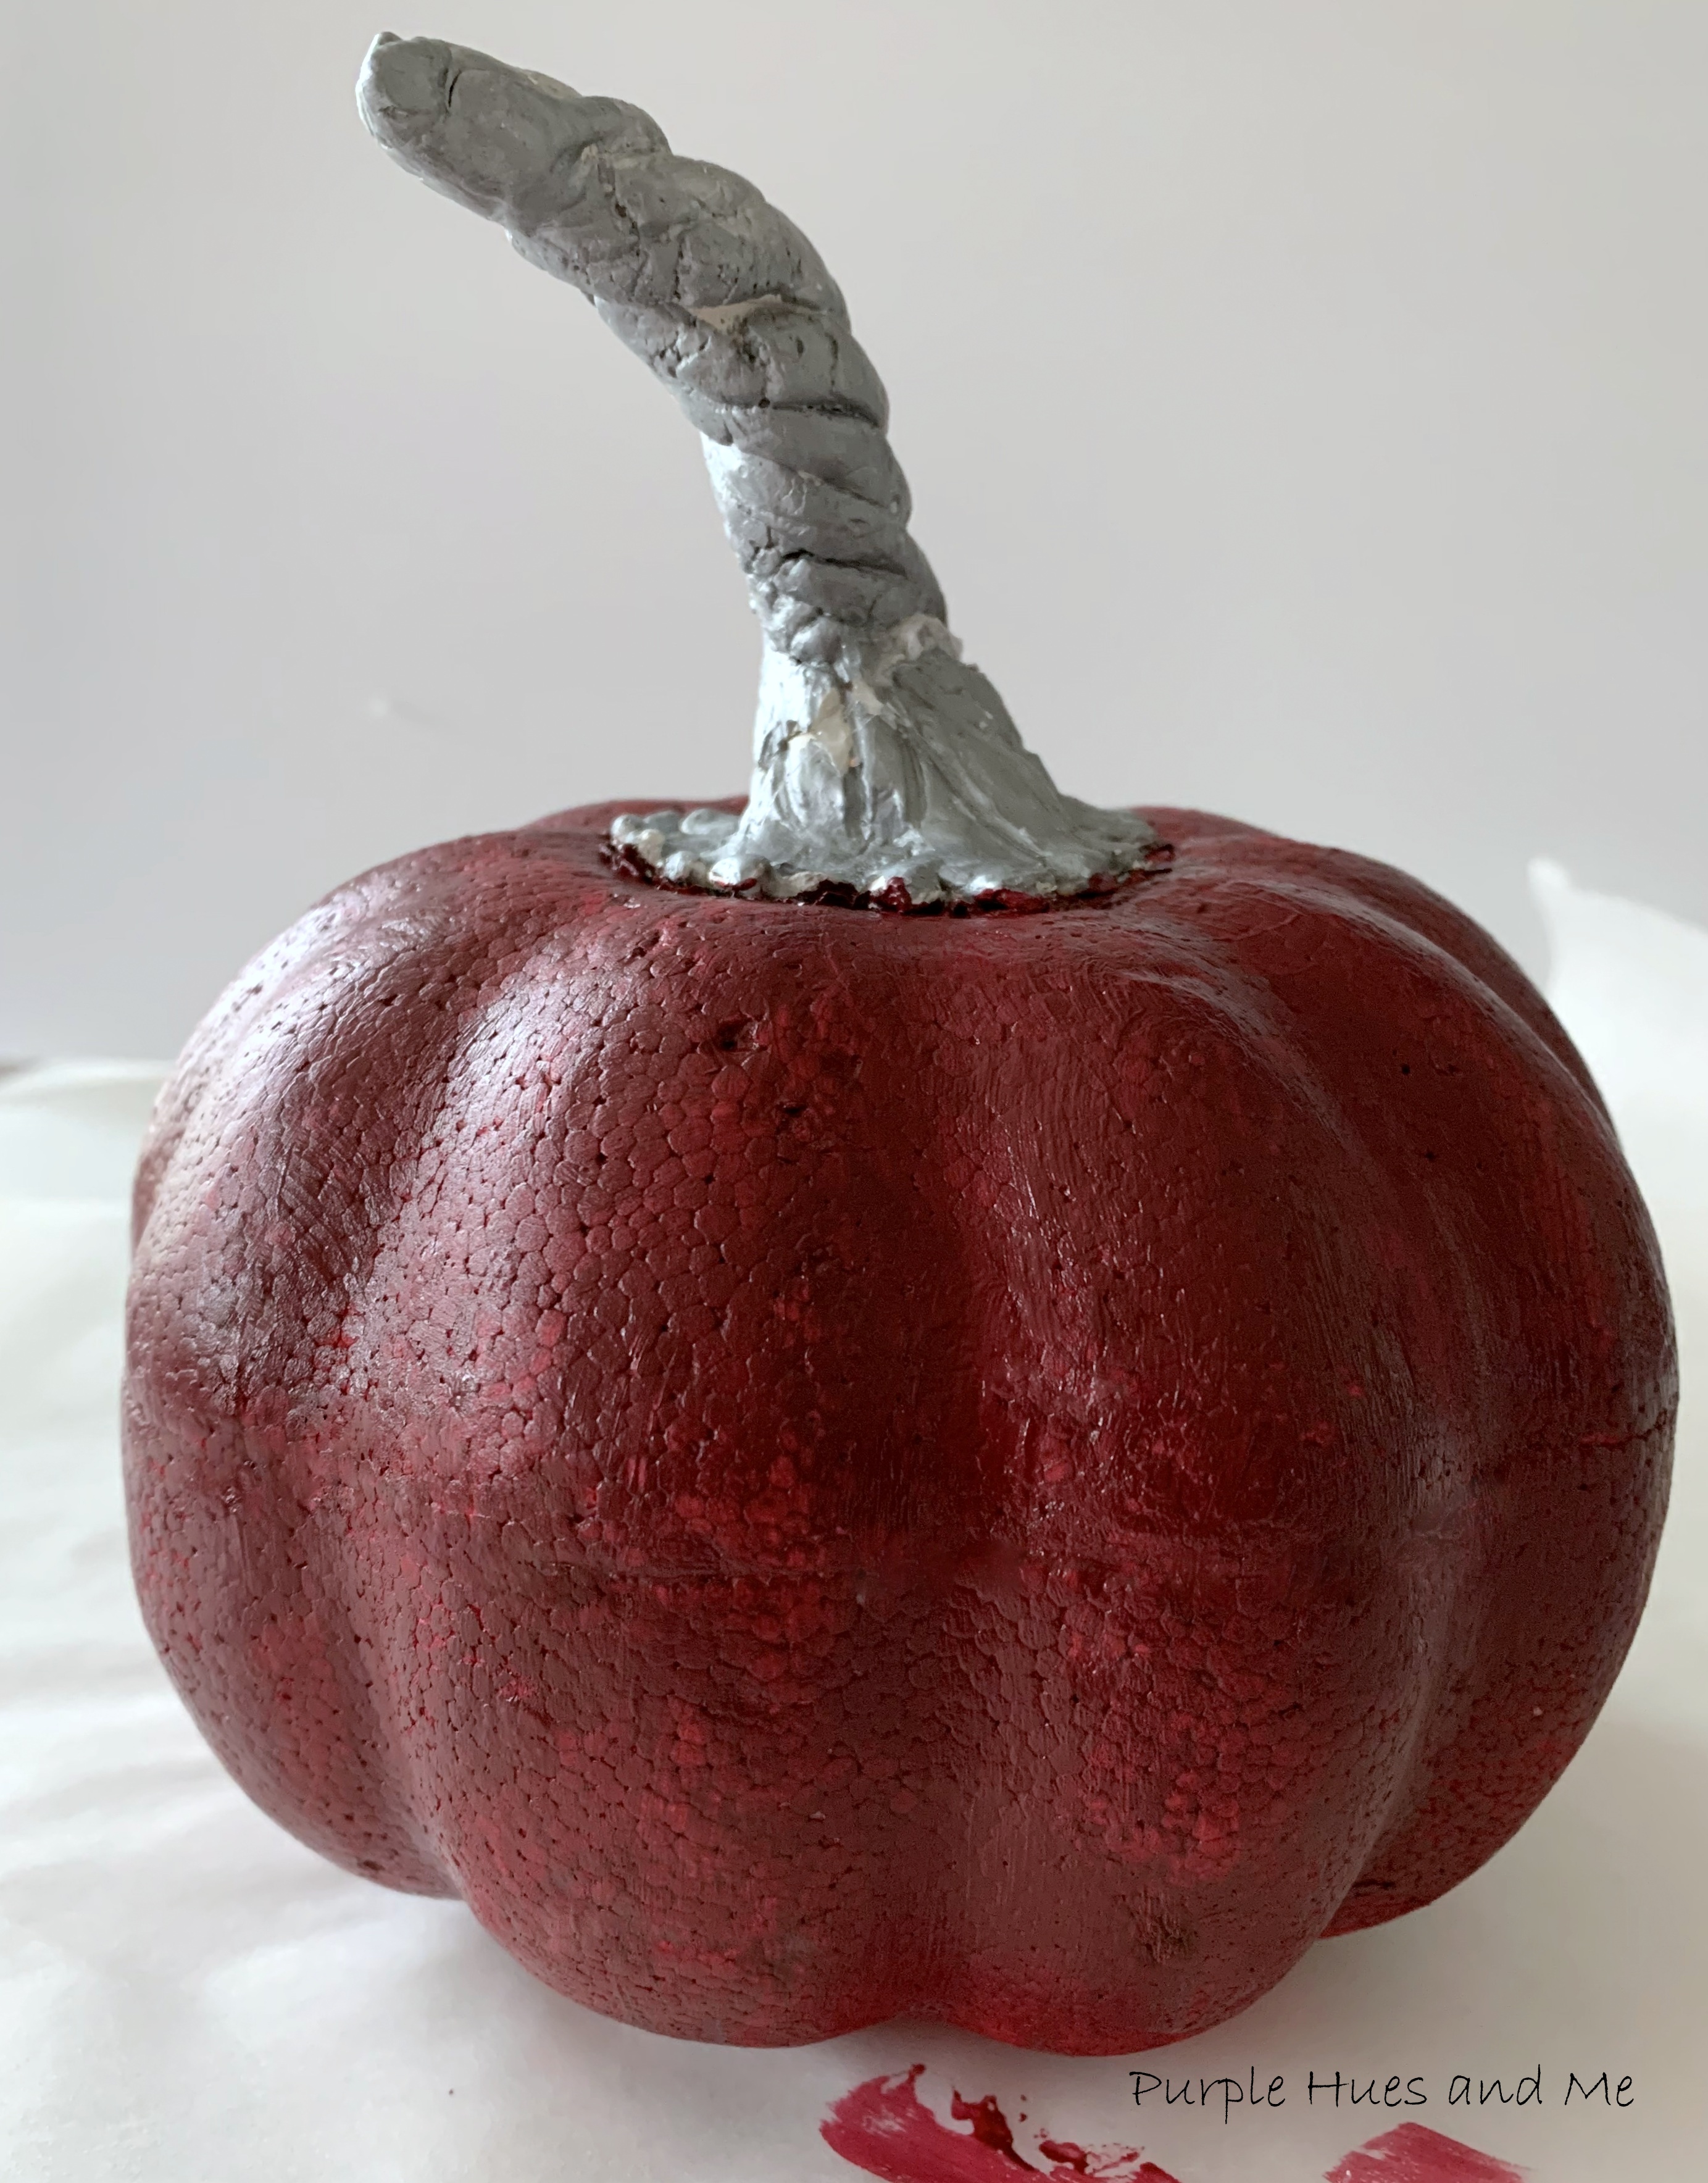
But wait! Look at that stem! Mercy me! It didn't look good - at all!!! But what was I going to do?

Monday, October 12, 2020

Glass Cutting Board Fall Update

Fall is here and Thanksgiving is just around the corner.  Things are so different this year as we deal with the covid pandemic and its' affect on everyone! Most of us are sheltering in place and practicing social distancing. I'm so thankful for my crafting opportunities and social media families right now to help keep me busy! 

Today, I'm joining a group of talented bloggers to bring you this awesome Fall Crafts & Decor Blog Hop! 
For this blog hop I'm sharing how to update a glass cutting board I got from the Dollar Tree. This is a fun and easy craft to make and I think you will captivate your family and friends with a new and interesting design if you do make one! And the best part, you can make this for Fall or any season for that matter and also for holidays, special occasions and even for everyday use just by switching up the napkin and background patterns.  As with most of my projects, I'm concentrating more than ever on making and sharing crafts that anyone can do and are inexpensive to make. 

Let's begin by gathering the supplies you will need:
  • Glass cutting board - Round, 7.75" Dollar Tree
  • Napkin - Leaf shape, Wegmans
  • Plaid paper design
  • Mod Podge - Matte finish
  • DAP RapidFuse - clear multi-purpose adhesive
  • Scissors, scraper blade, acetone(nail polish), paper towel, plastic baggy  

Look how cool and unique these napkins are! I found them at Wegmans in the home entertaining section of the store! They carry the best seasonal items for the home!
Let's begin by removing the silicone feet from the back of the glass cutting board using a razor scraper. 
Then use 100% acetone (nail polish) on a paper towel to remove the stickiness that was left.  You can also use rubbing alcohol, but that's hard to find right now.  And then wash the board with liquid detergent to remove any residue, dirt and grime from the glass and let dry. 
While the glass cutting board is drying, cut one of the leaf patterns from the napkin following the outline. Then separate the plain white layers from the printed leaf design.
Next, apply a thin coat of Mod Podge to the facing of the leaf .  .  .
and lay it on the center back side of the glass cutting board, face down. 
Smooth out the napkin leaf using a plastic baggy.
And then let it dry. 
I found a free pretty plaid design online to compliment the leaf colors. Plaid is quite trendy right now, and has become a favorite all time style that works with just about any home decor theme - from traditional, to farmhouse, to modern. I copied the plaid pattern and enlarged it in Word and printed it out on regular printer paper. But you can also use a scrapbook or paper stock pattern, too. 
Next, apply a layer of dish washer safe Mod Podge to the plaid paper and .  .  .
center the paper on the leaf glass cutting board .  .  .
smoothing the paper out along the entire back and let dry. 

Once dry, cut off the excess paper around the glass cutting board.
After applying a few more coats of Mod Podge and letting it dry completely, attached the silicone feet using a clear multi-purpose glue, to complete the look.

Still perfect for slicing, and dicing - and for any decorative purposes, too!

Be sure to check out all the hosts' fall craft projects listed below:

Across the Blvd

You are invited to the Inlinkz link party!

Click here to enter