Breathe new life into a discarded candle lantern by changing the finish and giving the handle a brand-new macrame look! For this project, I'm using Krylon's Stone Coarse Texture spray paint in a charcoal sand color and something called S'getti String in silver sparkle. It's a round, hollow tube made from PVC plastic. This cord is used to make crafts such as key fobs, lanyards, jewelry, and other accessories and is perfect to macrame on a handle.
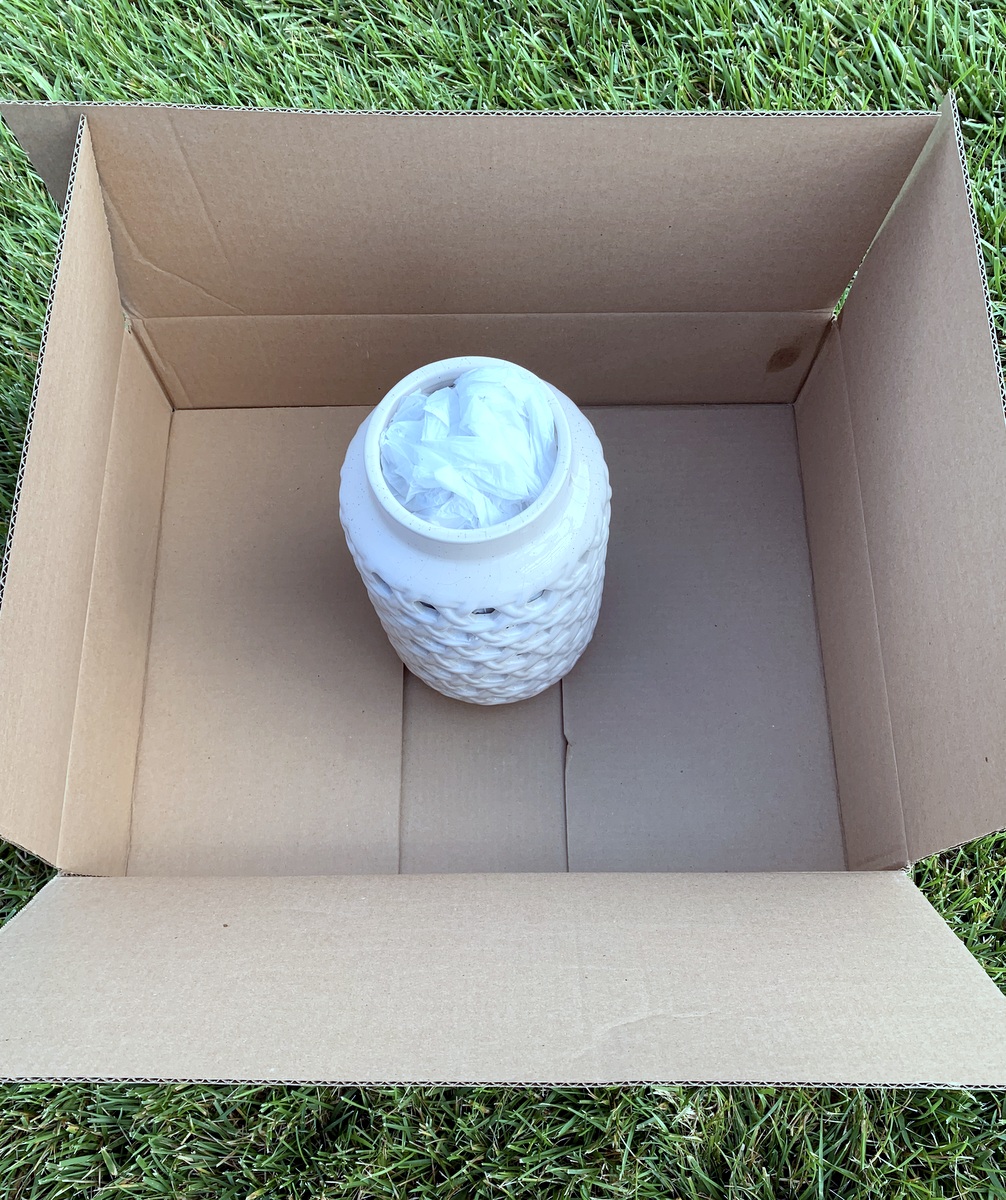
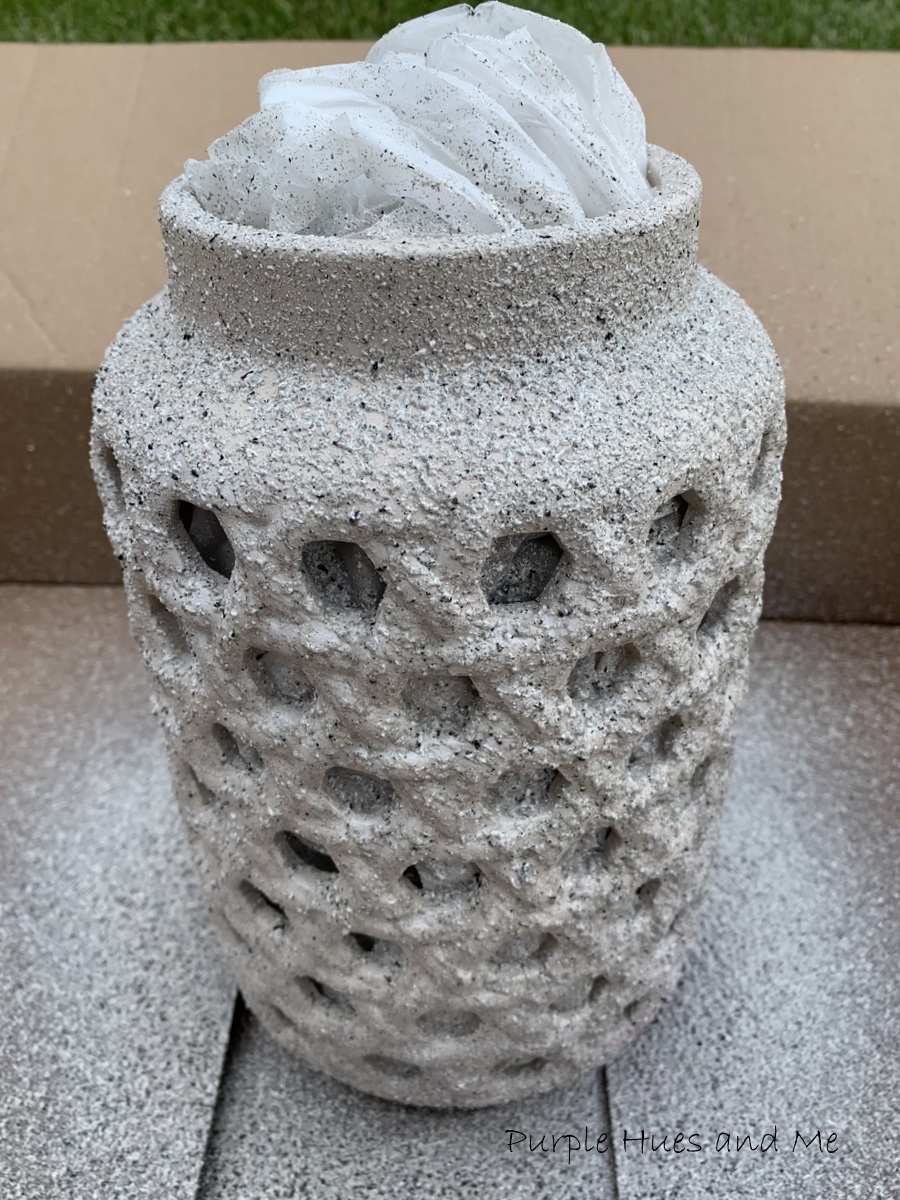
I rescued this candle lantern among other things from my neighbor's moving pile of trash! You can clearly see the fibers on the handle are dry rotted and the ceramic finish looks cracked in places. Other than that the candle lantern is in pretty good shape -especially after a really good cleaning!I remove the handle before cleaning and once the lantern was completely dry, stuffed the interior with a plastic bag stuffed with newspaper to prevent the textured paint from getting on the finish inside which was in good condition.Then placed the lantern in a cardboard box outside to spray paint.The directions on the can said to wait 15 minutes between coats and dries in 30 minutes and can be handled in 5-6 hours. No way was that true for me. I left the spray painted lantern outside in 90 degree weather for 3-4 hours before it was dry and then it was still quite tacky. And I put it inside overnight before handling the next day, too.
Drying upside down.
To macrame the handle, I had to pull off the woven rotted fibers from the wire which was in very good shape to reuse.
And then painted the wire handle a very light metallic gray to match the color of the cord. (not shown)
The next step is to determine how much cording is needed to macrame the wire handle. Since I had already macrame a wire pumpkin, I went with the measurements I use there. That is: find the length of the handle and to multiply 4-6 times the length of the handle, and then double that amount. So from end to end of the handle, the lenght was rounded off to 20 inches. Multiply that by "5" = 100 and double that - 200 inches. Since the cord was rather thin, I used two, 200" length of cords.
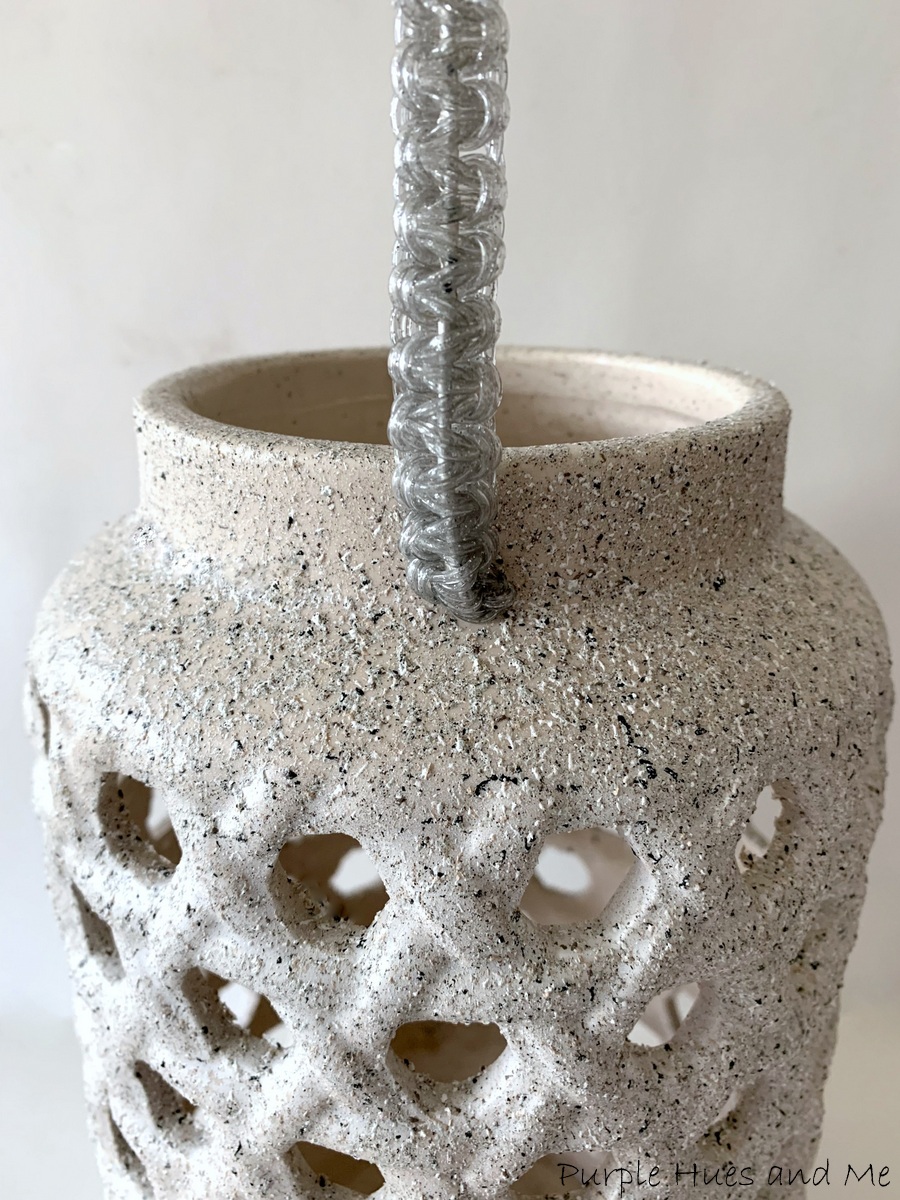
For this handle, we will be making a square knot using the two folded cords as one cord. Begin by folding the two cords in half and placing the middle of the folded cord at the curve of one of the end hooks. Then tie the cords in a simple knot around the wire and push it at the curve near the end.
Next, pick up the left cord and make an "L" shape across the wire and under the right cord.
Then take the right cord under the wire and over the left cord (L shape) and out.
Pull the right and left cords tight with the wire in the center to complete the first half knot.
Then mirror the process working with the opposite side cords, creating a backward "L" shape across the wire and under the left cord. Then take the left cord under the wire and over the right cord and out pulling cords tight.
 Continue tying the square knot along the wire handle until reaching the end.
Once you reach the end, tie cords in a double knot, cutting off excess cords. and securing ends with a quick drying multipurpose glue. Then push the cords together to expose the hooks and attach to lantern.
The stone finish and macrame handle gives the perfect finishing touch to a worn out look.
Perfect for anywhere outside - patio, porch or backyard! Anywhere that needs an extra outdoor glow..
Light your patio or outdoor space and create a charming unique piece of decorative lighting. Simple add an LED remote control light inside this lantern and watch it illuminate throughout the openings all around.
I hope you enjoyed how I updated a discarded candle lantern that was destined for the trash into a beautifully stone finish with a macrame handle! Created especially for this month's Old to New Challenge Blog Hop! I've joined a group of creative bloggers to bring you a themed monthly challenge blog hop on the 2nd Monday of each month, hosted by Beverly @Across the Blvd. Meet this month's Co-Hosts: and their awesome projects:
Be sure to click below to see the Creative Ideas from the co-hosts!


.png)


