Showing posts with label Sustainable Pinterest Challenge. Show all posts

Tuesday, December 6, 2022

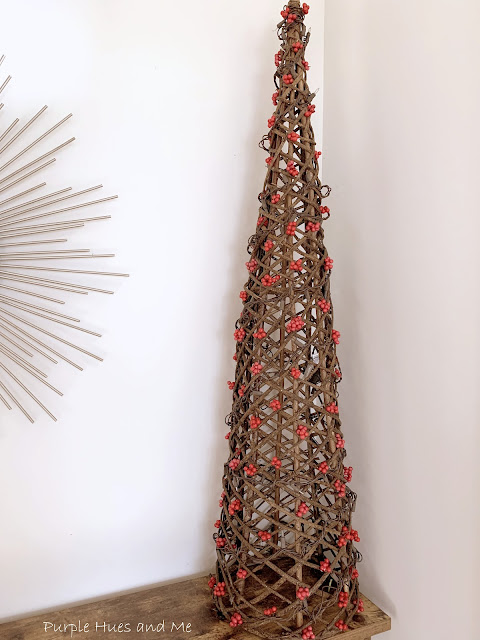
Natural Woven Tree with Berries


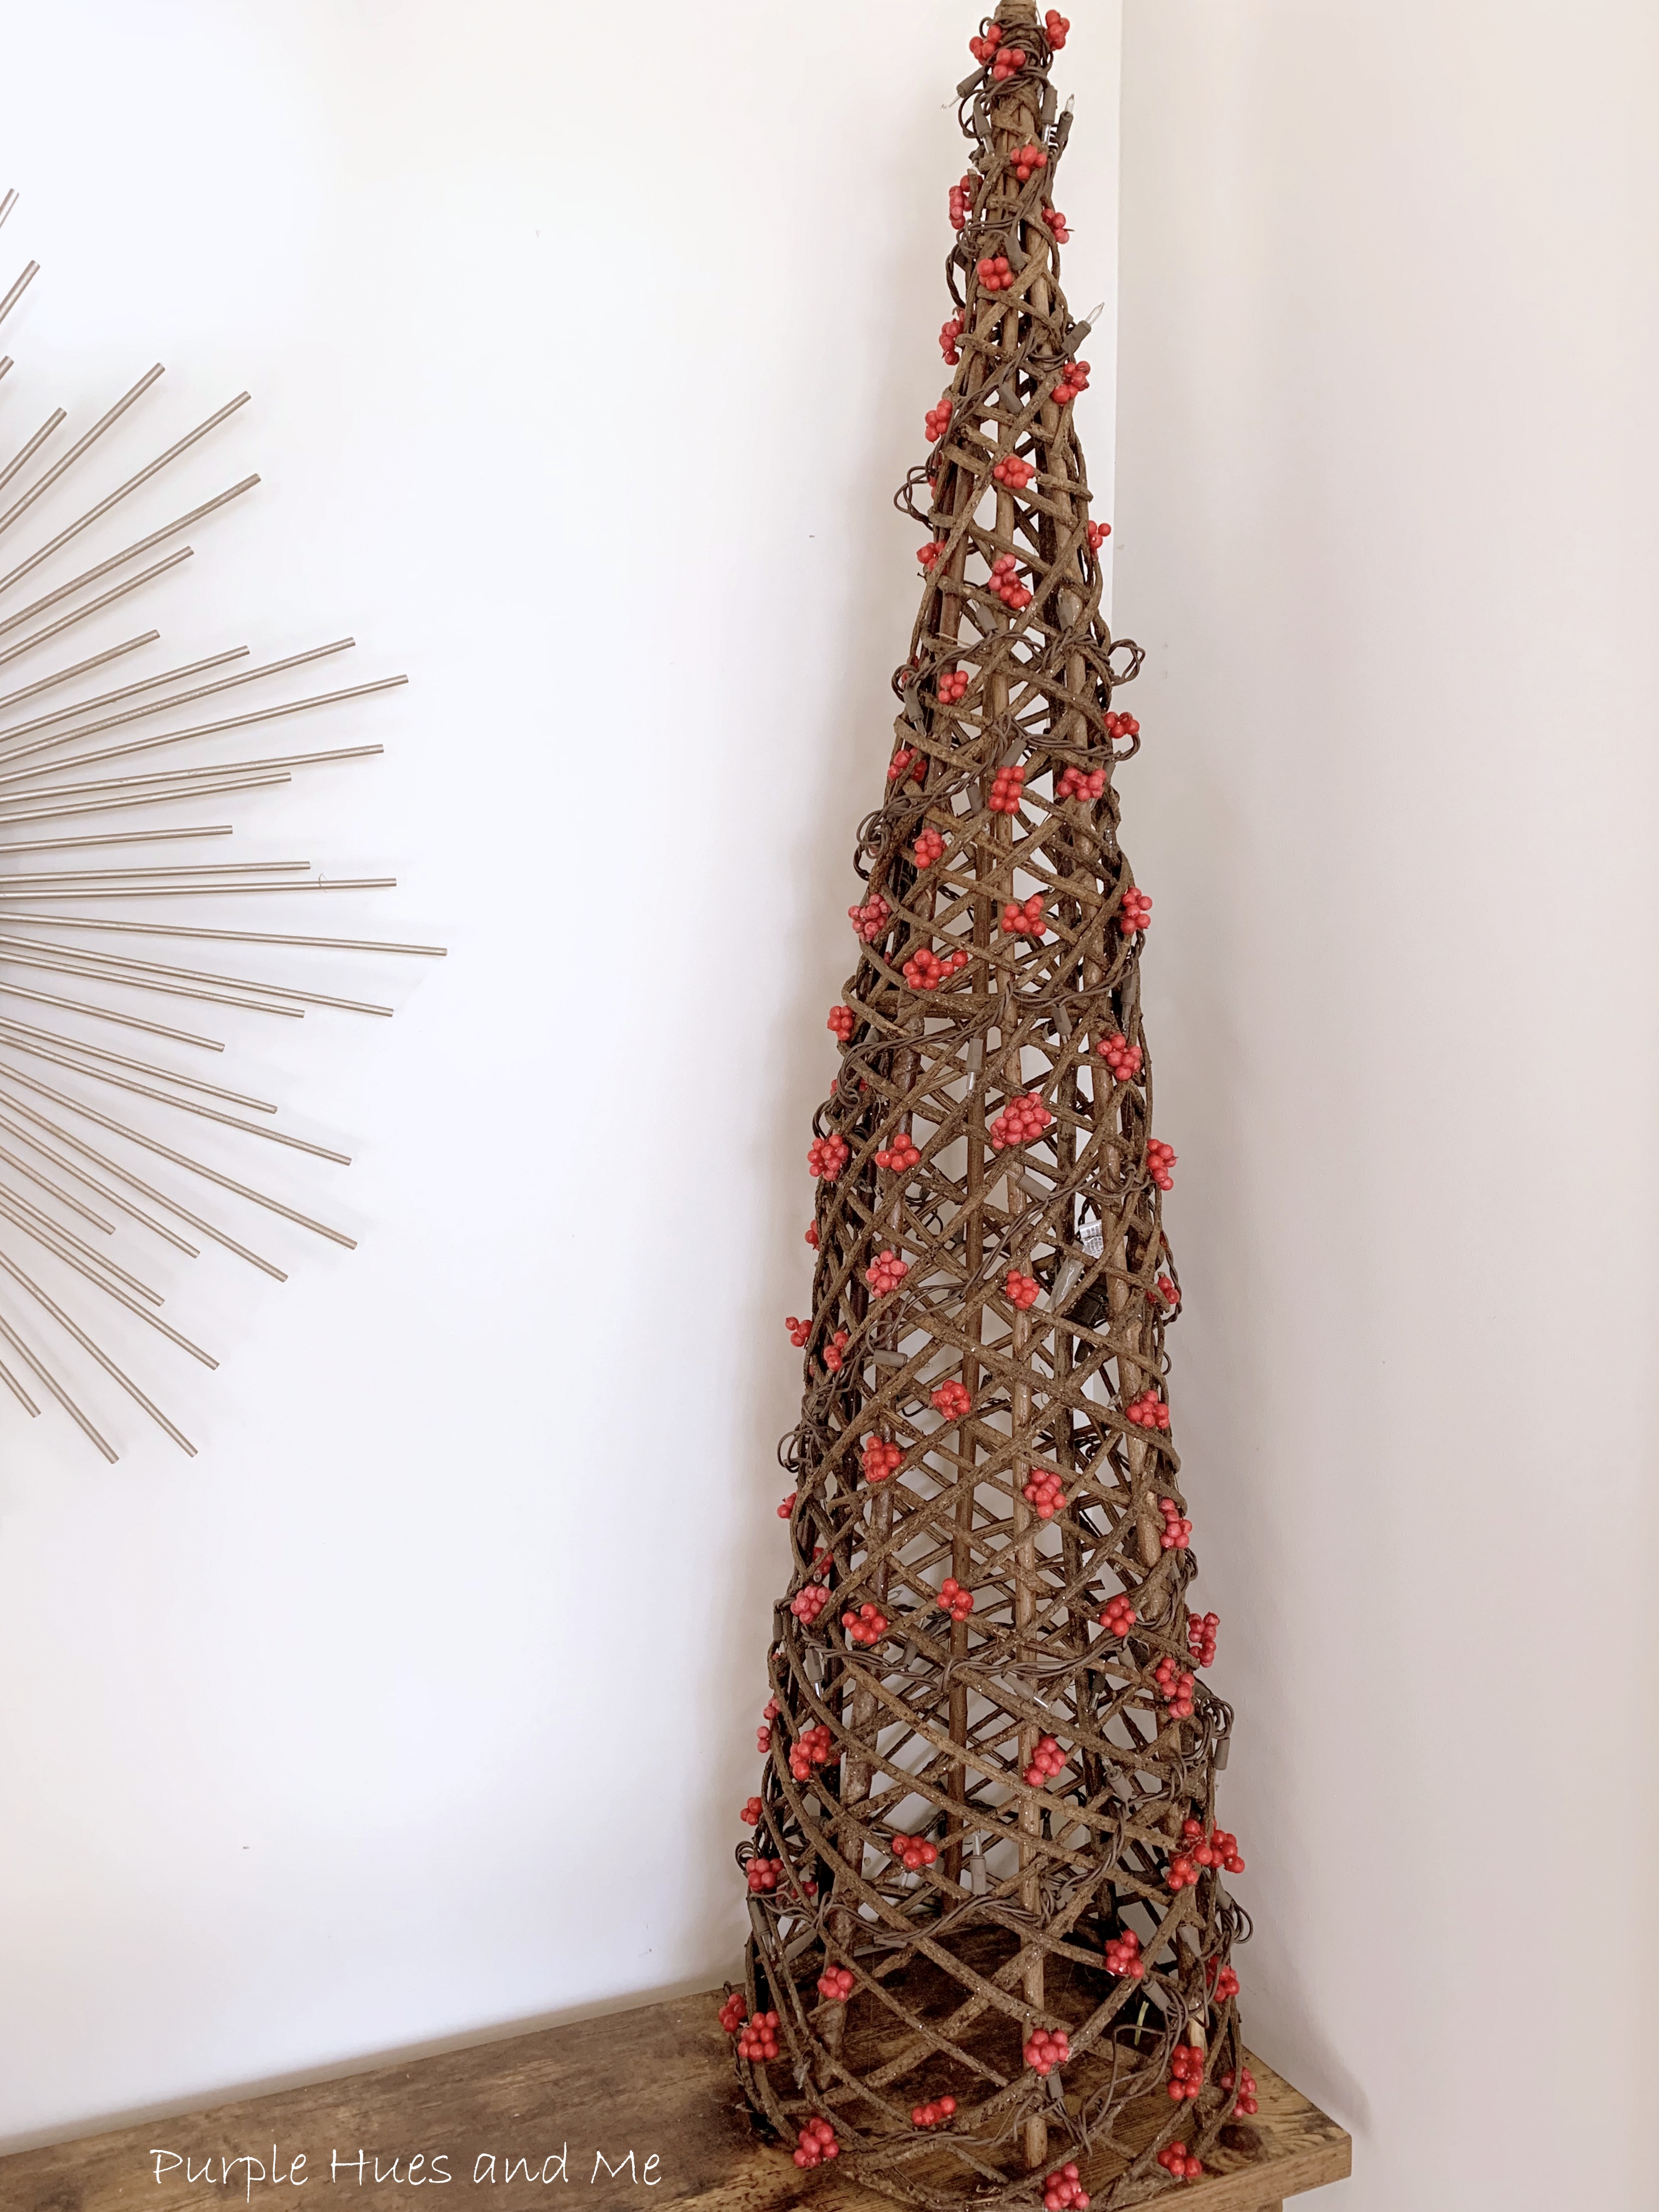
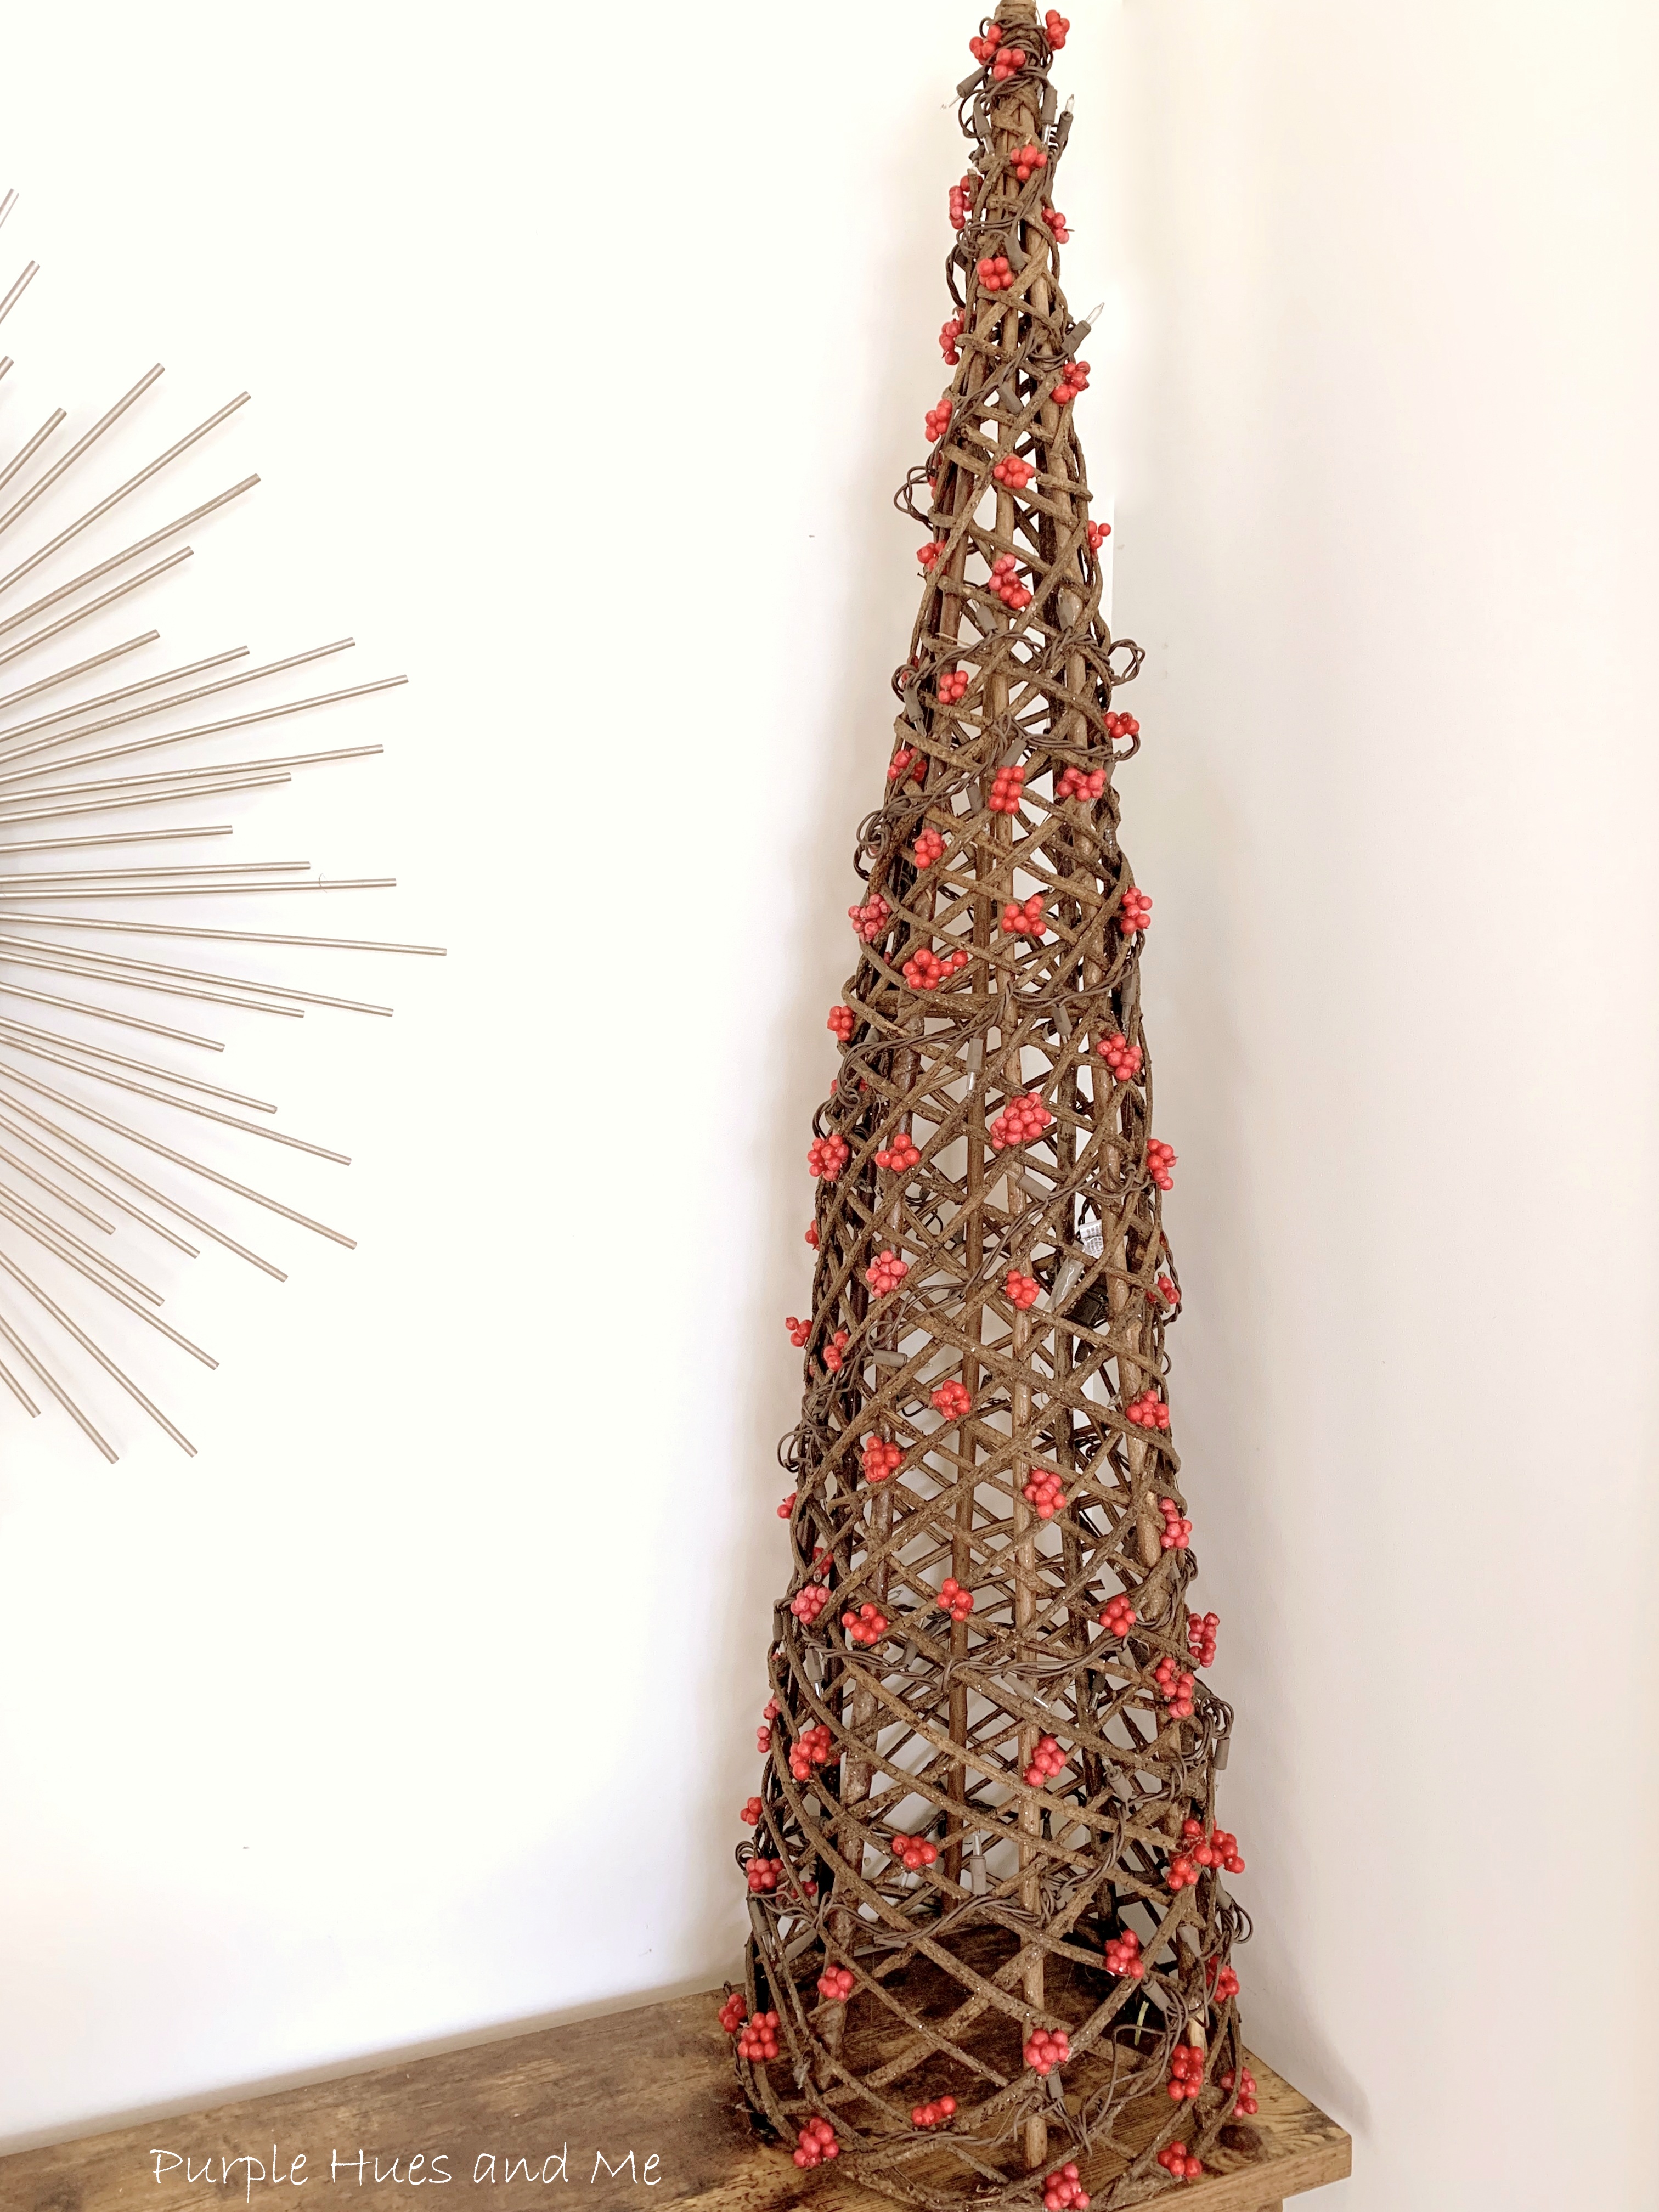
It's been there all along! Yes, this natural woven tree has been tucked away in my garage for at least seven years. Oh my! I was drawn to it in a thrift store and couldn't resist the price of  six dollars for a handmade woven grapevines and limbs to weave an intricate pattern into a cone tree over four feet tall! Amazing! But, as the Christmas seasons rolled around year after year, I would look at it and just wonder how could I possibly decorate it? It was so rustic! So, I would cover it up or push it aside and move on .  .  . until this year! 

Now, I belong to a monthly Sustainable Pinterest Challenge Group hosted by Julie @Sum of Their Stories. The theme for December is Winter - which can include quite a bit of ideasThe purpose of this Pinterest Challenge is to motivate all of us to create a project that a) is inspired by a pin on one of our Pinterest boards and b) have some sort of a sustainable element to it. This could be an upcycling or recycling element, or something that reduces waste, uses leftovers, etc. The problem I had was most handmade grapevine trees on Pinterest were quite small with the grapevines wrapped around a wire frame in a circular pattern like this pin. But then this pin mimics natural elements in a whopping size of eight feet, and even mentions sustainability and organic charm, I guess because it was handmade out of iron.

And this pin came very close to actually handcrafting a naturally woven tree but the link went nowhere. Nevertheless, I was inspired to do something with my woven tree for the holidays based on the pins I found!

Julie | Sum of their Stories
Gail | Purple Hues and Me
Julie | Treasures Made From Yarn
T’onna | Sew Crafty Crochet
Niki | Life as a LEO Wife
Mel | Decor Craft Design
Allyson | Southern Sunflowers

So, I'm finally hauling this awesome handmade woven cone tree out of hiding, oh I mean, storage and sharing how I decorated it using natural elements I found in my backyard!

After doing a bit of research on types of grapevines, I believe this tree is woven using muscadine grapevines. They are known to get quite chunky and thick with woody, stalky vines. And they are one of the strongest vines grown in the wild. Just take a look up close to see how thick these vines are.


In my neighborhood, those of us living on the north side of my street have an open hilly berm surrounding our backyards and it's filled with lots of pine trees with pinecones, ornamental grasses, and pretty plants like this Nanina bush which has  lovely but poisonous red heavenly bamboo berries. Since I have no young children in my life or any visiting me, I decided to pick a few of these berries to decorate my woven tree.

                  
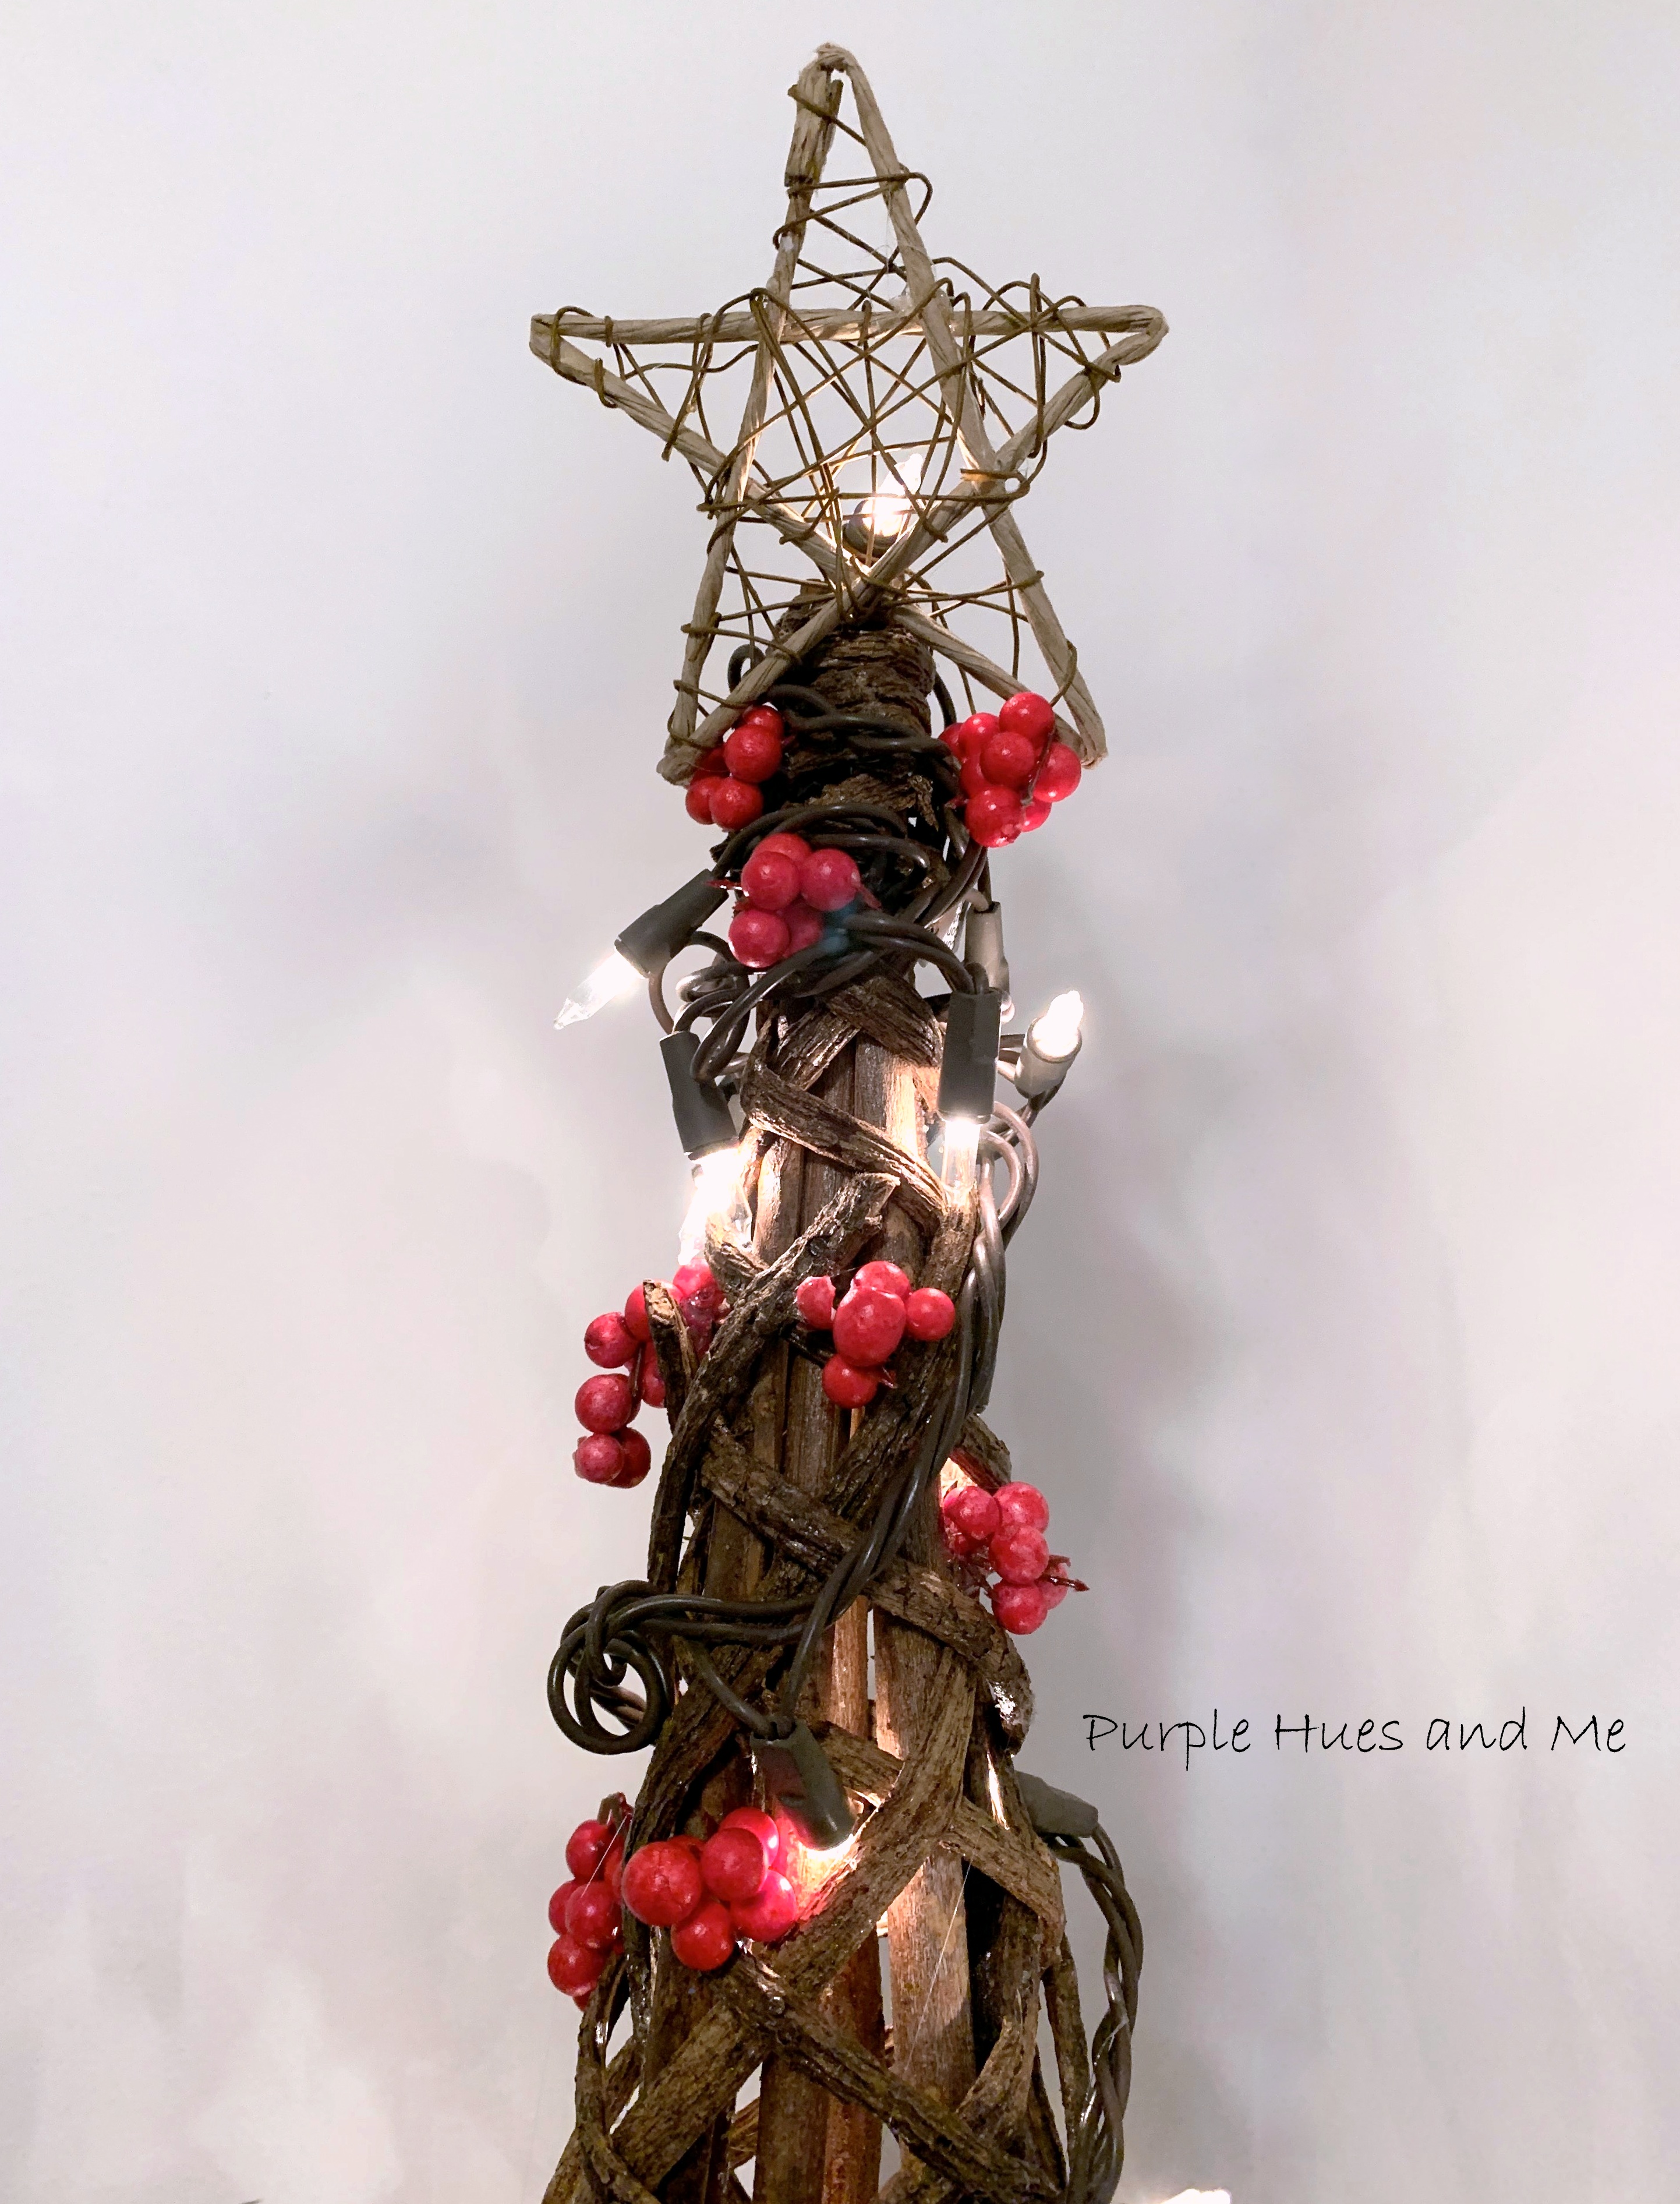
After wrapping the tree with brown wired LED lights, I randomly tucked groups of berries .  .  .
around the tree, starting at the top.

Adding a natural touch to a holiday decorative piece.


It really looks cool sparkling with lights!

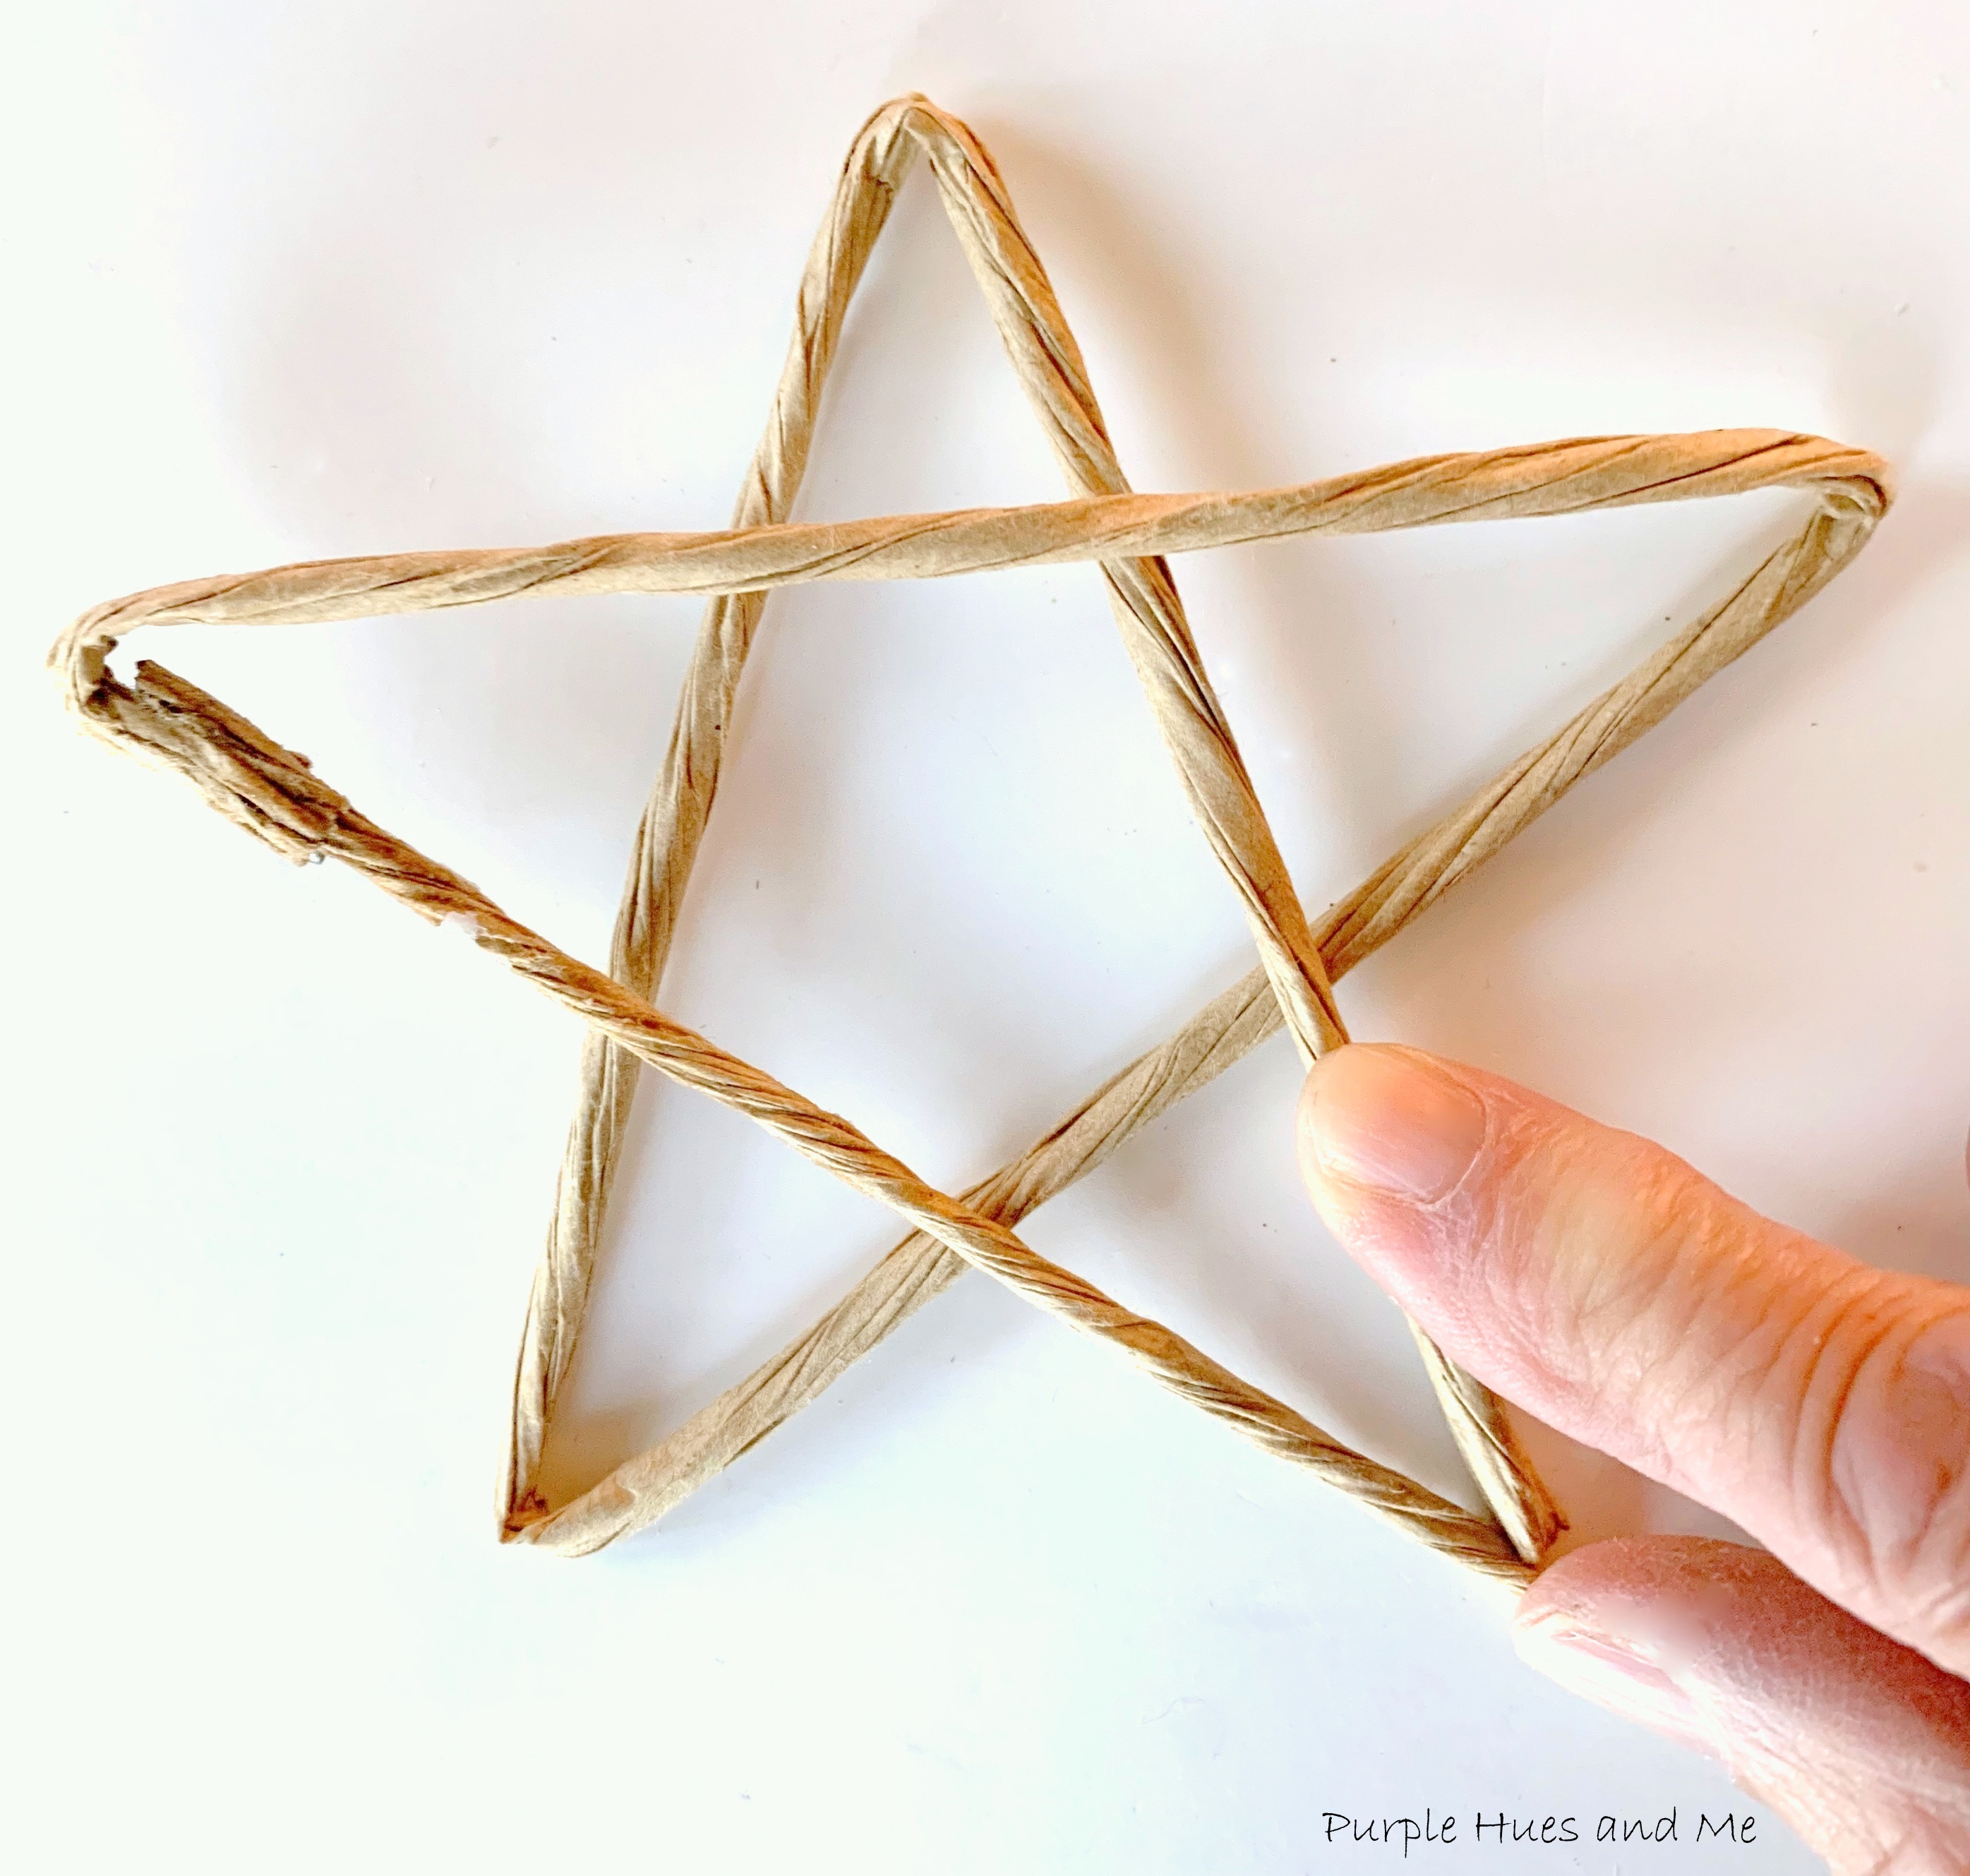
This looks great but then it needed a star on the top! I've made recycled newspaper woven stars before, but time was not on my side, so I had to come up with a simple to make star. One made out of paper stem wire folded into the shape of a star with stem wire wrapped around it.

How to Make a Star:
Glue together the ends of two paper stem wires (18") using a quick grab all purpose adhesive (RapidFuse) and let dry. Once dry, measure the extended stem  4.5 inches and fold into a upside down "V."
Then measure another four and a half inches and fold another "V" shape.

Continue folding the stem wire at four and a half inches to form five "V" shapes -
shaping the stem wire .  .  .
into a star - cutting off excess wire and gluing the ends together. Place a drop of glue underneath where the stem wires cross to seal together.

Then wrap plain stem wire around  the star .  .  .

varying the direction .  .  .
until satisfied with the look.
Then attach star to the top of the woven tree .  .  .
to complete the lovely look!
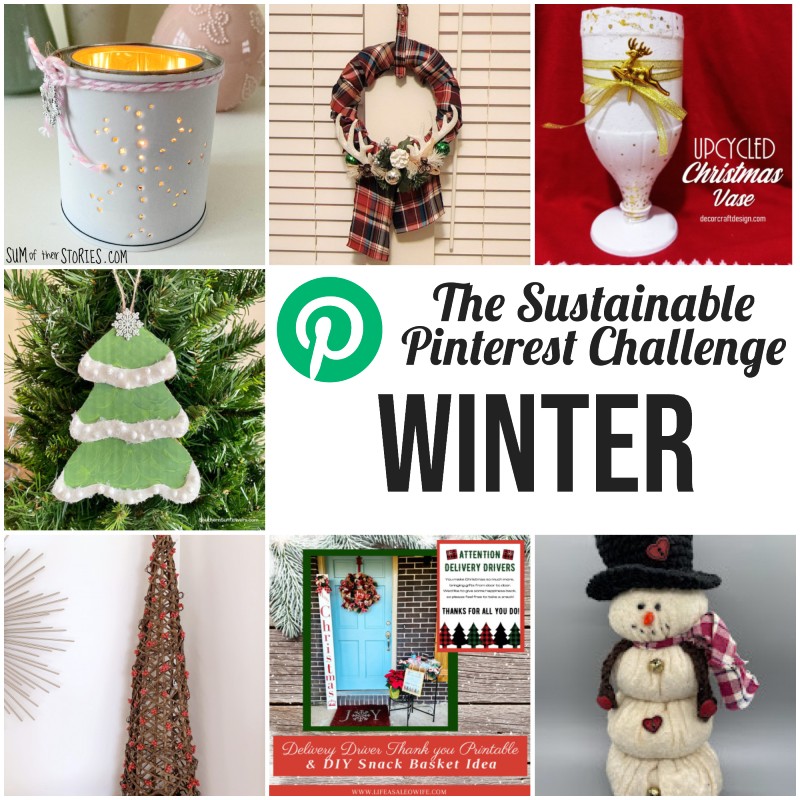
Now, it's time to meet the other Sustainable Pinterest Challenge participants and their awesome Winter projects:
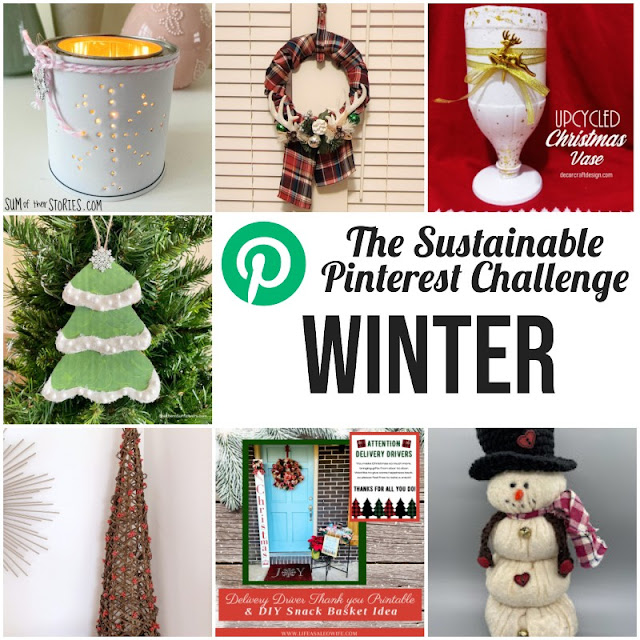
DIY Punched Tin Lantern Upcycle
Free Printable Thank you & DIY Snack Basket for Christmas Delivery Drivers
Cardboard Ornament Craft Idea
Upcycled Christmas Vase
Upcycled Plaid Scarf Wreath
Snowman
Natural Woven Tree with Berries

You are invited to the Inlinkz link party!

Click here to enter


Tuesday, October 4, 2022

DIY Zero Waste Wool Dryer Balls


Are you annoyed when you want to dry laundry and have to place one of those single-use dryer sheets in the dryer to help make the fabrics softer and to prevent static cling? I know I am! In fact, I really dislike the fragrance of those dryer sheets, too! And thanks to this month's Zero Waste Pinterest Challenge, I've discovered a way to eliminate all of that by creating my very own wool dryer balls! There's no need to buy dryer sheets or fabric softeners again! While perusing through Pinterest, I discovered a pin about how to use wool dryer balls for a zero waste laundry routine! Once I read that article, I found a great tutorial on making wool dryer balls on Pinterest, too!  

 Welcome to our Sustainable Pinterest Challenge Blog Hop hosted by Julie @Sum of Their StoriesThe purpose of this Pinterest Challenge is to motivate all of us to create a project that a) is inspired by a pin on one of our Pinterest boards and b) have some sort of a sustainable element to it. This could be an upcycling or recycling element, or something that reduces waste, uses leftovers, etc.


There are many zero waste reasons why we should be making our own dryer balls. First off, store bought dryer sheets and fabric softeners are filled with harmful chemicals and perfumes that get in your clothing and on your skin and can be harsh on sensitive skin. Wood dryer balls contain no harsh chemicals. Second, dryer sheets are used only once whereas wool dryer balls can be re-used for months and or years, saving lots of money! Third, wool dryer balls helps to pull moisture out of our clothes so we won't have to run the dryer as long - which saves energy costs. Plus, the more wool dryer balls there are in a load, the shorter the drying time will be. Wool dryer balls also helps to reduce static cling, too! A win, win all around!

Making your own wool dryer balls is quite easy and a great way to use up leftover  wool yarn! So let's get started with the .  .  .

Materials:

  • 100% wool yarn 
  • Old pantyhose or knee-high stockings
  • Scissors
  • Large eye needle
  • Washing machine/dryer
How to:
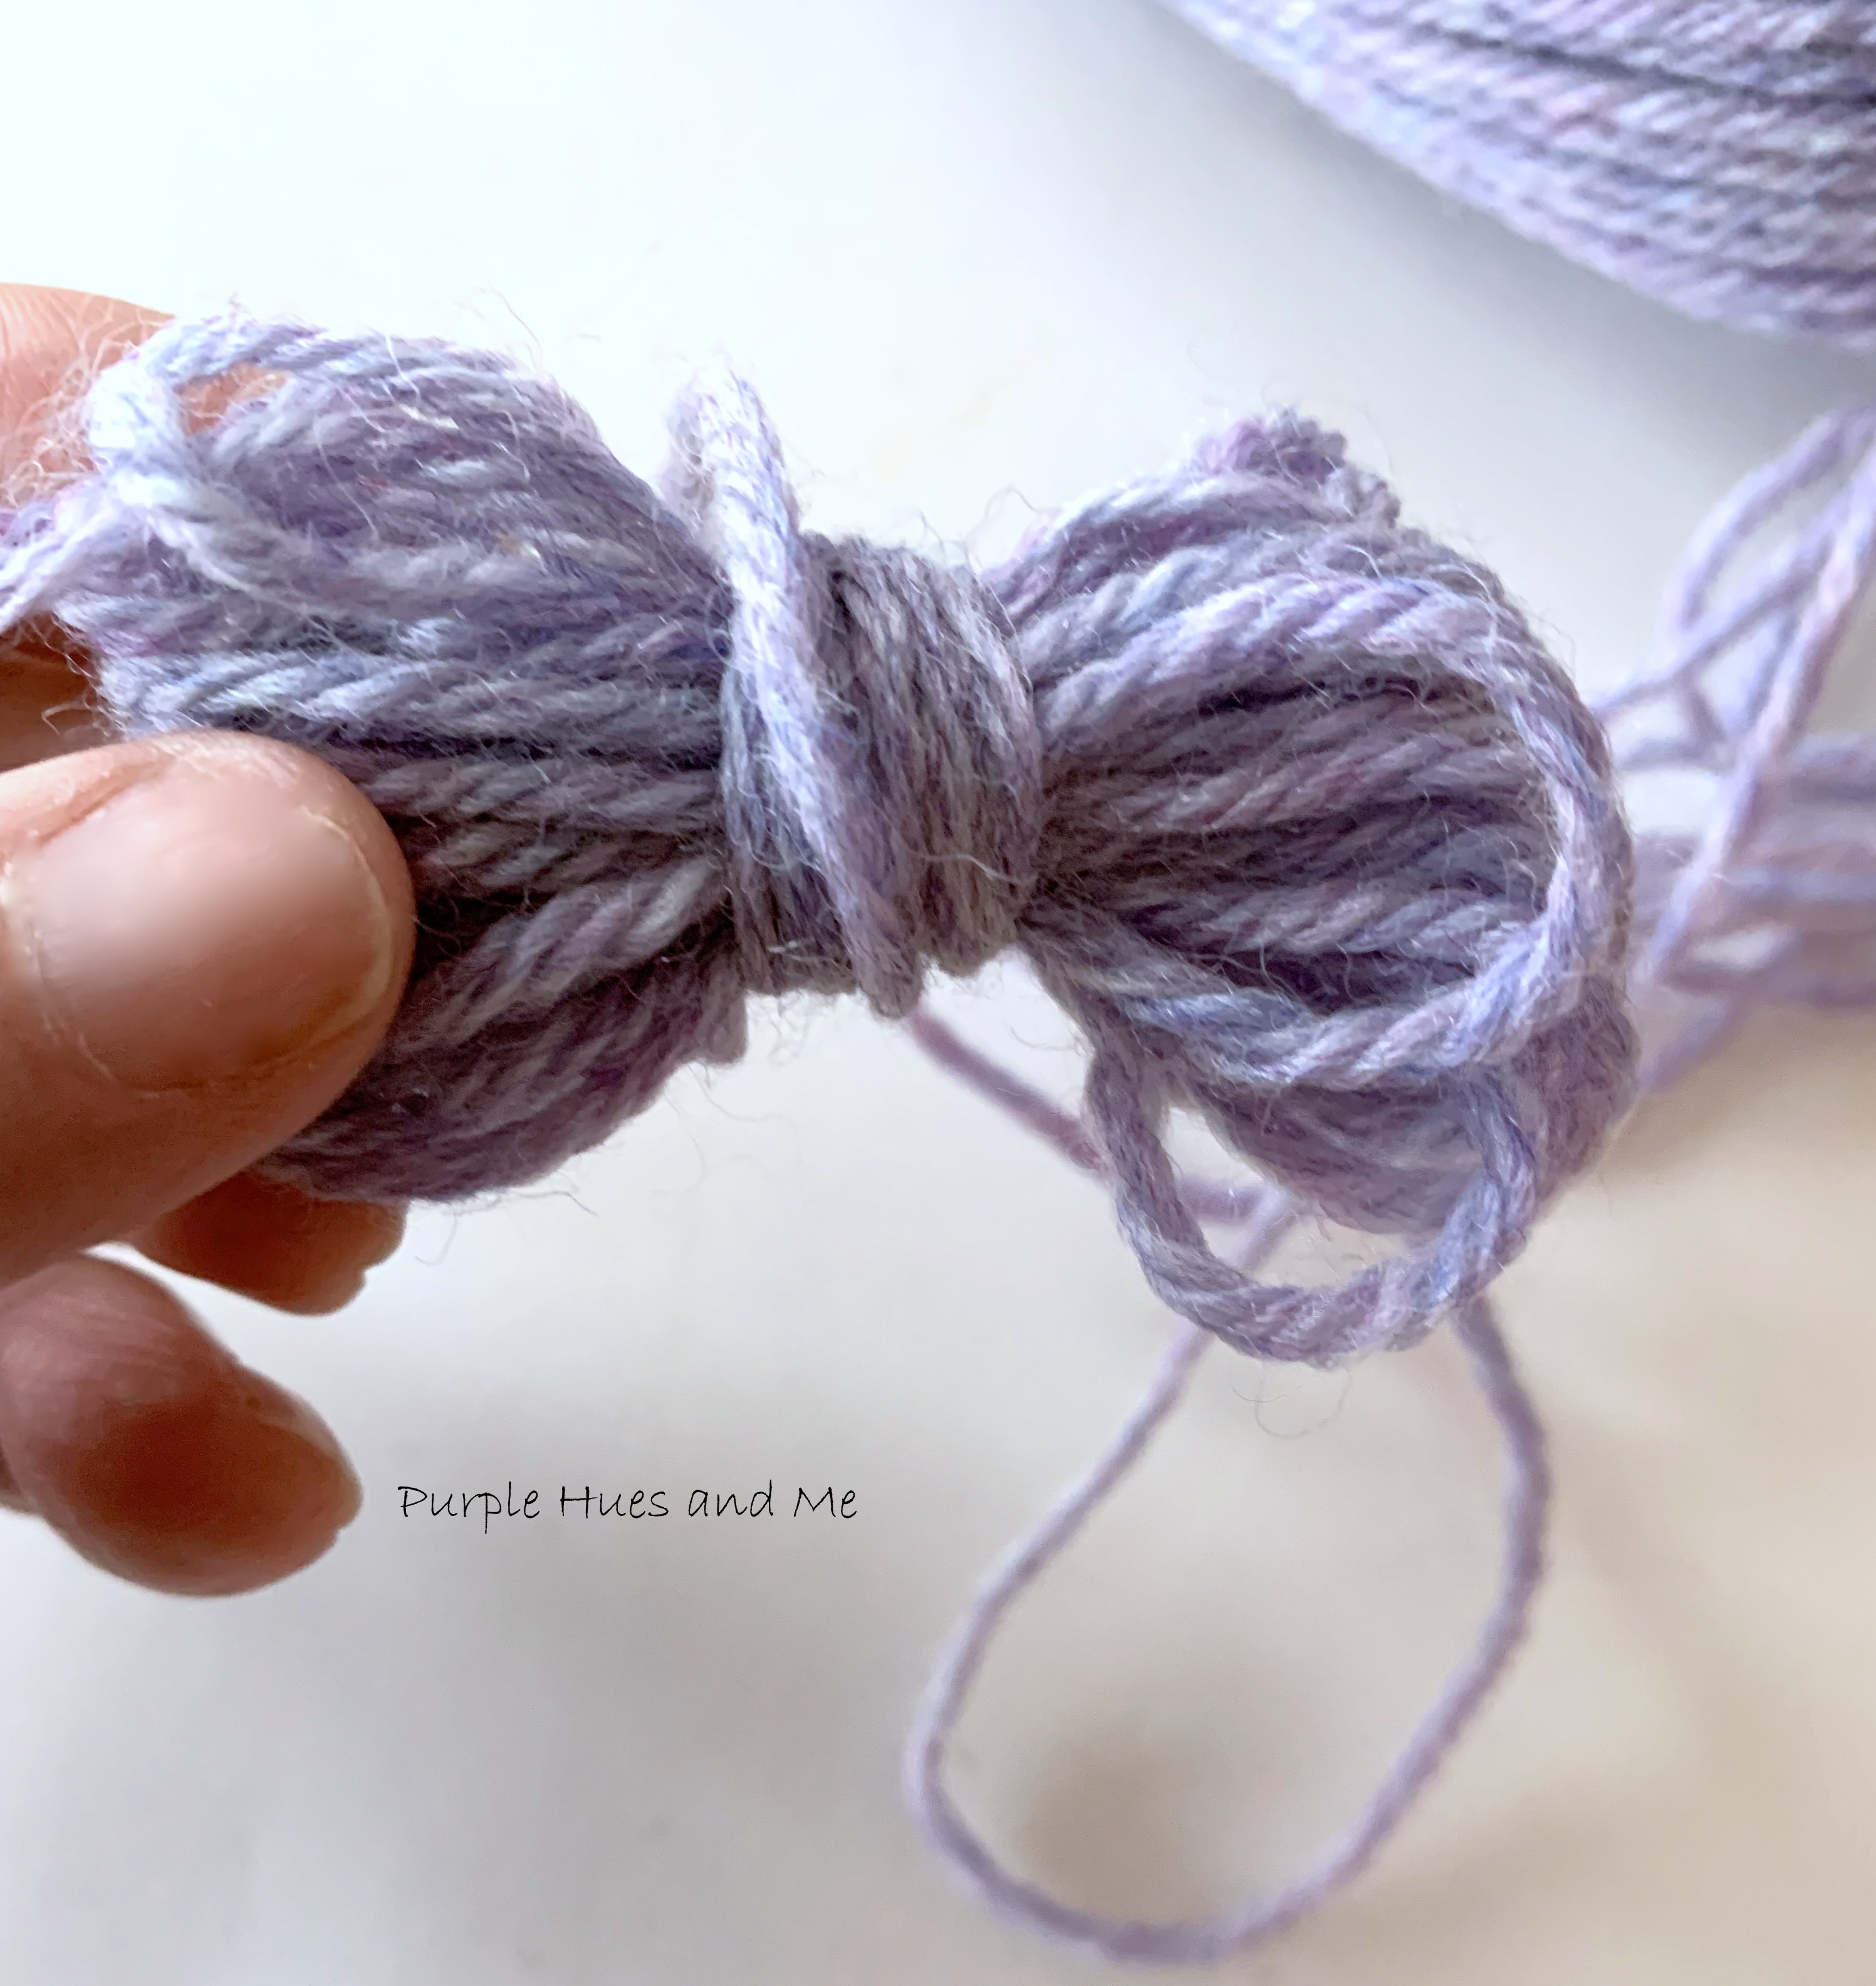
  • My mil loved to knit and crochet and was always giving me leftover yarn to go along with some of the wonderful creations she gifted me! She tried teaching me how to do both, but I could never really pick up the techniques. Luckily, I still have yarn in my stash that I can use for other projects. And for making wool dryer balls, the yarn must be 100% wool. If you use yarn that's not 100% wool, the balls will not felt correctly. They will unravel in the dryer and create a stringy mess. You certainly don't want that to happen.                       So take a skein of 100% wool yarn and begin wrapping the end around your fingers at least ten times. 
Then pinch the wrapped yarn in the middle and pull the bundle off your fingers,  wrapping more yarn around the middle of the bundle.
Continue wrapping the yarn tightly, moving the bundle around forming a ball .  .  .

until you've reached the desired size - around the size of a tennis ball. 
Once you've reached the desired size, cut off the excess yarn. Thread a large eyed needle with the end of the yarn on the ball .  .  .
tucking the needle through several layers of yarn and pulling it out leaving the end of yarn inside of ball. This is done to keep the yarn ball from unraveling.
After making a few more wool balls, cut off the leg of an old pair of pantyhose or use a knee-high stocking. 
Put the first ball in the foot of the pantyhose leg
tying a tight knot with the pantyhose to make sure the balls keep their round shape.
Continue adding a wool ball in the pantyhose leg, as close to the previous ball and tying in a knot until all the balls are secured in the pantyhose leg.
Throw all of the yarn balls into the washing machine along with a load of towels or other items that can withstand a hot water temperature. Wash on a hot wash cycle. And then dry in the dryer using the hottest drying setting.
Once dry, cut the nylon and remove the balls .  .  .
checking to make sure that the wool balls have felted (the wool yarn just melts together). If the balls haven't felted, you can place them in boiling water and run through the cycle again.
Lightly scent your laundry by adding 2-3 drops of your favorite essential oil to each ball. I love the smell of sandalwood and added a few drops to the balls.
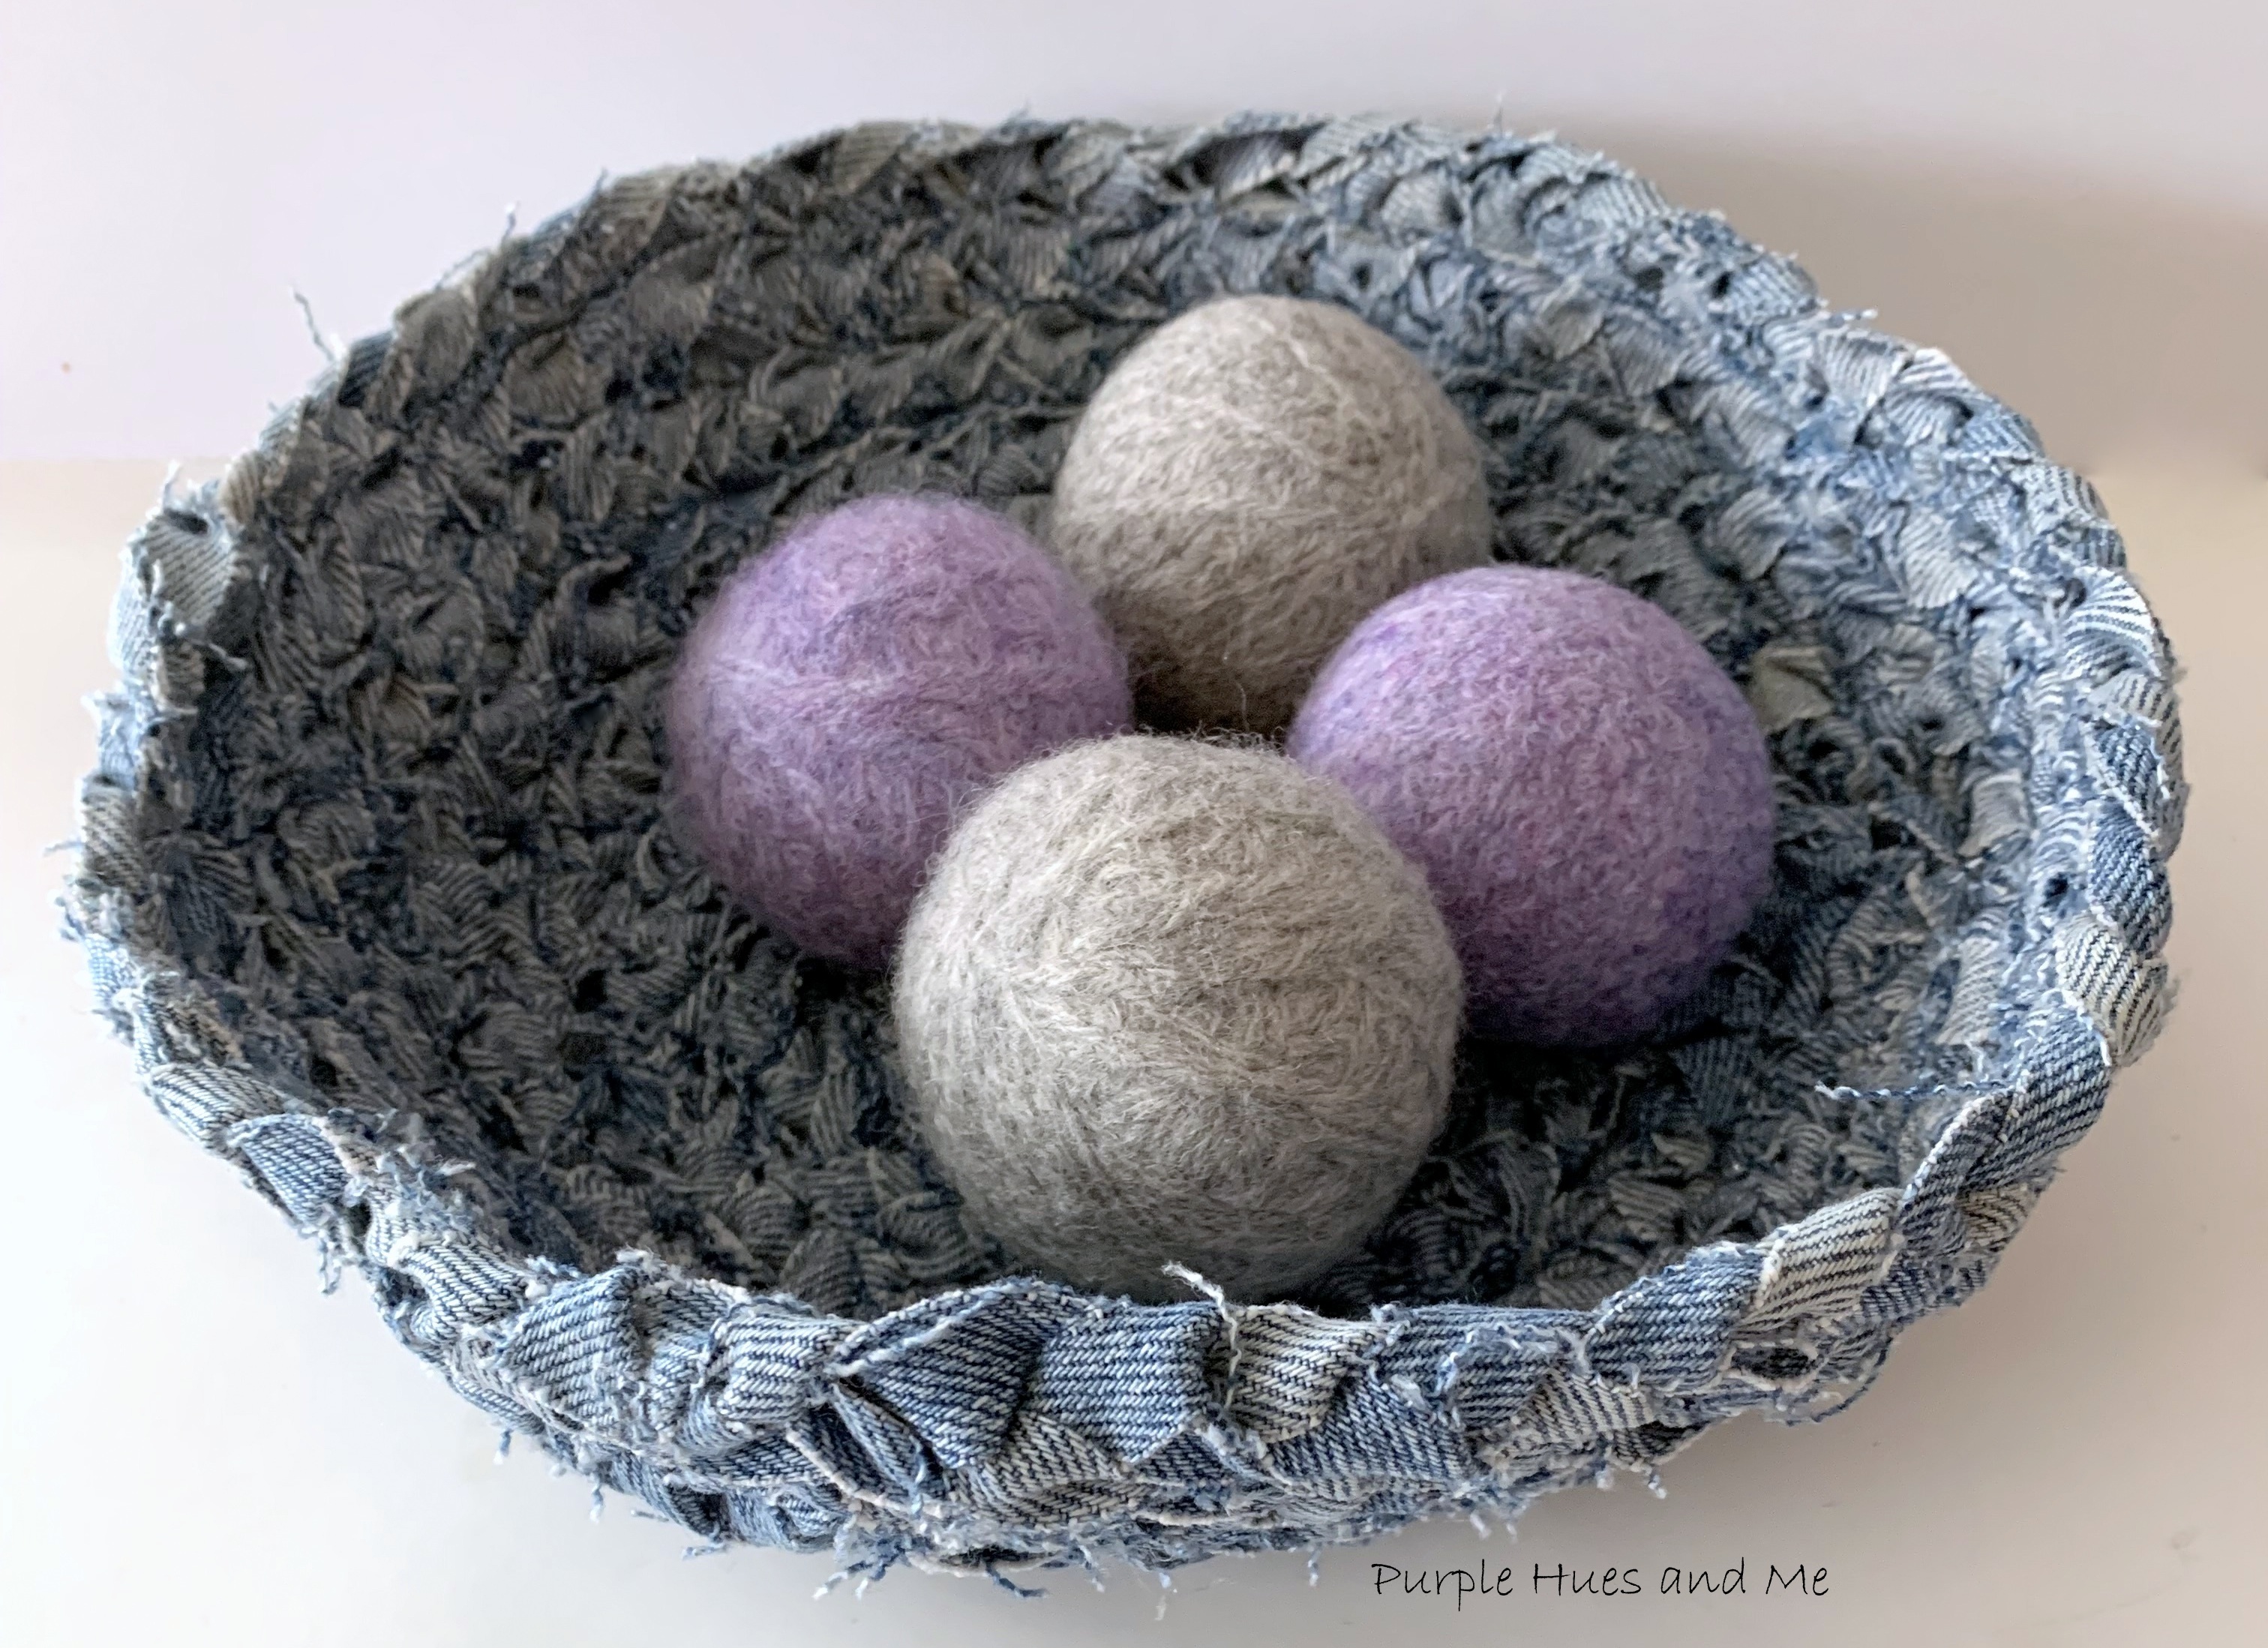
Store your dryer balls in the dryer between uses or display them in a handmade denim bowl like I did in my laundry room.
Creating homemade dryer balls is a fun and easy craft that’s useful, cost-effective and environmentally friendly with zero waste.

Now, it's time to meet the other Sustainable Pinterest Challenge participants and their "Zero Waste" projects!


Tuesday, September 6, 2022

Nature Inspired Pinecone Fall Swag


Fall is here and what fun it is to look in your outdoor surroundings for goodies to make nature-inspired craft projects! Welcome to our Sustainable Pinterest Challenge Blog Hop hosted by Julie @Sum of Their StoriesThe purpose of this Pinterest Challenge is to motivate all of us to create a project that a) is inspired by a pin on one of our Pinterest boards and b) have some sort of a sustainable element to it. This could be an upcycling or recycling element, or something that reduces waste, uses leftovers, etc. September's blog hop theme is Nature - which makes it very open to interpretation for creating a project! I was inspired by this pin for this challenge.


Amazing natural treasures can be found outdoor for crafts of all kinds. In my neighborhood, those of us (me) living on the north side of my street have an open hilly berm surrounding our backyards and it's filled with lots of pine trees and ornamental grasses among other pretty garden foliage. 

For my project, I just walked up the berm and picked a few pinecones off the tree limbs.
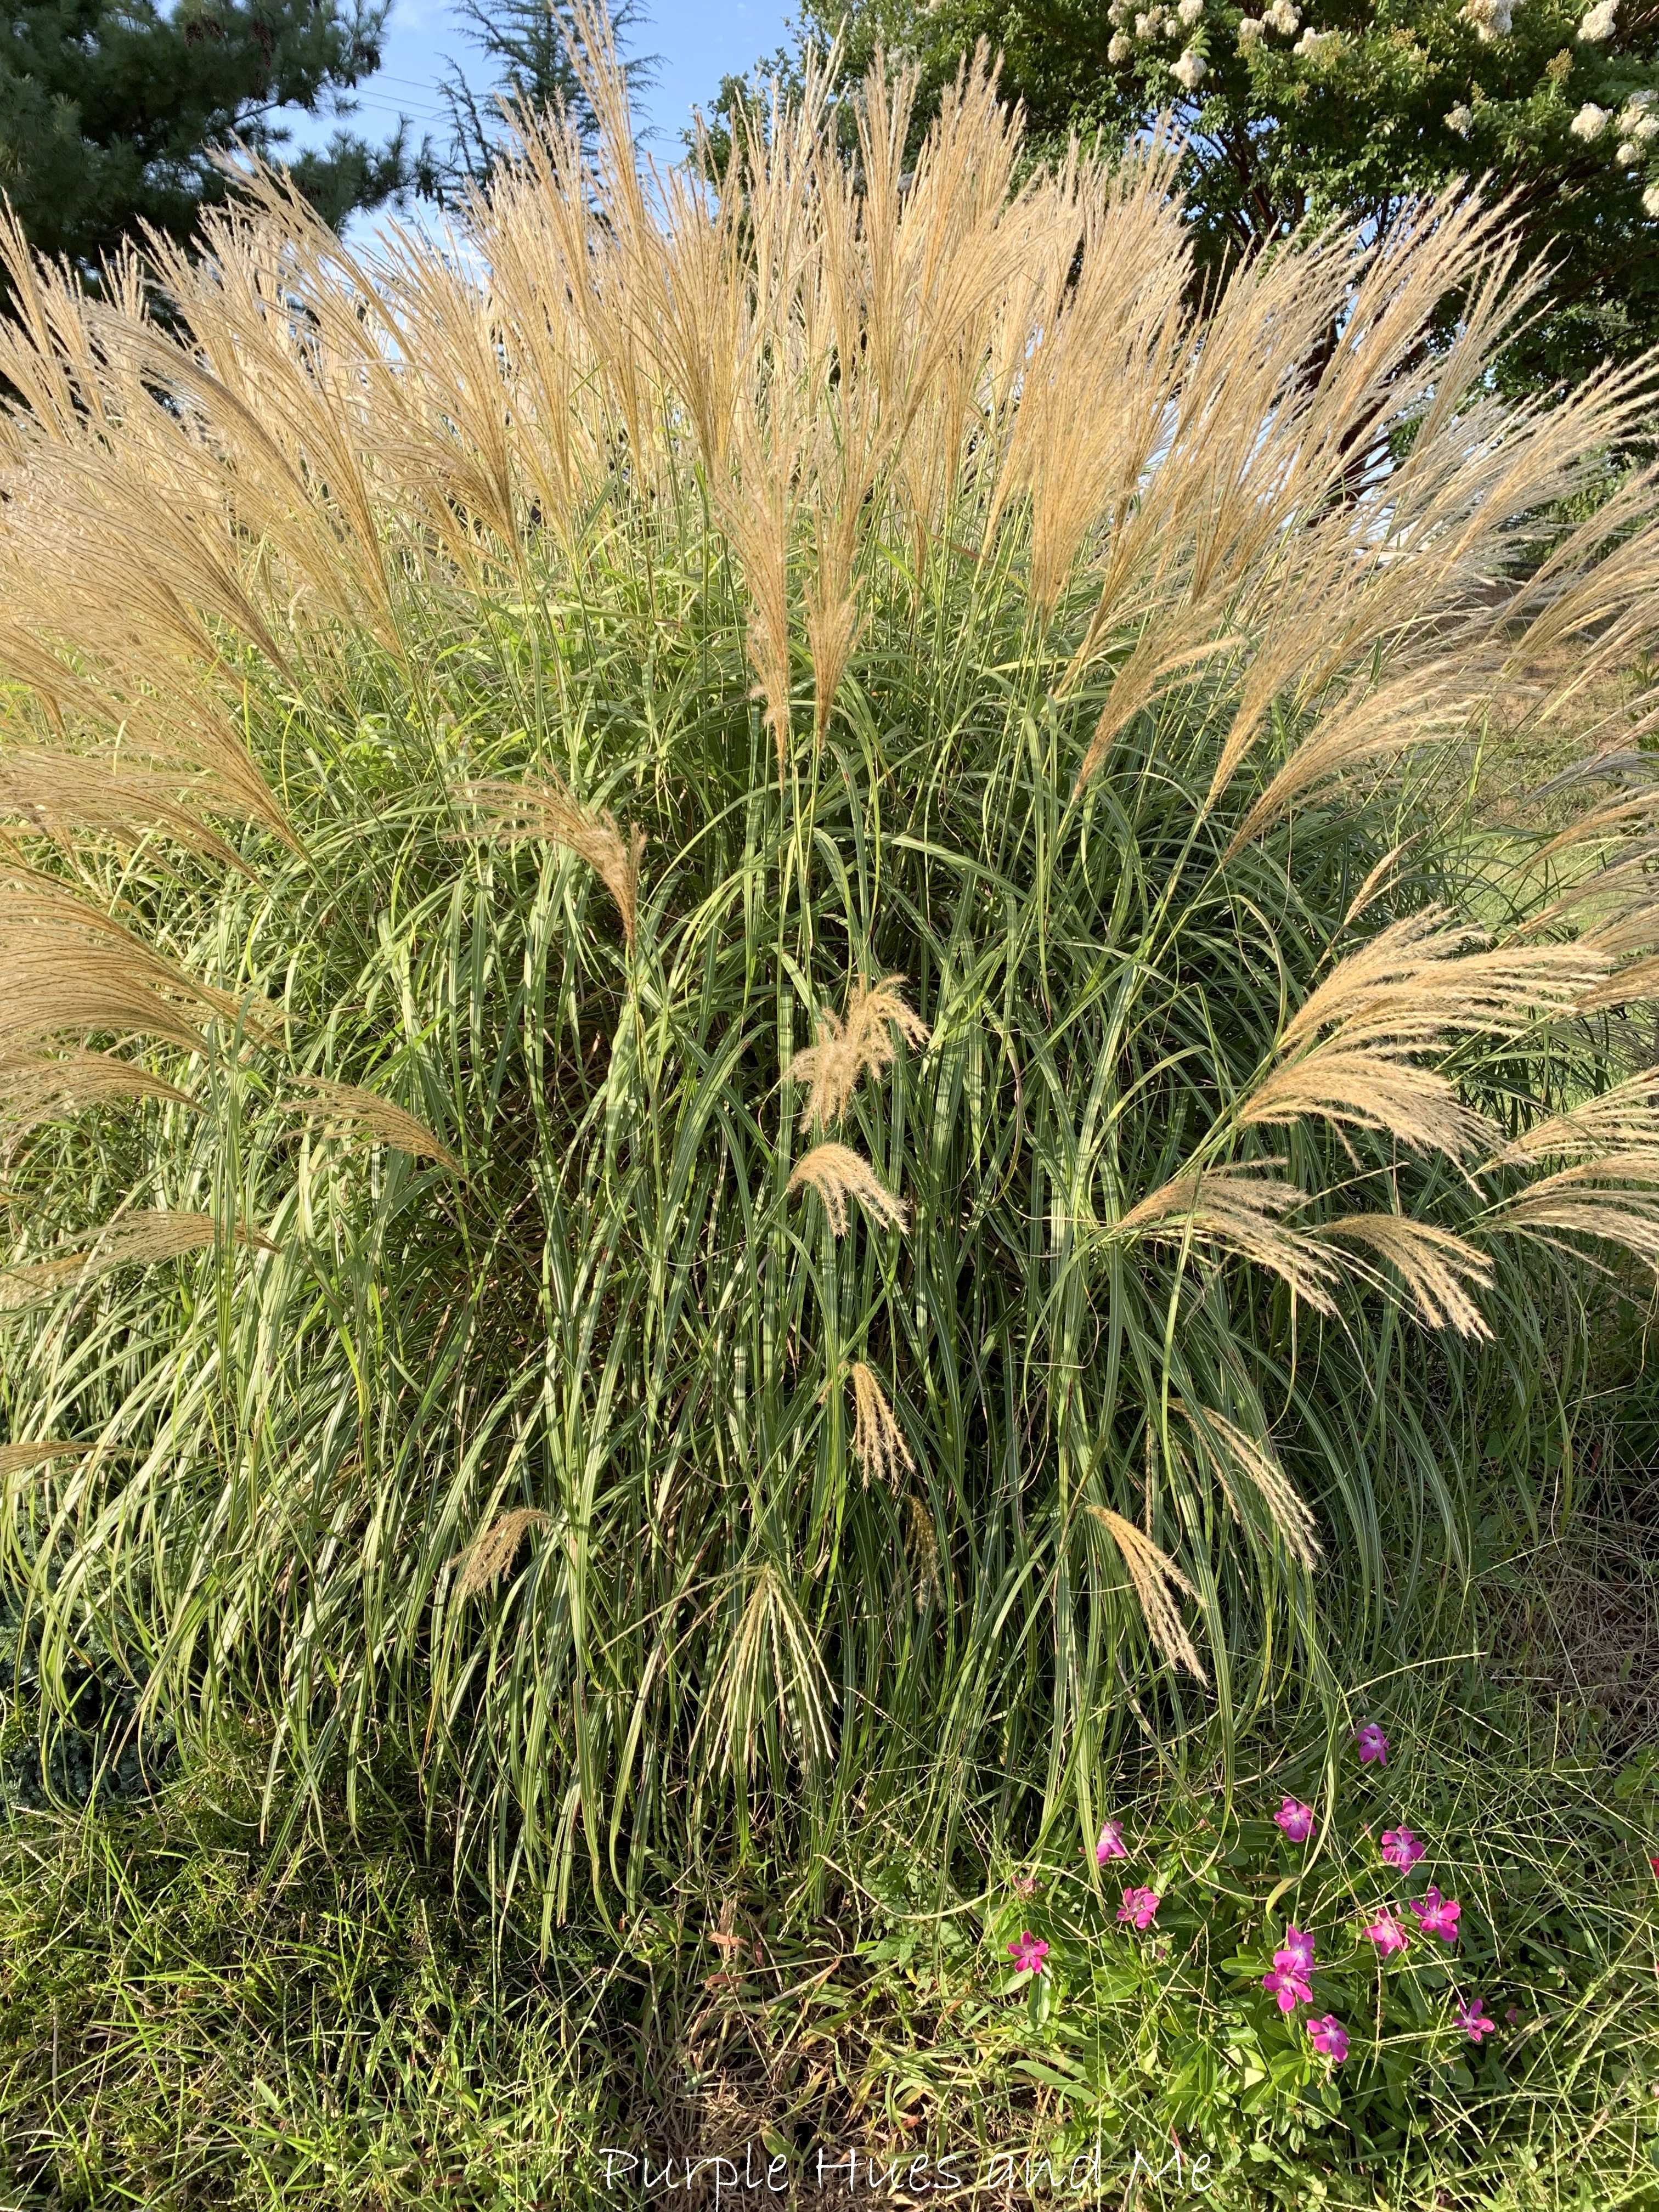
And this ornamental grass happens to be in my yard, so I snipped off a few plumes here and there!  They're great for pretty fall vases, too!

How to make a Nature Inspired Pinecone Fall Swag:

Materials:

  • Pinecones 
  • Plumes from ornamental grasses
  • Ribbon (1.5") and Bowdabra bow wire
  • Beacon Quick Grip adhesive
  • Faux leaves and berries
  • Scissors
  • Clamps


Since I picked the pine cones off the tree, I didn't think there were any bugs in them. They looked clean so I didn't put them in water and detergent first - as some recommended. I do know there was lots of sap since the cones were very sticky. I don't think water and or detergent would have helped removing the sap, though. It was very hard to remove the sap from my hands by scrubbing with soap and a paper towel so I know it would have been harder to try removing the sap from the pine cones. Anyway .  .  .

I began by spreading nine pinecones out on a large baking sheet covered with parchment paper and baking at 225 degrees for about 30 minutes. 
Baking them helped to remove some of the sap (by dripping onto the parchment paper) and the remaining sap on the pinecones spread out along the scales making them quite shiny. Once the pinecones cool off, the sap dries to a nice shiny finish. 

Next, cut strips of ribbon, starting at 22 inches - and gluing each ribbon on with  Quick Hold adhesive by the makers of E6000 instead of hot glue which is not good to use if you plan on hanging the swag outside. And .  .  .
cutting the next 19 strips down by approximately 2 inches each. The last strip being 6" long - for a nice cluster look when placed together.
   
Decorate the top of each pine cone by gluing on stems of ornamental grass, faux leaves (since the real leaves haven't start to turn yet)and berries.
Dovetail all the ribbon ends including the end hanging on top of the pine cone by folding each ribbon together at the end and cutting at an angle from the fold to the opposite end creating a "v" shape.

And finally, make a six loops bow ribbon secured with bow wire and .  .  .

wrapping the wire around the ends of the pinecone ribbon and knotting together, creating a loop in the back for hanging.
Now, it's time to meet the other Sustainable Pinterest Challenge participants and their "Nature" projects!