Saturday, November 26, 2022

Holiday Candle Ring on Tray

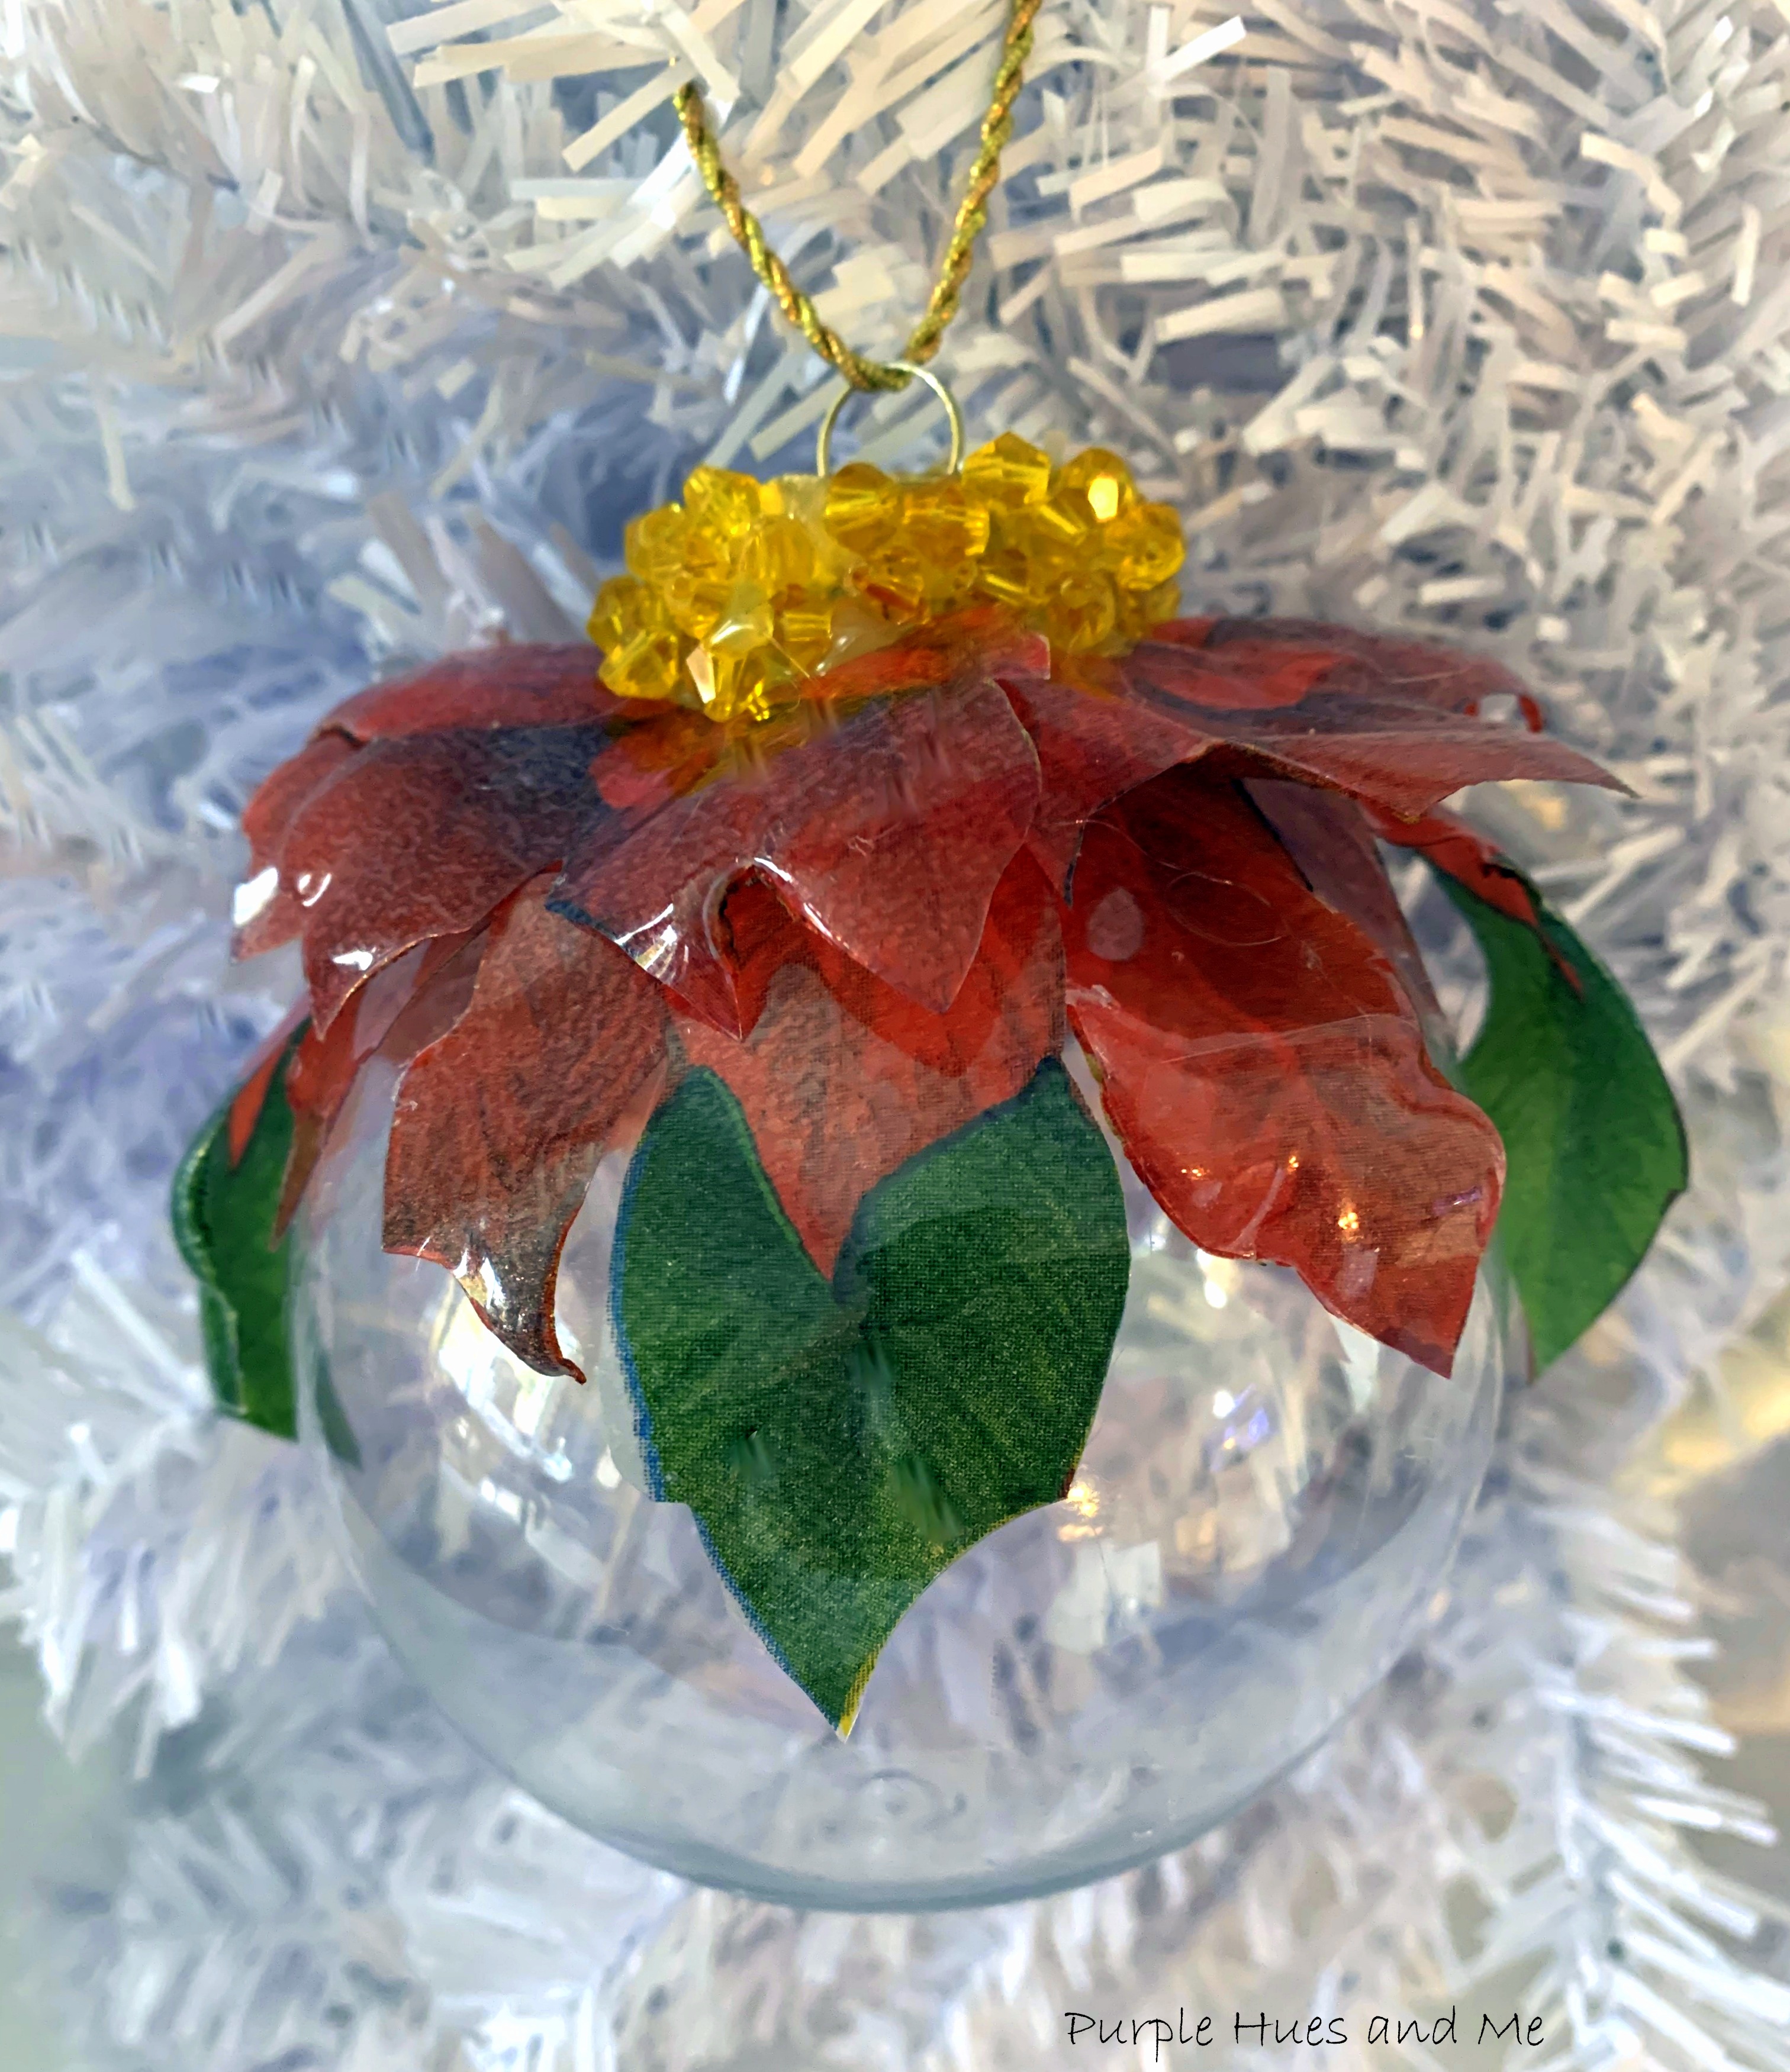
Dress up your favorite pillar candle with the addition of a beautiful candle ring for the holidays!  To do this, I'm starting with a wooden round tray base I found at a thrift store a few years ago. It was dirty and a little beat up, but I couldn't resist the price of $1.50! I had no idea what I would do with it until now. I envisioned embellishing the round tray with a pearl and beaded garland, two different sizes of clear ornaments, pink glitter balls, tiny glitter ball stems and pink handmade faux leather glitter leaves along with a LED pillar candle placed in the center. Sounds fabulous, doesn't it! Perfect for Christmas and special occasions throughout the year, too! And it's ideal for this month's "Do It Over Designers" project.

Wednesday, November 23, 2022

DIY 3D Decoupage Poinsettia Ornament


We all know that decorating our Christmas trees is one of the best parts of the holiday season, and creating homemade ornaments certainly adds a personal touch to it all! So it's definitely fun when we discover unique ways to make our tree ornaments. Today, I'm joining a group of creative bloggers sharing their ideas on making gorgeous Christmas ornaments. A big "Thank You" to our host, Shae from Sweet Southern Grace for hosting this awesome blog hop! 

Recently, I was having a Let's Get Crafty class on making 3D decoupage flower napkins on glass and thought it would be fun to make Christmas ornaments using the same technique. And one of the participants offered her poinsettia napkins for me to use on the ornament. Isn't this napkin pretty! Can you visualize it on an ornament? I can, but not in the usual front placement! Although that would be lovely, too! I want to place the 3D poinsettia around the opening of the ornament and have it flaring out from the top. After all, flowers are usually upright, lol! 

Thursday, November 17, 2022

Double Wood Craft Rings Wreath

One of my favorite styles of wreaths is the two embroidery hoops wreath.  It's quite different from the usual grapevine or evergreen wreaths. So for this month's Creative Craft Hop hosted by Sara @Birdz of a Feather, I decided to make a holiday version using two wood craft rings I picked up at the thrift store, and a couple of handmade purple velvet poinsettia flowers. You do know that poinsettia flowers come in purple, too! Lol! I discovered them on a trip to North Carolina a few years ago! And I have been kicking myself for not buying the purple plant ever since. I haven't seen them here in Maryland! But I digress! So let's get started!

Wednesday, November 16, 2022

No-Sew Ribbon Wine GiftBag

Do you know what the favorite last minute gift giving of all time is? A bottle of wine! Gotcha! This is just my opinion, lol! But if you're into giving a bottle of wine, and so many are, why not make your own gift bags to keep on hand, just in case you need one at the last minute! You know a handcrafted wine giftbag offers a personal touch to gift giving and makes giving a bottle of wine that more special! And the best part, once you know how to make this lovely no-sew wine giftbag you'll be making them throughout the year using any type of four inch wide decorative ribbon! Giving wine is a lovely idea anytime of the year!

Gift wrapping a bottle can be a bit of a challenge, but this giftbag is a pretty simple design that comes together in no time! And using decorative wired ribbon that's at least four inches wide helps give the bag a designer look! 

Monday, November 14, 2022

Tuesday, November 1, 2022

Glitter Foam Christmas Tree Ornament


 Eva Foam sheets is one of my favorite craft mediums. I love using it because you can twist, pull and even heat it to form amazing craft items. Just take a look at a couple of  Christmas decorations I made several years ago here and here. And I love making flowers of eva foam, too! 

There are lots and lots of diy glitter foam ornaments on Pinterest. I love using glitter foam sheets, as seen here and here. It's such a versatile and easy material to work with, that's why I chose it to make a darling eva foam tree ornament similar to one I first saw on Pinterest for this month's Christmas Pinterest Challenge, hosted by Julie @Sum of Their StoriesThe purpose of this Pinterest Challenge is to motivate all of us to create a project that a) is inspired by a pin on one of our Pinterest boards and b) have some sort of a sustainable element to it. This could be an upcycling or recycling element, or something that reduces waste, uses leftovers, etc.


Did you know that eva foam is used in a range of everyday products, "from the soles of your athletic shoes to your flip-flops." It can also be found in certain adhesives, packaging, medical equipment, and plastics. And a "diverse range of industries uses EVA-based materials in their products, including: athletics, automobile manufacturers, construction, electronics, footwear, healthcare, leisure and recreation." It's basically everywhere.

Eva foam is recyclable but it takes special equipment to recycle it. Recycling of EVA foam is not only environmentally friendly, but also help businesses to control and reduce production costs. Which is a good thing! 

So let's get started with this fun and easy to make glitter foam Christmas tree ornament! 

Materials:
  • Glitter eva foam sheets
  • Compass or circle punches
  • Scissors
  • Hot glue gun
  • Bowdabra bow wire/twine (hanger)
  • Embellishments

How To:
To begin, I actually had circle punches to punch out two of each size starting at one inch, and increasing in half inch increments - 1", 1.5", 2" and 2.5 inches. And if you don't have circle punches, you can use a compass to draw two of each size and cut out. If you don't have a compass, look online for free circle templates in those sizes or just improvise using graduated round containers. 

Once the circles are cut out, fold each one in half.

Then take the two smallest circles and place a dab of hot glue in the upper right corner of one of the circles and .  .  .

place the left hand side of the second circle on top of the dab of glue to secure, making sure the circles are evenly placed. Fold a 9" strip of bow wire or twine in half, placing the ends in the center of the circles. Place a dab of hot glue on top and .  .  .            
close the left side of the circle. Then place a dab of glue along the top right side of the circle .  .  .
and close to form a cone shape.

Repeat gluing the circles together to form a cone shape for each of the three remaining sets of circles.  


Once all the circle cone shapes are formed .  .  .

begin adding glue to the top of the next smaller size cone .  .  .
and insert into the smallest cone shape (with hanger).

Glue the other cones on the top tip, one inside of the other, in ascending order of size to make the Glitter Foam Christmas Tree Ornament.

And finally, glue on embellishments like tiny rhinestone stars to decorate the glitter foam tree ornament.
Wouldn't it look pretty with a tree filled with these!
The fun thing about making this glitter foam Christmas tree, the size can vary just by using different size circles - from a small ornament to a decorative centerpiece! Imagine how cool that would be! 

Now, it's time to meet the other Sustainable Pinterest Challenge participants and their awesome Christmas projects:

Julie | Sum of their Stories - How to Make Festive Gift Tags from Old Business Cards 
Gail | Purple Hues and Me -  Glitter Foam Christmas Tree Ornament
Julie | Treasures Made From Yarn - Knitted Gift Bag
T’onna | Sew Crafty Crochet - Easy Upcycled Crochet Christmas
Niki | Life as a LEO Wife - Christmas Card Holder
Mel | Decor Craft Design - DIY Christmas Can Holder
Christine | Christine’s Crafts - Easy Kids Crafts Christmas Tree Decoration
Vicky | Vicky Myers Creations - DIY Candy Christmas Decoration
Donna | Modern on Monticello - DIY Toilet Roll Gnomes
Allyson | Southern Sunflowers - Christmas Burlap and Denim Wreath
Ann | The Apple Street Cottage - Vintage Satin Ornament
Jo | A Rose Tinted World - 
How to Make a Toilet Roll DIY Advent Calendar

You are invited to the Inlinkz link party!

Click here to enter