Showing posts with label Halloween Crafts. Show all posts

Monday, October 10, 2022

Halloween Pumpkin Witch


Believe it or not, I am one of those crafters who really doesn't decorate for Halloween. And I have a legitimate excuse, too - I have no grandkids or young people in my life and I live in a 55+ community where no treat or trickers come!  But I do belong to a monthly blog hop where this month's theme is Halloween Crafts!

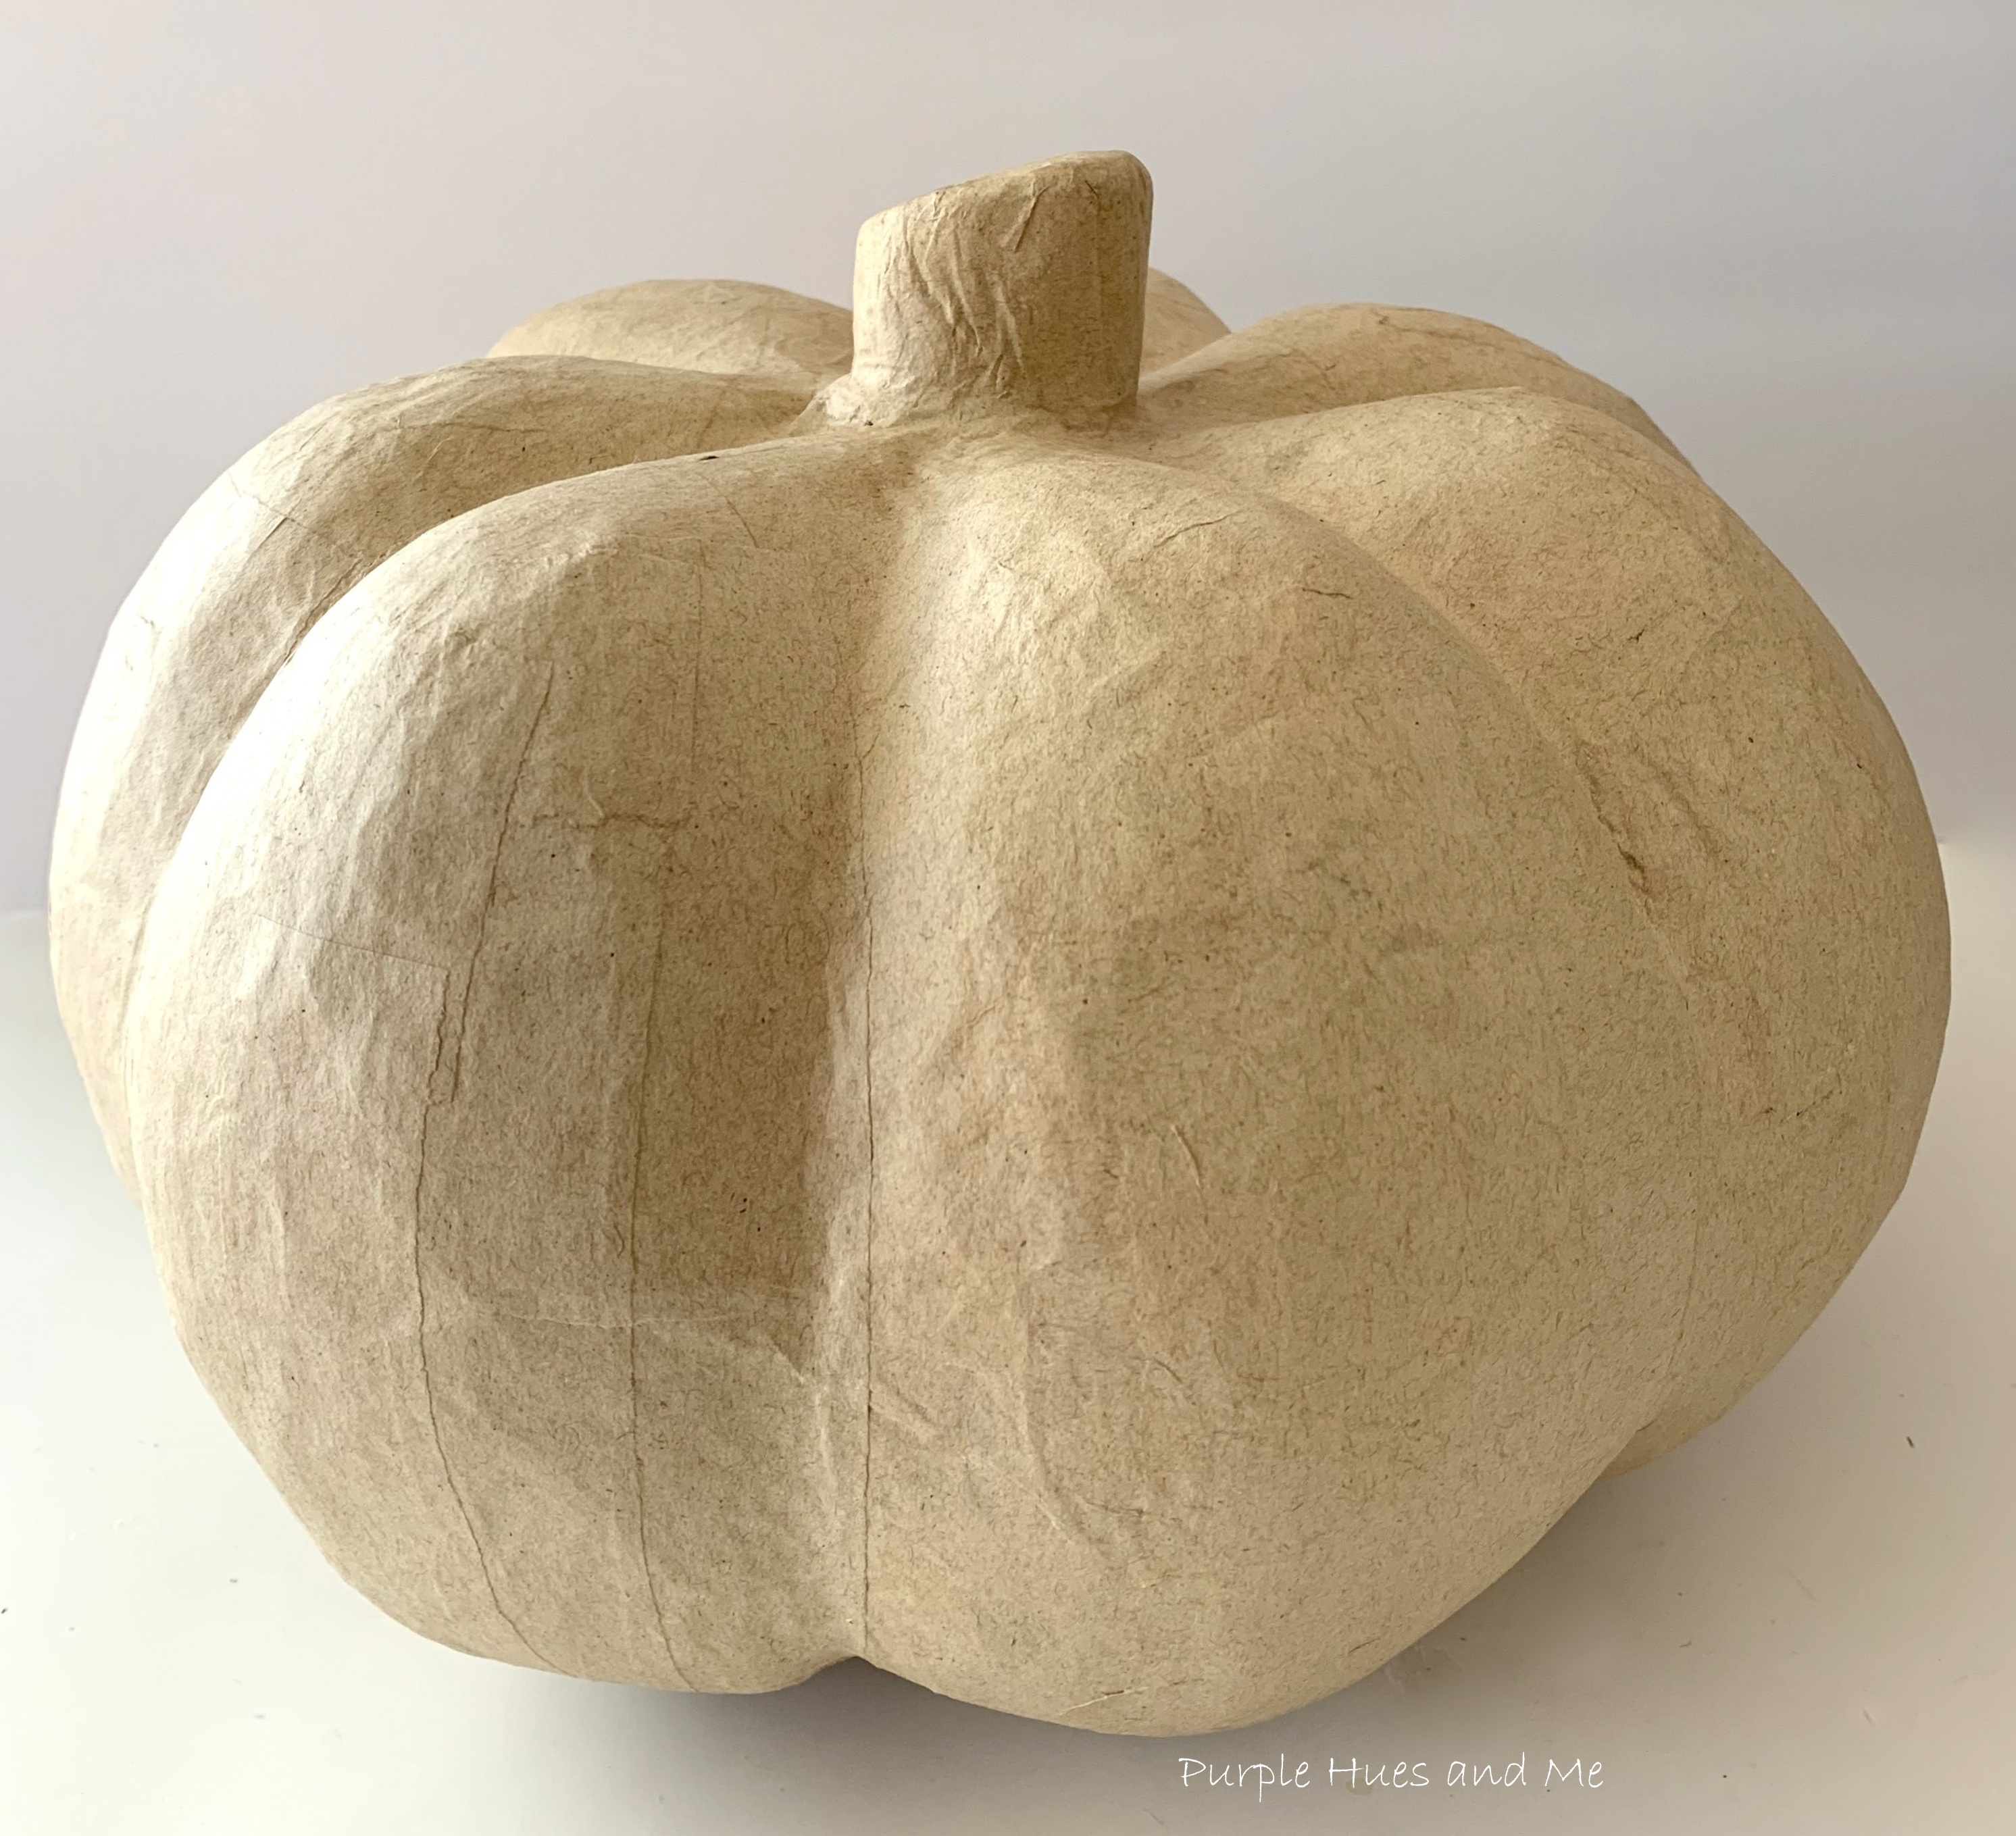
I was looking around my stash wondering what I could make for this challenge. Lo and behold I had a paper mache pumpkin with a texture that reminded me of a witch! 

So I decided to decorate this pumpkin to resemble a witch - the iconic mistress of Halloween - the wicked witch with her tall pointy hat, crooked nose, and toothy grin! How cool would it be and a fun decorating idea to combine the two! 

Thursday, September 24, 2020

Whimsical Scarecrow Gourd DIY


Add a touch of whimsy to your Fall decor creating an adorable scarecrow gourd.   Gourds are part of the pumpkin and squash family and a fun addition in decorating for the fall season! It's perfectly designed for many types of craft projects - especially the whimsical ones! But cleaning and drying gourds can take a lot of time and effort - sometimes up to a year to dry out completely. You can take the easy way out and decorate an already dried gourd or simply buy a paper mache gourd like I did. Either way, crafting gourds may become a creative obsession. There are so many unique ways to craft and use them in seasonal decor. 
Just by painting on a funny face and adding a few whimsical decorations, you're sure to put a smile on everyone's face who see it! And the whimsical gourd looks great as a centerpiece, as well as a fun conversation starter, too! Here's a fun way to decorate one:

Materials Needed
  • Pot Belly Gourd (paper mache)
  • White chalk paint/metallic acrylic paints
  • Paint/sponge brushes
  • Raffia
  • Hot glue gun
  • Scissors/
  • Pencil/Magic marker (black)
  • Burlap
  • Mod Podge/sponge
Let's begin by painting the entire gourd with white chalk paint.  Once dry, paint the top portion with a few layers of a metallic bronze shade and .  .  .
let dry.
Then sponge paint the bottom area with a complimentary color like this golden brown acrylic.
Applying several layers for a rich autumn look and let dry.
To add to the whimsy look, make a raffia brim using raffia from the dollar store. This brim adds to an illusion of a scarecrow hat on top - that's why it's done in a different color.
To make the raffia brim, measure around the neck of the gourd with a strip of raffia, allowing for a few extra inches to tie the ends together and then cut off the measured piece from the bundle. Next, start cutting off lots of six inch strips of raffia for the fringe brim. I used two bundles to make strips. And it was more than what I needed to fit around the top of the gourd.  Next, line up a few of the 6" pieces together and fold in half forming loops on one end and place over the longer strip.
Make a lark's head knot by placing the loop over the long piece of raffia and pulling the raffia strands through the loop around the raffia, as pictured, 
pulling the raffia strands tight into a knot. 
Continue making larks head knots with groups of three to four 6" strips of raffia around the longer raffia strip until it is completely covered - leaving enough raffia to tie in a knot around the gourd.
Then evenly cut off the raffia to mimic a scarecrow hat's brim.
And tie it tightly around where the different colors of the gourd meet. Use hot glue to keep the brim in place.
And finally, fluff and separate the raffia around for a cool brim look.
You can take it up a notch and make a real hat out of burlap. Simply soak  burlap with Mod Podge to make it stiff using a sponge and .  .  .
hang up to dry.
Once the burlap has dried, use a large plate to cut out a circle - then cut the circle in half. 
Bring the two ends of the half circle together to form a cone.  Adjust the size of the cone so that the base fits the widest portion of the top of the gourd and sits perfectly on the raffia brim. Hold in place and apply glue to the edge of the burlap to seal.
Now it's time to make the face! Draw on a whimsical face using a pencil, starting with the eyes. Hmm - caution: I can't draw or paint, so please bare with me. I looked online for a funny scarecrow template - there are zillions of them, so I'm just winging it here by looking at some the examples. After drawing on the eyes  -
go over the lines with a black magic marker.
Then add the eyebrows, nose and mouth. Filling in the eyes with white chalkpaint, and nose, with a spicy orange acrylic.
Too cute!
How's this for whimsy!

Perfect for our Creative Craft Blog Hop!

Welcome to our monthly Creative Craft Blog Hop created by Chloe @ Celebrate & Decorate and Andrea @ Design Morsels!  I've teamed up with a talented group of creative bloggers to bring you lots of 
wonderful ideas and inspirations! 


Have fun and get inspired by all of the wonderful creations this month by clicking on the links below!

If you're hopping along this blog hop, I hope you enjoyed Rachelle's adorable rustic autumn craft! Your next stop is Lynne @My Family Tyme sharing her lovely stamped tea towels!

Tuesday, September 15, 2020

Decoupage Jack O Lantern Wood Cutout

It's time again for our monthly Pinterest Challenge Blog Hop, hosted by Erlene @My PinterventuresThe purpose of the Pinterest Challenge is to motivate us to not just pin, but to make it happen! This month's challenge is to create a project using a pumpkin or Halloween theme! I think I've nailed this for both pumpkin and Halloween! 

There are so many projects on Pinterest highlighting pumpkins and Halloween! I'm always attracted to decoupage projects, which I love - checking out how others decoupage and the techniques they use, so I was drawn to this pin  because it uses ribbon (fabric) to decoupage the wood pumpkin cutout. I had gotten a jack-o-lantern cutout from the Dollar Tree either last year or the year before. It's just been sitting in my stash with me wondering how I might use it. Seeing this pin help me decide what to make with my jack-o-lantern! Plus, I couldn't believe finding buffalo check fabric in the new craft section at the Dollar Tree! Imagine how surprised and thrilled I was!

Supplies Used:
  • Jack-O'-Lantern Wood Cutout
  • Buffalo Plaid Fabric
  • Mod Podge-Matte
  • White Acrylic Paint/brush
  • Scissors/Utility craft knife
  • Bowdabra
  • Embellishments
  • Hot glue gun
Let's begin by painting the unfinished wood .  .  . 
with white acrylic paint and let dry.
Next, cover the painted side with a layer of Mod Podge.
Then smooth the fabric over the Mod Podge covered jack-o'-lantern and then cover the right side of fabric with an additional layer of Mod Podge.
Once the fabric has dried, begin cutting off the excess following the outline of the wood . .  .
around the entire pumpkin, including the stem.
Use a utility craft knife to cut out the eyes, nose and mouth.
How cute is this!
To make ribbon strips for a bow, apply Mod Podge to the wrong side of the fabric to stiffen. Once the fabric has dried, cut into strips and  .  .  .
create bows for embellishment using the Bowdabra.
Then attach the bows to the stem with hot glue .  .  .
adding additional embellishments of leaves and sunflowers for a lovely Fall hanger.
For more Pinterest inspired projects from this month's Pinterest Challenge hosts, check out the links below ↓

Now, let's see what the other hosts have created ⇓⇓

You are invited to the Inlinkz link party!

Click here to enter


Monday, October 23, 2017

Crafty Cat Lovers - Recycle a Wine Bottle Into An Adorable Cat

For all those crafty cat lovers out there, it's not too late to make this adorable, easy to make cat for Halloween! Would you believe that it's made using a wine bottle and yarn!  You will also need a Styrofoam ball, double sided tape, cardboard, chenille stems, faux animal eyes, felt, stem wire, twisted paper, ribbon and a hot glue gun. And I bet you already have most of these items in your stash! How cool is that!

Let's begin by taking a clean, dry wine bottle and .  .  .


 applying double-sided tape up and down and around the bottom portion.  Leave the bottle neck free of tape for now so that you can hold the bottle while wrapping the yarn around it.
 Press the end of the yarn on top of the tape at the bottom of the bottle and start wrapping the bottle with the yarn, making sure to get the yarn close together, with no gaps, as you wrap.
Continue wrapping the bottle until you reach the neck portion. 

 Then apply more double-sided tape to continue wrapping the neck.
You can stop wrapping the neck just below the bottle opening, sealing with the tape or hot glue and cutting off excess yarn.

Press down the center of the Styrofoam ball onto the bottle opening.  Use the markings to remove the foam inside of the ball so that it can fit down on the bottle neck.  

You can actually make the hole in the Styrofoam ball before wrapping the bottle, but you will have to adjust it a bit more to accommodate the yarn if you do.
Cover the ball with double-sided tape, up and down and around.  Then roll the end of the yarn in a circle and apply on top of the tape at the center top of the ball.

 Continue wrapping the ball, around and around until .  .  .

reaching the bottom of the ball. Secure yarn with tape or hot glue and cut off excess.

To make the cat ears, use the ball as a guide for the curvature and make a pattern using cardboard and cut out two pieces.

Cover the cardboard ears with double sided tape and begin wrapping at the top ear tip.

Continue wrapping ears until they are completely covered. Secure end with hot glue and cut off excess yarn.

 Attach ears to head with hot glue, holding in place until glue is set and dry.

Have fun creating the cat's face!
Look at those eyes! 

To make the cat's tail, group several chenille stems together. Add a dab of hot glue on the end and press the end of yarn down on top and begin wrapping the stems together with the yarn covering all of the chenille stems, down to the end and back up again.

For fullness, I wrapped the tail three times with the yarn before sealing with hot glue and cutting off excess yarn.

 Bend the tail into an "S" shape and hot glue tail to center bottom.
Cut heart shape out of felt and glue on for nose.  I used twisted paper to make the mouth, but there are so many other material possibilities.
For a cool Halloween look, make a bow tie and hot glue onto center neck.

Cut off stem wire for whiskers and insert into Styrofoam.

What a fun addition for Halloween! Doesn't he look bootiful!!!!


Thanks for stopping by
and take a little time to enjoy,
Happy Crafting!