Saturday, January 22, 2022

Beaded Heart Shaped Hanger Wreath

Don't you just love the look of fabulous beaded crystals in decor? Like special decorative items around your home enhanced with crystals and gems! I know I do! Who doesn't love a little sparkle, here and there! And it doesn't matter what your style is, either. Elegant, classic, rustic, modern, farmhouse, chic, or glamorous - it will surely fit in! Just imagine a wire clothes hanger turned into a pretty sparkling heart? 

Besides, it's is a great upcycle craft using a wire coat hanger and lots of beads and crystals from my stash! And the best part, it's so easy to make! 

Join us for our very first Do It Over Designers Blog Hop of 2022! 'Do It Over' Designers is a group of talented bloggers who love to recycle/upcycle/DIY, hosted by Anne @The Apple Street Cottage. It happens the 4th Saturday of every other month and it's all about taking something old and/or unused and 'doing it over' into something new. Anything from fabric, old dishes, and decor to dressers and hutches. Items found in closets, cabinets, barns, garages, yard sales, thrift stores, you name it!
Psst! Here's how to make a Beaded Heart Shaped Hanger Wreath:

You will need:
  • Wire Clothes Hanger
  • Wire Cutters (heavy duty)
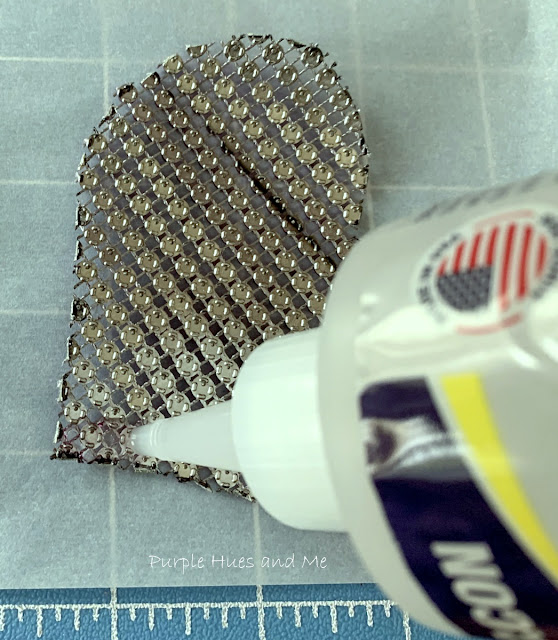
  • Assorted clear beads, crystal rocks and fillers
  • Hot Glue Gun/glue sticks
  • Parchment paper
  • Plastic bowl
  • Decorative ribbon for hanging
To make the wire clothes hanger into a heart .  .  .
start by pulling the middle of the bottom wire of the hanger straight down into a 'V' shape.
Then take the top sides of the hanger and begin shaping into a round circle .  .  .
while bending the hanger hook portion down  towards the center.
Continue to bend and manipulate the wire into a heart shape using your fingers -
by straightening the top wire portions to form a circle .  .  .
curving the wire on each side .  .  .

into half circle shapes .  .  .
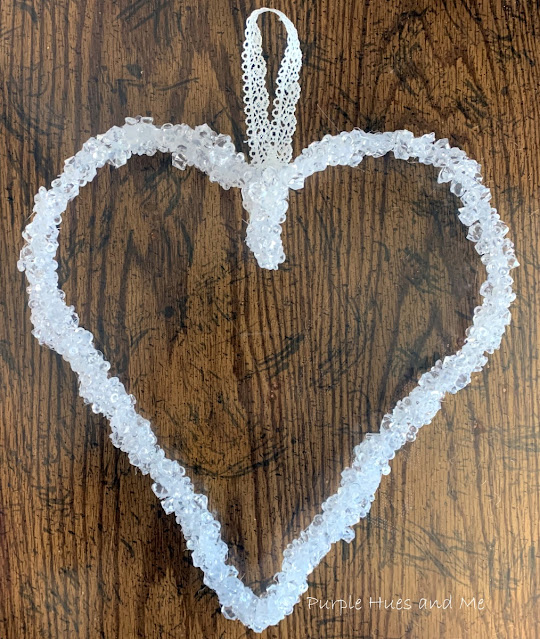
just like a heart!

Continue smoothing out the wire sides with your hands .  .  .
then use heavy duty wire cutters to remove the wire hook.

How cool does this handmade wire clothes hanger heart look!
Now it's time to decorate the wire heart by first mixing small crystal filler beads, small crystal rocks, seed bead rod crystals and tiny pearls together and .  .  .
beginning at the center extended twisted wire, apply hot glue in increments of 1 to 2 inches along wire. 
Quickly drop a mixture of crystals on top of glue and squeeze beads and wire together.   Caution - the glue and beads together will be hot, hot, hot!
So use a piece of parchment paper to help hold the beads together on the wire until the hot glue cools off and dries.

Continue adding the hot glue in increments along the wire and adding the beads - holding in place around the wire with parchment paper.
I found it much easier to use a large bowl to catch the beads while using the parchment paper to squeeze the beads onto the wire. Otherwise, the beads were flying everywhere!


Continue moving around the heart shaped wire, adding glue, holding parchment paper under, dumping beads on the glue and squeezing it all together! 


Once you've finished adding beads around the heart shaped wire, check any areas that may be missing beads and add more, especially on the backside.
Add a pretty fabric hanger by folding an 18" piece of decorative ribbon together, tying the ends in a knot. Apply glue to the center heart drop and press the knot onto the glue. Add more glue to the knot and secure with additional beads to cover the knot.  Use parchment paper to press the beads and knot down to secure in place. 
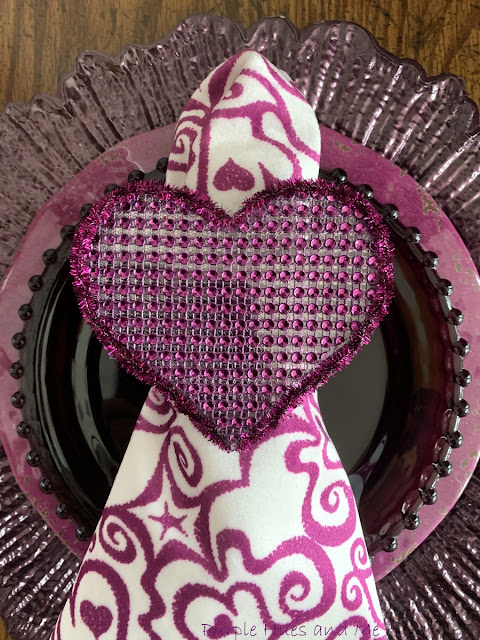
Have fun with this in your Valentine decor!

Be sure to check out all of the 'Do It Over Designers' listed below to see their lovely "do overs" too! 

Pandora’s Box

Purple Hues & Me

Southern Sunflowers

Interior Frugalista

The Apple Street Cottage

Birdz of a Feather

Cloches & Lavender

Exquisitely Unremarkable

Little Vintage Cottage

Modern on Monticello

Sum of Their Stories


Thursday, January 20, 2022

Mesh Bling Heart Napkin Rings

Since we're all kinda stuck at home more than we want to be these days, wouldn't it be fun to have an occasional 'get dressed up' evening with that special someone by cooking something delicious and create a beautiful tablescape to get you in a warm festive mood! And one way to help in creating a beautiful table setting is to make gorgeous napkin rings! Napkin rings are so simple and easy to make that you can create fabulous new ones for each occasion, season, everyday use and even gift giving, too!

So for Valentines' or a romantic evening, here's a fun way to add a little extra love and glam to your tablescape with handcrafted mesh bling napkin rings! Here's how!

Supplies: 
  • Rhinestone Mesh Ribbon - 4.75"x10yds
  • Heart template
  • Marker
  • Clear acetate plastic/paper
  • Fabri-Tac fabric glue
  • Parchment paper
  • Chenille stems
  • Clamps
 
Let's begin by making an easy heart template using a piece of paper 3.5"x4.5" - folding in half and drawing a half heart shape. Then open the paper and cut out the heart. 


If you're like me, you probably have at least one roll of mesh bling left over from when it was so popular a few years ago. Next, place the heart template on the mesh for fit - making sure it's even with the rows straight .  .  .
then turn the mesh over, outlining the heart shape on the wrong side using a black marker .  .  .
and cut out! 
Repeat cutting out a second heart shape for the backing.
Next, apply Fabri-Tac fabric glue to the wrong side of one heart and  .  .  .
lay it on top of a clear acetate plastic sheet. Then smooth the mesh heart down over the clear acetate. 

I know you've noticed how large rolls of ribbon are covered with a piece of heavy duty clear acetate or plastic to protect the ribbon. Well, I save them for projects just like this one. This acetate paper came from a five inch wide roll of ribbon I got from Costco. It's perfect to use as support for the mesh which is very flexible! You wouldn't want to use cardboard because it would show through the open mesh effect.
 
In addition, use parchment paper to help smooth out the mesh and glue. Let dry.
Once the glue has dried, cut out the heart shape. Repeat gluing the mesh heart shape to another piece of clear acetate for added strength and cut out. 
Then glue the second mesh heart to the back of the mesh heart on the acetate paper. Let dry.

Next, twist two chenille stems together for added thickness and glue on the edge around the mesh heart starting at one side of the 'V' spot and ending on the opposite side. Sorry, I was so involved gluing on the chenille that it was difficult to take pictures with sticking fingers at the same time.
To make the mesh napkin ring, count five rows of bling across - approximately 1.5" and 6.5" long. Cut out. Then glue onto a piece of clear acetate. Let dry and cut out, leaving a 1/2" inch clear edge. Repeat, gluing mesh strip on clear acetate, for stability and let dry.  Then cut out.
To form the napkin ring, apply glue to the clear edge .  .  .
and place the bling edge on top of the clear acetate matching bling rows, creating a ring. Clamp ends together to dry.

To attach the bling ring to the heart, apply glue along the edge where ring comes together, centering the ring in the middle of heart. Clamp in place until the glue dries.
I love the oversize look of the bling heart napkin ring. 
Have fun making lots more!

It's a lovely effect and .  .  .
 a pretty way to dress up a Valentine tablesetting or decoration! 
I hope you enjoyed my tutorial on making a mesh bling heart napkin ring and take advantage of having a dress-up or romantic evening - Just in time for our monthly Creative Craft Blog Hop hosted by Sara @BIRDZ OF A FEATHER.
If you're coming over from Cecilia @ My Thrift Store Addiction welcome! Up next, is Carol @ Bluesky at Home sharing easy Valentine's Day sticker decorating ideas!

Be sure to have fun and get inspired with all of the wonderful creations offered this month by clicking on the links below!