Welcome to this month's "Do It Over" Designers! In case you didn't know, the "Do It Over Designers" is a group of talented bloggers who love to recycle/upcycle/ DIY, hosted by Anne @The Apple Street Cottage. It happens the 4th Saturday of every other month and it's all about taking something old and/or unused and 'doing it over' into something new. Anything from fabric, old dishes, and decor, to dressers and hutches. Items found in closets, cabinets, barns, garages, yard sales, thrift stores, you name it! Disclosure I am a participant
in the Amazon Services LLC Associates Program, an affiliate advertising program
designed to provide a means for us to earn fees by linking to Amazon.com and affiliated
sites, this post may contain links. I may receive a very small commission at no
cost to you! The affiliate money I earn helps pay my crafting expenses. Thanks
so much for your support!
Usually there is no theme and we're on our own to choose whatever we want to "do over!" But once again after the success of May's "Do Over," Anne decided to switch it up again for July and asked us to do over anything glass!
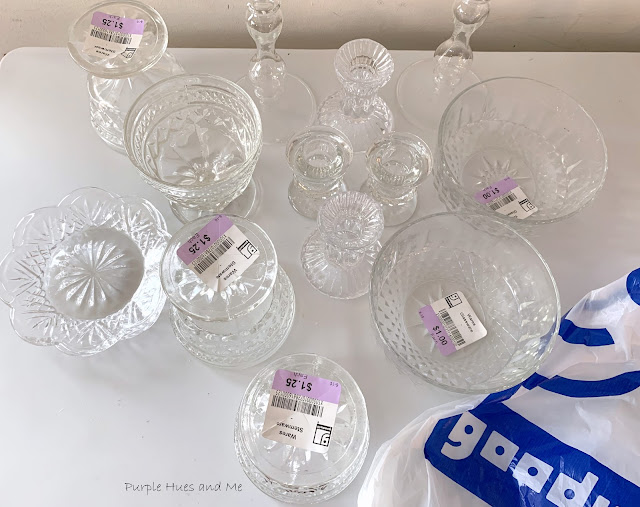
For 2023, I made a resolution to use what I had in my stash to create my craft projects! But after looking around my home, I couldn't find any type of glass I wanted to mess up, I mean use, to make something out of. So one day after shopping at the grocery store, I ventured into the Goodwill store which was right next door to look around to see what I could find. I hadn't been in a thrift store since before the pandemic started and boy did I find some goodies!
Check out this haul!
Can you imagine all the different ways you can combine these adorable pieces of glassware such as candy bowls, canape plates and small candleholders, etc. into unique and one of a kind candleholders! Perfect for gift giving, housewarmings, and many other occasions, including weddings!
You won't believe how easy it is to assemble the recycled glassware using a permanent glass adhesive!
Let's begin with thoroughly washing and cleaning each glassware piece. Let dry completely.
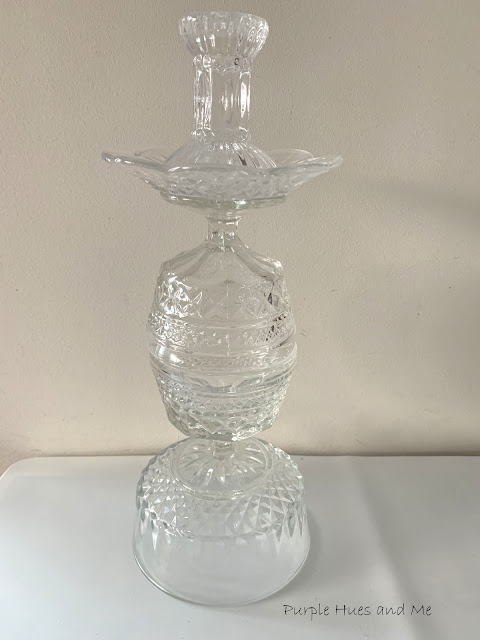
Group similar items together and play around with grouping the pieces to create a candleholder style you like. After playing around with different shapes, I settled with the following design. Starting with an upside down bowl on the bottom. Then placing an upright sherbet dish on top. Next came another sherbet dish, only this time it's upside down. On top of the base of the sherbet dish, a canape dish is placed. And finally a small candleholder is placed on top of the canape dish.
I'm loving this look and I hope you are, too! I'll share once it's all glued together to show you how unique this candleholder is!
First, the foot of the sherbet dish is glued to the center of the upside down bowl. I started out using RapidFuse Adhesive which is an all purpose adhesive that "sets in 30 seconds" to glue the pieces together.
Even though RapidFuse Adhesive is a quick drying glue, I used a wooden cutting board and a heavy glass vase to add weight to hold the pieces down while the glue dries. It's also a great way to see if the items glued together is level. Next, applied glue to the rim of the sherbet glass and . . .
placed an upside down sherbet glass on top, rim to rim.
Again placing the wood board and heavy vase on top to apply pressure and to secure the pieces while drying.
For the next piece, a canape dish, I switched to Starbond Adhesive. It states that it's an instant adhesive and I like the way it flows out of the bottle, more so than RapidFuse Adhesive I applied Starbond Adhesive around the rim of the bottom of the sherbet dish. 
And placed the canape dish on top.
Once again placed the weights on top to secure the items together while drying.
And finally, placed adhesive around the base rim of a small candleholder and . . .placed in the center of the canape dish. Then placed the usual weights on top while the adhesive dries.Looks pretty cool, doesn't it!
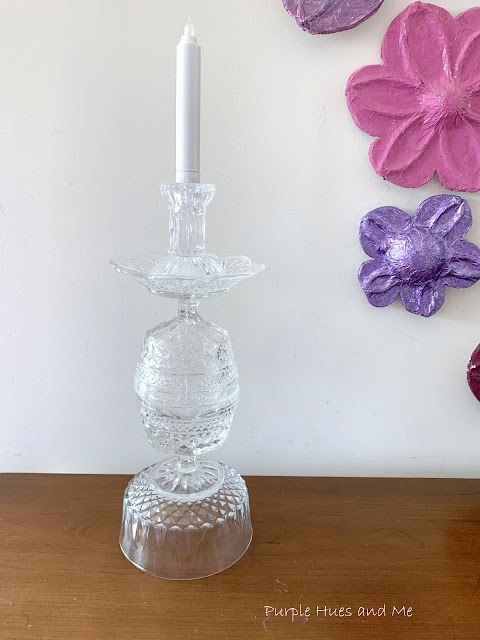
And with a taper candle!
Remember I said I would share with you how unique the candleholder is?Well, how about this:
You can use a large pillar candle by turning the candleholder upside down!
It's a dual purpose candleholder!!!!!
I had enough glassware pieces to make two candleholders!
I'm loving the ornate look!
And as an added treat, I picked up this bowl at the Goodwill the same day, too!
I hope you are inspired to make one, two or three candleholders, lol! It was a lot of fun!
Be sure to visit all of this month's creative Glass Projects by the
"Do It Over Designers" listed below:


