Showing posts with label DIY Ornaments. Show all posts

Wednesday, November 23, 2022

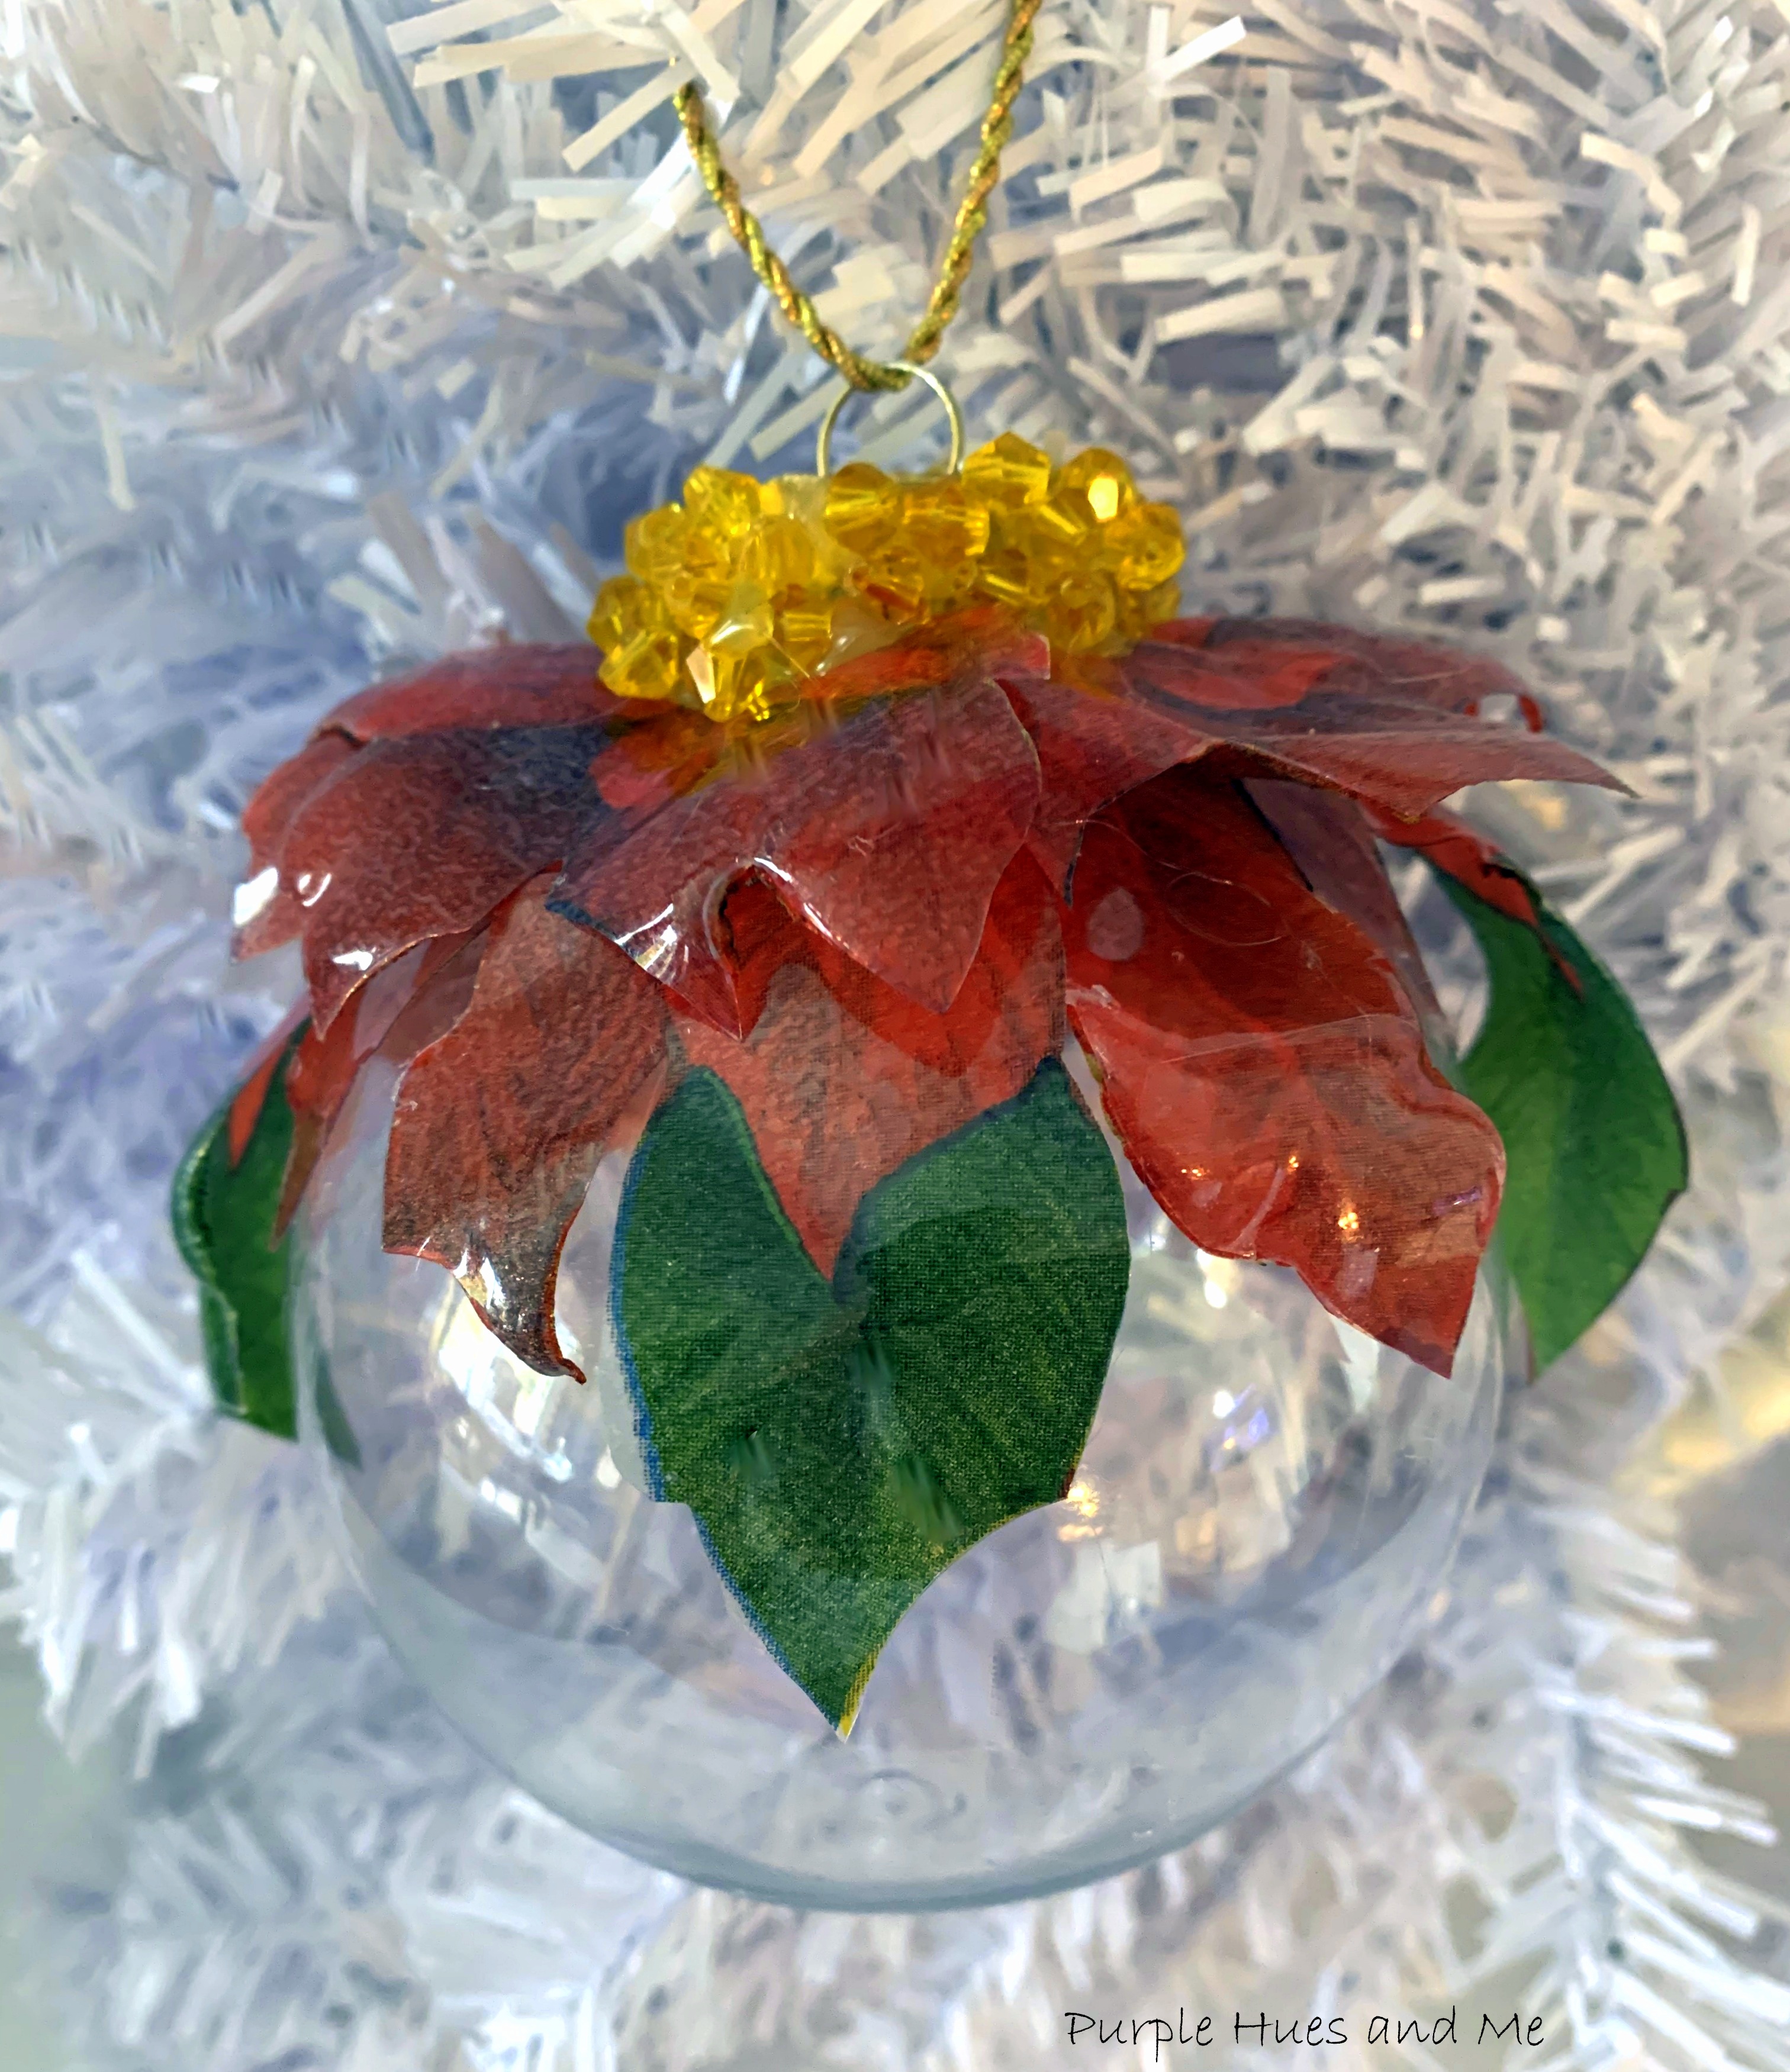
DIY 3D Decoupage Poinsettia Ornament


We all know that decorating our Christmas trees is one of the best parts of the holiday season, and creating homemade ornaments certainly adds a personal touch to it all! So it's definitely fun when we discover unique ways to make our tree ornaments. Today, I'm joining a group of creative bloggers sharing their ideas on making gorgeous Christmas ornaments. A big "Thank You" to our host, Shae from Sweet Southern Grace for hosting this awesome blog hop! 

Recently, I was having a Let's Get Crafty class on making 3D decoupage flower napkins on glass and thought it would be fun to make Christmas ornaments using the same technique. And one of the participants offered her poinsettia napkins for me to use on the ornament. Isn't this napkin pretty! Can you visualize it on an ornament? I can, but not in the usual front placement! Although that would be lovely, too! I want to place the 3D poinsettia around the opening of the ornament and have it flaring out from the top. After all, flowers are usually upright, lol! 

Thursday, July 21, 2022

Purple and White Checkered Ornaments

Christmas in July is one of my favorite times of the year - it's when I get to
create adorable Christmas ornaments free of any stress and hassles! You know I love purple, so most of the ornaments I create have some type of purple color
going on, lol! For this project, I pulled out my checkerboard stencil, wood rounds, silicone molds, and purple and white paints to create a simple but beautiful ornament to hang on my tree. And the best part - you can make some too using any paint color you like to go with your holiday decor, just like I have!

Wednesday, December 1, 2021

DIY Chunky Glitter Glue Ornaments

Hello and Welcome! It's the first Wednesday of December and you know what that means - it's time for our monthly DIY Challenge hosted by Terrie @Decorate & More with Tip! In case you don't know about this DIY Challenge, on the 1st Wednesday of each month, a group of talented bloggers create something based on a theme or material that's selected by Terri! This month's theme is a Christmas Challenge - make anything pertaining to Christmas! How easy is that!
I love making my own Christmas tree ornaments each year! To my excitement this year, I got a purple flocked tree! I'm loving this tree - although I wish it was taller. 

It's only 4.5 feet tall and needs to sit on a table.  I wanted to do something different from my usual purple decorated white trees that I've done in the past like here, here, and here.  So I came up with the color theme of using rich purple and lavender hues. But finding different or unique purple ornaments in stores was quite elusive this year. This is not the year for purple ornaments! So I decided to make my own. And you won't believe what I used to make lots of handcrafted ornaments! Super Chunky Glitter Glue!


It's called Fairy Princess and doesn't it look gorgeous! Look at all those purple glitter tones! I found it at Hobby Lobby and bought all that they had from two stores - six bottles! That was more than enough to decorate thirty clear plastic ornaments. That's it! Nothing else was needed! Of course you'll need bamboo sticks and styrofoam to hold them while they dry - but that's a given.
Here's how:
I started with six large 3.27" clear plastic ornaments I had in my stash to see how they would look.  I didn't bother to clean or wipe the ornaments down first. They looked clean to me, lol!  I just started adding about an inch or more of the glitter glue along the middle of the ornament all the way around. 
As I was applying the glue, I began adding 'rays' or extensions of glue along each side. 
All I can say is have fun creating the design along the middle! You can make it as thick as you want! It doesn't have to be perfect!
See how the chunky glitter adds dimension and texture to the surface of the ornament? It's really a cool look and feel once it's dry.  
If you're satisfied with the glitter glue design, hang the ornaments up to dry. I used a rod to hang these ornaments over an empty plastic container.
Once these were dry, I loved the look so much that I bought a box of 24 smaller ornaments to make more!
 

And when I finished decorating them, used bamboo sticks stuck in packing styrofoam to hold them up while drying.


It took a good 24 hours for the glitter glue to dry!

Don't they look pretty on my purple flocked tree!


Oh, and you can check out how I made these lovely velvet wrapped ornaments here!


Be sure to visit  all the creative bloggers listed below to see their wonderful Christmas creations, too:

Decorate and More with Tip

Patina and Paint

Blue Sky at Home

The House House

Blessings By Me

Purple Hues and Me

Sweet Southern Grace

LeCultivateur

Hootshack


Wednesday, November 3, 2021

My DIY Christmas Ornaments Round-Up

This is a 2022 update from a previous post that includes my latest ornament creations.

Disclosure I am a participant in the Amazon Services LLC Associates Program, an affiliate advertising program designed to provide a means for us to earn fees by linking to Amazon.com and affiliated sites, this post may contain links. I may receive a very small commission at no cost to you! The affiliate money I earn helps pay my crafting expenses. Thanks so much for your support!

It's that time of year when we're  thinking about or actually decorating our Christmas trees and making ornaments for them. I love making handcrafted ornaments and created a  round-up of some of the ornaments I've made from years past. Thirty-six of them, in fact!

Here, you will find fabulous handmade ornament tutorials - everything you need to create the most beautiful, one of a kind, unique ornaments for your tree! So get ready to transform your Christmas tree with these impressive ornament creations!

Check out my awesome ornament tutorials by clicking the titles below from the four groups: