Monday, September 12, 2022

Loopy Yarn Wrapped Pumpkin

I was in Hobby Lobby recently, trying to take advantage of their fifty percent off on Fall and Christmas items. So naturally I'm going aisle by aisle looking for goodies when I came across loopy yarn in maroon, pink and white! Wow, I was loving the color combination! Now, I don't crochet or knit so I immediately thought of wrapping it around a pumpkin! There are so many ways to use loopy yarn! You should see the fabulous wreath my blogging friend, Michelle @Our Crafty Mom, made with loopy yarn.

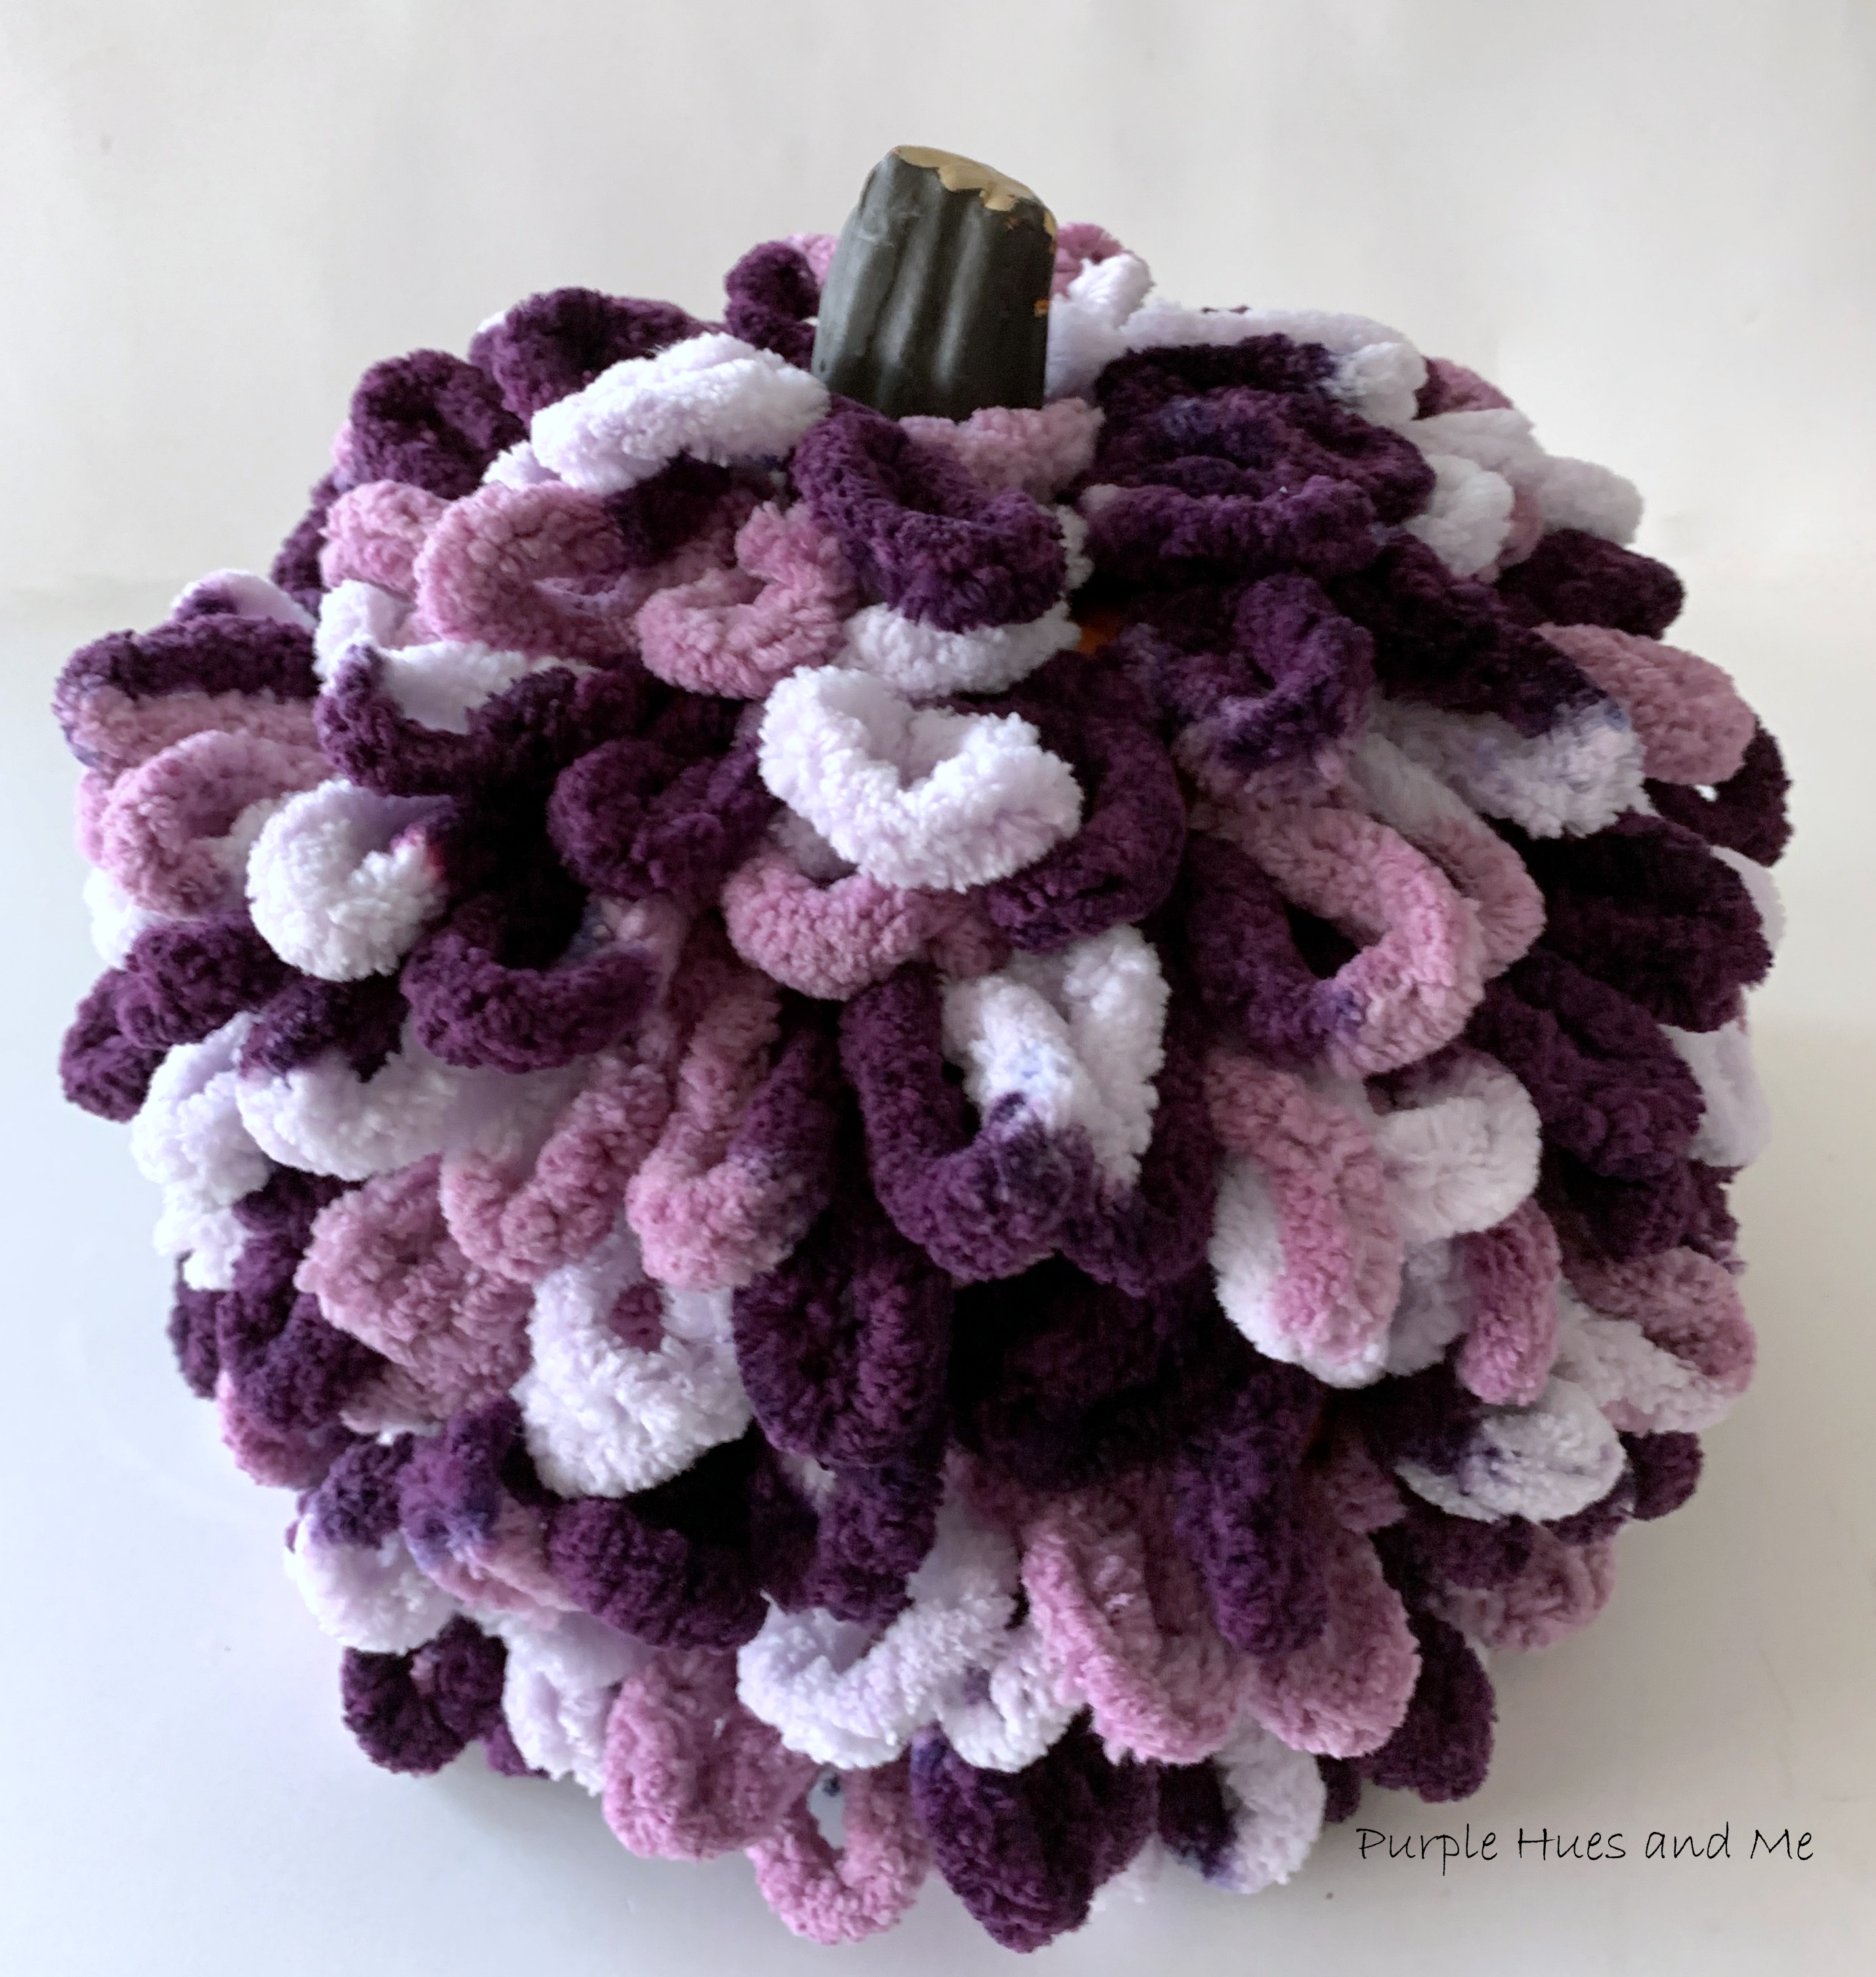
But how hard would that be to wrap a pumpkin? At first, all of five minutes - from start to finish! Here's the yarn and pumpkin!

 After putting a few strips of double sided tape around the pumpkin, began laying the loopy yarn on top and around the pumpkin!
               

Going around and around .  .  .
until the pumpkin was completely covered. I think this might be the quickest craft I've ever done!
But wait! Look at that stem! Mercy me! It didn't look good - at all!!! But what was I going to do?

Tuesday, September 6, 2022

Nature Inspired Pinecone Fall Swag


Fall is here and what fun it is to look in your outdoor surroundings for goodies to make nature-inspired craft projects! Welcome to our Sustainable Pinterest Challenge Blog Hop hosted by Julie @Sum of Their Stories. The purpose of this Pinterest Challenge is to motivate all of us to create a project that a) is inspired by a pin on one of our Pinterest boards and b) have some sort of a sustainable element to it. This could be an upcycling or recycling element, or something that reduces waste, uses leftovers, etc. September's blog hop theme is Nature - which makes it very open to interpretation for creating a project! I was inspired by this pin for this challenge.


Amazing natural treasures can be found outdoor for crafts of all kinds. In my neighborhood, those of us (me) living on the north side of my street have an open hilly berm surrounding our backyards and it's filled with lots of pine trees and ornamental grasses among other pretty garden foliage. 

For my project, I just walked up the berm and picked a few pinecones off the tree limbs.
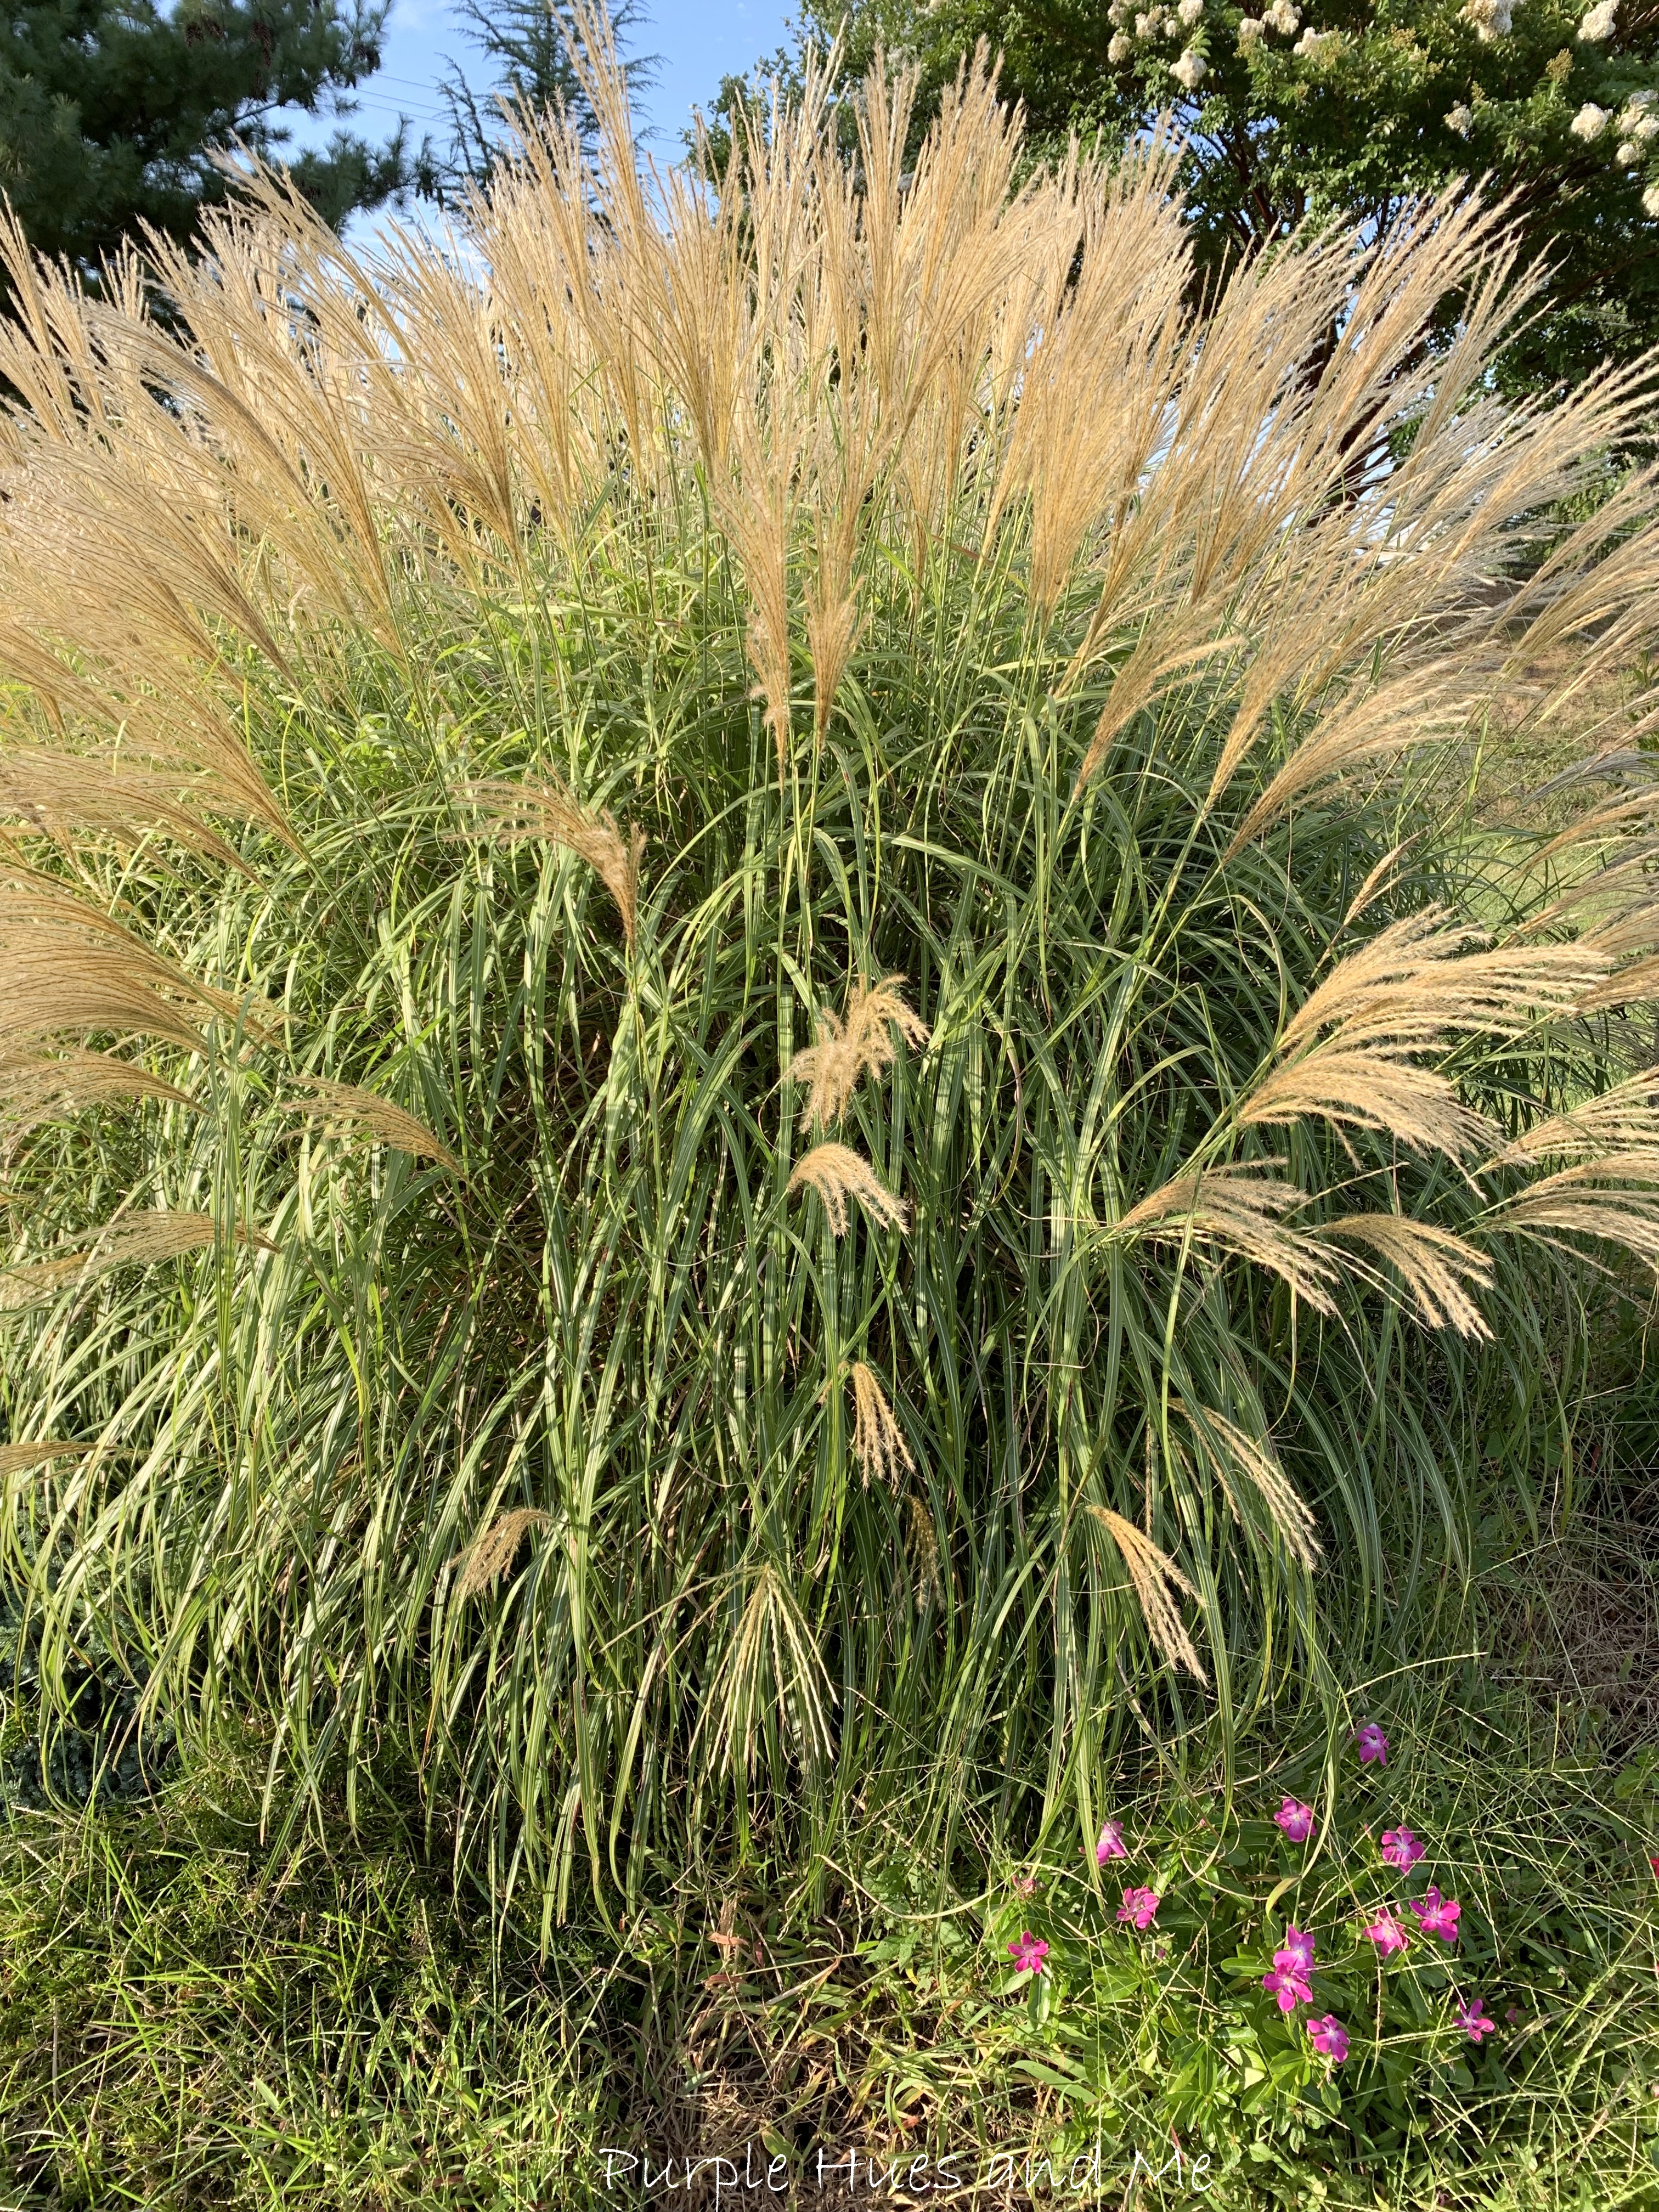
And this ornamental grass happens to be in my yard, so I snipped off a few plumes here and there!  They're great for pretty fall vases, too!

How to make a Nature Inspired Pinecone Fall Swag:

Materials:

  • Pinecones 
  • Plumes from ornamental grasses
  • Ribbon (1.5") and Bowdabra bow wire
  • Beacon Quick Grip adhesive
  • Faux leaves and berries
  • Scissors
  • Clamps


Since I picked the pine cones off the tree, I didn't think there were any bugs in them. They looked clean so I didn't put them in water and detergent first - as some recommended. I do know there was lots of sap since the cones were very sticky. I don't think water and or detergent would have helped removing the sap, though. It was very hard to remove the sap from my hands by scrubbing with soap and a paper towel so I know it would have been harder to try removing the sap from the pine cones. Anyway .  .  .

I began by spreading nine pinecones out on a large baking sheet covered with parchment paper and baking at 225 degrees for about 30 minutes. 
Baking them helped to remove some of the sap (by dripping onto the parchment paper) and the remaining sap on the pinecones spread out along the scales making them quite shiny. Once the pinecones cool off, the sap dries to a nice shiny finish. 

Next, cut strips of ribbon, starting at 22 inches - and gluing each ribbon on with  Quick Hold adhesive by the makers of E6000 instead of hot glue which is not good to use if you plan on hanging the swag outside. And .  .  .
cutting the next 19 strips down by approximately 2 inches each. The last strip being 6" long - for a nice cluster look when placed together.
   
Decorate the top of each pine cone by gluing on stems of ornamental grass, faux leaves (since the real leaves haven't start to turn yet)and berries.
Dovetail all the ribbon ends including the end hanging on top of the pine cone by folding each ribbon together at the end and cutting at an angle from the fold to the opposite end creating a "v" shape.

And finally, make a six loops bow ribbon secured with bow wire and .  .  .

wrapping the wire around the ends of the pinecone ribbon and knotting together, creating a loop in the back for hanging.
Now, it's time to meet the other Sustainable Pinterest Challenge participants and their "Nature" projects!

Sunday, September 4, 2022

Thursday, August 18, 2022

Clay and Raffia Bowl Oopsies

Hey guys! Have you ever thought you loved working with a medium and then after a few successful projects discovered working with it is not what you thought! Here's my story:

I wanted to make a project using clay and raffia. I started this project too confident that it would turn out ok - a work of art (Ha!) or so I thought! I had worked with clay before and didn't foresee any problems, but then the problems began right away! But I must confess, it's my fault! I had no problems making this  this and this out of clay but with this one, things just didn't go as planned. 

Every month I look forward to participating in the Creative Craft Hop, hosted by Sara @Birdz of a Feather. And since I already had air dry clay left over from a previous project and loads of different colors of raffia for a project that never materialized I was all set to make a clay and raffia bowl for this hop! As I show you how I created one, I'll point out my oopsies as I call them!

Monday, August 8, 2022

Ceramic Candle Lantern Update

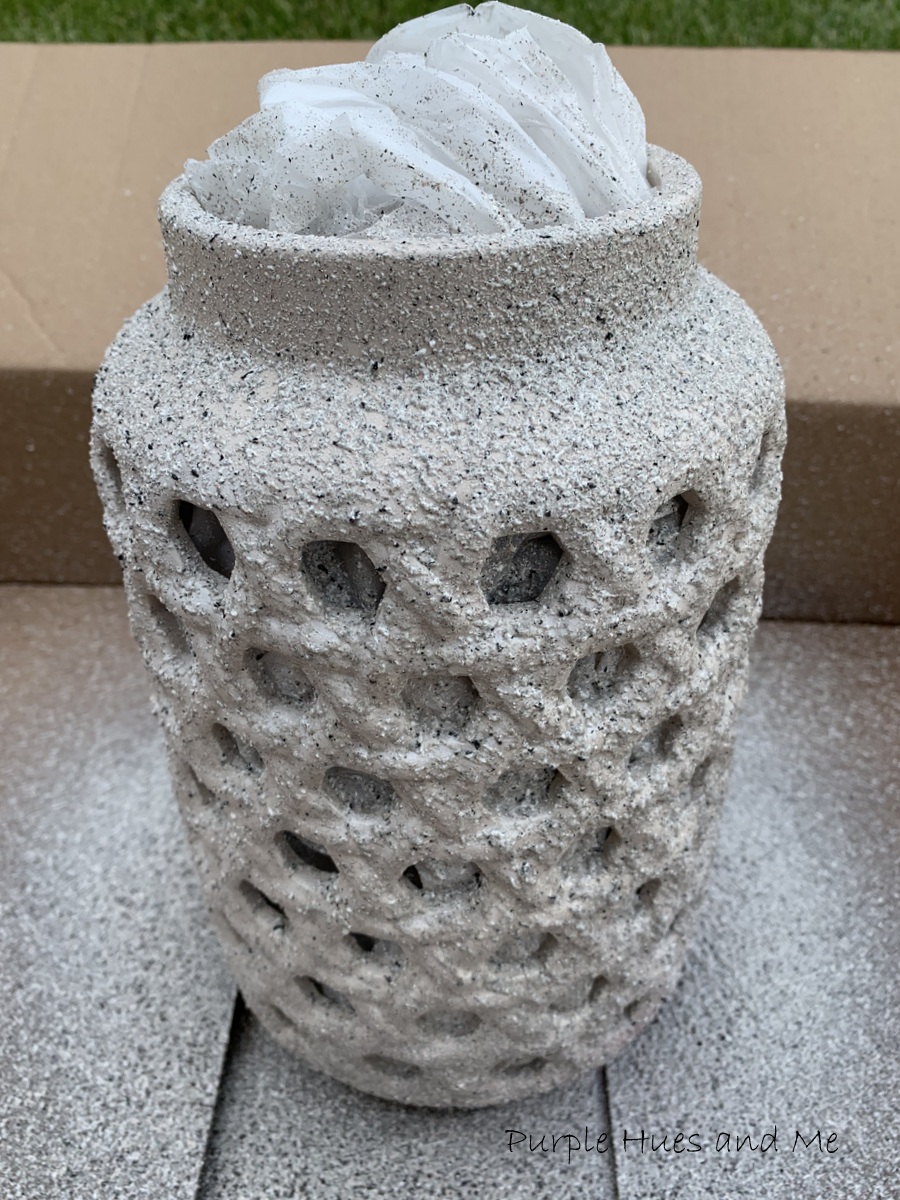
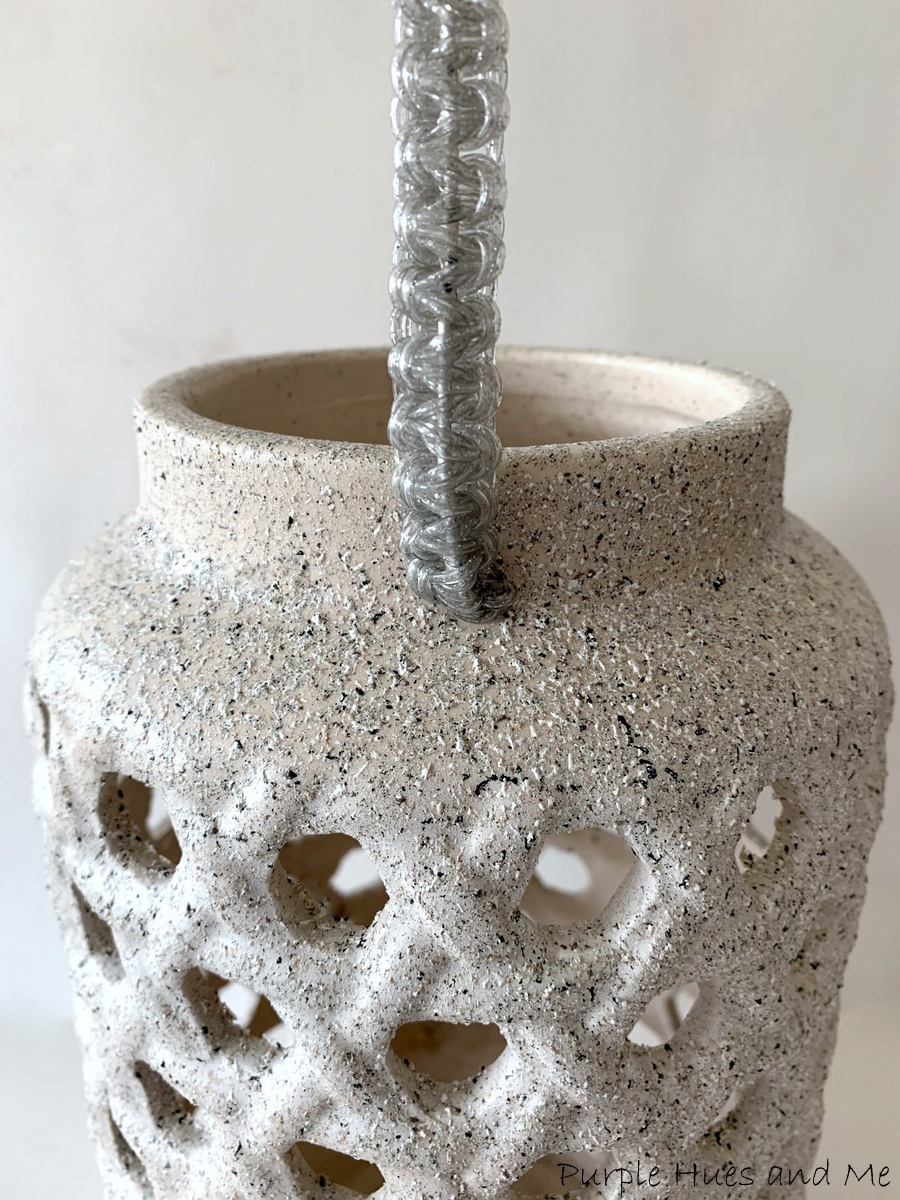
Breathe new life into a discarded candle lantern by changing the finish and giving the handle a brand-new macrame look! For this project, I'm using Krylon's Stone Coarse Texture spray paint in a charcoal sand color and something called  S'getti String in silver sparkle. It's a round, hollow tube made from PVC plastic. This cord is used to make crafts such as key fobs, lanyards, jewelry, and other accessories and is perfect to macrame on a handle.


I rescued this candle lantern among other things from my neighbor's moving pile of trash! You can clearly see the fibers on the handle are dry rotted and the ceramic finish looks cracked in places. Other than that the candle lantern is in pretty good shape -especially after a really good cleaning!


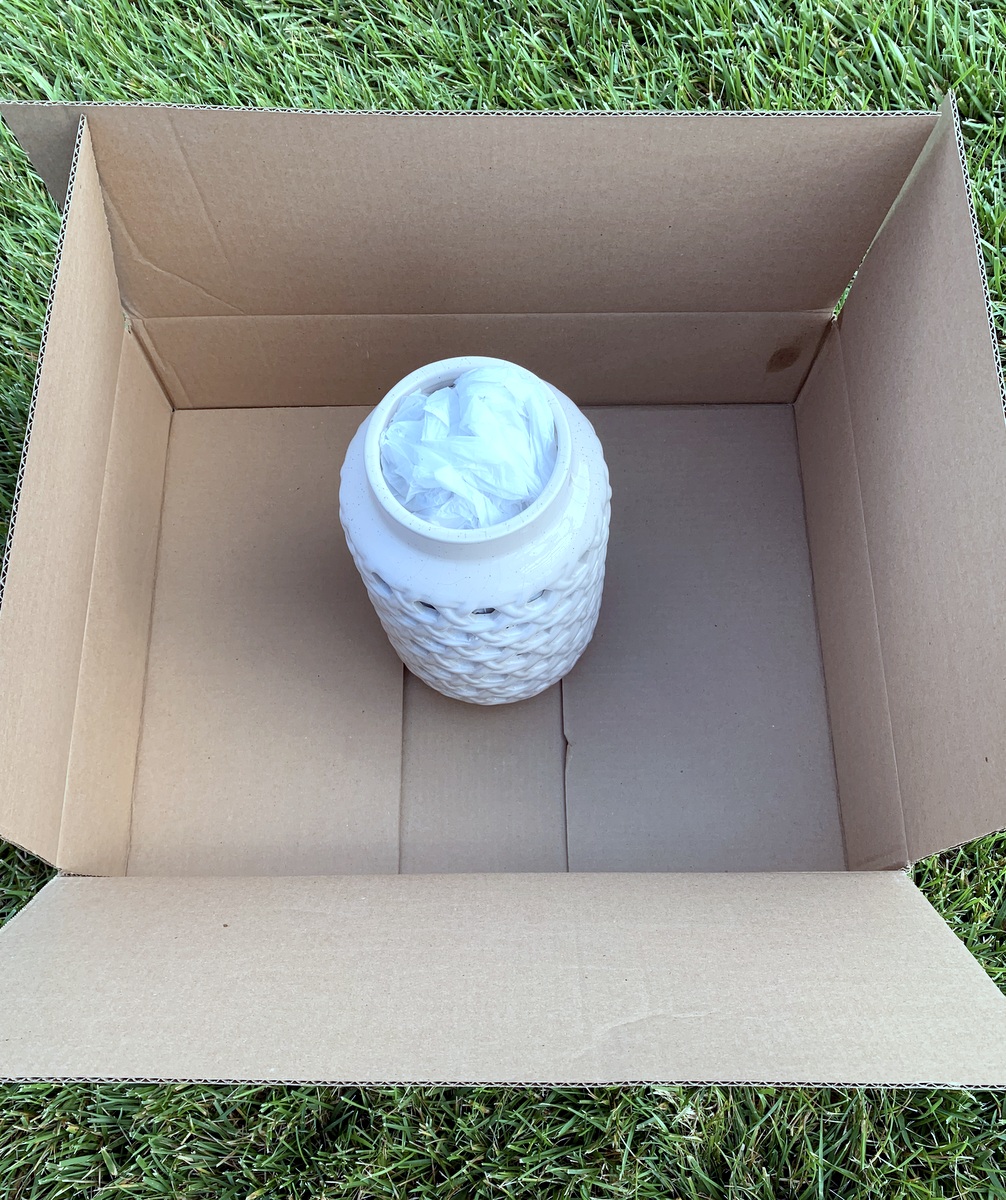
I remove the handle before cleaning and once the lantern was completely dry, stuffed the interior with a plastic bag stuffed with newspaper to prevent the textured paint from getting on the finish inside which was in good condition.

Then placed the lantern in a cardboard box outside to spray paint.


The directions on the can said to wait 15 minutes between coats and dries in 30 minutes  and can be handled in 5-6 hours.  No way was that true for me. I left the spray painted lantern outside in 90 degree weather for 3-4 hours before it was dry and then it was still quite tacky. And I put it inside overnight before handling the next day, too.


Drying upside down.

To macrame the handle, I had to pull off the woven rotted fibers from the wire which was in very good shape to reuse.
And then painted the wire handle a very light metallic gray to match the color of the cord. (not shown)

The next step is to determine how much cording is needed to macrame the wire handle. Since I had already macrame a wire pumpkin, I went with the measurements I use there. That is: find the length of the handle and  to multiply 4-6 times the length of the handle, and then double that amount. So from end to end of the handle, the lenght was rounded off to 20 inches. Multiply that by "5" = 100 and double that - 200 inches. Since the cord was rather thin, I used two, 200" length of cords.

For this handle, we will be making a square knot using the two folded cords as one cord. Begin by folding the two cords in half and placing the middle of the folded cord at the curve of one of the end hooks. Then tie the cords in a simple knot around the wire and push it at the curve near the end.
Next, pick up the left cord and make an "L" shape across the wire and under the right cord.

Then take the right cord under the wire and over the left cord (L shape) and out.  
Pull the right and left cords tight with the wire in the center to complete the first half knot.
Then mirror the process working with the opposite side cords, creating a backward "L" shape across the wire and under the left cord. Then take the left cord under the wire and over the right cord and out pulling cords tight.


Continue tying the square knot along the wire handle until reaching the end.
Once you reach the end, tie cords in a double knot, cutting off excess cords. and securing ends with a quick  drying  multipurpose glue.  Then push the cords together to expose the hooks and attach to lantern.
                                                                     

The stone finish and macrame handle gives the perfect finishing touch to a worn out look. 


Perfect for anywhere outside - patio, porch or backyard! Anywhere that needs an extra outdoor glow.. 


Light your patio or outdoor space and create a charming unique piece of decorative lighting. Simple add an LED remote control light inside this lantern and watch it illuminate throughout the openings all around.


I hope you enjoyed how I updated a discarded candle lantern that was destined for the trash into a beautifully stone finish with a macrame handle! Created especially for this month's Old to New Challenge Blog Hop! I've joined a group of creative bloggers to bring you a themed monthly challenge blog hop on the 2nd Monday of each month, hosted by Beverly @Across the Blvd.
                           
Meet this month's Co-Hosts: and their awesome projects:

Be sure to click below to see the Creative Ideas from the co-hosts!

Tuesday, August 2, 2022

Upcycled Tin Can with Decorative Top

Welcome to our Sustainable Pinterest Challenge Blog Hop hosted by Julie  @Sum of Their Stories. The purpose of this Pinterest Challenge is to motivate all of us to create a project that a) is inspired by a pin on one of our Pinterest boards and b) have some sort of a sustainable element to it. This could be an upcycling or recycling element, or something that reduces waste, uses leftovers, etc. This month the theme is "Upcycled" which includes transforming usually discarded or unused items into something different, new or useful. And I'd like to say in the crafting world, it's called "Creative Reuse!"
I love upcycle projects! For this theme, I get to shop my stash to upcycle something from it and not have to go out and buy anything - so it's a win win for me! Let me tell you I have lots and lots of discarded cans and bottles! I am very thankful that I have a good natured hubby who never complains about all the trash - I mean, items I keep, lol! He is a very neat and organized person, while I am not!  Our garage is looking quite messy right now with bags and bags of discarded containers - all being held for projects like this one.

For this theme, I knew I wanted to decoupage a tin can and I also knew I wanted to make a top for the can, too. Having a top makes it extra special and for a good storage item. And is definitely one way to help reduce household waste! 

I was perusing through Pinterest when I came across this pin which showed a can with a lid. That looked ok but I wanted to make a top that would stand out and be decorative - something I just couldn't find on any projects on Pinterest. Oh, I've made a top before - for a vase out of a styrofoam ball - which I thought was very cool. But this time I'll be making a top from a plastic juice bottle. Does that make you want to read more?