Showing posts with label pine cone crafts. Show all posts

Tuesday, September 6, 2022

Nature Inspired Pinecone Fall Swag


Fall is here and what fun it is to look in your outdoor surroundings for goodies to make nature-inspired craft projects! Welcome to our Sustainable Pinterest Challenge Blog Hop hosted by Julie @Sum of Their StoriesThe purpose of this Pinterest Challenge is to motivate all of us to create a project that a) is inspired by a pin on one of our Pinterest boards and b) have some sort of a sustainable element to it. This could be an upcycling or recycling element, or something that reduces waste, uses leftovers, etc. September's blog hop theme is Nature - which makes it very open to interpretation for creating a project! I was inspired by this pin for this challenge.


Amazing natural treasures can be found outdoor for crafts of all kinds. In my neighborhood, those of us (me) living on the north side of my street have an open hilly berm surrounding our backyards and it's filled with lots of pine trees and ornamental grasses among other pretty garden foliage. 

For my project, I just walked up the berm and picked a few pinecones off the tree limbs.
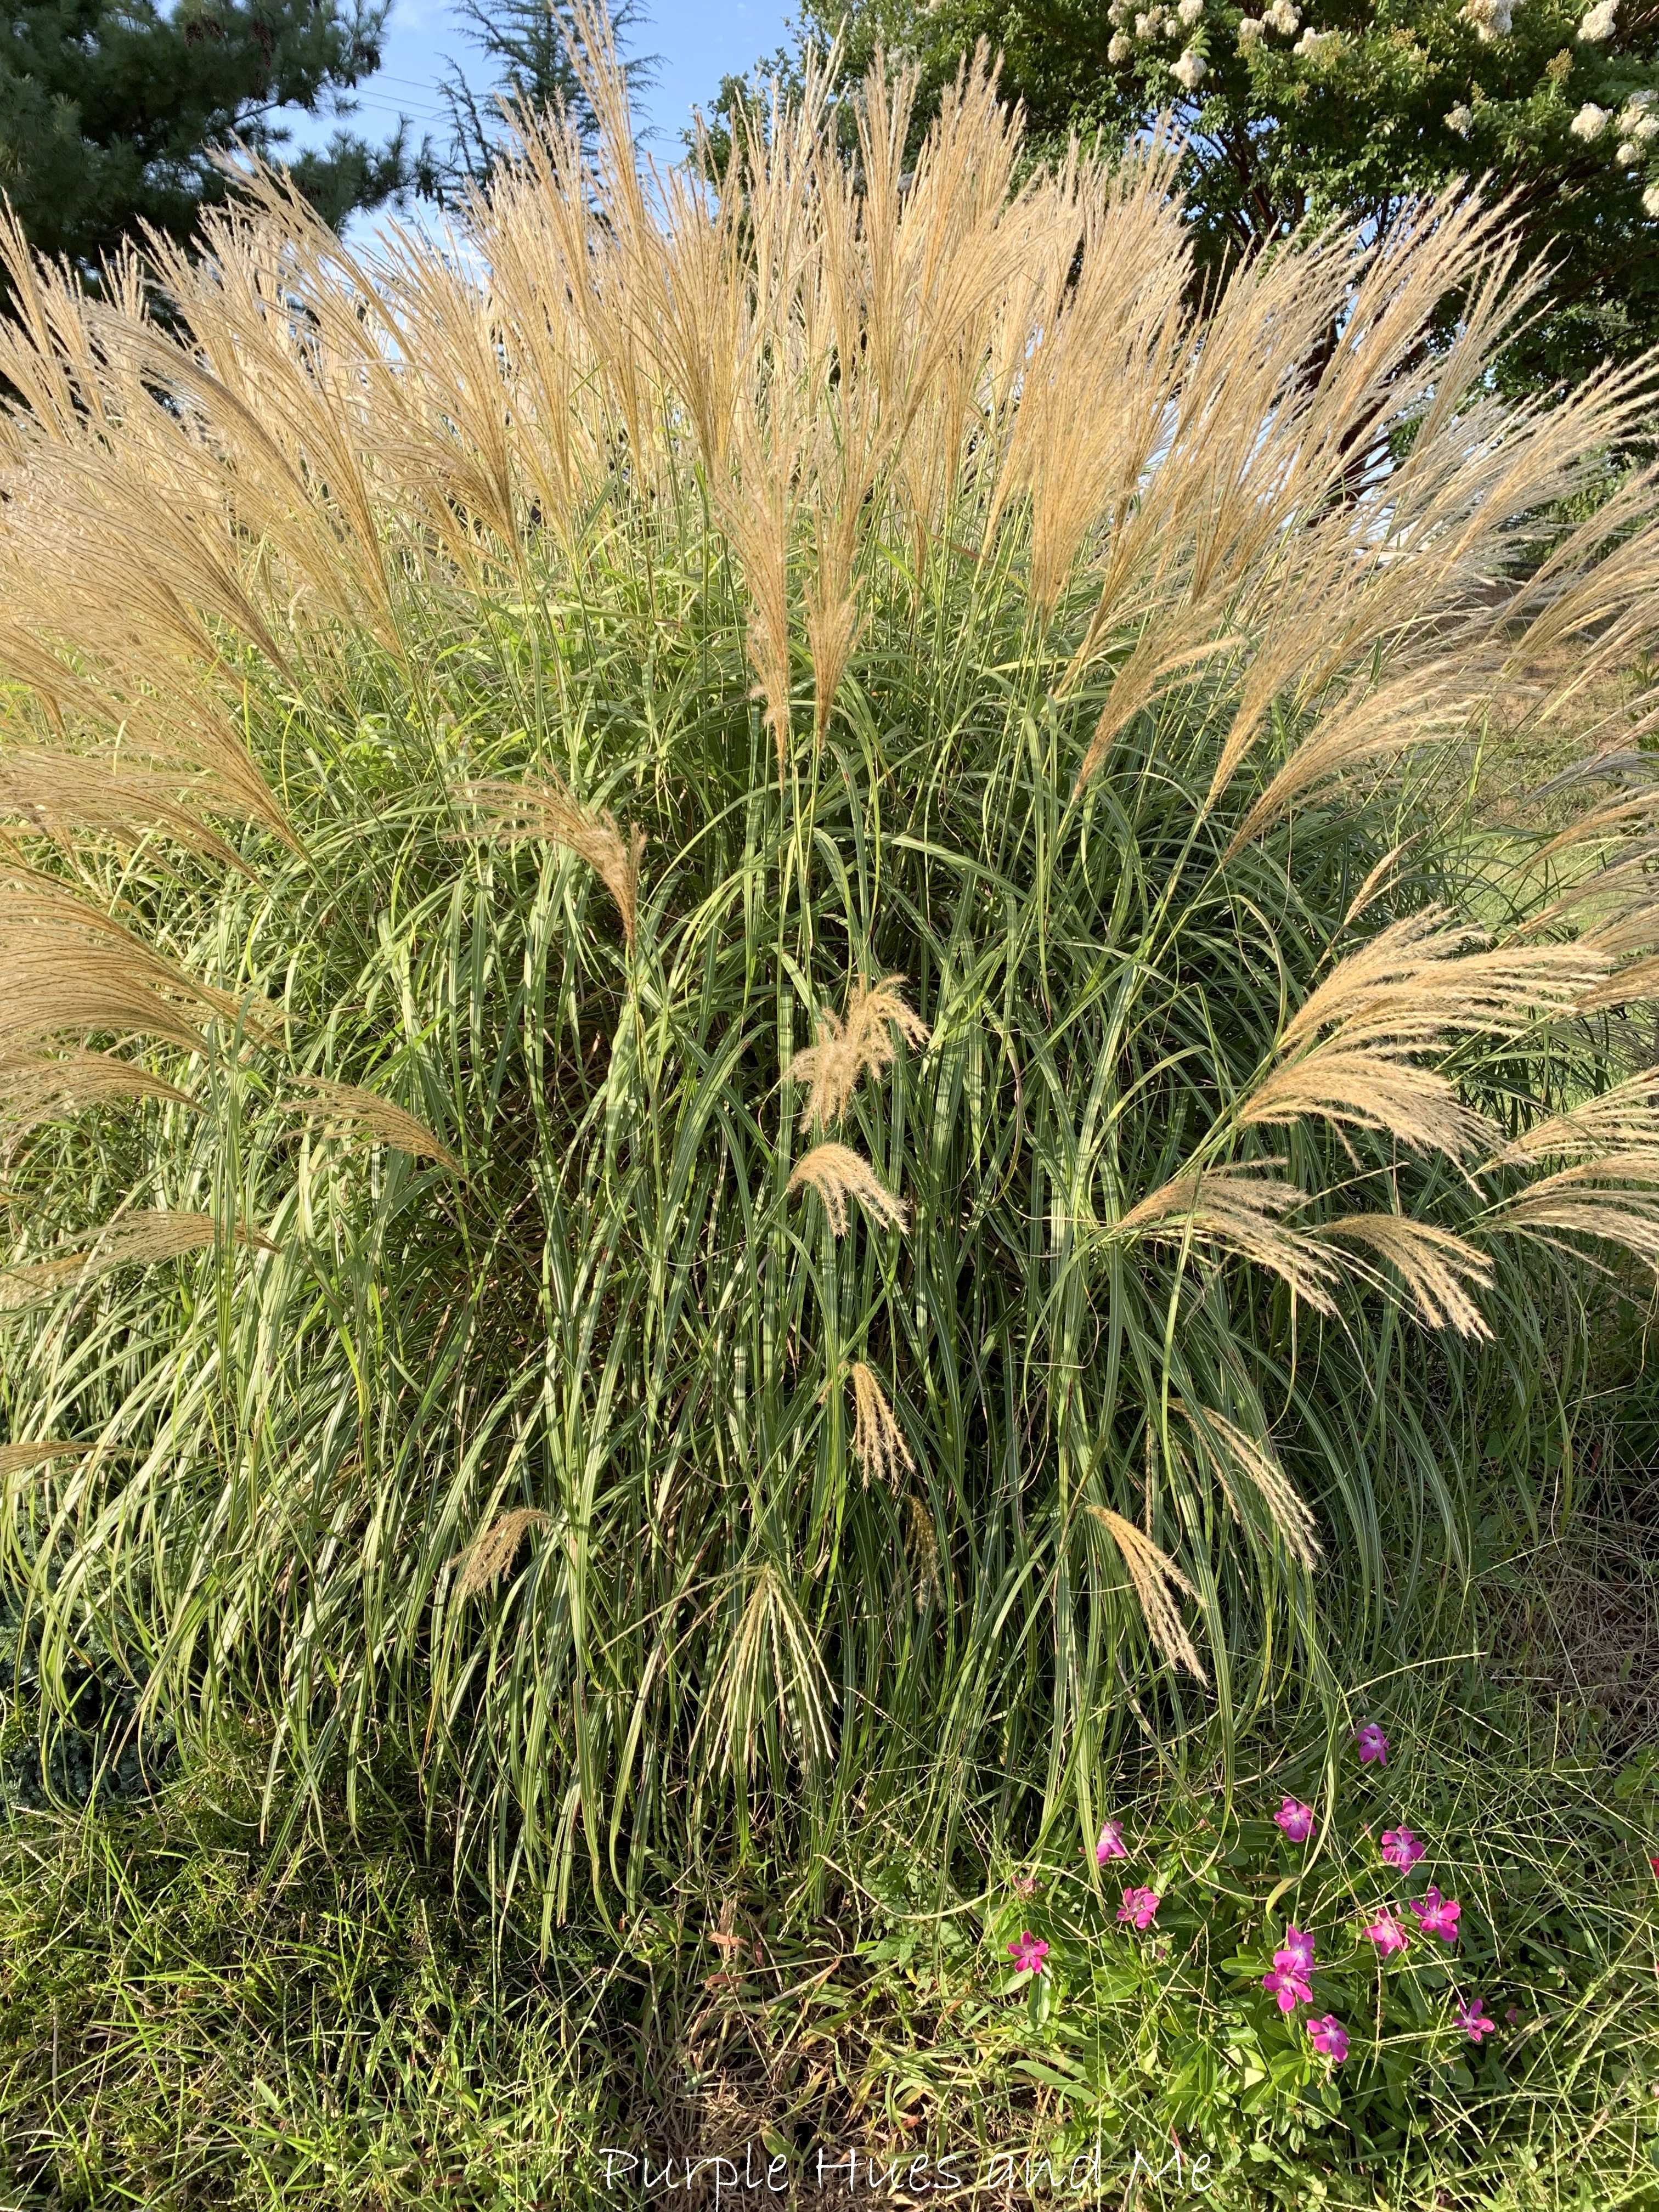
And this ornamental grass happens to be in my yard, so I snipped off a few plumes here and there!  They're great for pretty fall vases, too!

How to make a Nature Inspired Pinecone Fall Swag:

Materials:

  • Pinecones 
  • Plumes from ornamental grasses
  • Ribbon (1.5") and Bowdabra bow wire
  • Beacon Quick Grip adhesive
  • Faux leaves and berries
  • Scissors
  • Clamps


Since I picked the pine cones off the tree, I didn't think there were any bugs in them. They looked clean so I didn't put them in water and detergent first - as some recommended. I do know there was lots of sap since the cones were very sticky. I don't think water and or detergent would have helped removing the sap, though. It was very hard to remove the sap from my hands by scrubbing with soap and a paper towel so I know it would have been harder to try removing the sap from the pine cones. Anyway .  .  .

I began by spreading nine pinecones out on a large baking sheet covered with parchment paper and baking at 225 degrees for about 30 minutes. 
Baking them helped to remove some of the sap (by dripping onto the parchment paper) and the remaining sap on the pinecones spread out along the scales making them quite shiny. Once the pinecones cool off, the sap dries to a nice shiny finish. 

Next, cut strips of ribbon, starting at 22 inches - and gluing each ribbon on with  Quick Hold adhesive by the makers of E6000 instead of hot glue which is not good to use if you plan on hanging the swag outside. And .  .  .
cutting the next 19 strips down by approximately 2 inches each. The last strip being 6" long - for a nice cluster look when placed together.
   
Decorate the top of each pine cone by gluing on stems of ornamental grass, faux leaves (since the real leaves haven't start to turn yet)and berries.
Dovetail all the ribbon ends including the end hanging on top of the pine cone by folding each ribbon together at the end and cutting at an angle from the fold to the opposite end creating a "v" shape.

And finally, make a six loops bow ribbon secured with bow wire and .  .  .

wrapping the wire around the ends of the pinecone ribbon and knotting together, creating a loop in the back for hanging.
Now, it's time to meet the other Sustainable Pinterest Challenge participants and their "Nature" projects!

Monday, November 18, 2019

Pine Cone Acorn Ornament DIY


The holiday crafting season is on!  And if you're like me, there are so many projects you have in mind to create!  And the best part is when you don't have to run out and buy the materials you need to make them! That's why I love joining the Craft Room De-Stash Challenge each month - to be inspired to use what I already have in my stash!  

 Every month a group of bloggers are challenged by Megan @ C'mon Get Crafty to create a new craft or project from their own stash of goodies! Everyone is allowed a $10 allowance for necessities to complete their project (i.e. paint brushes, glue, etc), but the bulk of it must be created from their own stash of goodies.

For this challenge, I'm making an Acorn Ornament using a paper mache egg, twisted cord trim, pine cones, hot glue, mod podge and glitter. All found in my stash! So it costs me absolutely nothing to make! And I really like that!!!!
Let's start by wrapping the 5 inch paper mache egg with trim that I got a few years ago but never used.   First, place a dab of hot glue on the center end of the narrow portion of the egg and begin rolling the trim together as tight as possible in a coil on top of the glue. Do not cut the trim off the roll until finished wrapping.
Continue wrapping the trim around the egg, adding a dab of glue to secure trim as you wrap .  .  .

until the egg is just about covered with trim.  To finish, place a dab of glue in the center and coil trim as tight as possible like in the beginning, cutting off excess trim and securing in place in the middle.
Next, it's time to remove the individual scales from the pine cones. I've done quite a few projects using pine cones, and still had plenty left over in my stash.  But, I must say the store bought pine cones seem to be the best for removing scales. They don't crumble and split like the ones found on the ground. And the easiest way for me to remove the scales was to start at the base of the cone.  Here the first few rows of scales are easily removed with your fingers.  They come off rather quickly. Once you've gotten these off,  the larger ones might be a bit more difficult and you will need something like the flat head of a large screwdriver to pry them off.
Once you've removed about 75 or more scales from pine cones - depending on the size of the egg, begin cutting off the tips to make all of them somewhat even in size.
Then pick a spot on the trim wrapped egg to start placing the scales (to look like an acorn.) Begin with the larger pieces and hot glue them on in a row around the egg.
Once the first row is finished, stagger the placement of the pine cone scales for the second row, overlapping the first row and so forth.
Continue gluing on the scales, staggering and overlapping each row .  .  .
as you move toward the top.


And then begin using smaller scales closer to reaching the top.
Just before closing the top with pine cone scales, make a hanging loop out of the trim by folding a strip together and knot. Then hot glue to center. Glue on additional scales to close. 

For a decorative effect, paint Mod Podge on the scales and sprinkle with glitter. Let dry and brush off excess loose glitter. 


Disclosure I am a participant in the Amazon Services LLC Associates Program, an affiliate advertising program designed to provide a means for us to earn fees by linking to Amazon.com and affiliated sites, this post may contain links. I may receive a very small commission at no cost to you! The affiliate money I earn helps pay my crafting expenses. Thanks so much for your support!

Every month, a group of bloggers challenge each other to create a new craft or project from their own stash of goodies! Check out some awesome creations you might be able to make from your own stash! #CraftRoomDestashChallenge   Let's meet this month's bloggers!!