It's time for the July Pinterest Challenge Blog Hop, hosted by Erlene @My Pinterventures! The purpose of the Pinterest Challenge is to motivate us to not just pin, but to make it happen! This month's challenge is a choice of our own project! I don't know about you, but I love the boho look of macrame feathers! The knot tying technique is one that you can apply to lots of decorative items like wall hangings, pendants, earrings, key chains, garlands and even wreaths! All giving off cool boho vibes! There are lots of tutorials on how to make macrame feathers on Pinterest, but I was quite intrigued to make one with the very first macrame feather diy I found here. To start, cut a 36" length of yarn for the feather stem . . . there are a variety of yarns, cords and ropes in different sizes and widths that can be used to make this type of macrame feather - mostly in natural or off white colors. I wanted to make a colorful one, so I'm using a yarn that I already had on hand.
Fold the strand in half together and place on your work surface with the loop at the top. Then take a seat in front of a good movie on tv or listen to music and start cutting about 102 shorter pieces of yarn, 15" long. This project is quite time consuming!
Once all the strands of yarn are cut, take two 15" strands together and fold in half evenly and place under the stem - with the loops facing to the right.Since the yarn is rather thin, I'm using two strands together each time for a fuller look.
Next, take two more strands, fold together and insert the loops through the first loops, pulling it through and over the stem.
Then lift up the ends of the first strands pulling them through the loops of the second strands . . .
pulling the ends in opposite directions to form your first slip knot. Looking at the knot, the loop is on the right side.
Next, repeat the steps for making the knot, only the strands will be alternated with the first loop under the stem facing to the left. In other words, take two strands together, fold and place under the stem with the loops facing to the left. Then fold strands evenly together and insert through the left loops . . .
pulling strands together . . .
to create the second slip knot. This time, the loop in the knot is on the left.
Continue alternating the direction of the loops - right, left, right, etc. to make the knotted strands.
Continue adding two strands together, alternating the direction of the loops and pulling the strands together . . .
to create a knotted decorative stem along the center.
Once all the strands are knotted, tie a knot with the stem strands at the bottom to finish the rows of knots.
Next, brush out the strands using a wire pet brush (which I didn't have). You have to hold down the stem area while brushing so you won't pull any of the knots out. And be especially careful around the bottom end. That area is easy to pull the knotted strands off the stem. I'm sure the type of yarn or cords you use will affect how it brushes out. I tried different brushes including a detangler paddle brush with bristle pins on the yarn and that didn't work either. At one point, I tried unraveling each strand which was unbelievably slow and unproductive and soon gave up on that! Then I remembered a small stiff brush I received with my air fryer oven and used that to brush the yarn out - but really, it just helped to smooth the yarn out but not any actual fluffing like a feather looks!
After brushing the front and back, time to trim the strands for a feather shape. Make sure you use a sharp pair of craft scissors. I started with a few different scissors and had problems cutting the yarn so I had to switch to a more heavy duty type to finish the look.
After my initial cut, I thought the feather still looked too wide . . .
So I cut a bit more off after the first cut for a much better look!
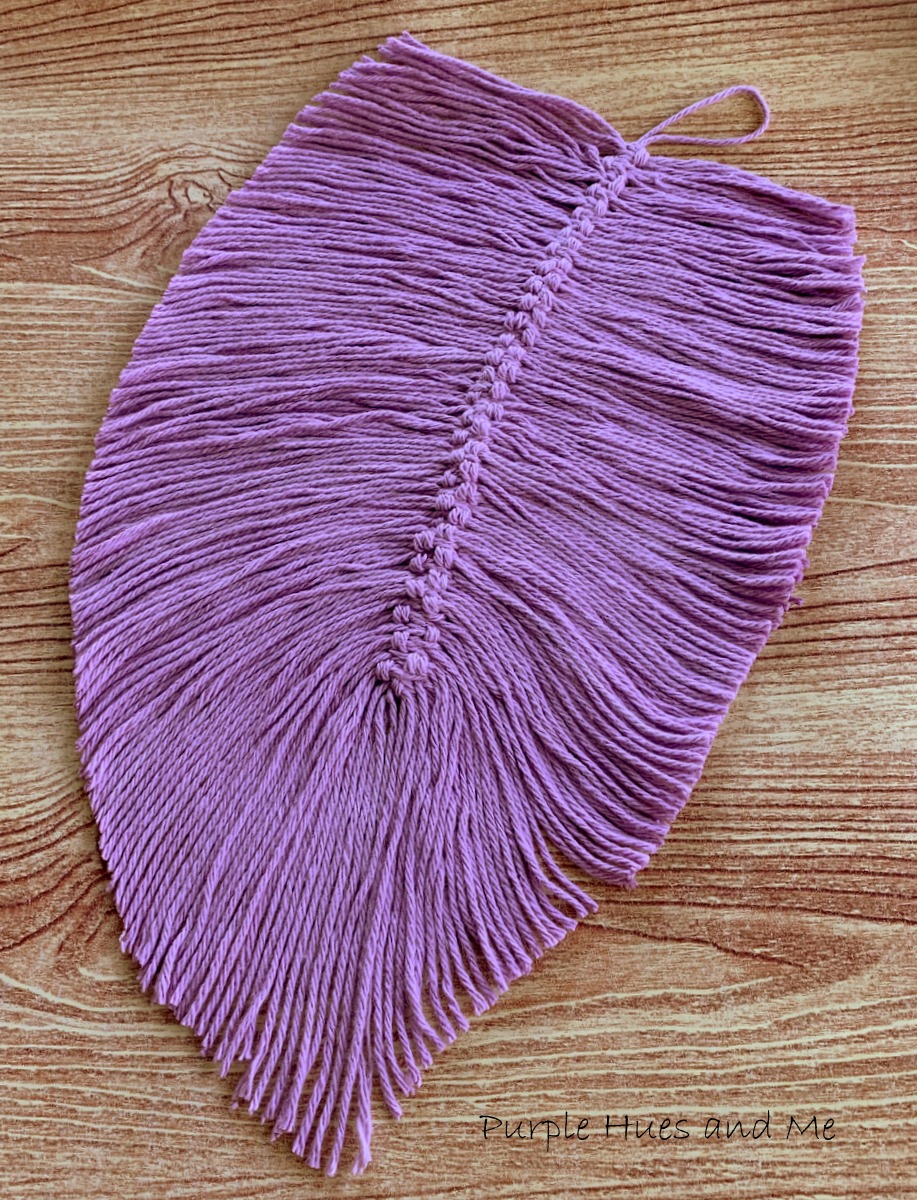
And finally, apply Mod Podge Fabric Stiffener to help keep its' shape.
So cool!
For more Pinterest inspired projects from this month's Pinterest Challenge hosts, check out the links below ↓
Got toilet paper? I know you do! That's something we can't live without! But have you ever thought about making something decorative with it? I know there are lots of crafts out made with toilet paper cardboard tubes! But this is the paper! Why not craft your time away making adorable toilet paper flower blooms! Great for home decor, party decorations or even gift toppers! It's so simple and easy! And the best part, you only need four items to make:
Toilet paper sections - 5 per bloom
Tacky glue
Scissors
Floral stem wire
Lets begin by tearing off five toilet paper sections from the roll.
Square each section by folding diagonally in half, cutting off the excess paper.
Then fold again, creating another triangle . . .
and fold one more time, making sure to line up the edges evenly, and smoothing the paper at the fold.
Now it's time to make the eight petal bloom to cut out! Here's a drawn-on line that shows you where to cut. But it's best to actually do this cut freehand - you don't want to put any marks on the paper.
Start cutting at the side open edges, just below the middle section, around the next open edges and ending slightly lower at the middle folded area. The cut area should begin and end evenly across the same point.
Here's how the petals look open:
Next, fold the petals closed, staggering in-between and not evenly lined up. Add tacky glue along the bottom edge . . .
and gather the edge, twisting together . . .
forming a small center stem. Then make four more blooms the same way and let dry.
Next, fold a square toilet paper section into 4 sections and cut out. You will need five, so cut out an extra one from another section. Then take one section and add a large dab of glue to center and along edges. Place a floral stem wire in the middle cupping paper around it . . .
to form a bud shape. Let dry.
Once the bud is dry, glue on the five flower blooms, one at a time, around the bud . . .
adjusting, curving and fluffing petals to form a larger flower.
Would you believe these lovely flower blooms are made from toilet paper? You bet! How cool is this!
Welcome to our Monthly Challenge Blog Hop! I've joined a group of creative bloggers to bring you a themed monthly challenge blog hop on the 2nd Monday of each month! This month it's Christmas in July and time to get a head start on making all things Christmas! I love making handcrafted ornaments for the holidays, but it can be quite stressful when you're trying to do a hundred other things! So now's the time to begin creating those pretty ornaments you've had in mind for so long! Here's an easy way of making gorgeous looking ornaments - if you have left over gimp braided trim like I do, how cool would it be to wrap a styrofoam ball around it and then top it off with a beautiful Bowdabra bow for a lovely Christmas ornament! It's definitely easy to make and yet very dramatic in design! Materials Needed: Styrofoam Ball Acrylic Craft Paint Ornament hanger (from broken ornament) Gimp Braided Trim Fabri-Tac Fabric Glue Mini Bowdabra, Bow Wire, Ruler and Wand 5/8" Sheer Metallic Trim Ribbon Disclosure I am a participant
in the Amazon Services LLC Associates Program, an affiliate advertising program
designed to provide a means for us to earn fees by linking toAmazon.com and affiliated
sites, this post may contain links. I may receive a very small commission at no
cost to you! The affiliate money I earn helps pay my crafting expenses. Thanks
so much for your support!
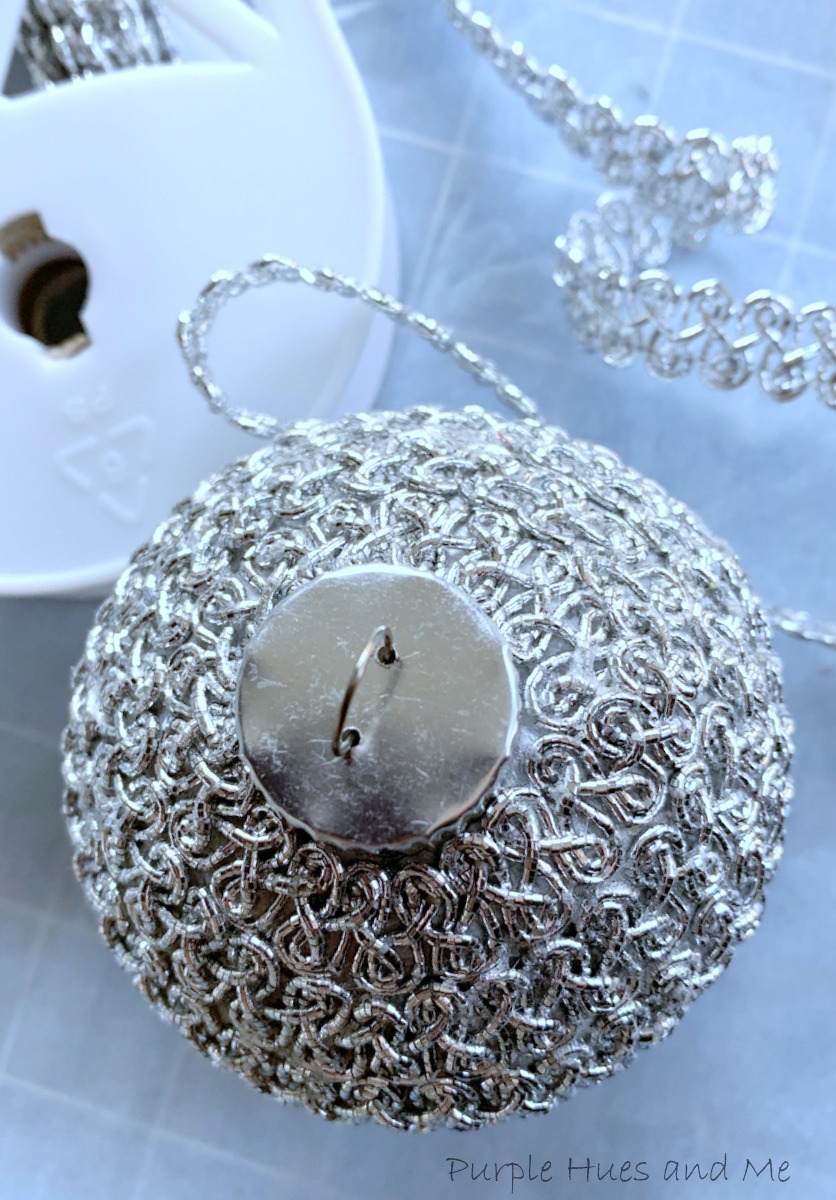
Begin by placing the ornament hanger in the top center of the styrofoam ball.
But in hindsight, it's easier to paint first using FolkArt Brush Metal to cover the white - let dry and then add the hanger.
Next, apply a generous amount of fabric glue around the base of the ornament and begin placing the trim down following the edge of the hanger, making sure the loops in the design are as close to the hanger as possible.
Continue applying glue in the width of the trim to the ball and then adding the trim -
Make sure the trim fits as close to the previous row.
And try to place the loops in the open grooves of the trim as you're gluing it on.
Proceed with wrapping the styrofoam ball with the trim being . . .
very careful with placement of the trim as the area gets smaller and smaller. You'll have to tighten it up a bit!
And finally, to finish, squish together the end of the trim in a circle while gluing it down, and then cutting off the excess.
Adorable - isn't it! But to complete the look, add a loopy bow to the top!
Here's how: Using a Mini Bowdabra, insert a 24" piece of bow wire folded in half into the Mini Bowdabra, tucking ends under. Then, make a crease near the end of the ribbon and place into the Mini Bowdabra. Fold the ribbon at the 2" mark and press into the Mini Bowdabra. This is your first loop.
Next, fold the other side at the same 2" loop width. Continue folding loops one at a time down through the center of the Mini Bowdabra . . .
making 13 loops on each side for a total of 26 loops - this happened to be the end of the ribbon that's why 13 loops were made. Then scrunch down the loops with the Mini Bowdabra Wand.
While the bow is still in the Mini Bowdabra, thread the two loose ends of the bow wire through the loop at the other end pulling tightly, tie in a knot and gently pull bow out.
Fluff the bow, arranging the loops. Then tie the bow onto the hanger with the bow wire adjusting the wire through the center of the bow. Make a loop with the two wires for hanging, tying the ends together and cutting off excess wire.
How adorable is this! Perfect for a Christmas in July project!
Now on to our Christmas in July Blog Hop!
Be sure to check out all the amazing Christmas in July projects from these talented bloggers: