

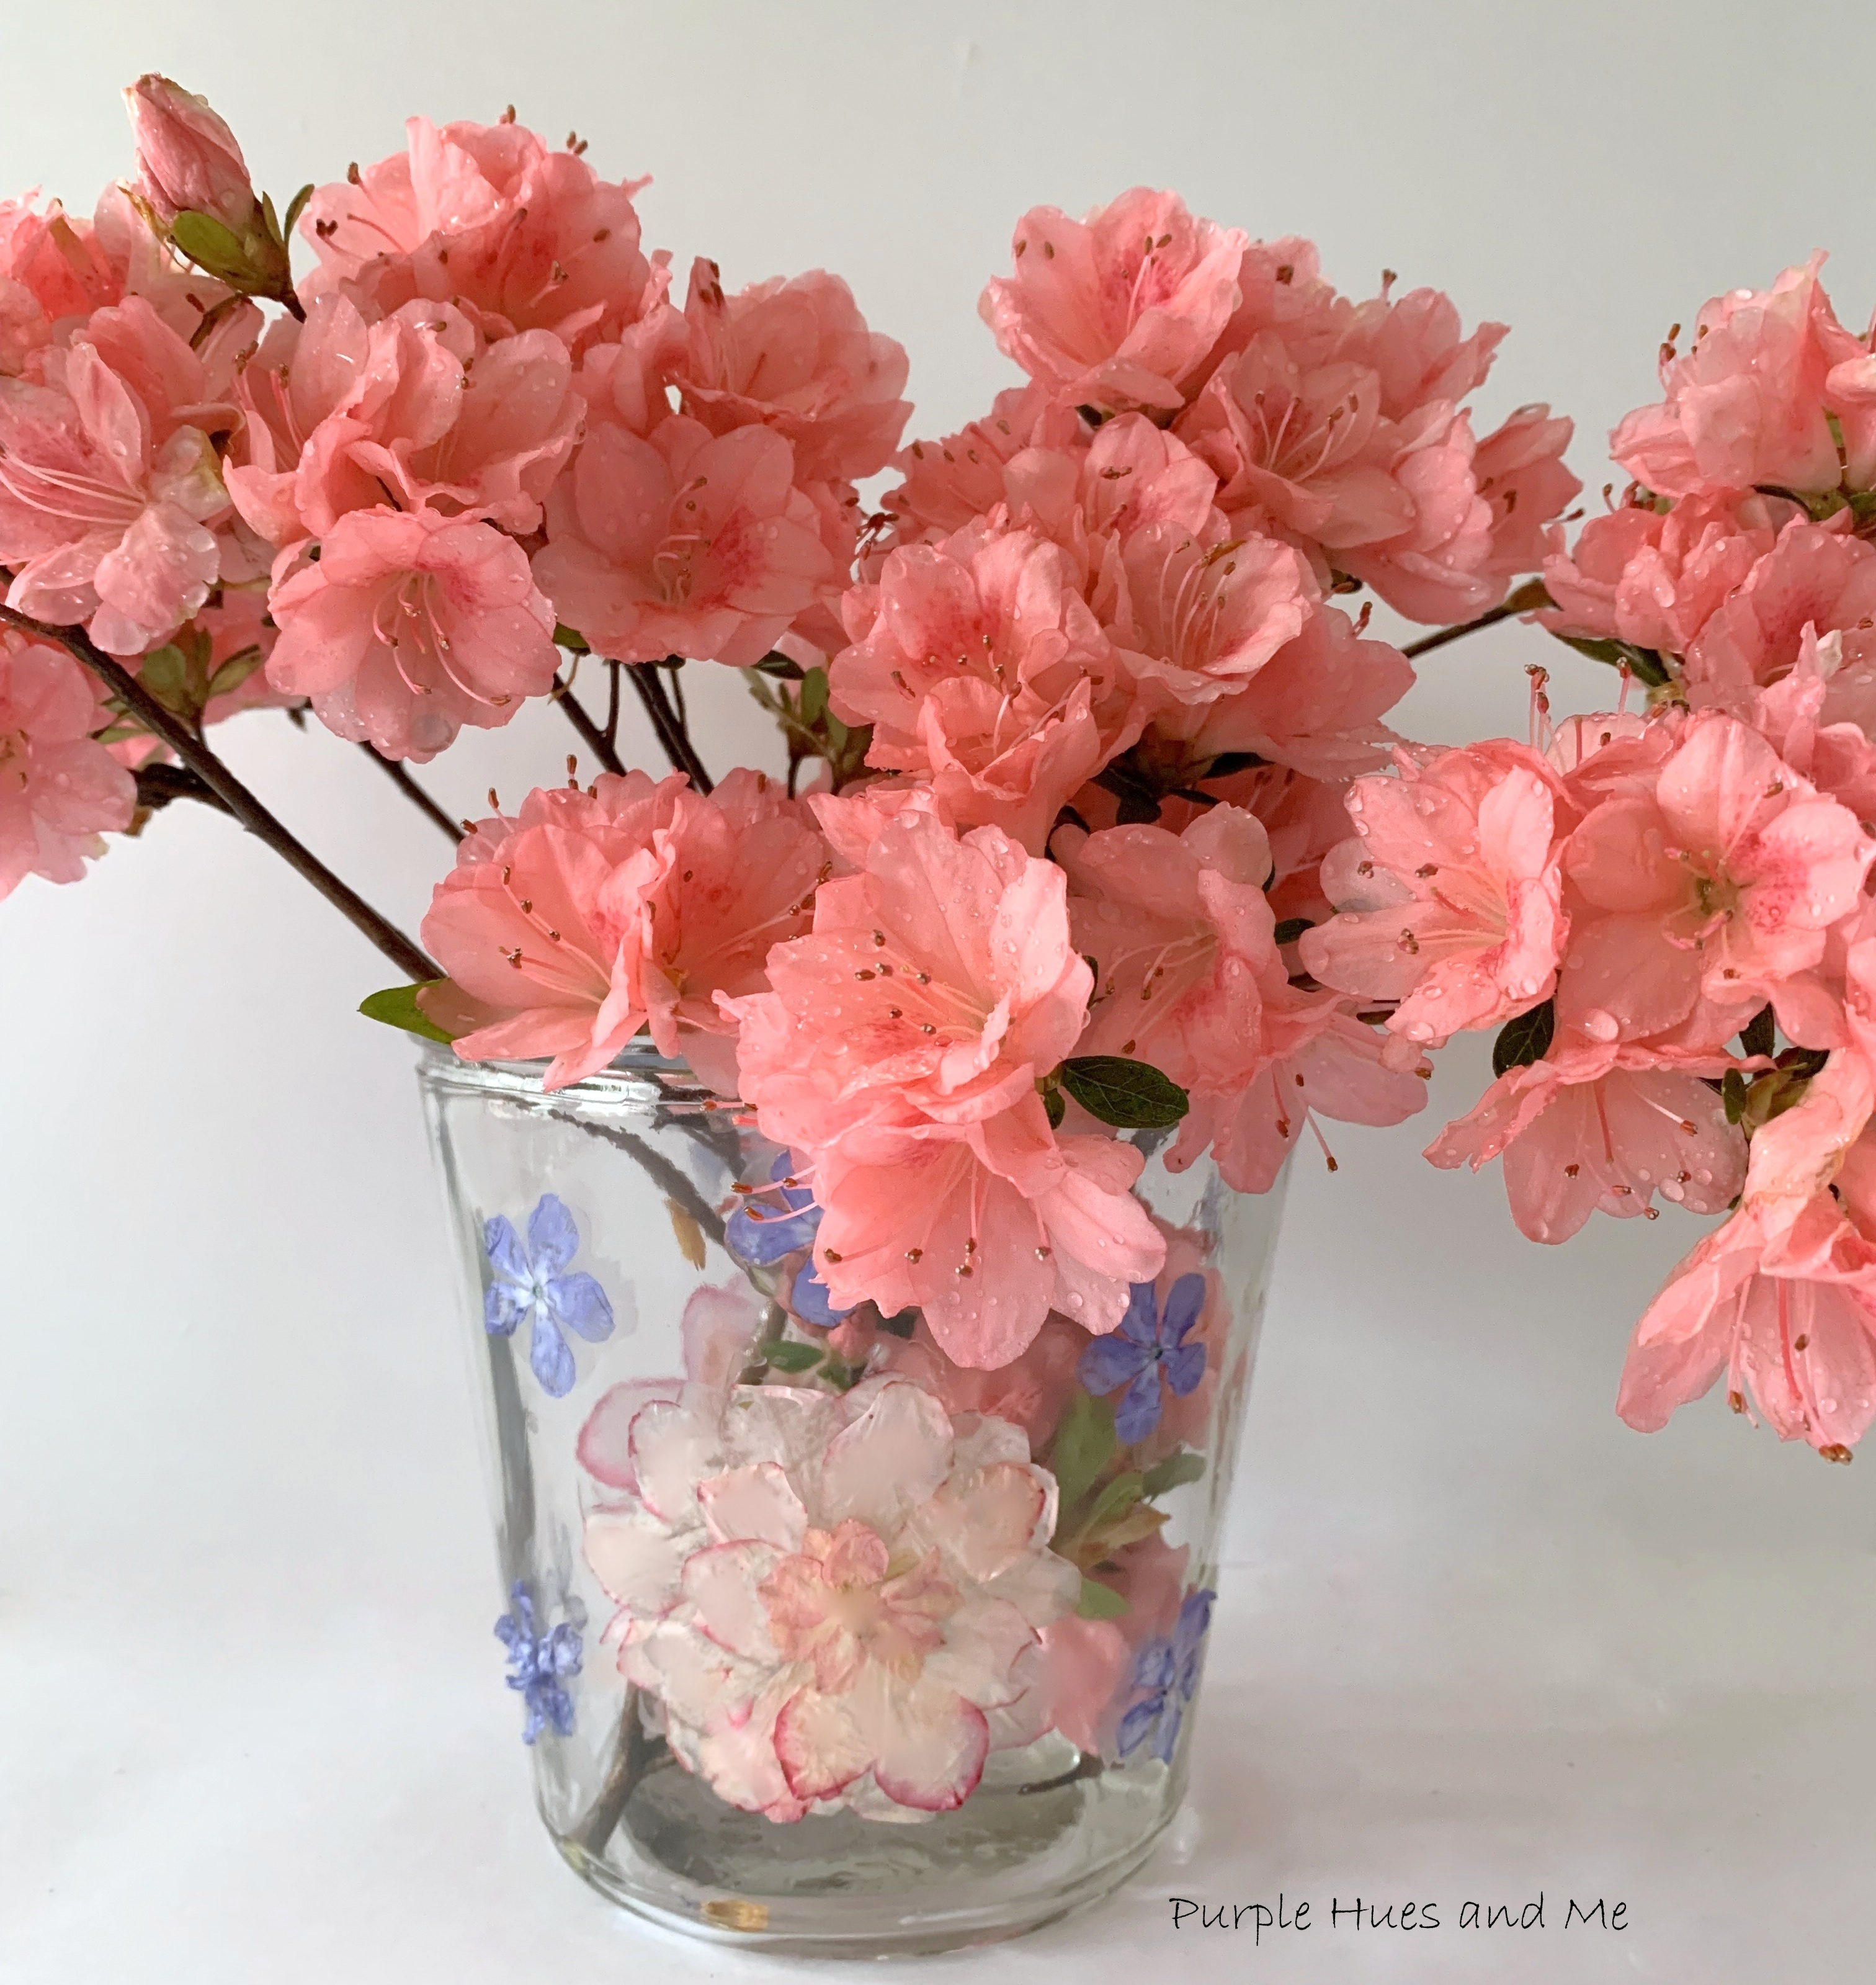

Do you enjoy looking at the pretty flowers you've grown in your garden? I know I do! Wouldn't it be fun to preserve some of them and keep your favorite flowers on display all year long? Of course! One way to preserve them is to press the lovely flowers!
There are a few different ways to press flowers - press flowers with a book (this may take several days or weeks to do), press flowers with a flower press (this can be very time consuming and or expensive and may take a few days to weeks, too) press flowers in a microwave (This process is faster, creating a dry flower in a matter of minutes rather than days. and press flowers using an iron (it's another way to speed up the process of drying flowers).
Welcome to this month's Sustainable Craft Challenge Blog Hop hosted by Julie @ Sum of Their Stories. This challenge is all about sustainable crafting! Each month is themed and all projects must have some sort of a sustainable element to them. This could be an upcycling or recycling element, or something that reduces waste, uses leftovers, etc.

To start, select the flowers you want to dry. Keep in mind that it's best to pick flowers after the dew has evaporated. You don't want the flowers to be wet. Since I had a beautiful display of early spring flowers such as phlox, azaleas and snowballs in my backyard, it was a no brainer to use them for this project.

Materials Needed:
- Fresh flowers
- Iron
- Parchment paper
- Mod Podge
- Soft brush
- Glass vessel
Once you've picked out your flowers, cut each flower at the base, close enough to remove the whole stem while still keeping the flower intact. I'm using Phlox,


Azaleas,


and Snowball, which looks like Hydrangeas but they're not! This plant blooms in late winter and early spring.


Then I arranged the petals in circles.

I also tried arranging some azaleas whole and with buds on the parchment paper to see how they would do pressing with an iron. I also picked the snowball flowers apart. They ended up looking like beautiful larger phlox with five petals. I had a red azalea bush in my front yard and tried a couple of those along with a few leaves.

Included in one bunch to iron press, were a couple of tiny phlox from my garden, plus a fallen petal from a vinca nursery plant that I picked up.

After arranging all the flowers and petals on parchment paper, place another piece of parchment paper on top.


Let the flowers cool in-between the parchment paper for a few minutes. Pressed flowers are extremely fragile. Handle with care! You might also see where they say use tweezers to move and hold the pressed flowers. The first time I tried removing the pressed flowers from the parchment paper using tweezers, I poked holes and tares in the petals. Now, I gently roll the parchment paper away from the pressed flowers to release them from the paper and gently pick them up with my fingers.

Flowers can mold if they still have moisture in them, break, bruise or completely lose their natural colors, as you can see with these. The azaleas are not as colorful - actually faded, and look how the vinca turned out. Plus, all the flowers actually shrunk in size, too! I had read that white flowers will turn brown, along with spots on green leaves! I can attest to that. Just take a look:

What a bummer! Luckily, I did manage to get a few good flowers from the bunch for my project!
Let's start with a clean glass vessel, vase or container. Use alcohol to wipe down any oil and residue left from using soap and water to clean the glass.

For this, the petals of the azaleas will be added one at a time. to create the flower. Using a soft brush, add a light coat of Mod Podge or a clear-drying decoupage medium to the side of the glass where you want to place the pressed flower.


What a lovely way to preserve spring flowers!

Be sure to check out all of the "Flower" sustainable crafts projects listed below:
Julie | Sum of Their Stories | Recycled Mini Collage with Crochet Flower
Gail | Purple Hues and Me | Ironed Pressed Flowers Glass Vessel
Christine | Christine's Crafts | Gorgeous Book Page Roses - Surprisingly Easy to Make
Mel | Decor Craft Design | DIY Flower Gift Bucket For Mom
Allyson | Southern Sunflowers | How to Update a Thrift Store Find with Paper Flowers
Julie | Treasures Made From Yarn | Flora the Reversible Doll
Shelly | Mimi A Great Name for Grandma | Mason Lid Fabric Flowers
Niki | Life As A Leo Wife | Floral Wood Letters with Free Rolled Flower Cut Files










