

When it comes to hosting fall gatherings and parties with family and friends it's a known tradition to create a table centerpiece for the occasion! We all love to dress up a table with a dramatic centerpiece especially for entertaining! It's a given! And this time of year it's usually done using pumpkins. Carving a pumpkin has been a time honored tradition for centuries! But the tradition has evolved into more modern ways to decorate - especially using faux pumpkins - where you don't have to worry about making a gooey mess, pests or decay. So today, I'm showing you how to swap out your traditional vase for a more creative designed vase for a more unique fall centerpiece! Perfect for this month's theme on Tradition for our monthly Sustainable Craft Challenge that's hosted by Julie @Sum of their Stories!
This challenge is all about sustainable crafting! Each month is themed and all projects must have some sort of a sustainable element to them. This could be an upcycling or recycling element, or something that reduces waste, uses leftovers, etc.

How you decorate a pumpkin is virtually unlimited. There are so many ways! For a unique fall centerpiece, rather than settle for a traditional vase, tap into your creativity and make one out of an unfinished paper mache pumpkin - a tall one at that! Then draw a decorative scallop design around the top, and follow the lines using a craft knife, cutting off the top. A bold move would be to enhance the pumpkin by painting it a metallic gold! Sounds cool, doesn't it! But there's so much more to creating a lovely fall centerpiece! So let's get started!
- Paper Mache Pumpkin - 14.5" tall
- Top (or a small round object to draw on scallop design)
- Pencil
- Craft knife
- Rustoleum Metallic Gold spray paint
- Velvet ribbon 2.5"wide
- Scissors
- Aileene's Tacky Glue
- Leaf template
- Floral stem wire
- StarBond Instant Adhesive
- Parchment paper
- Small rocks/or glass
- Velvet pumpkin stems
- Fall Florals
Pumpkin decorations make beautiful fall centerpieces! Luckily, I had everything I needed in my stash! The paper mache pumpkin was left over from a few years ago. I had gotten two from FactoryDirectCraft - one I decorated here, but I had no idea what I would do with the second one, until now!


Once the top was removed, spray painted both pieces (outside) using a metallic gold color. - sorry, I completely forgot to take a picture. It was extremely hot outside and I didn't want to be out there for long.
While the paint was drying I cut up ribbon strips following the design of the velvet ribbon. Once the pumpkin was dry, I applied tacky glue to the crevices of the pumpkin - one at a time - and . . .

laid a strip of ribbon on top of the glue, starting at the bottom up to the top, while smoothing the strip down along the pumpkin.


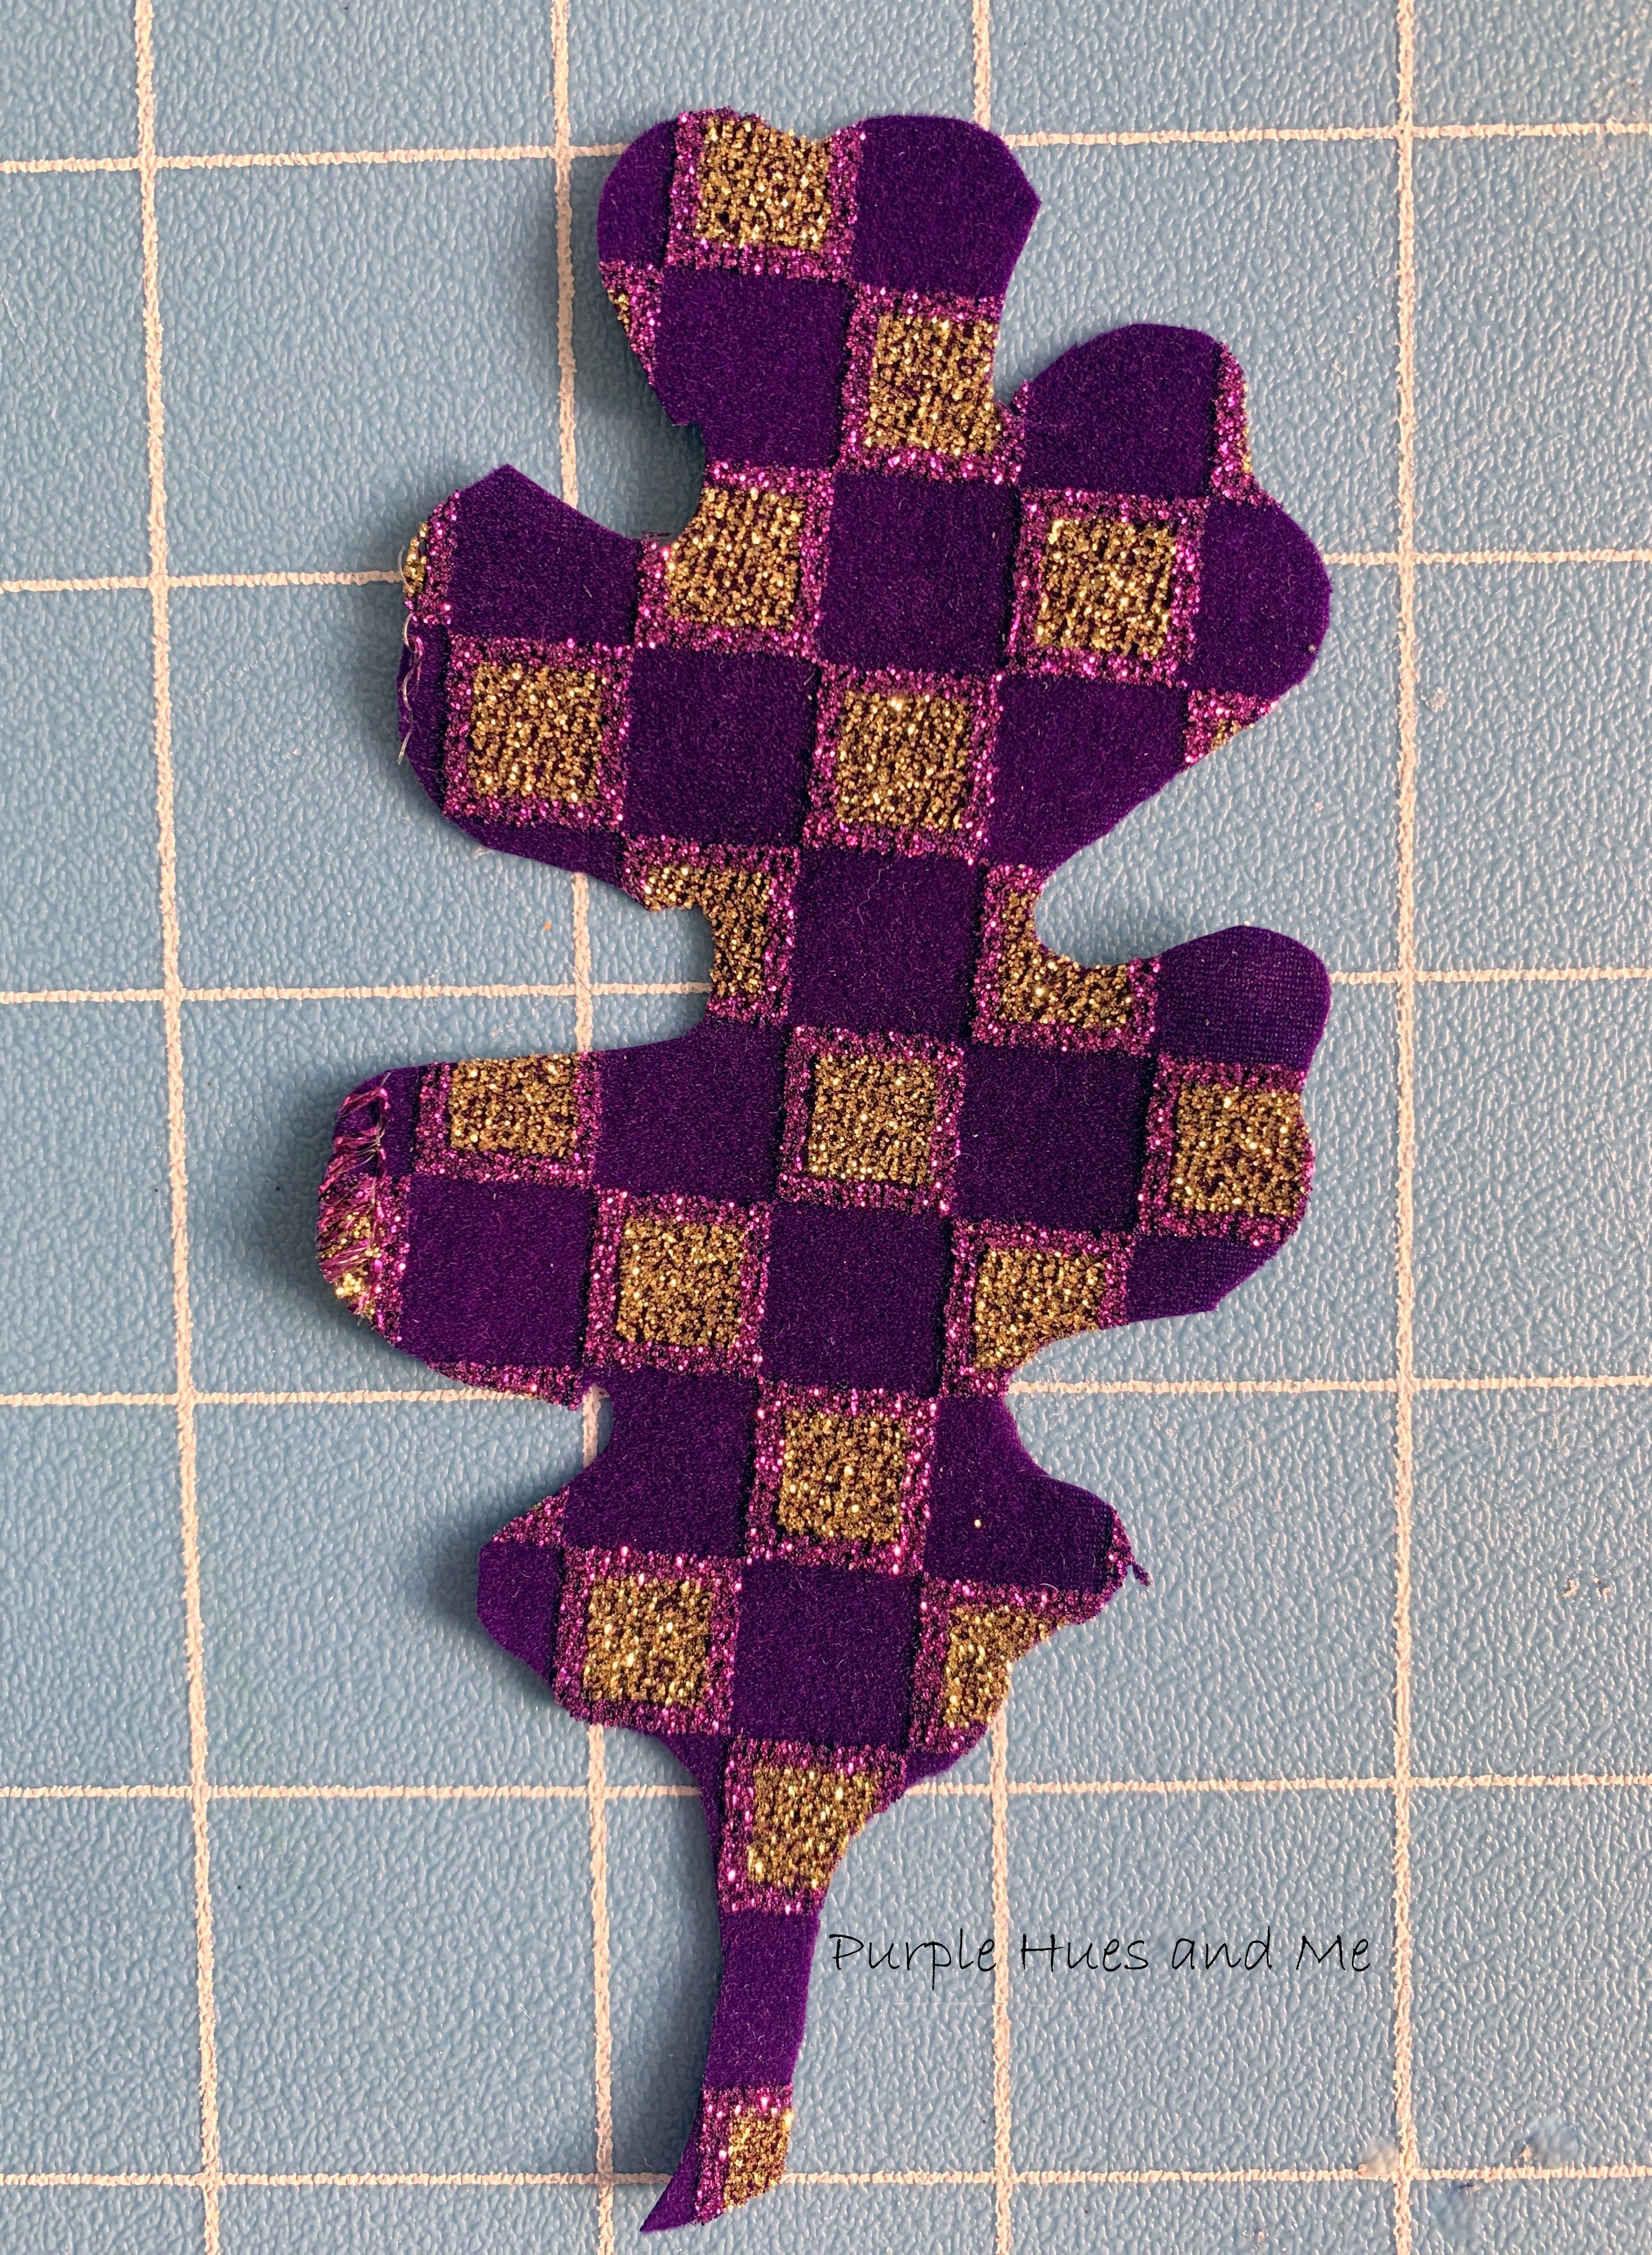
To compliment the ribbon strips and the small velvet pumpkin stems used in the vase, make velvet leaves out of the ribbon using a leaf template found online,

Laying the template on top of the velvet ribbon and . . .

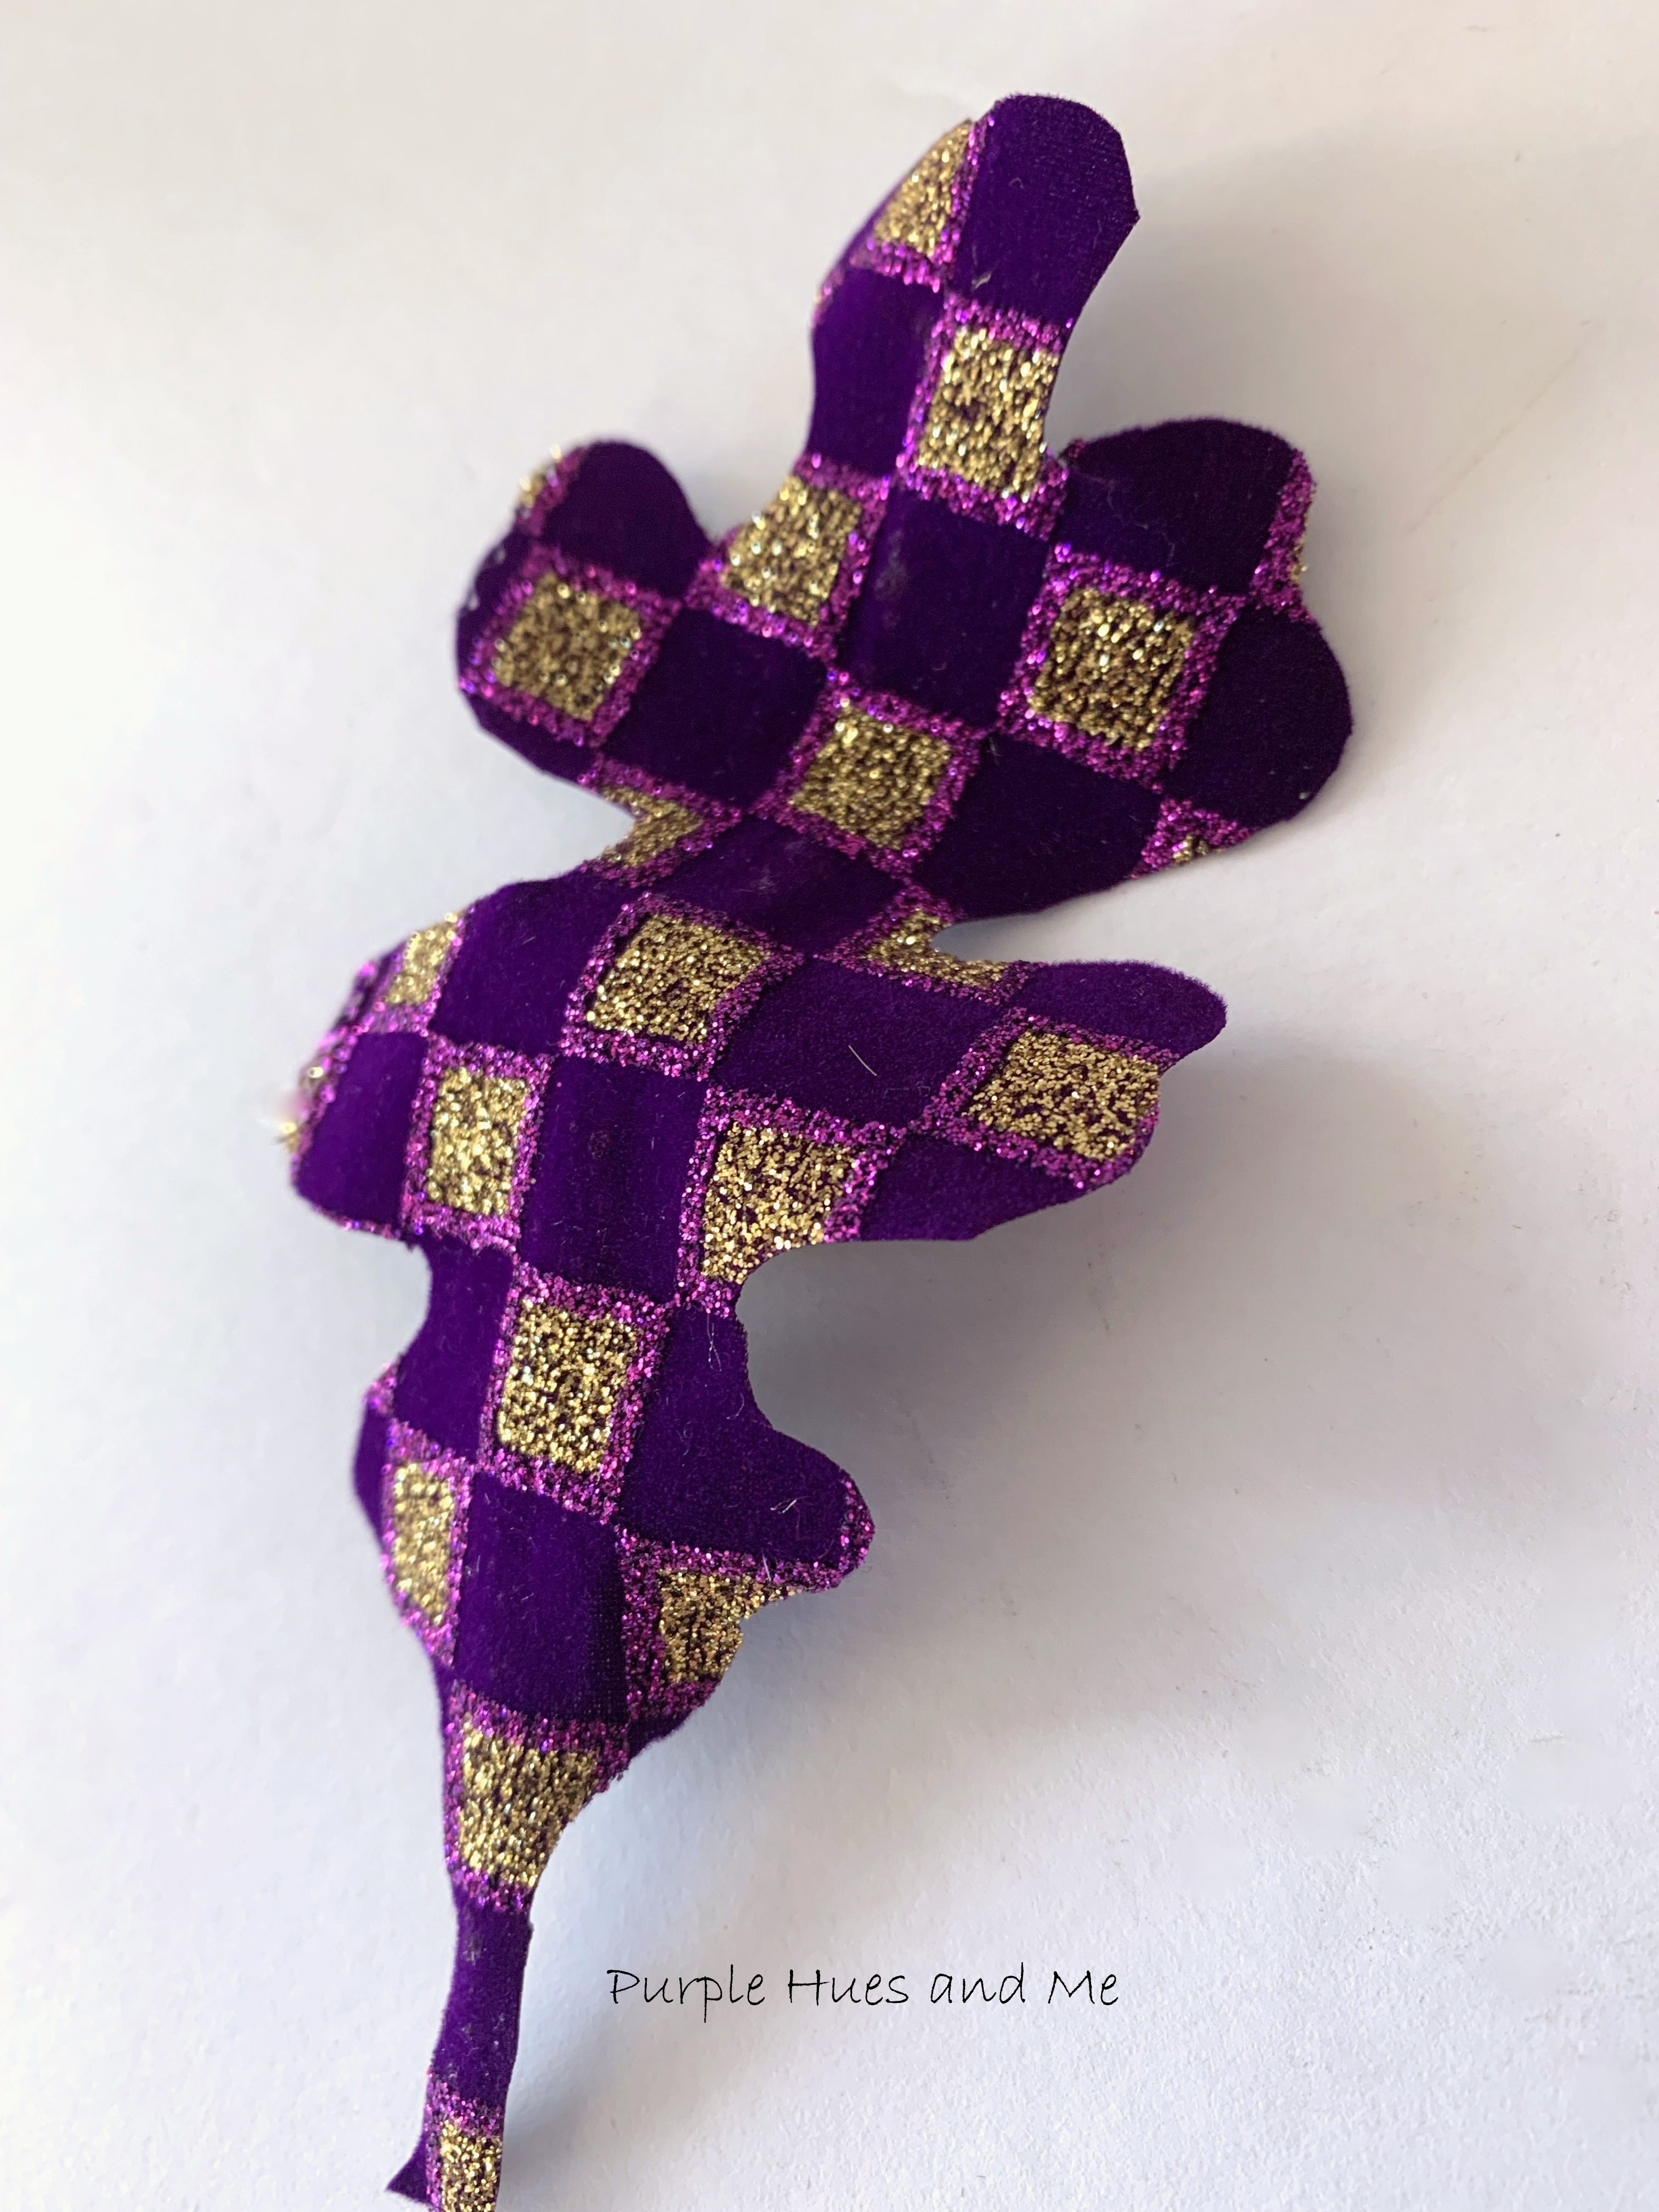
cutting the leaf out.

Doesn't this look so cool for a leaf! The design and colors!
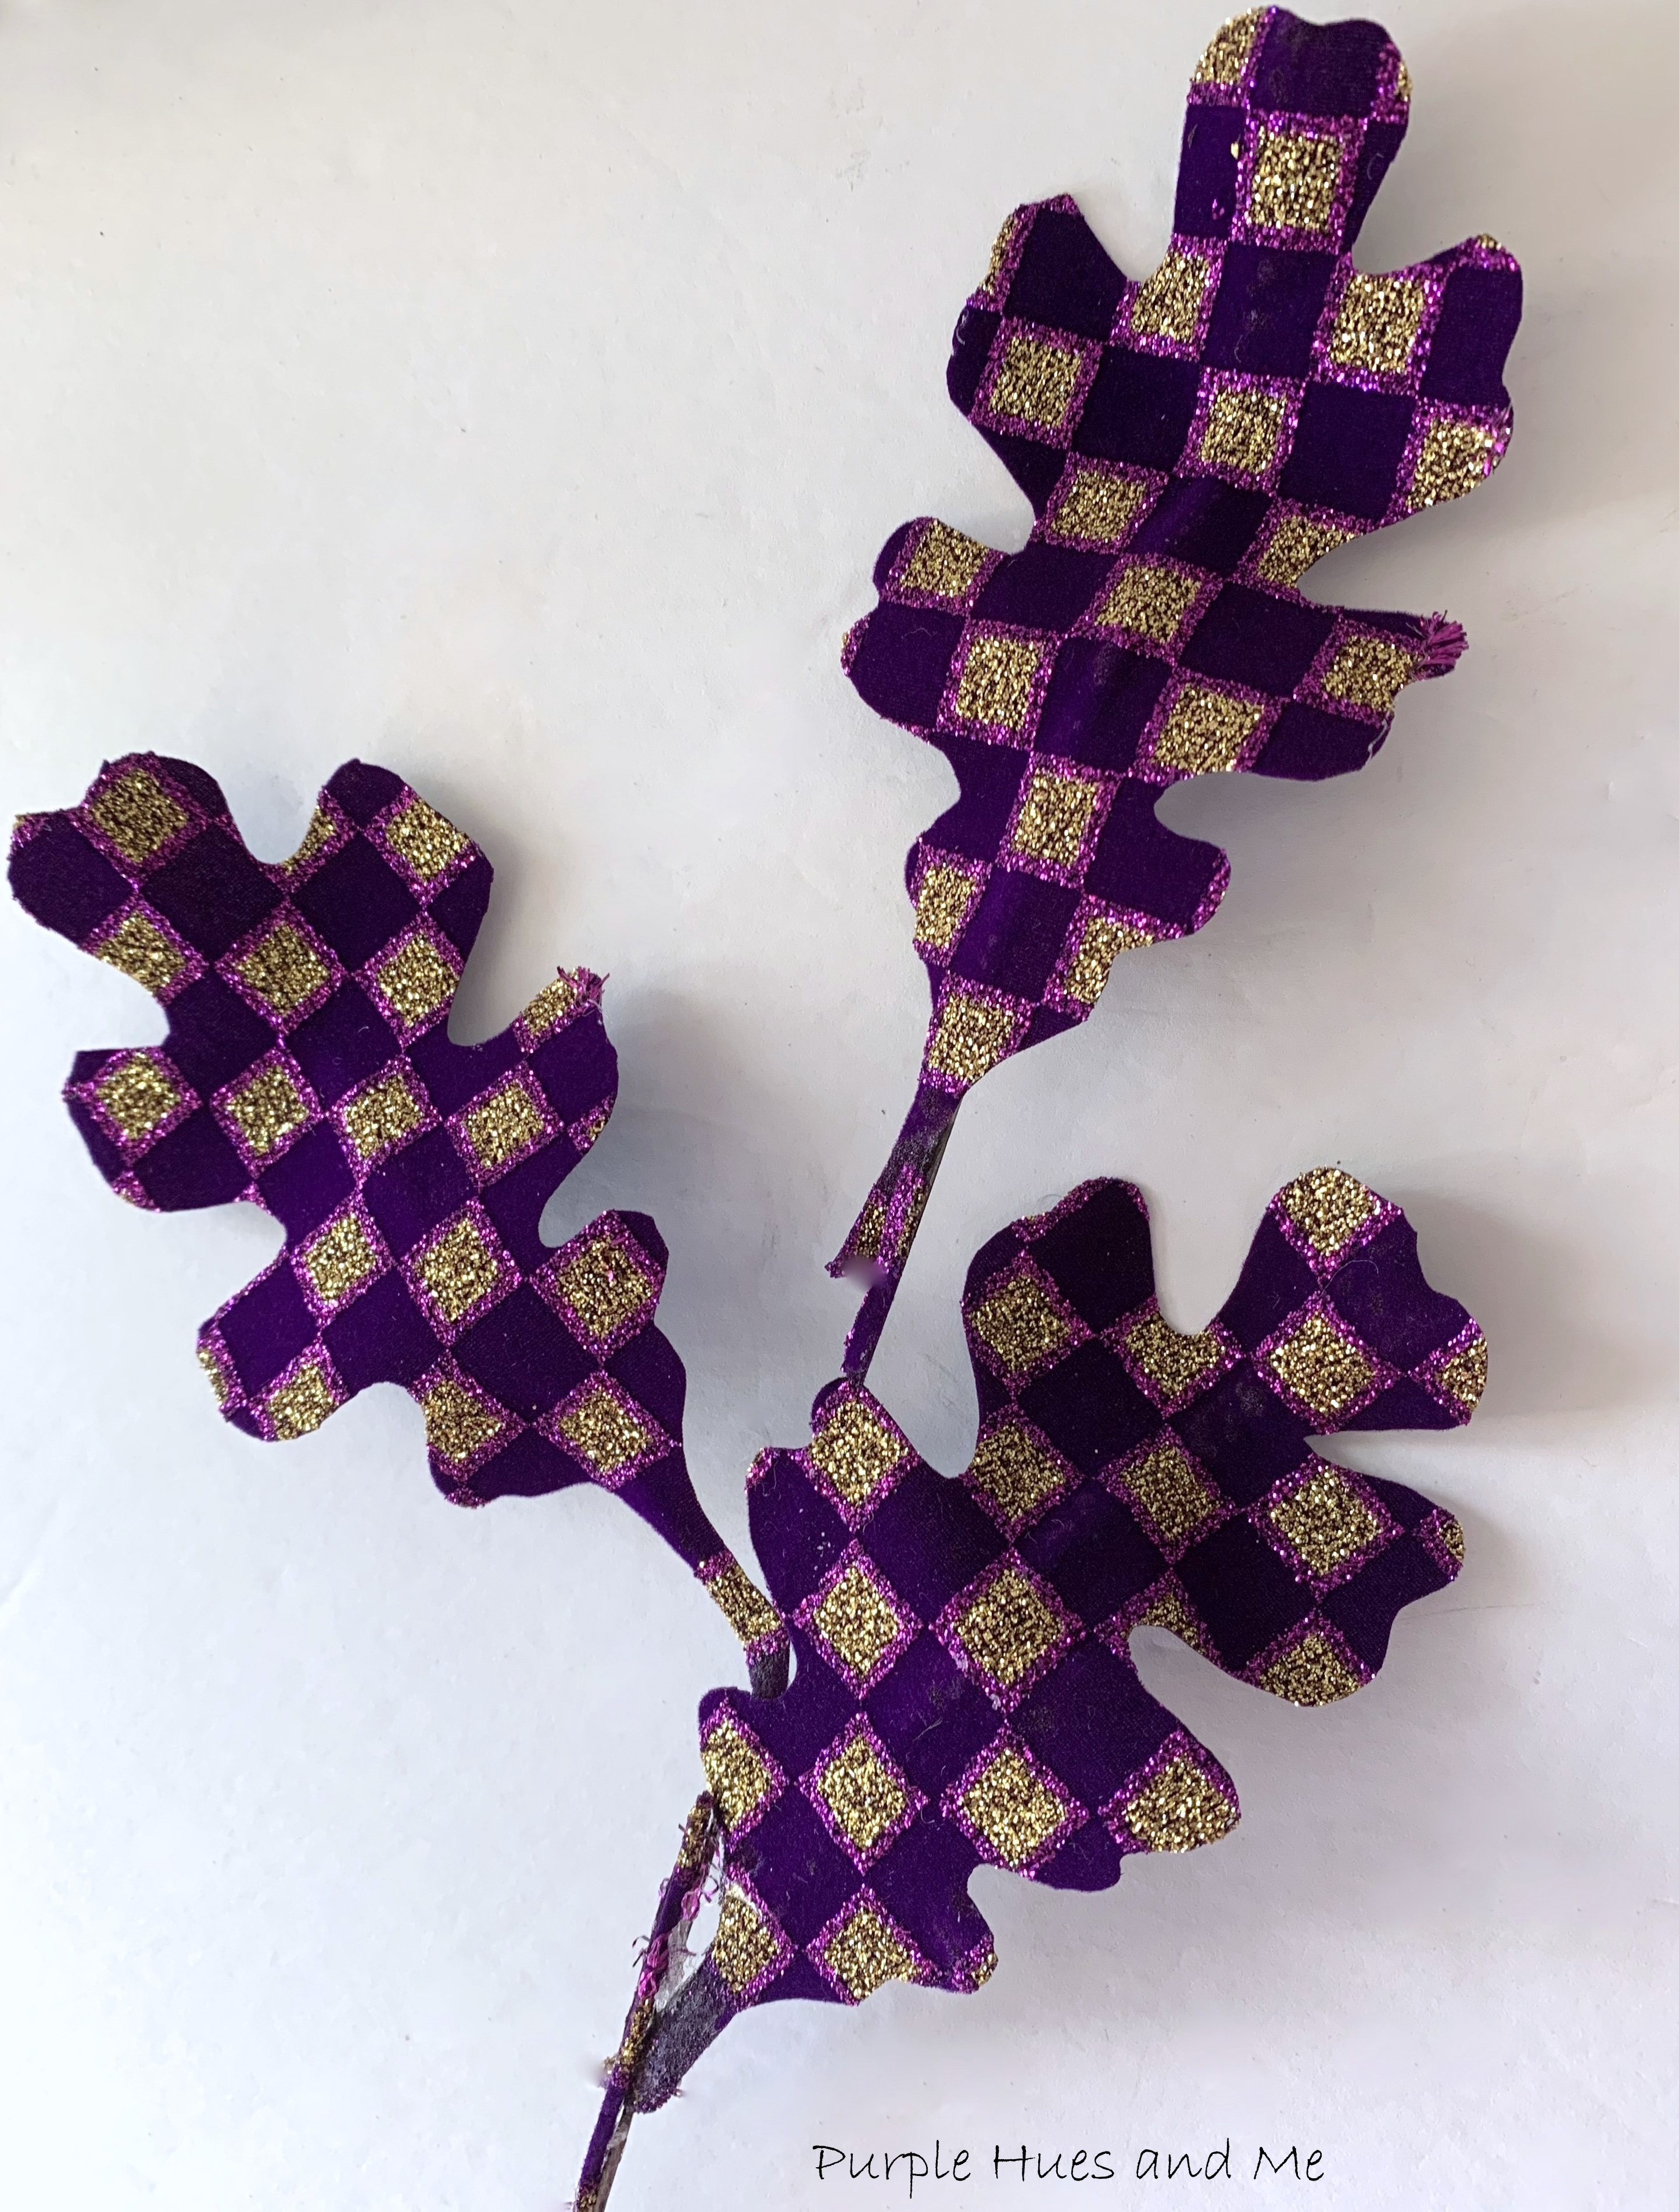
Now make several more!
Add Starbond Instant Adhesive, a quick dry glue, along the middle back of the leaf to add stem wire to make the leaves flexible - shaping as you like!

Cover with parchment paper to smooth the stem wire down onto the adhesive. Let dry.

Then shape to your liking!
Here I added three leaves to a stem wire and covered the wire with cutoff ribbon edges.
Have fun adding fall florals to create a lovely centerpiece!
This fall centerpiece idea trades traditional orange, yellow and reds tone for purple, burgundy and gold hues for a dramatic bold look! And of course, I had to tie a bow ribbon to the top!

You know I'm loving this look and hope you do too!
Be sure to check out all the Tradition Sustainable Crafts projects listed below:
Terri | Our Good Life | Halloween Scenes on Thrift Store Paintings
Gail | Purple Hues and Me | DIY Paper Mache Pumpkin Centerpiece
Mel | Decor Craft Design | DIY Halloween Haunted House Sign
Jo | A Rose Tinted World | DIY Halloween Bowling Game
Shelly | Mimi-A Great Name for Grandma | DIY Bubbling Cauldron


Well this plain pumpkin has had quite the glow up hasn't it? It looks so glamorous in gold and purple. I love the ribbon leaves too and the way they tie the whole arrangement together with the pumpkin vase.
ReplyDeleteThanks, Julie! I had an idea using the ribbon and am glad it turned out!
DeleteSo cute and love the blending of colors!
ReplyDeleteThanks, Patricia! You know purple is my favorite color, lol!
DeleteWhat a beautiful fall color scheme! I am really loving the gold pumpkin. Those leaves are adorable as well.
ReplyDeleteThanks, Terri! I enjoyed this challenge especially our interactions!
DeleteOh, WOW, that looks so nice and elegant. Love the colors you chose. Thanks so much for linking up at #AThemedLinkup 166 for Pumpkin Crafts and Décor. Pinned.
ReplyDeleteThank you so much for your sweet comments and visiting my post, Dee! It was a pleasure linking up on your pumpkin themed linkup!
DeleteYou're welcome, Gail. My parties are unlimited entries if you wish to link more and I also have other parties open right now :)
DeleteWhat stunning colours, and a lovely way to make an autumn display!
ReplyDeleteI am loving this paper mache pumpkin centerpiece. Your detailed instructions are going to be so helpful when I make my centerpeice this Halloween season. I love your color scheme too! Definitely pinning this for later!
ReplyDeleteYour pumpkin I adorable Gail, I love the way you made the leaves so they are bendable, so clever!
ReplyDeleteJenna
Love the purple and gold combination, Gail. It's so nice to see other colors for Fall!
ReplyDeleteBeautiful blog
ReplyDeleteEres muy creativa!!
ReplyDeleteMe encanta tu trabajo 👏🏻👏🏻👏🏻
BESOS