
Since we're all kinda stuck at home more than we want to be these days, wouldn't it be fun to have an occasional 'get dressed up' evening with that special someone by cooking something delicious and create a beautiful tablescape to get you in a warm festive mood! And one way to help in creating a beautiful table setting is to make gorgeous napkin rings! Napkin rings are so simple and easy to make that you can create fabulous new ones for each occasion, season, everyday use and even gift giving, too!
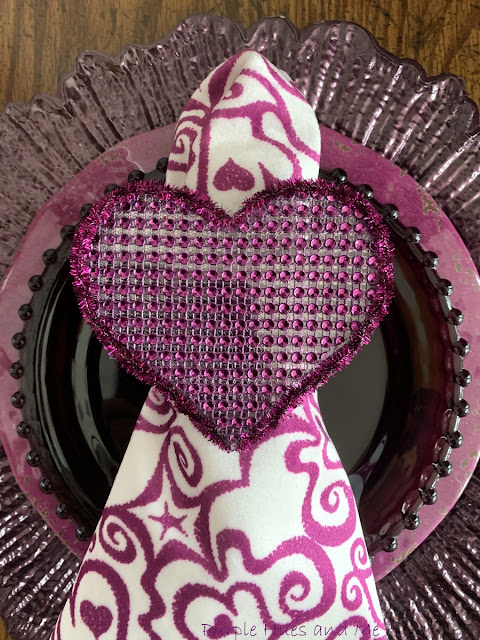
So for Valentines' or a romantic evening, here's a fun way to add a little extra love and glam to your tablescape with handcrafted mesh bling napkin rings! Here's how!
Supplies:
- Rhinestone Mesh Ribbon - 4.75"x10yds
- Heart template
- Marker
- Clear acetate plastic/paper
- Fabri-Tac fabric glue
- Parchment paper
- Chenille stems
- Clamps
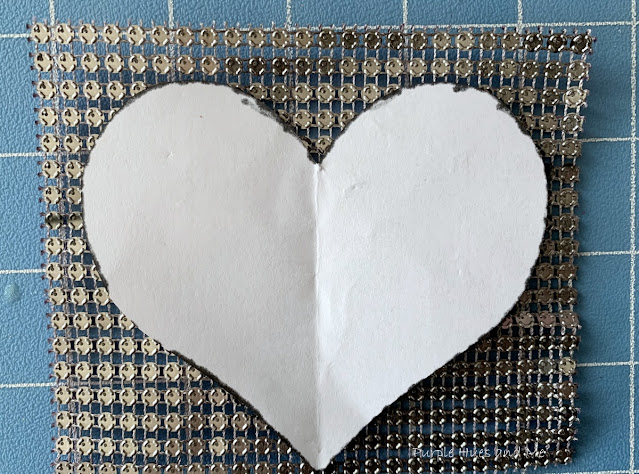
Let's begin by making an easy heart template using a piece of paper 3.5"x4.5" - folding in half and drawing a half heart shape. Then open the paper and cut out the heart.

If you're like me, you probably have at least one roll of mesh bling left over from when it was so popular a few years ago. Next, place the heart template on the mesh for fit - making sure it's even with the rows straight . . .

I know you've noticed how large rolls of ribbon are covered with a piece of heavy duty clear acetate or plastic to protect the ribbon. Well, I save them for projects just like this one. This acetate paper came from a five inch wide roll of ribbon I got from Costco. It's perfect to use as support for the mesh which is very flexible! You wouldn't want to use cardboard because it would show through the open mesh effect.


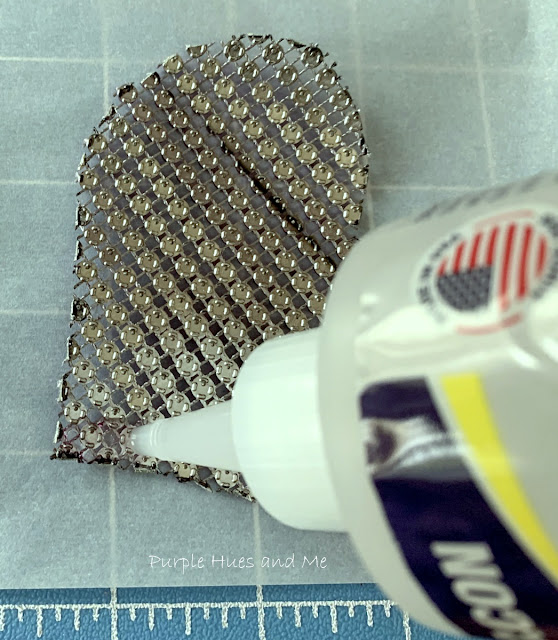
 To form the napkin ring, apply glue to the clear edge . . .
 and place the bling edge on top of the clear acetate matching bling rows, creating a ring. Clamp ends together to dry.


 I hope you enjoyed my tutorial on making a mesh bling heart napkin ring and take advantage of having a dress-up or romantic evening - Just in time for our monthly Creative Craft Blog Hop hosted by Sara @BIRDZ OF A FEATHER.

In addition, use parchment paper to help smooth out the mesh and glue. Let dry.
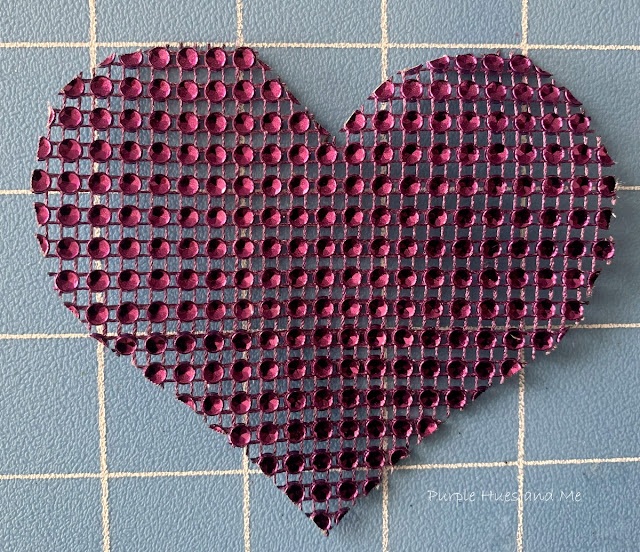
Once the glue has dried, cut out the heart shape. Repeat gluing the mesh heart shape to another piece of clear acetate for added strength and cut out. Then glue the second mesh heart to the back of the mesh heart on the acetate paper. Let dry.
Next, twist two chenille stems together for added thickness and glue on the edge around the mesh heart starting at one side of the 'V' spot and ending on the opposite side. Sorry, I was so involved gluing on the chenille that it was difficult to take pictures with sticking fingers at the same time.
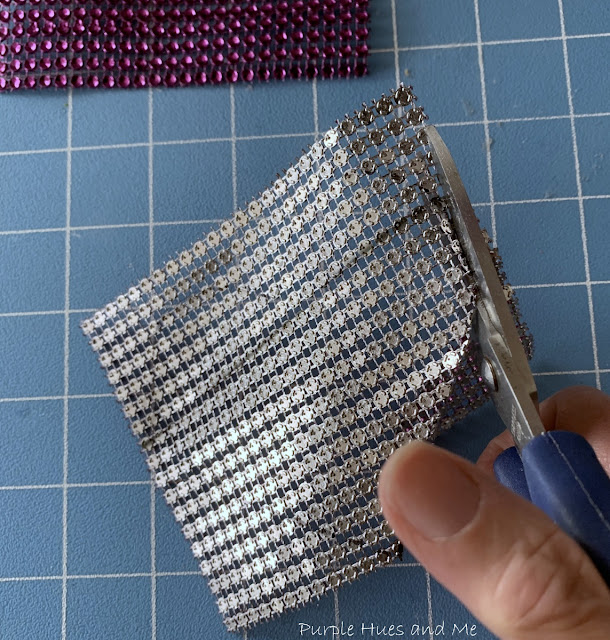
To make the mesh napkin ring, count five rows of bling across - approximately 1.5" and 6.5" long. Cut out. Then glue onto a piece of clear acetate. Let dry and cut out, leaving a 1/2" inch clear edge. Repeat, gluing mesh strip on clear acetate, for stability and let dry. Then cut out.
To attach the bling ring to the heart, apply glue along the edge where ring comes together, centering the ring in the middle of heart. Clamp in place until the glue dries.
I love the oversize look of the bling heart napkin ring.
Have fun making lots more!
It's a lovely effect and . . .
a pretty way to dress up a Valentine tablesetting or decoration!
If you're coming over from Cecilia @ My Thrift Store Addiction welcome! Up next, is Carol @ Bluesky at Home sharing easy Valentine's Day sticker decorating ideas!
Be sure to have fun and get inspired with all of the wonderful creations offered this month by clicking on the links below!
Valentine Plaque - Quick and Easy!
Creations Floral Picture Frame
How to Salvage Candle Remnants


I love the size of these napkin rings! They are so pretty and match everything so well. I am definitely going to give this a try. Plus, you could do this with almost any shape. Thanks for the inspiration!
ReplyDeleteHelpful post. I usually rely on MCare Exports
Deletefor international pharmaceutical supplies.
I love the idea of a get dressed up special evening and your napkin rings are just the thing to tie it all together! These are awesome Gail!
ReplyDeleteHelpful post. I usually rely on MCare Exports
Deletefor international pharmaceutical supplies.[url=https://mcareexports.com/]MCare Exports — reliable international pharmaceutical suppliers[/url]
Gail, you never seize to amaze me with your DIYs. I love your Valentine's Day napkin rings. Very easy to do now that you shared your tutorial. Thank you!
ReplyDeleteWe all have leftover craft supplies and you 'nailed it' for using some of them up, Gail. My goal for this year is to use what I have and this is a perfect project...I'm off to dig through my 'stuff'!
ReplyDeleteGail, these are beautiful! I would have never thought of using that type of ribbon the way you did, and I love the result!
ReplyDeleteSuper cute Gail, and very clever using the mesh bling ribbon! The napkin rings really add a great pop of bling to your tablescape! Great job!
ReplyDeleteJenna
Another fabulous project, perfect for a Valentine tablescape. Enjoy the rest of the week.
ReplyDeleteGail, you always come up with the best crafting ideas in your signature purple. These napkin rings are so pretty! Thanks to you, I'll now be saving the acetate packaging from my crafting supplies.
ReplyDeleteGail, what a cute idea for a napkin ring. This turned out so pretty. I love the idea of using mesh ribbon. Great instructions, too.
ReplyDeleteBeautiful project Gail. I have seen this type of ribbon but never could think of what to do with it. These are a great idea.
ReplyDeleteHello
ReplyDeleteGreat post .there was much important information in it.
I always follow your blog and learned a lot of things.
thank you
Visit us for make id card for staff.
thanx for this mindblowing article love from deekshaarya checkout
ReplyDelete
ReplyDelete목포출장샵
완도출장샵
목포출장샵
경주출장샵
여수출장샵
경주출장샵
여수출장샵
This article is so helpful! I’ve bookmarked it for future reference.
ReplyDelete