Tuesday, November 7, 2023

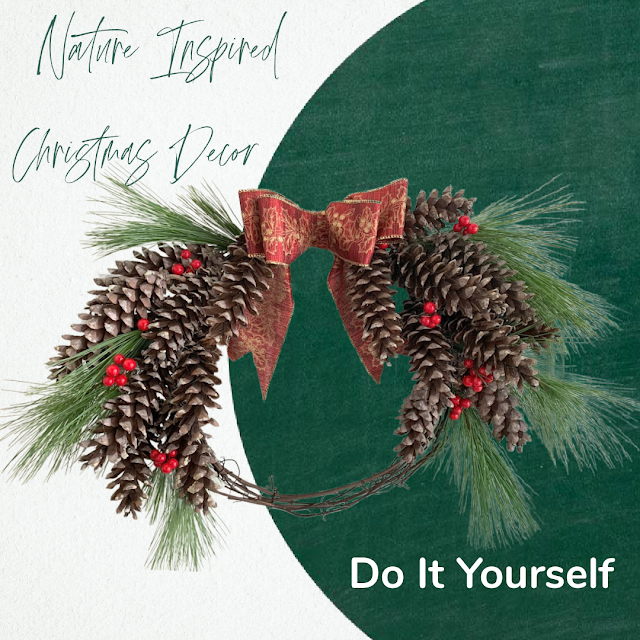
Nature Inspired DIY Christmas Wreath

Have you realized that nature gives us all what we need to decorate with this holiday season! You can bring natural Christmas decor into your home this season starting with making a wreath! Discover the most sustainable Christmas wreath ever by gathering the materials to make one from your garden, yard or nearby woods - natural items like pinecones, berries and fresh greenery! A DIY wreath that's festive enough for Christmas and pretty enough to display all winter long. 

Welcome to our monthly   Sustainable Craft Challenge hosted by Julie @Sum of their Stories!  This challenge is all about sustainable crafting! Each month is themed and all projects must have some sort of a sustainable element to them. This could be an upcycling or recycling element, or something that reduces waste, uses leftovers, etc. The theme for the month of November is Christmas 

So much of what we buy for Christmas is made to replicate nature. Plastic berries, silk leaves, synthetic trees - most will eventually end up in landfills when we're done with them! So why not embrace this Christmas season with a cozy and earthy DIY wreath! One with a natural and rustic look - filled with gathered pinecones, berries and evergreens! It's basically a free craft for the most part. All biodegradable and easily recyclable! Here's how to make one!

You will need:
  • Tree or shrub vines
  • Cotton thread (thick #10 or #12)
  • Slim pinecones (white pine tree)
  • White pine evergreens
  • Scissors/pruning shears
  • Wired Christmas ribbon
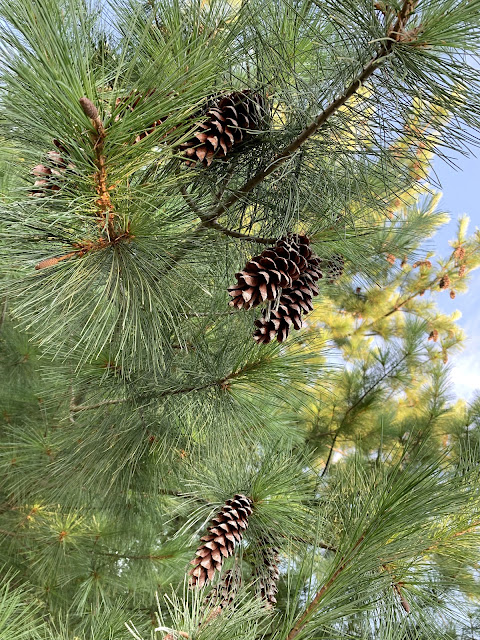
I didn't have to go far to gather natural elements. There are lots of white pine trees loaded with pinecones surrounding the backyards of our community. And every year, I pick bags full of fallen pinecones off the ground. After cleaning and baking them to remove any bugs or critters, you just never know when I might need pinecones to craft or decorate with! So I always have plenty on hand! Here are some projects that I have made in the past using pinecones, here,  here, here, here, here and here. Whew!

Plus, beautiful plants like this Nandina bush which has  lovely red bamboo berries to gather. I love decorating using berries. You might remember this project from last year. The berries are still looking nice and red on it!  And if you look close enough at all the surrounding shrubbery in my yard, you will see wood vines curling up and around them - like a pest, lol!
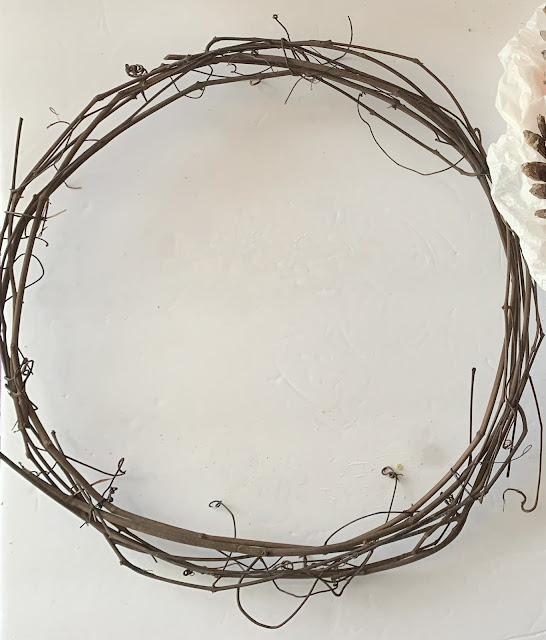
To make the wreath, the first thing I did was to create a natural wreath base by wrapping a few wood vines into a hoop about 12.5 inches wide.  Then secured the vines together using dark thick cotton thread tied around them. You can barely see the thread. It blends in perfectly! So much better than using wire! I didn't want a thick wreath, so using a few vines worked out just fine.


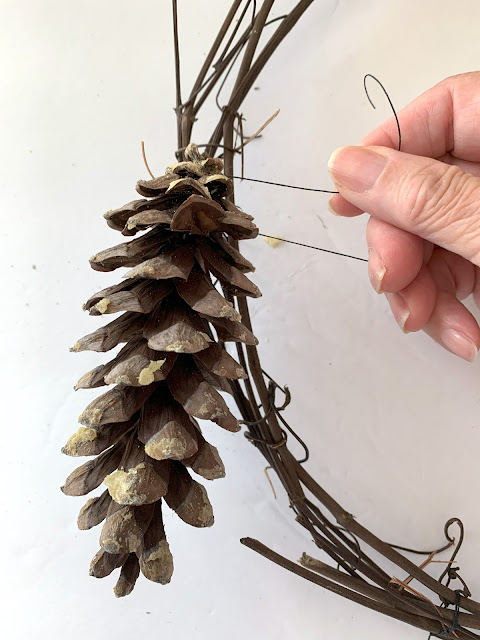
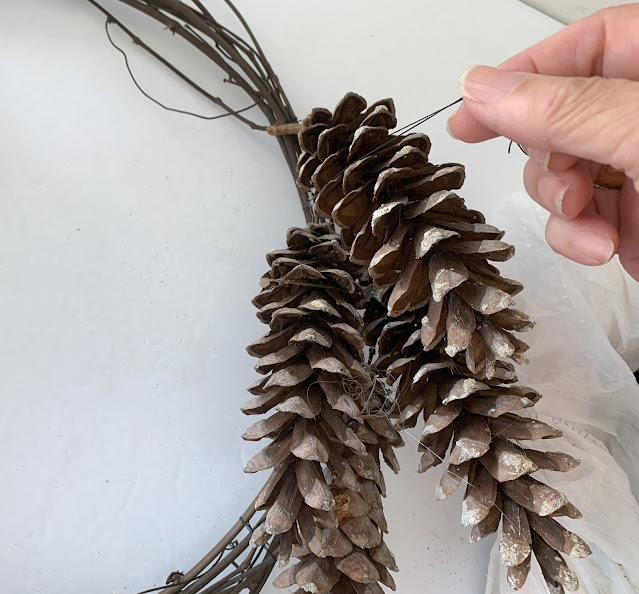
Once the vines are secured, begin tying the slim pinecones onto the vines using the same type of cotton thread. First one side and .  .  .

then the other side, forming a symmetrical shape of pinecones on the hoop. 
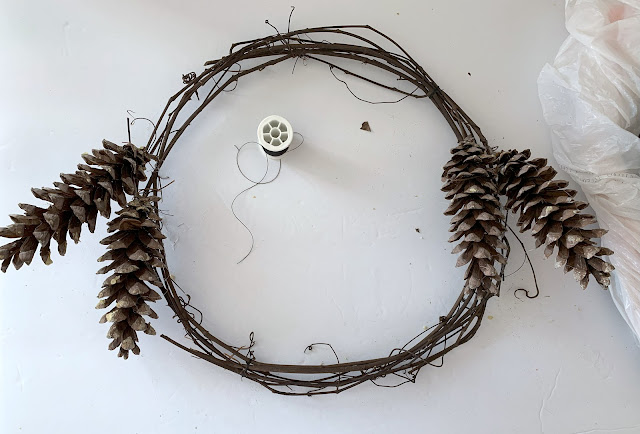
Continue tying on the pinecones to each side until .  .  .
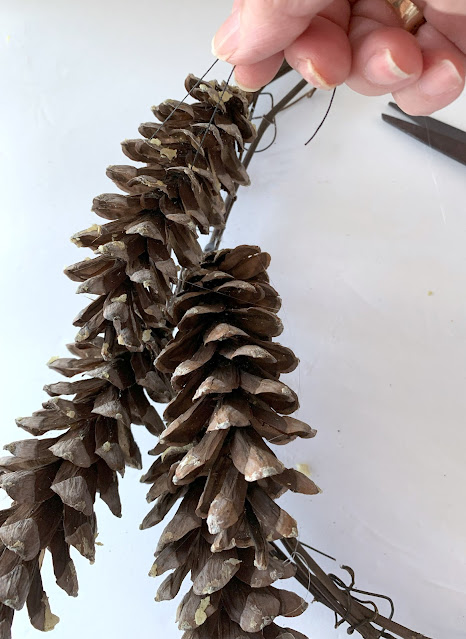
the pinecones look full, balanced and decorative.
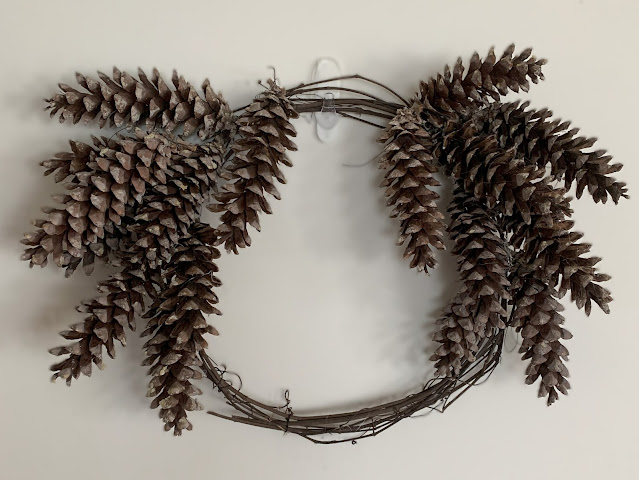
Then begin adding pine evergreens clipped from a nearby white pine tree.
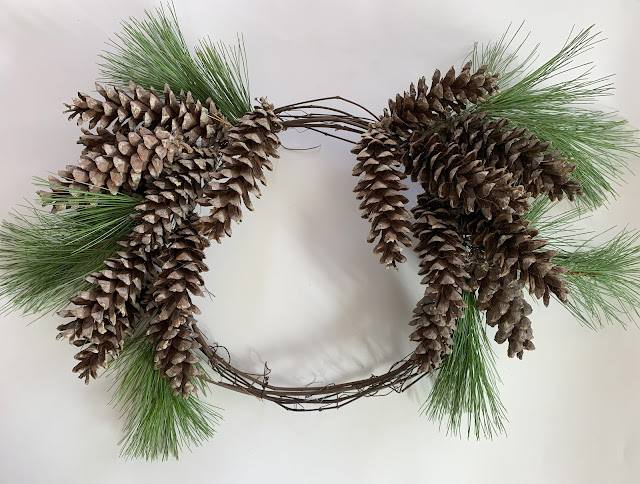
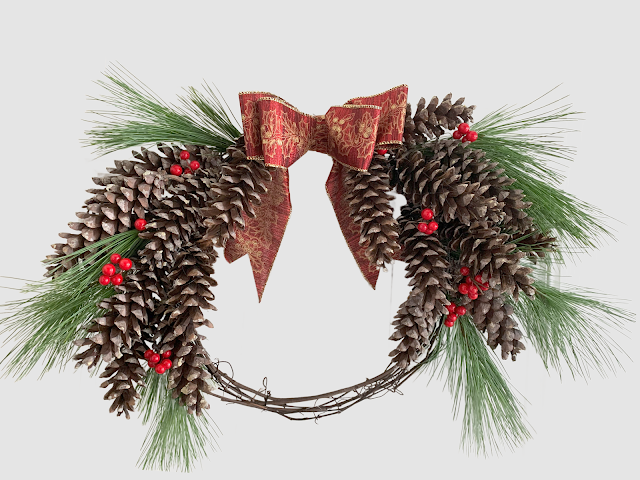
Add a bit of color to the pinecone wreath by attaching berries picked from the Nandina bush. And finally, add a large wired-edged bow with tails onto the top center, attaching a looped bow wire from the ribbon to hang. 

How cool does this nature inspired wreath look for Christmas!


Be sure to check out all the creative Christmas Sustainable Crafts projects from my fellow crafters listed below:

Julie | Sum of Their Stories | Felt Star and Bead Garland 

Terri | Our Good Life | End of the Season DIY Rosemary Wreath

Gail | Purple Hues and Me | Nature Inspired DIY Christmas Wreath

Marci | Stone Cottage Adventures | Framing a Quilted Pig

Maria | Simple Nature Décor | Jeweled Oyster Shell Ornament

Stephanie | Crazy Little Love Birds | Create a Beautiful Winter Tree Scenery Using Cardboard

T’onna | Sew Crafty Crochet | Upcycled Christmas Baubles

Christine | Christine”s Crafts | Christmas Tree Diamond Decorations

Mel | Décor Craft Design | DIY Christmas Snowman From Old Socks

Allyson  | Southern Sunflowers | Christmas Tree Shaped Fabric Pillow No Sew Tutorial

Shelly | Mimi- A Great Name for Grandma | DIY Christmas Tree String Art 


Wednesday, November 1, 2023

DIY Light Up Gift Box for Your Holiday Decor


Tis the season for creating holiday party decor! So why not give your home an extra holiday sparkle with a easy to make light up gift box! Imagine this lovely handcrafted lighted gift box as a centerpiece, or make several to place along the entire table! How cool would that be! And the best part, you can use any type of ribbon and deco mesh to fit the occasion. But I must tell you, it's all about the bow! And a Bowdabra bow at that! This post first appeared on Bowdabrablog.com where I'm on the design team.

Supplies Needed: 

  • Wood Craft Sticks 6"
  • Parchment paper/craft mat with line measurements
  • Wood glue/Hot glue 
  • Deco Mesh 10"
  • Ruler/Scissors
  • 2.5" & 1.5" Wired Ribbon
  • Clamps
  • Battery operated Twinkle lights
  • Double sided tape
  • Bowdabra tool and wand
  • Bowdabra bow wire

Disclosure I am a participant in the Amazon Services LLC Associates Program, an affiliate advertising program designed to provide a means for us to earn fees by linking to Amazon.com and affiliated sites, this post may contain links. I may receive a very small commission at no cost to you! The affiliate money I earn helps pay my crafting expenses. Thanks so much for your support!

Here's how:

Let's begin by laying a sheet of parchment paper on top of a craft mat with line measurements.  Use the straight lines on the craft mat to make sure the sticks are straight when gluing together. The parchment paper is used to help prevent the materials from sticking to the work surface. 

Next, line up four craft sticks, gluing one side at a time together .  .  .

using wood glue super glue or hot glue .  .  .

to create a box shape frame. Make one for the bottom and one for the top of the box. Let dry.

Once dry, take one box shape frame and begin gluing on the side wood sticks, one side .  .  .
at a time until .  .  . 

all four sides are glued on. Re-enforce the stick connections in the corners with more glue and let dry completely.
Once the sides are dry, glue on the top to the side sticks to .  .  .
form the shape and frame of the box.

Next, cover the wood frames with deco mesh fabric, using hot glue on each frame to secure, one side at a time. Use clamps to hold the mesh in place while drying.
Leave the bottom of  box open to access lights. 

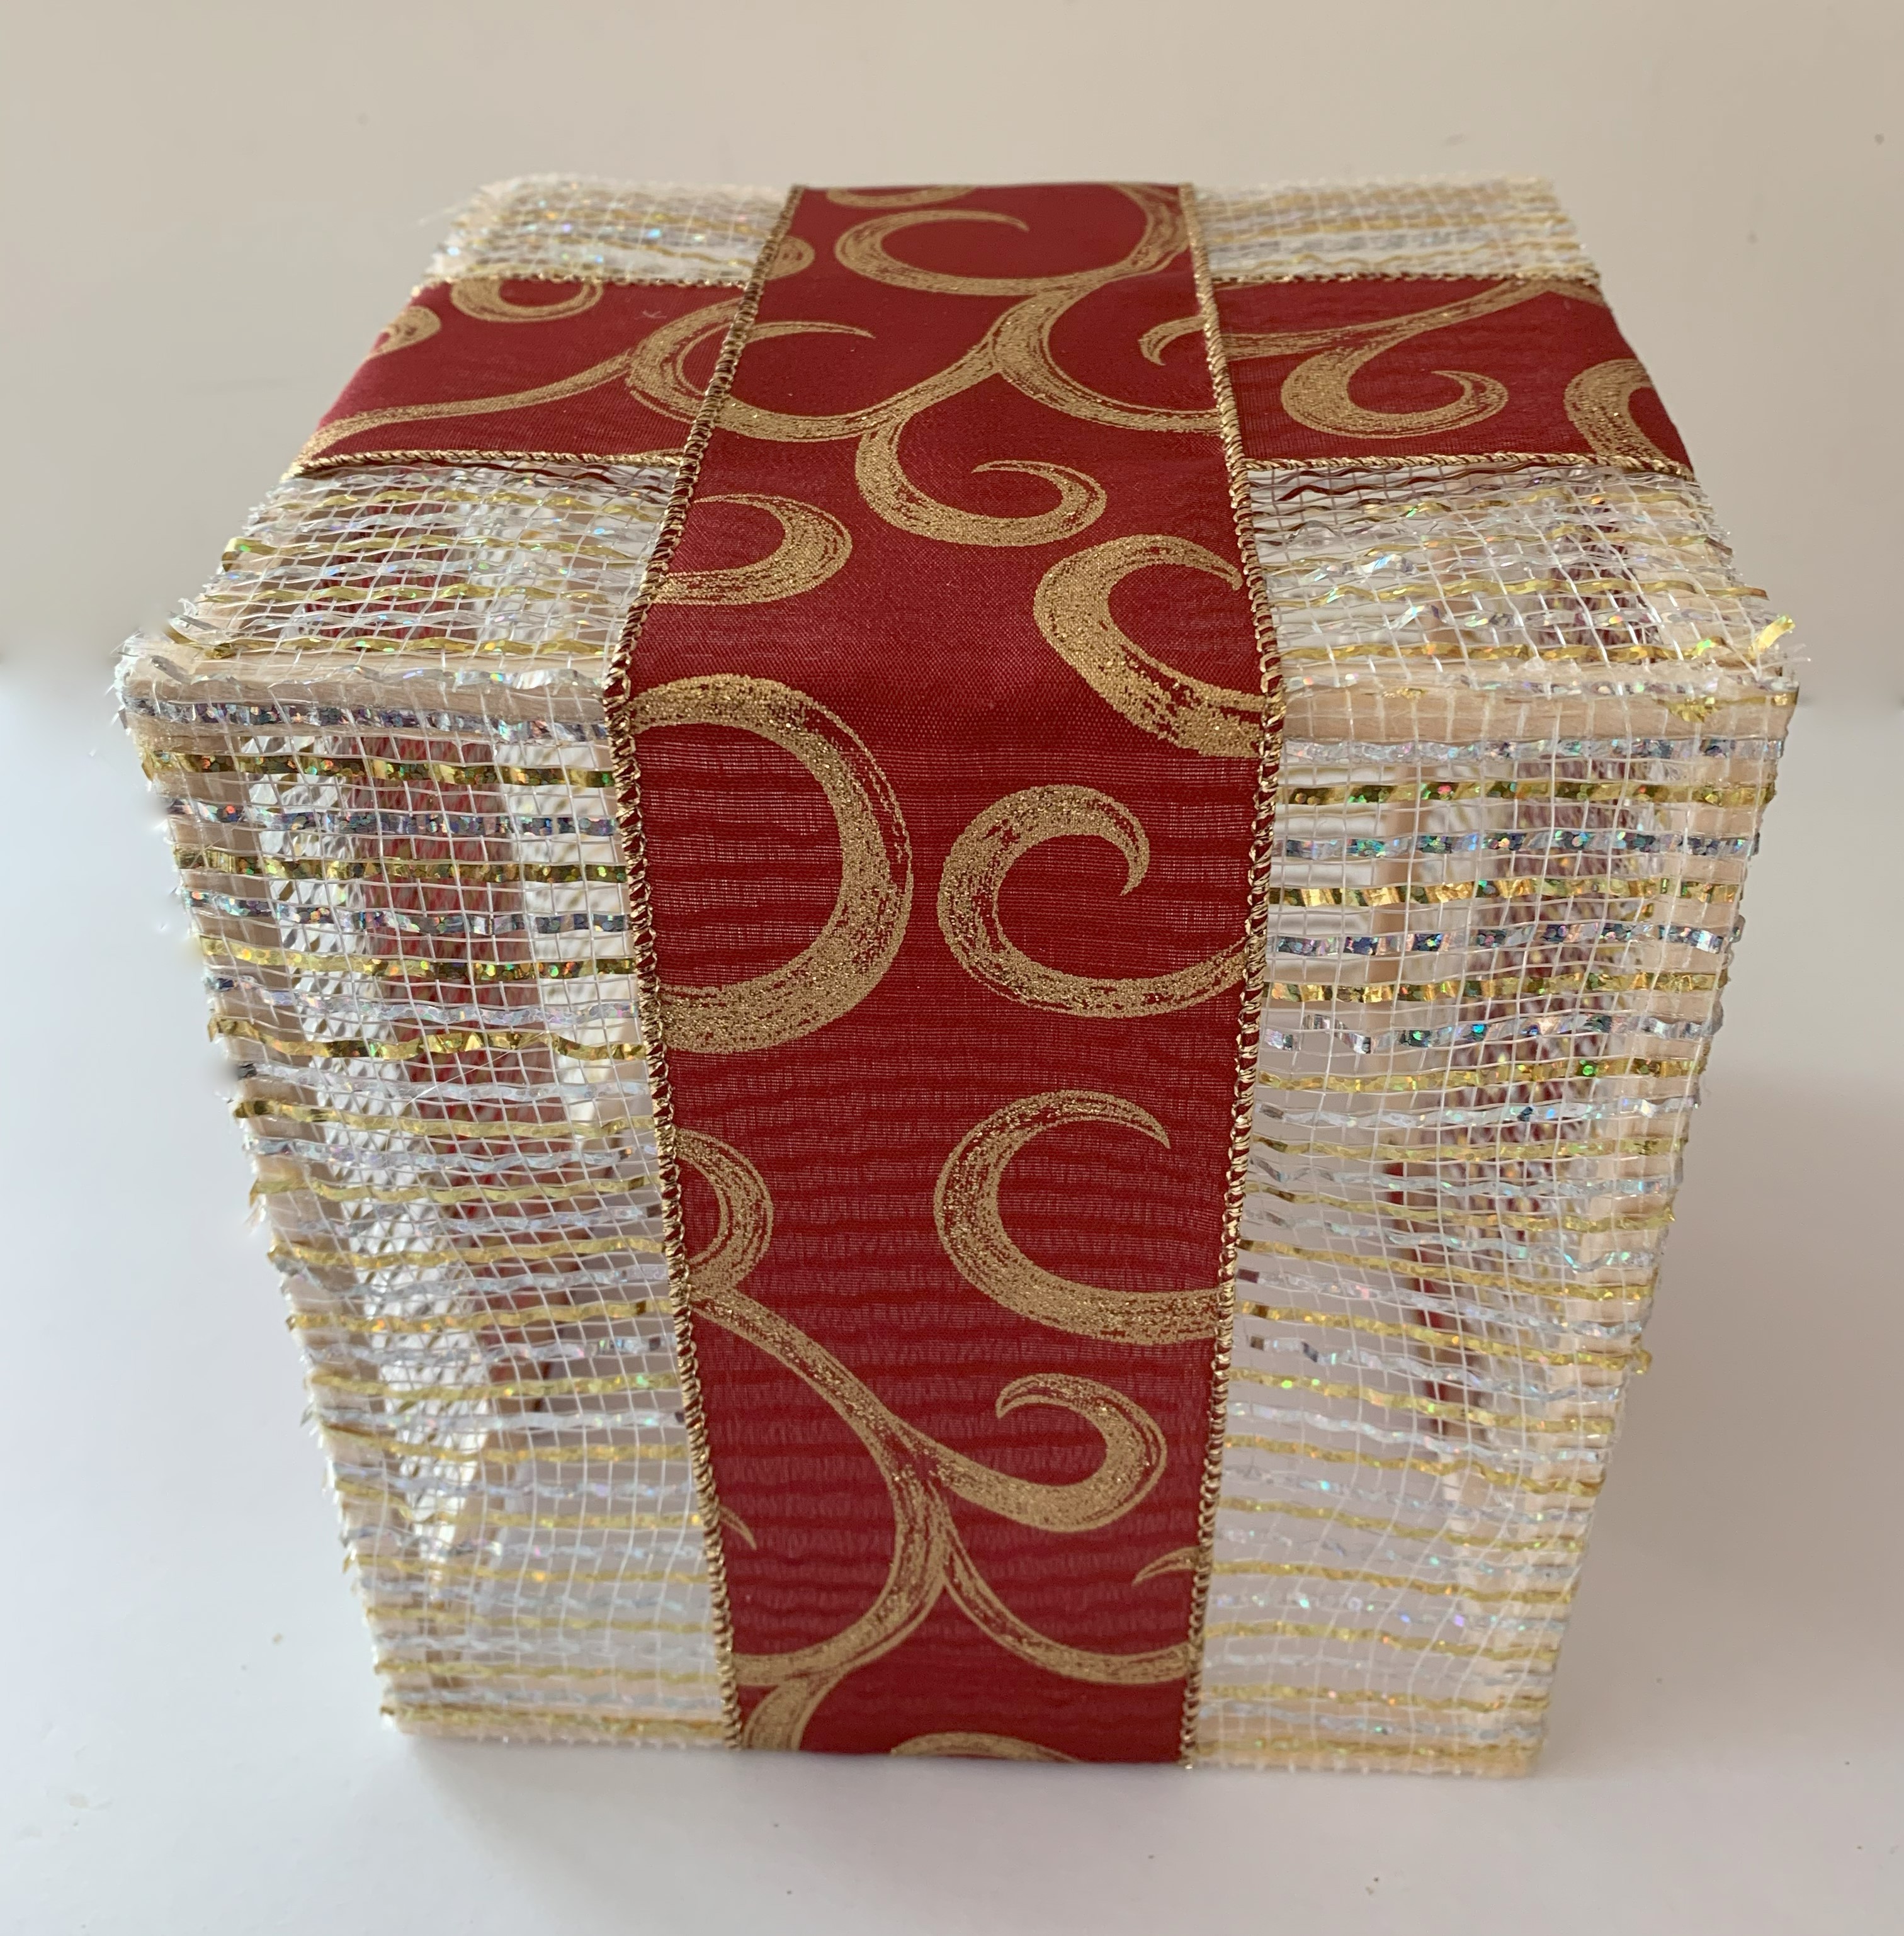
Once dry, cut off excess mess along the frame using scissors,                    Once the frame is covered with deco mesh and trimmed, cut 2.5" ribbon long enough to wrap around three sides of box, crisscrossing on top - imitating a wrapped gift. Glue ribbon ends to bottom of box frame.  Then add strips of the 1.5" ribbon on top of each strip of the 2.5" ribbon. Be sure to glue the ends to the bottom frame on top of the 2.5" ribbon.

Next, it's all about making a beautiful Bowdabra bow! To make a lovely bow with lots of loops, fold an 18" piece of bow wire in half and place into the Bowdabra.  Then pinch the end of the 2.5" ribbon on the roll placing it pattern side down into the Bowdabra.                                 Create a loop by folding over the ribbon at  4.5 inches.   Twist the ribbon down into the  Bowdabra smoothing the ribbon out.Next, fold and twist the other side at the same 4.5" width, down into the Bowdabra creating another loop.Make two more loops the same width on opposite sides, using the Bowdabra wand to crunch down the loops.Next, cut 15 feet of 1.5" wired ribbon from the spool. Fold the ribbon in half to find the center and crease, placing the ribbon pattern side down on top of the 2.5" bow into the Bowdabra.Make a three and a half inch loop by folding and twisting the ribbon down into the Bowdabra to make the first loop.Next, fold and twist the other side at the same 3.5" width, down into the Bowdabra.Continue to fold and twist the ribbon tails, one at a time, alternating sides, down through the center of the Bowdabra until reaching the end of the ribbon. Scrunch down all of the ribbon using the Bowdabra wand.Then remove the wand and thread the two loose ends of the bow wire through the loop at the other end, pulling the wire tightly and gently pulling out the bow. Separate the two loose ends, taking them around to the back and tying in a double knot. Tie the bow to the smaller ribbon on top of the box with the bow wire, tying in a knot. Cut off excess bow wire. Fluff and straighten bow.Place twinkle lights inside the box attaching the battery box with double sided tape under the bow.

The light up gift box  looks absolutely stunning topped with an adorable bow made using the Bowdabra bow making tool!   


Happy Holiday Crafting!


Thursday, October 19, 2023

Upcycled Plastic Cup Vase


Hello! Have I got an easy all season craft for you using plastic cups! Once you're done with drinking out of them, here's a resourceful way to reuse them and celebrate any season or occasion! Just rinse out, dry, and use them to create a lovely vase! Perfect for the upcoming entertaining season!

 Welcome to this months' Creative Craft Hop hosted by Sara @Birdz of a Feather! So glad Sara's back! But Donna @Modern on Monticello  did an amazing job filling in these past three months for Sara! If you're coming over from Cecilia's @My Thrift Store Addiction, wasn't her whimsical chandelier centerpiece adorable!


Upcycled plastic cup vase is all about reusing before recycling! And making a vase is so easy and simple to do!

Materials:

  • Plastic Cups - 16oz or larger
  • X-acto craft knife/sharp scissors 
  • Quick dry multi-purpose glue (Fabri-Tac)
  • Plastic storage container bottom
  • Velvet wired cord 20+yds

Start with two clean plastic cups. These cups are 16oz.
Use an x-acto knife to cut out an .  .  . 

 opening in the center of the bottom of both cups! Basically that's so you won't have to shorten or cut off the stems of real flower or foilage - just in case.

Then glue the two bottoms together.

The bottom opening of the plastic cup "vase" needs to be closed, so I'm using the bottom of a clear plastic container to cut out a round closure and .  .  .

glue it onto the bottom opening (which is on top in the picture below).

Once the bottom closure is dry, cut off excess plastic. And check for openings you might have made while cutting, and add additional glue to seal.

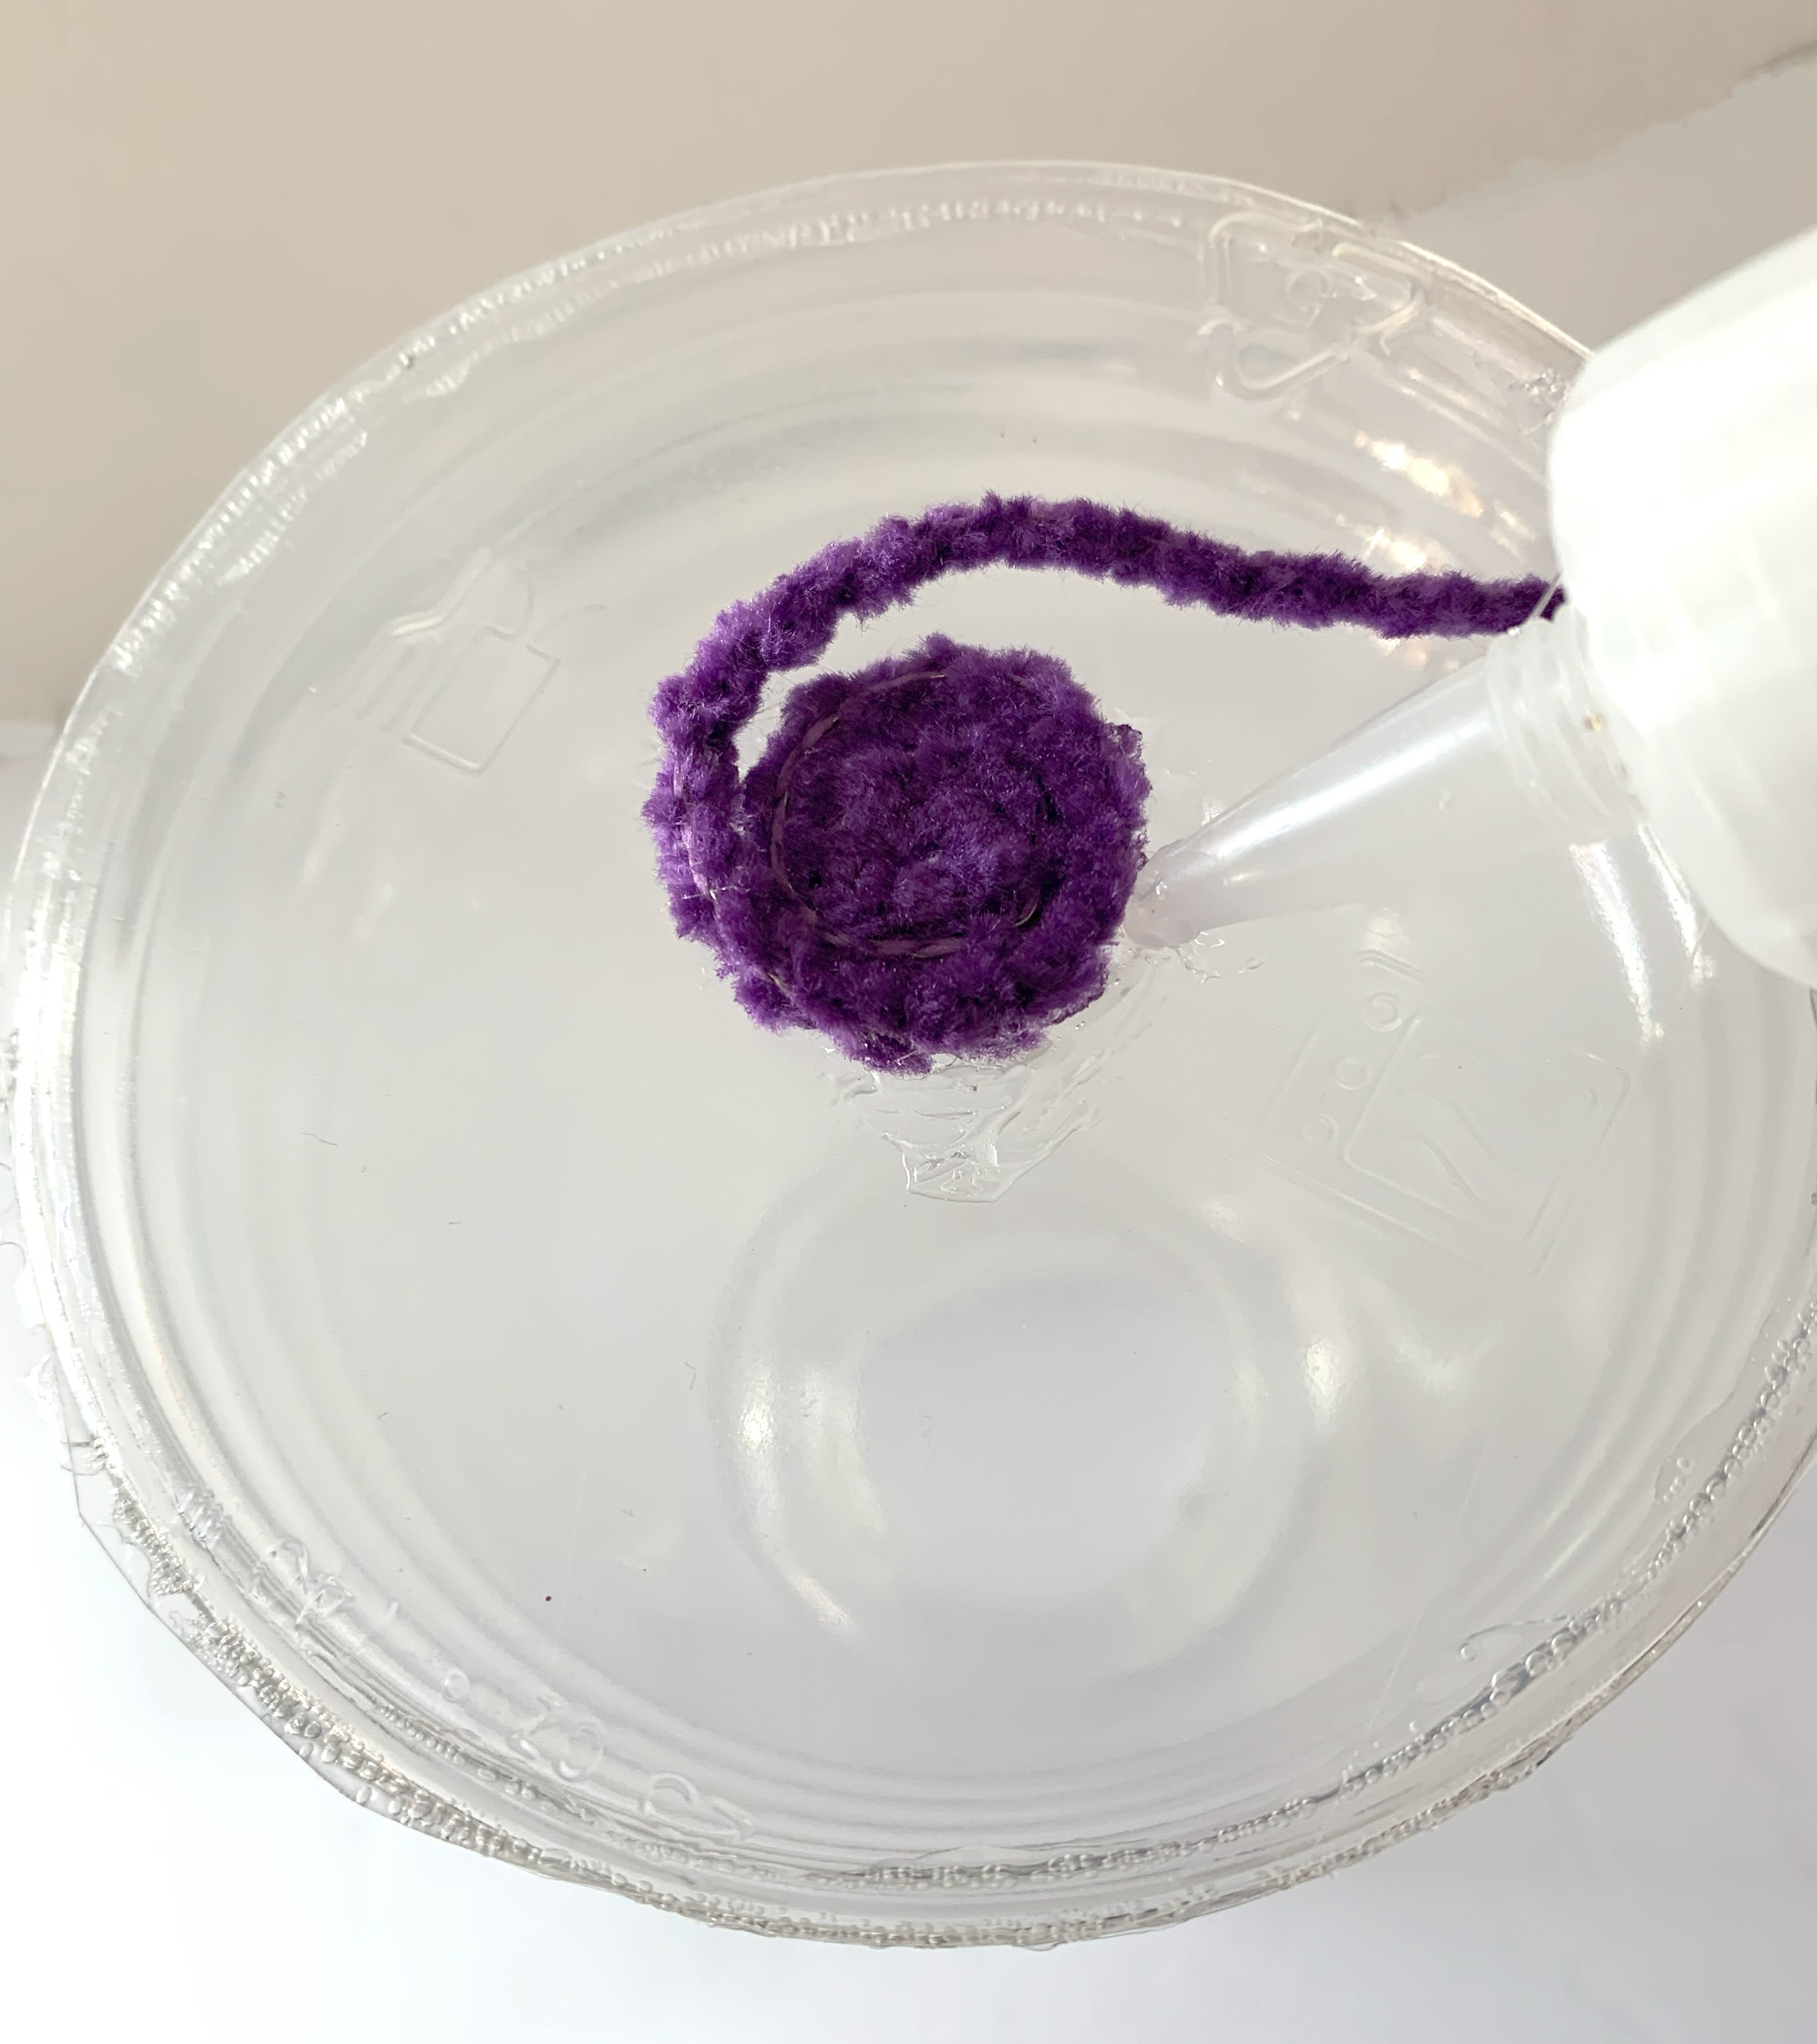
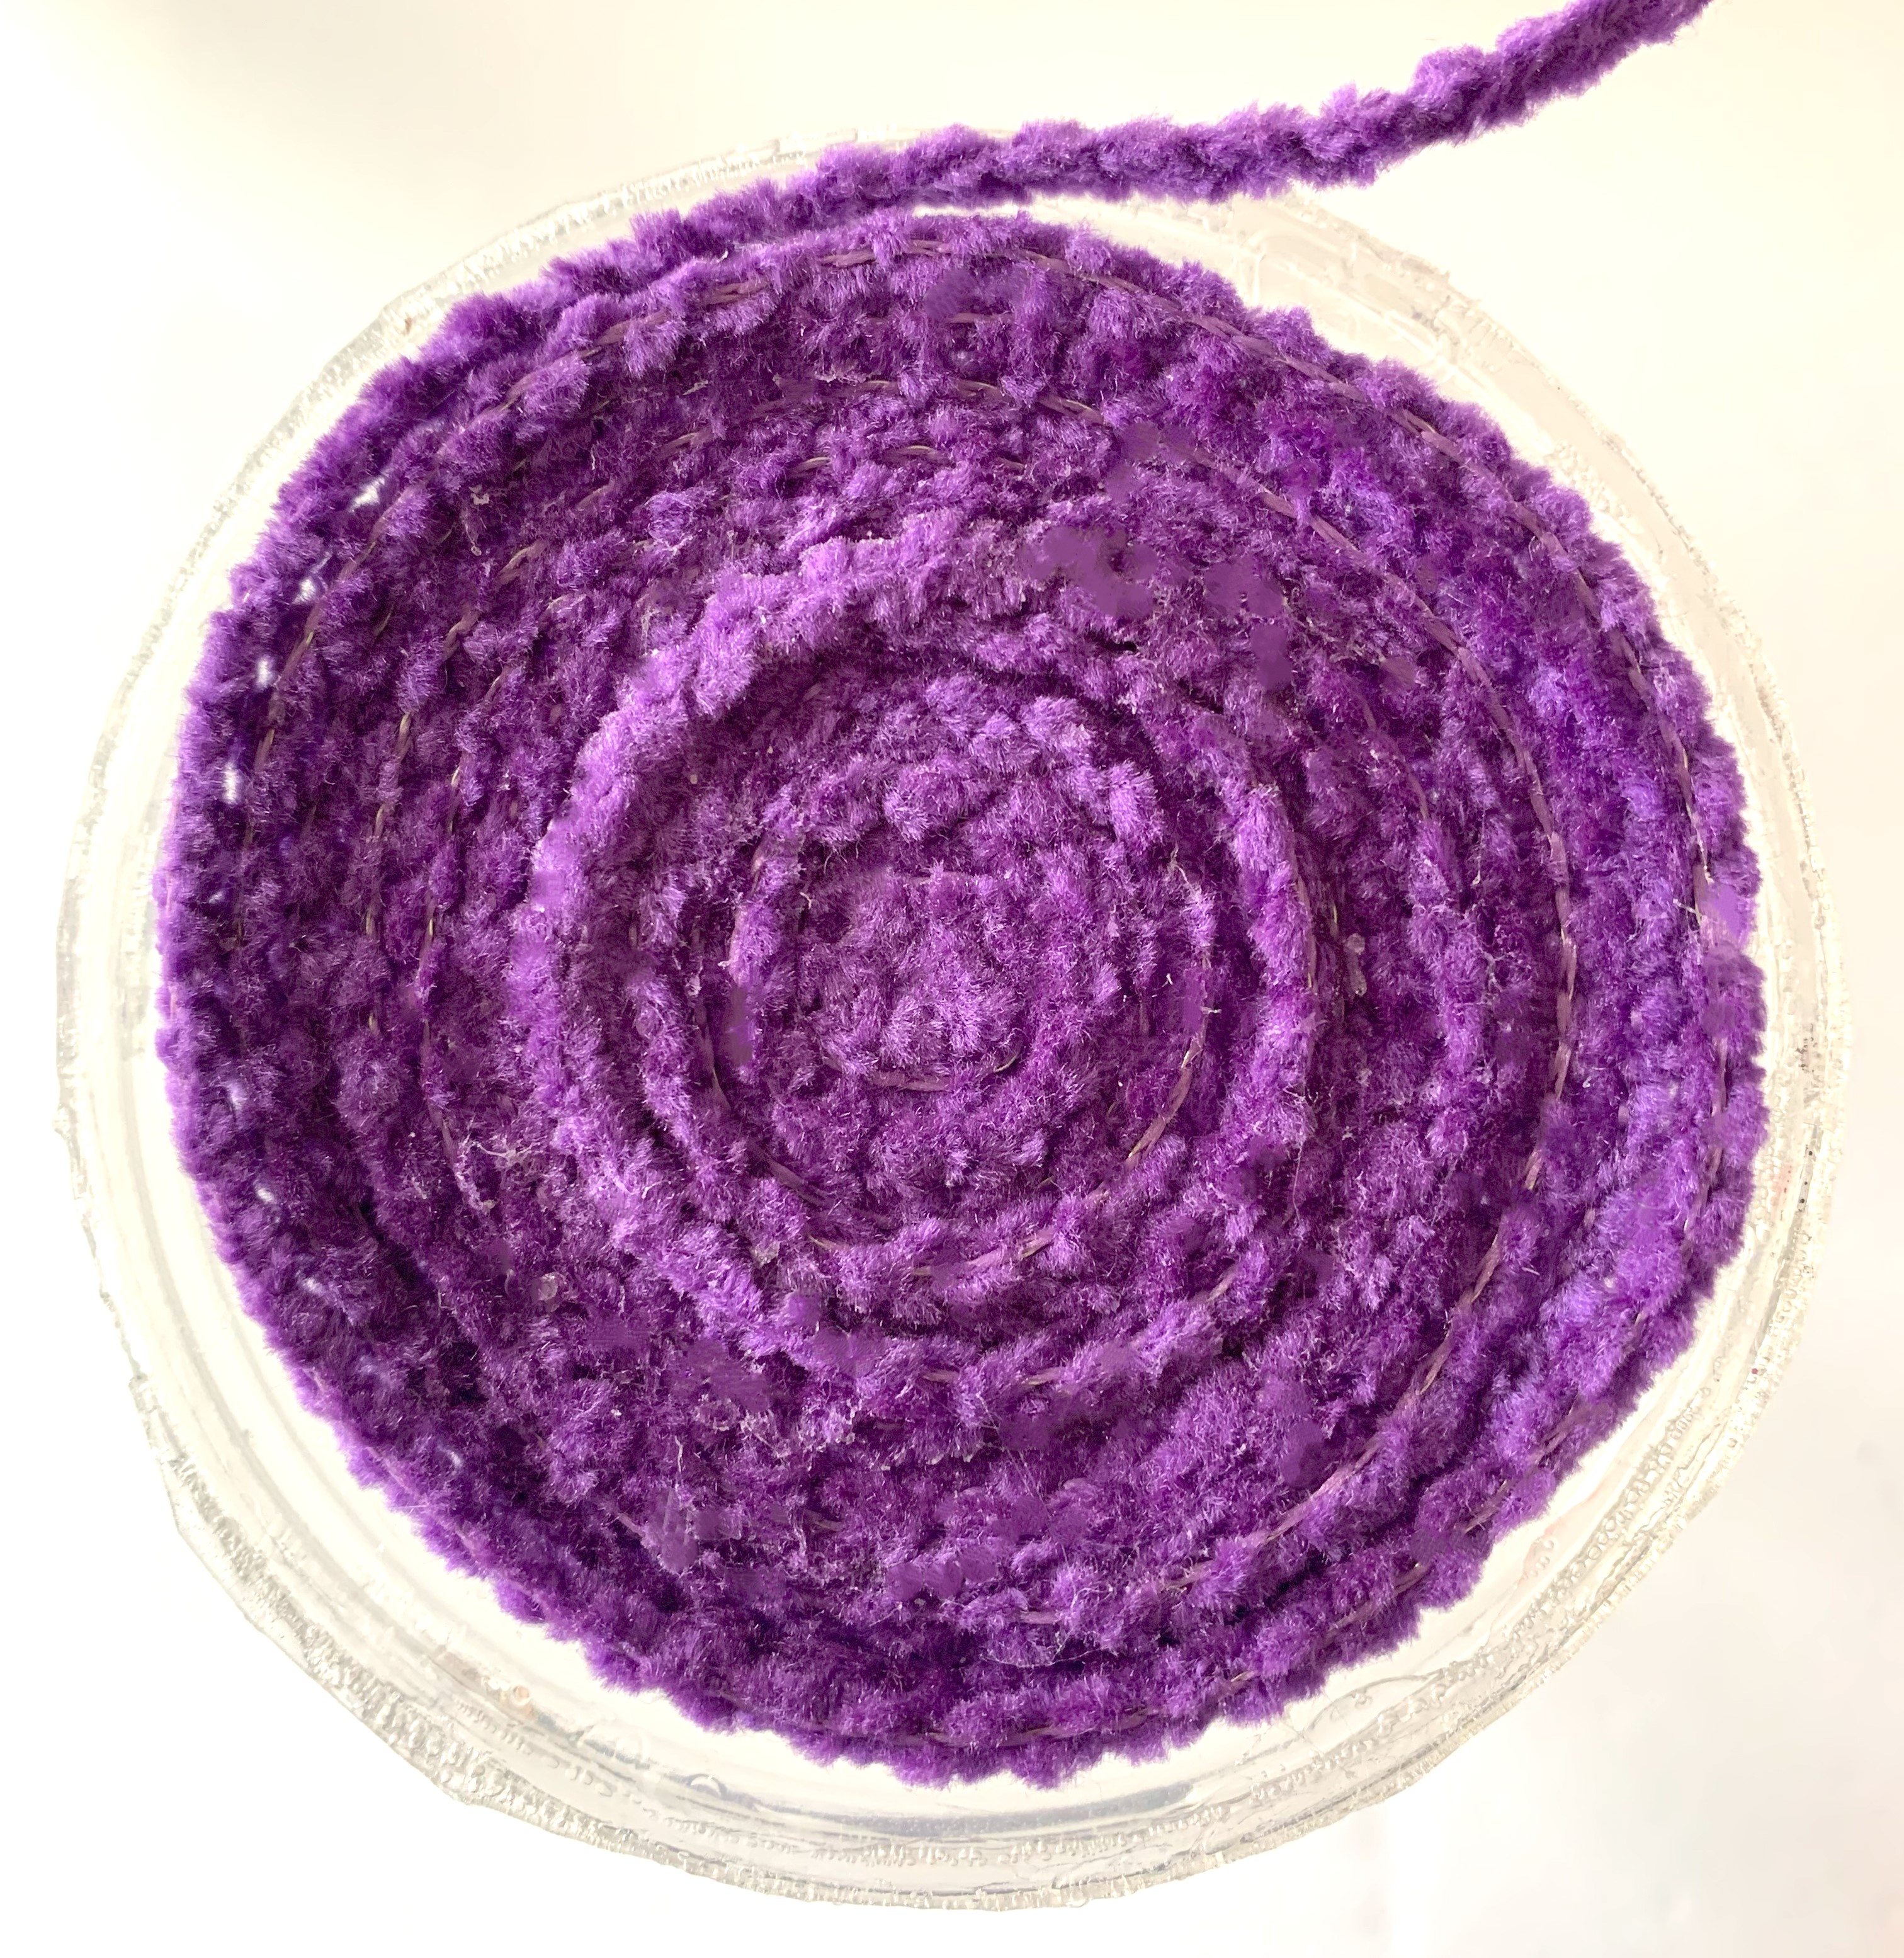
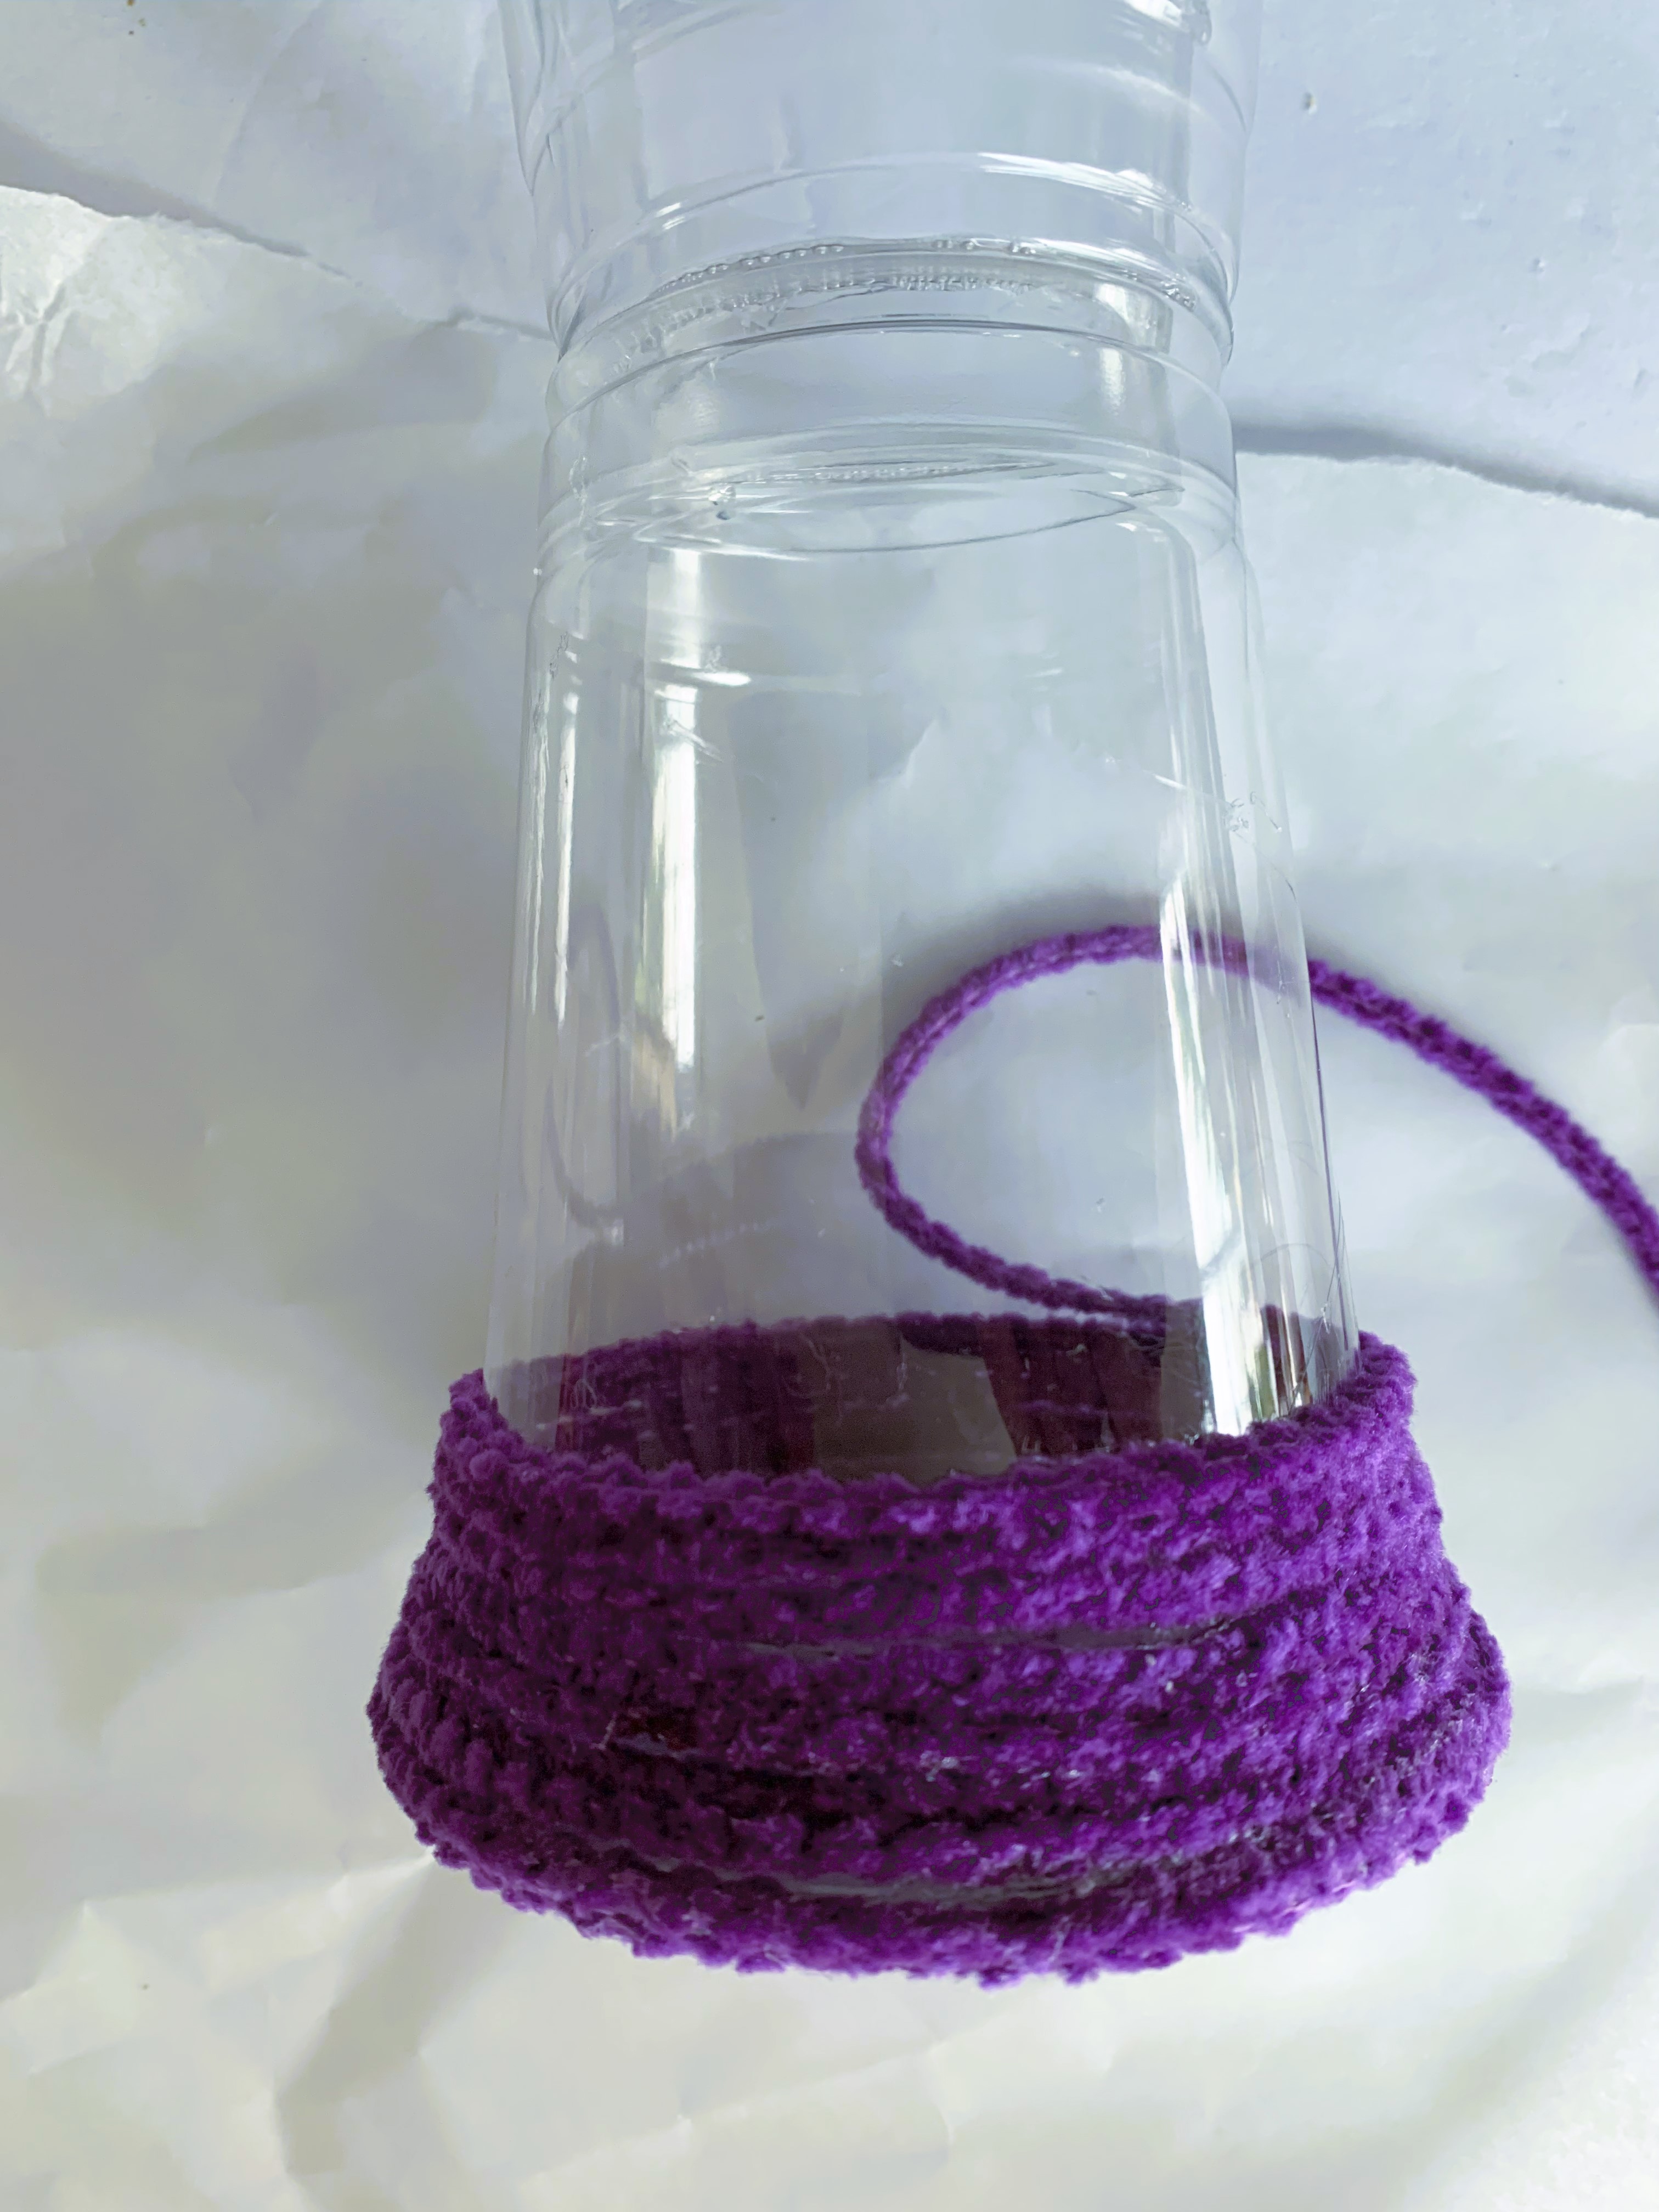
Then begin adding the velvet wired cording by coiling it around into a circle and gluing in place to the center of the bottom plastic. 
Continue coiling the cord and gluing in place as you cover the plastic cups.
Coiling from the bottom .  .  .
up towards the center .  .  .
and then around to the top, gluing in place as you coil.
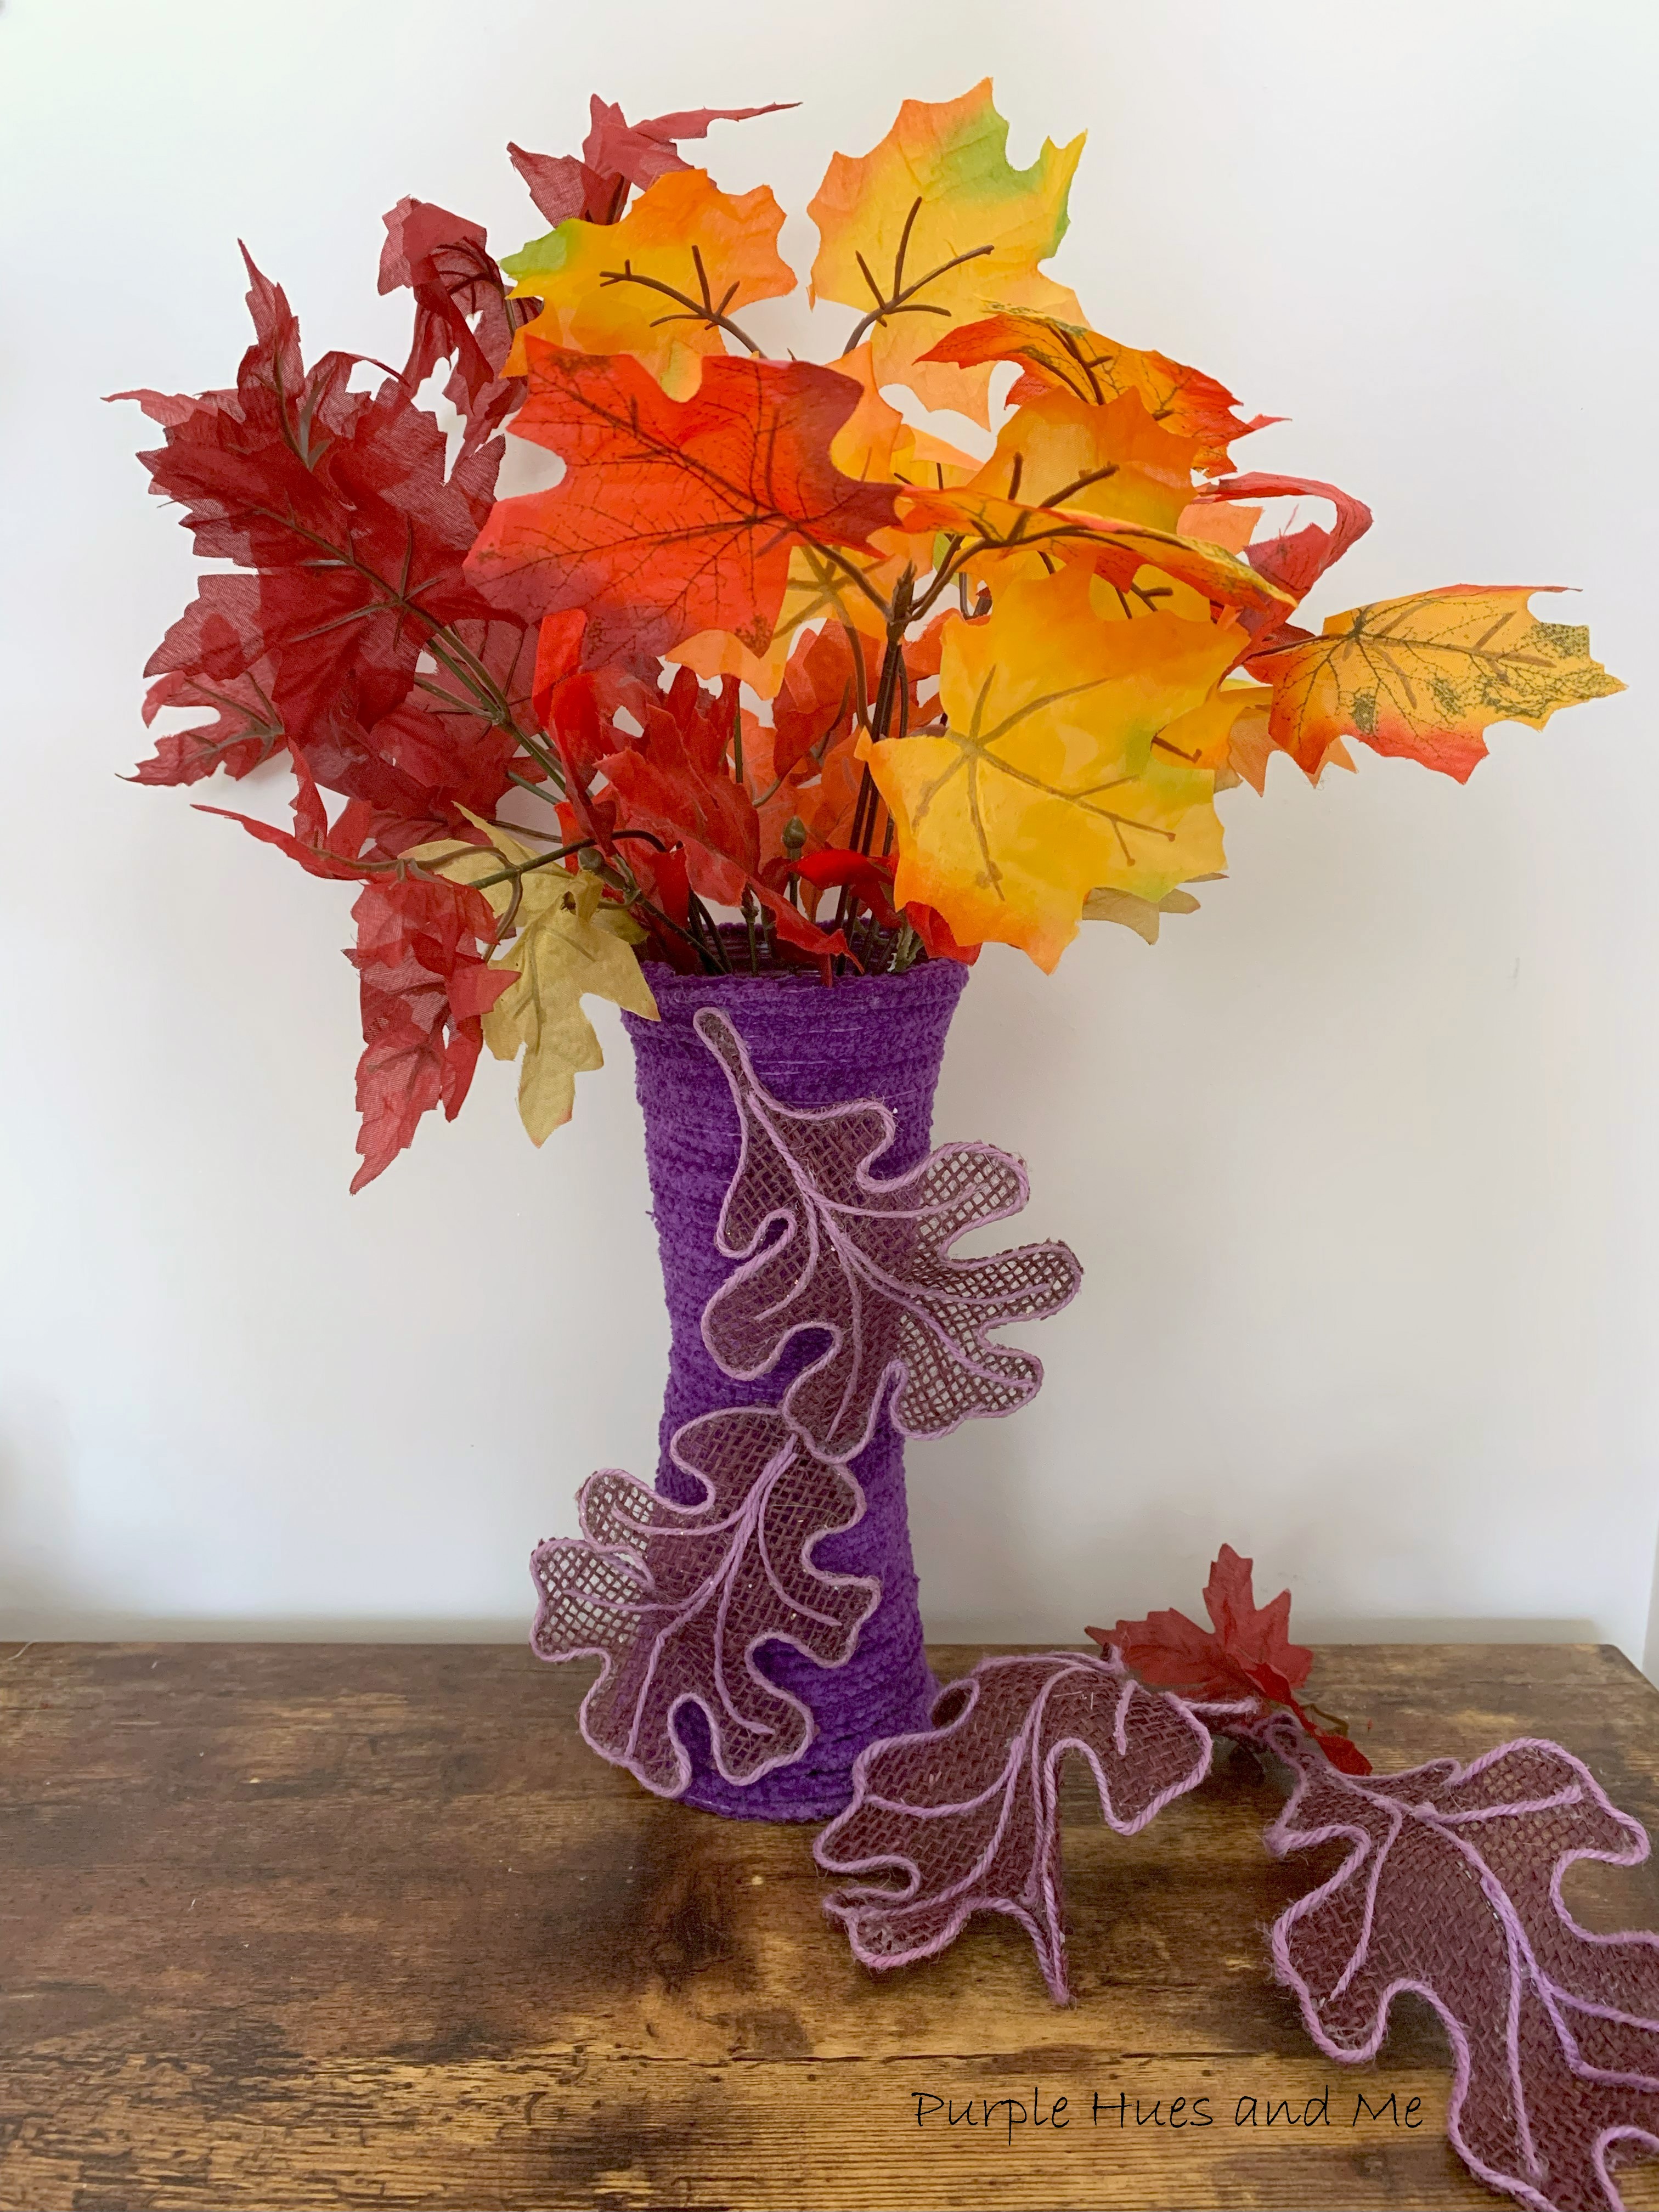
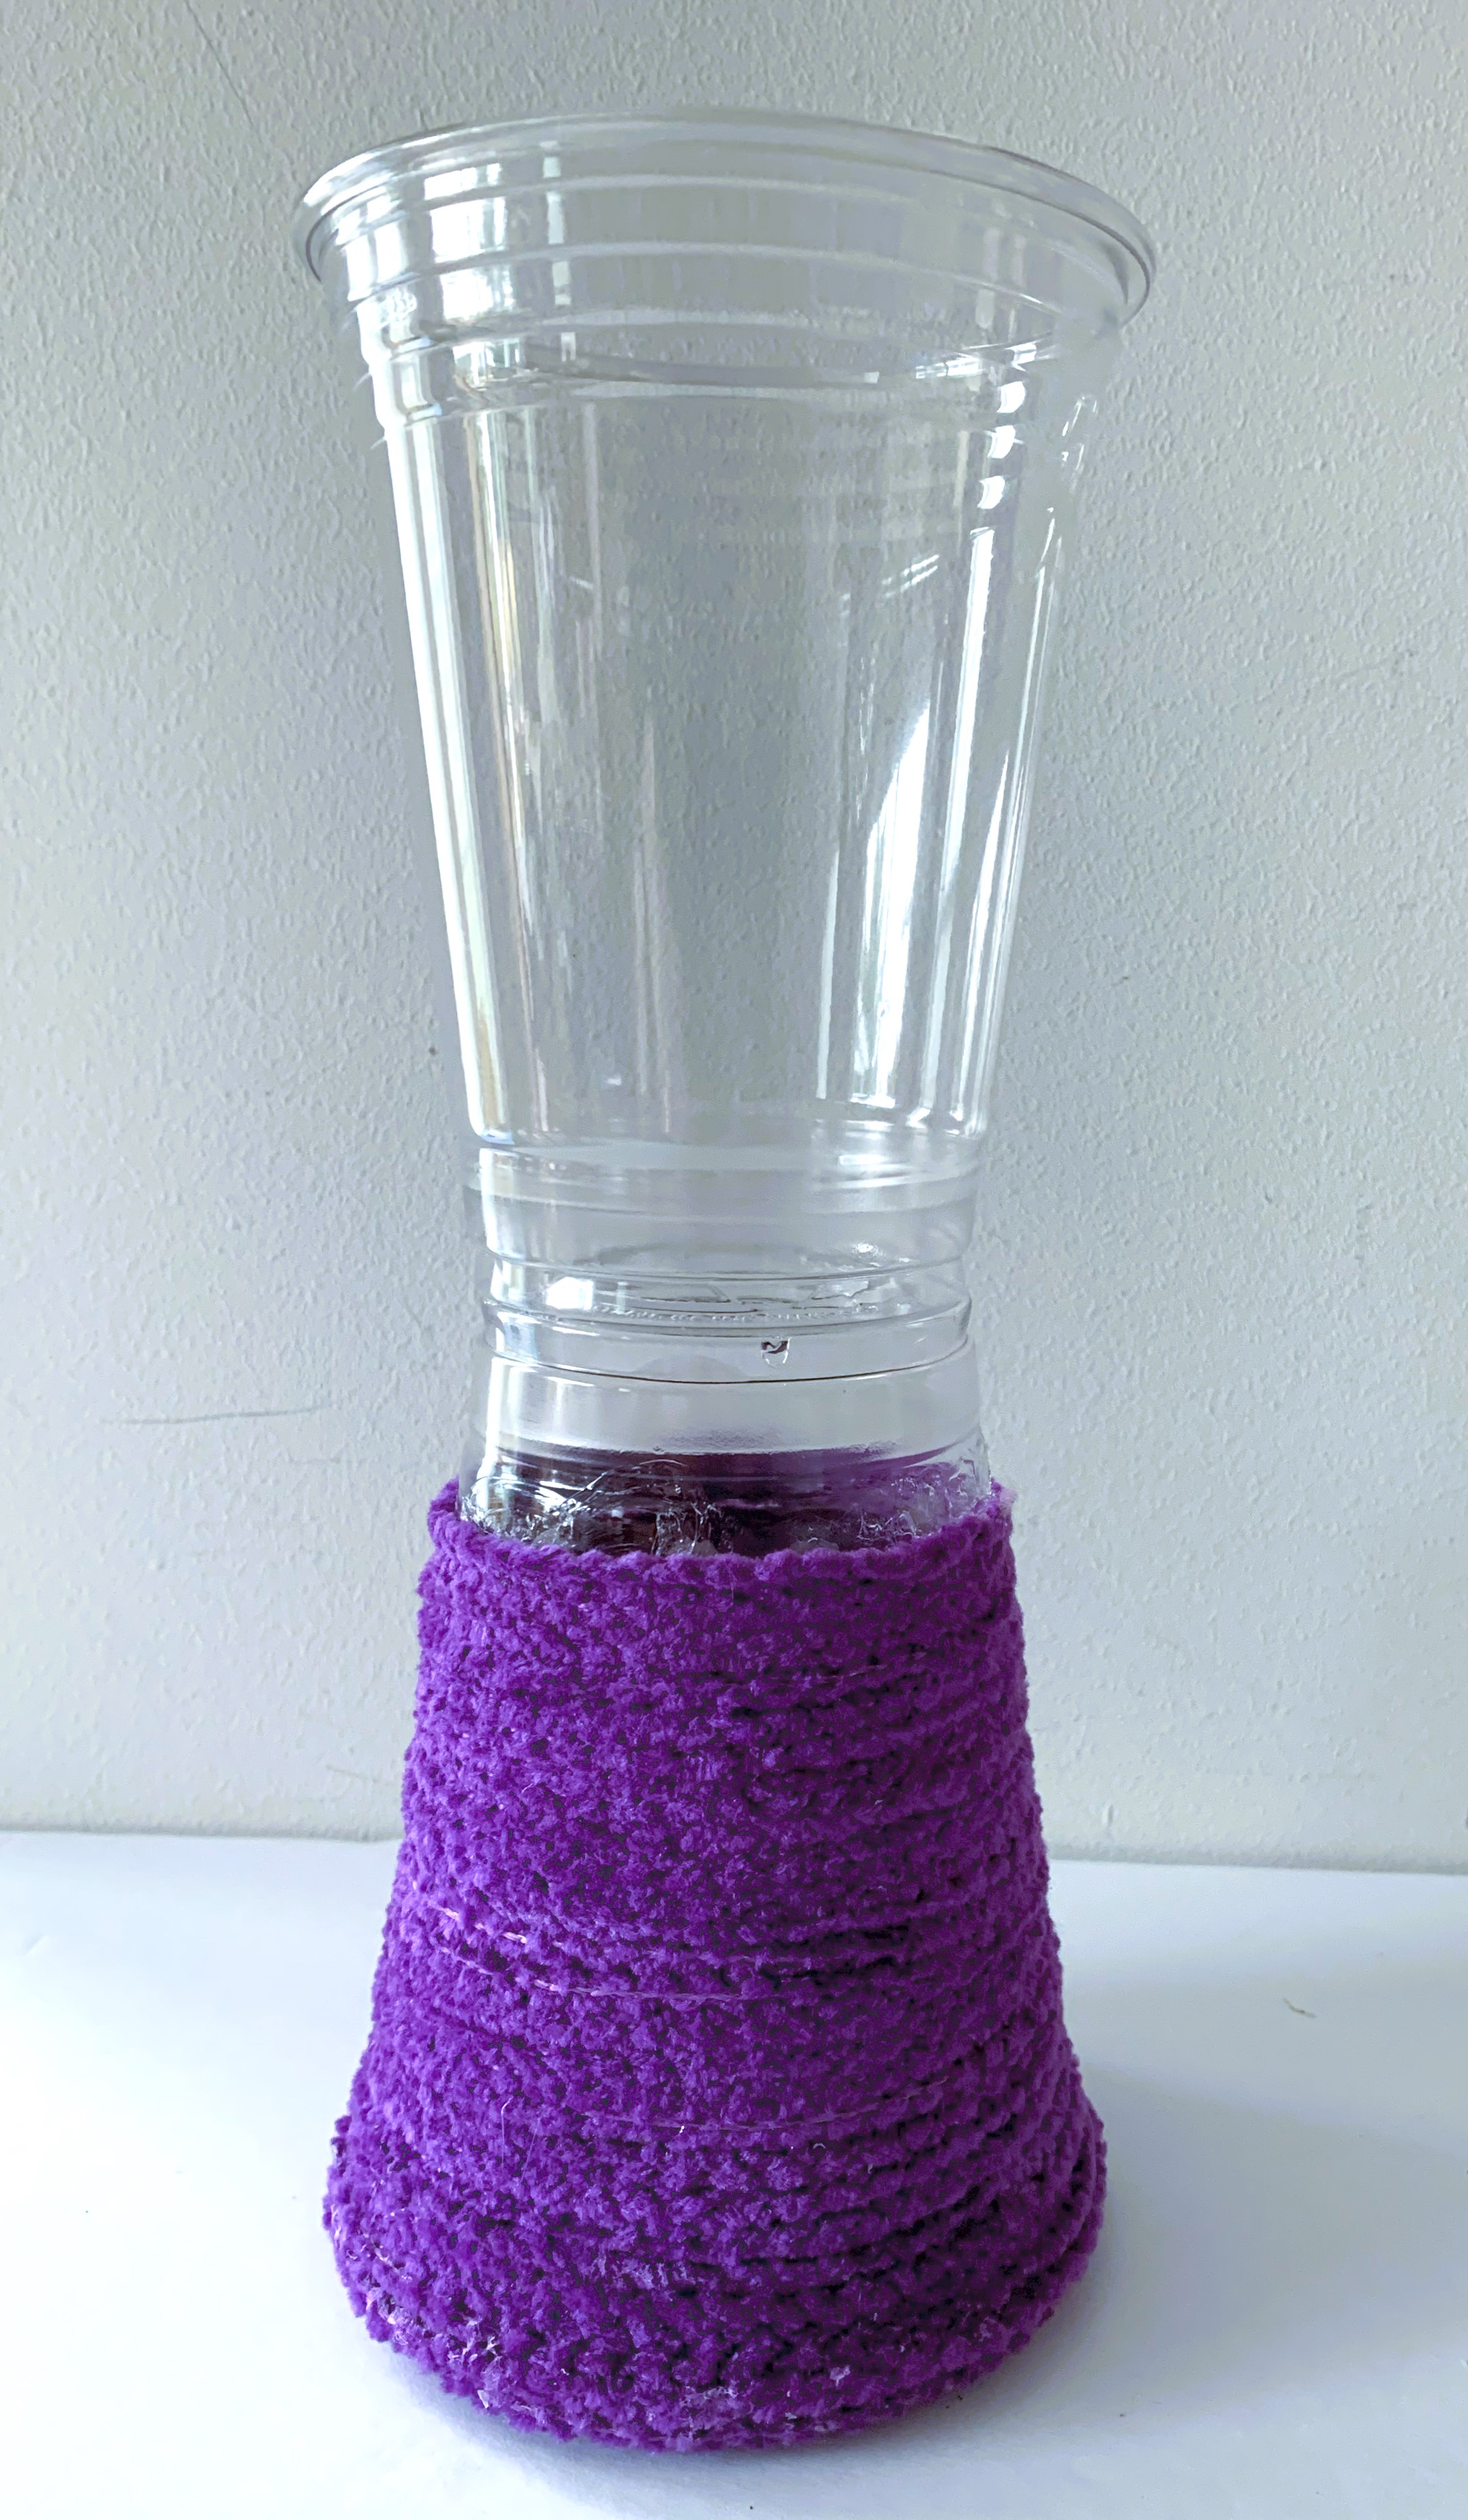
Here is the finished vase wrapped in wired velvet cording. The vase looks beautiful as is, but I wanted to decoupage borders of leaves on the top and bottom of the vase for the fall season.  

I printed out a fall border design on rice paper but as I tried to decoupage it on the vase, it just wouldn't stick. Then I tried other papers to see if they would stick.
This leaf was actually a napkin that I cut out. It looks good on the front of the vase, but once I applied mod podge, it wouldn't stick either and ended up stuck on plastic film instead of the vase. It was a hot mess! Luckily I was able to wash all the mod podge off and let the vase dry overnight.


I so wanted to put some sort of decoration on the vase. I didn't want to use any type of stones, beads or glitter. Then I remembered making fall leaves using an oak template. Some of you may remember this oak leaf template that I used to make a clay leaf dish. and also leaves for my paper mache pumpkin centerpiece. I reduced the size in Word, printed it, and then cut it out. You can also free-hand a leaf design, if you want. I still had all the supplies to make a few leaves.

To make the leaves, you will also need:
  • Clear film sheet
  • Purple Burlap Ribbon 5.5"wide
  • Twine
  • Tacky Glue/Fabric Glue (quick grab)
  • Parchment paper
  • Scissors
  • Floral Stem Wire

Then place a clear film sheet on top of the template (so it wouldn't stick as much) and the burlap on top of that.  Begin tracing the leaf around on the burlap in small increments with a quick grab, tacky glue. Quickly place the jute twine down on top of the glue, following the outline. Use the pointed nose of pliers to press the twine down onto the burlap to prevent too much glue getting on fingers.

Once the twine is in place, cover the leaf with a sheet of parchment paper and press down around the twine outline to smooth out with fingers for better adhesion to the burlap, and then remove.
 Let dry!

Once the glue is dry, time to cut out the leaf following the leaf outline.
Glue on a strip of floral stem wire (I painted mine to match the burlap) to the back of the leaves to make them bendable for dimension.
Perfect to place on the vase!

You know I love my purple hues!

A recycled plastic cup vase is a unique and creative way of decorating and a great way to put a personal touch to your decor!

Up next, is Niki @Life as a Leo Wife, sharing her adorable Halloween Candleholder!


Be sure to visit all the creative crafters listed below and be amazed!

Winter Wine Glasses Jenna @ The Painted Apron

Candy Corn With Pom Poms  Ann @The Apple Street Cottage

Fall Wreath Using Fabric and Burlap  Allyson @Southern Sunflower

5 Easy Steps to Make a Thanksgiving Wreath  Carol @Blue Sky at Home

Wickedly Whimsical Salvaged Chandelier Centerpiece  Cecilia @My Thrift Store Addiction

Upcycled Plastic Cup Vase  Gail @Purple Hues and Me

DIY Dollar Tree Halloween Candleholder  Niki @Life As a Leo Wife

How to Make a Scrap Robot  Sara @Birdz of a Feather