

Welcome to our Sustainable Pinterest Challenge Blog Hop hosted by Julie @Sum of Their Stories. This month the theme is "Thrift Store Find" which includes items from garage, yard, and moving sales - even items found by the side of the road!


I want to keep the base as is. I think it's still lovely with little pink flowers and gold swirls all over in a ceramic finish.


Materials used:
Decorative napkins
Scissors
Mod Podge
Paint brush
Parchment paper
Travel iron

 keeping them grouped together.

 Then separate the napkin paper layers by lightly dipping your forefinger in Mod Podge and taping your thumb and forefingers together to get them sticky. Then tap the edge of the napkin to peel the printed layer from the plain layers.
 Next, brush a layer of Mod Podge on the lampshade where you want the napkin flower design to go. I started at the back seam of the lampshade. Then gently smooth the napkin flower design down.
 Using the brush to smooth the flowers out. I usually use a clear plastic ziplock bag to help smooth the wrinkles out. But . . .

 Once the napkin flowers were completely dry, I laid parchment paper over the design and used a small travel iron to smooth the wrinkles out.
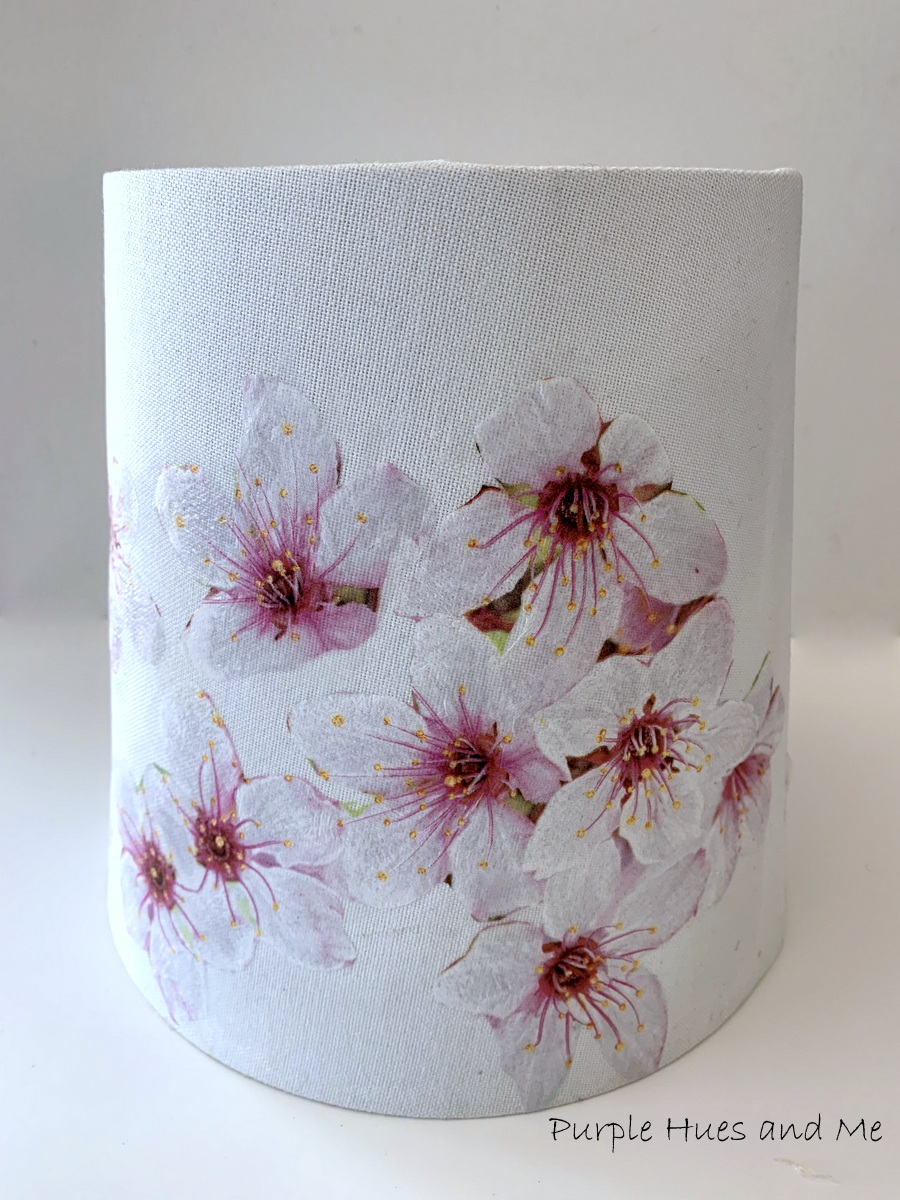
 There are so many variables involved when decoupaging. The quality of the napkins - the ones used here were quite flimsy and the material of what you're trying to decoupage - in this case, the fabric of the lampshade. I think it soaked up the Mod Podge, so there wasn't very much adhesion at first. Anyway, the second time worked! Thank goodness! And the lampshade looks adorable!


Now, it's time to meet the other participants and their projects!

How to:
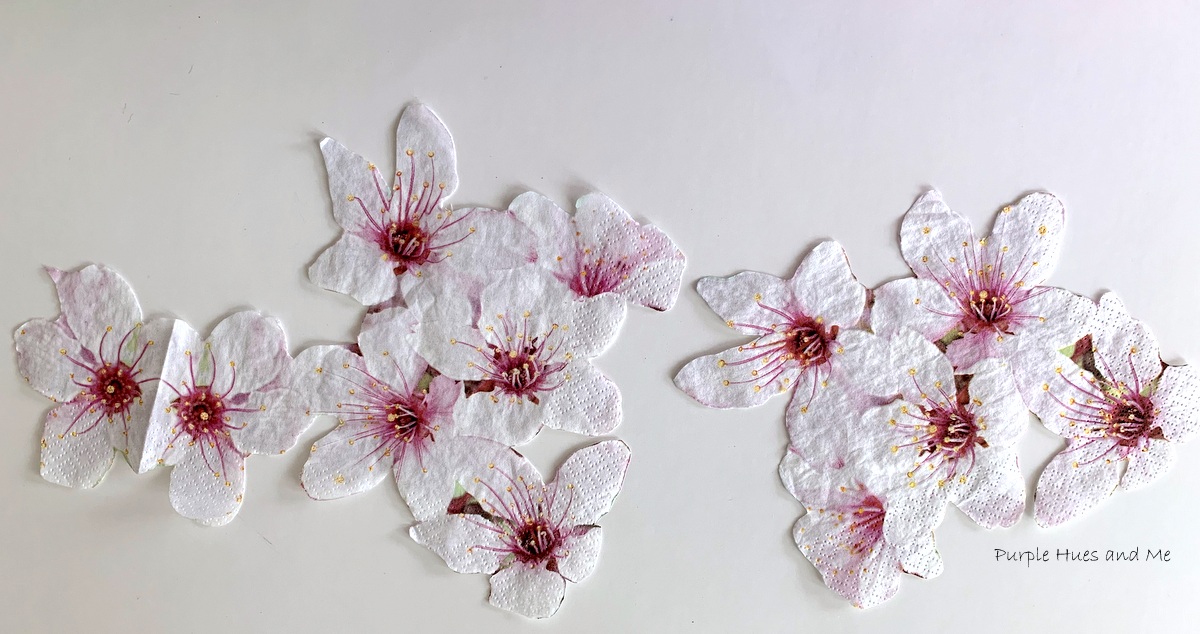
First, cut out the flowers from the napkin carefully following the lines of the flower pattern . . .


this time, that didn't work on the lampshade. When I laid the plastic over the napkin and smooth it out, then tried to remove the plastic, the flower napkin stuck to the plastic instead of the lampshade and I couldn't separate them without tearing the napkin. Imagine my disappointment!
So I had to start over - applying Mod Podge and then the napkin - smoothing it out with the brush, adding more napkin designs around the lampshade. Then I let it dry overnight.


Julie | Sum of their Stories
Gail | Purple Hues and Me
Julie | Treasures Made From Yarn
Allyson | Southern Sunflowers
Mel | Decor Craft Design
Niki | Life as a LEO Wife
Ann | The Apple Street Cottage


That is so lovely Gail, what a great match those napkins are for the base too! I'm sorry to hear your trusty plastic bag decoupage technique let you down, you know I use it all the time after learning from you! Must be the lampshade fabric soaking up the glue and maybe the texture of the fabric too. All's well that ends well though, a great upcycling of a thrift store find.
ReplyDeleteSo pretty, Gail! Sorry to hear you had troubles - have you tried plastic wrap? It's thinner and I've used it for years will a lot of success.
ReplyDeleteWhat a success in the end! It looks like a boutique lamp now. Both the napkin and lamp base designs work really well together.
ReplyDeleteI love how you matches the decoupage with the lamp stand, the lampshade turns beautiful!
ReplyDeleteYour lamp turned out beautiful!
ReplyDeleteUn cambio necesario, tu lámpara primaveral y alegre.
ReplyDeleteBESOS
Gail, I enjoyed this post so much and I wanted you to know that this post will be featured on Tuesday Turn About Link Party this week! Pinned to our Tuesday Turn About Pinterest board.😊 Thanks for sharing your makeover and I hope to see you at the party this week! 😊
ReplyDeleteI'm consistently impressed with the daily and weekly promotions at Mr Vegas Casino. They frequently run prize drop tournaments and offer free spins on popular slots, which gives me an extra reason to log in regularly. These little boosts keep the excitement levels high and provide more chances to win without always dipping into my own bankroll.
ReplyDeleteIf you are in search of a cool and proven casino then I can say with certainty that romania reviews is exactly what you need. Now I'm actively playing here and I'm ready to tell you that the casino has changed my life in a positive way and now I try to play as often as possible because it brings me a huge amount of positive emotions and impressions.
ReplyDelete