

So I came up with the idea to make these cute little goody totes, bags or pouches - whatever you want to call them - to give, as favors or gifts, or to use in a table setting! And the best part, you can use just about any type of wire ribbon that's at least four or more inches wide to make for any occasion, theme or holiday!
Materials needed:
Wired Ribbon - 4+ inches wide
Fabric-Tac Glue
Scissors/ruler
Jute Twine
Mod Podge
Burlap fabric scraps or ribbon
Clamps
Wired ribbon 1.5" wide (for rose)/embellishments
Begin by cutting one strip of four inch wide ribbon, 15 inches long. And two strips, 5 1/2" long.

Next, fold the longer strip at the widths of the shorter strips (you should have two folds). You can line up the strips as shown, if you want. *Next, all of the top edges should be folded and glued down first before gluing the sides together. (which I didn't do until later)

Then, take one short strip and line up the edges to the longer strip at the top and along the side edge. Begin adding enough glue to seal to the edges on one side of the short strip and then to the edge of the longer strip and press together to bond.

Once that side has bonded together, continue adding glue to the next side of edges of the short strip to the longer strip side and bond together. Make sure to add glue in the corners and press firmly together.

Continue to the third side, moving around the short strip, adding glue to its' edge and then the long strip edge to bond the two pieces together, as pictured.


Repeat the steps to glue on the second strip - starting at the top side edge and


To make the handles, cut two strips of jute twine, eight inches long and dip in mod podge to make the twine stiff, removing excess glue with parchment paper or paper towel and let dry. Cut two small strips (7") of burlap scraps or from the ribbon and fold each one in half. Cover half of the strip with glue and place curved twine on top. Fold the fabric strip over the twine edges and firmly press the piece together and let dry. Repeat for second handle.

Once dry, add glue to the handle strip and press it onto the inside edge of one side of the bag. Clamp to hold in place until dry. Repeat to add the other handle onto the opposite side and let dry.


Cut off excess wire and glue the ribbon edge down under the rose.

Glue ribbon rose onto front of bag.

Additional little bags or pouches can be made by cutting a length of wired ribbon 15.5" long. The length can be adjusted to make smaller or larger sizes.

Fold over both edges, 1/4" and glue down. Then fold fabric together at six inch mark. Glue each edge together at sides, wrong side together. Fold over flap to close. Add rose or embellishment to outside flap.


Have fun deciding what kind of goodies to put in your adorable bag favors!

Meet Your Hosts!
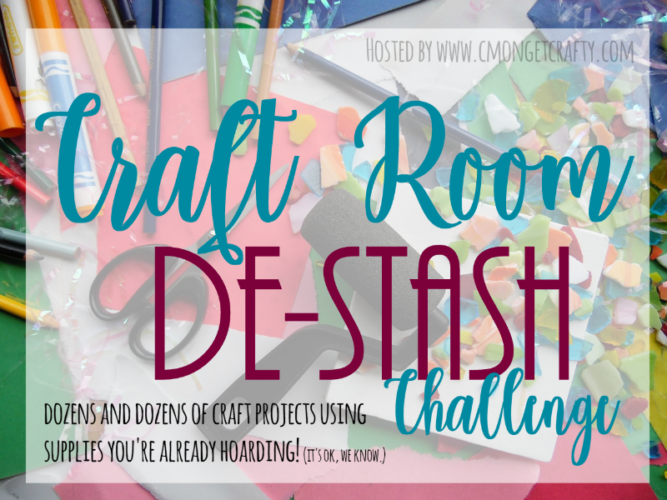
Check out some awesome creations you might be able to make from your own stash! #CraftRoomDestashChallenge


What a CUTE option for gift wrapped goody bags! Thank you for the step by step directions! -Marci @ Stone Cottage Adventures
ReplyDeleteI would have never thought of using ribbon to make a favor bag. What a creative use of ribbon from your stash, Gail. The bag looks great.
ReplyDeleteThose bags and pouches are just adorable!!! Thanks for sharing how you made them.
ReplyDeleteThis is so cute. What a great idea for party favors or a special gift such as jewerly.
ReplyDeleteThese would be great to make for favors for a bridal or baby shower! So cute and easy!
ReplyDeleteWhat an adorable idea. Definiately a cute favor for a shower or any kind of party for kids etc. The wired ribbon was genius to use! Love the cute flower.
ReplyDeleteI had no idea it was that easy to make little goody bags. The possibilities for making unique and customized ones are endless now that I've seen this! The bows too - who knew it was that easy to make a rose! Your purple chevron bags are so pretty, Gail. Pinned in my Gift Ideas Board.
ReplyDeleteI love the purple chevron burlap and the artistry involved in making these! Thank you for the amazing tutorial!
ReplyDelete