Monday, March 14, 2022

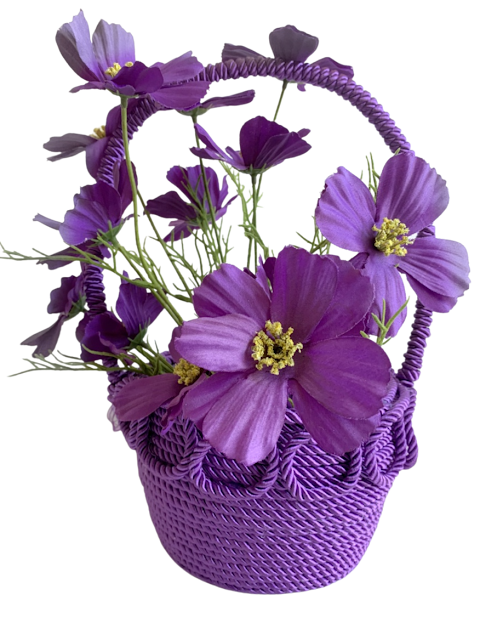
Trash to Treasure Twisted Cord Basket


                                                       Purple Hues and Me

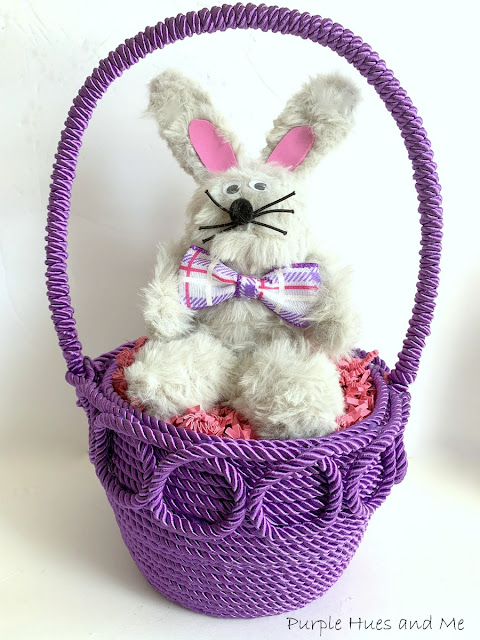
Calling all craft upcyclers! It's that time of year when we're thinking about spring decor and what better way is there, than to transform a throw-away into something pretty and unique! Especially if you plan on making your own Easter basket! Why not make one you can enjoy all year long! Imagine upcycling a snack container into a gorgeous basket using a hot knife, twisted silk cord, wire and glue. It's as simple as that! So, let's begin making one! 

You'll Need:
  • Snack Container 
  • Sharpie/cup
  • Hot knife
  • Acetone (nail polish remover)
  • Twisted Silk-like Cord (20yds)
  • Fabric Glue/hot glue
  • Wire - 10 gauge (handle)
Start with a clean and dry large snack container. No need to remove the label just yet.
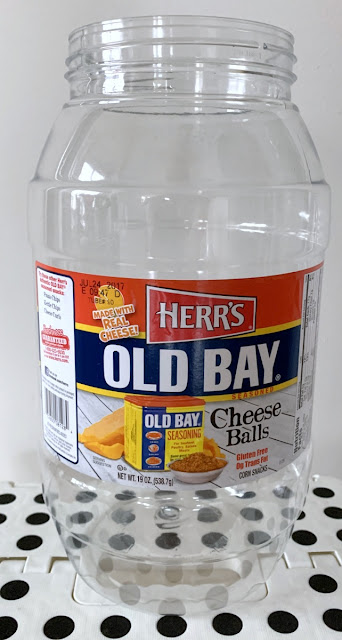
Next decide how tall you want the basket to be. In this case, it depended on the height of a cup I used to mark the container. I had one that gave me five inches in depth which was good for a nice size basket.
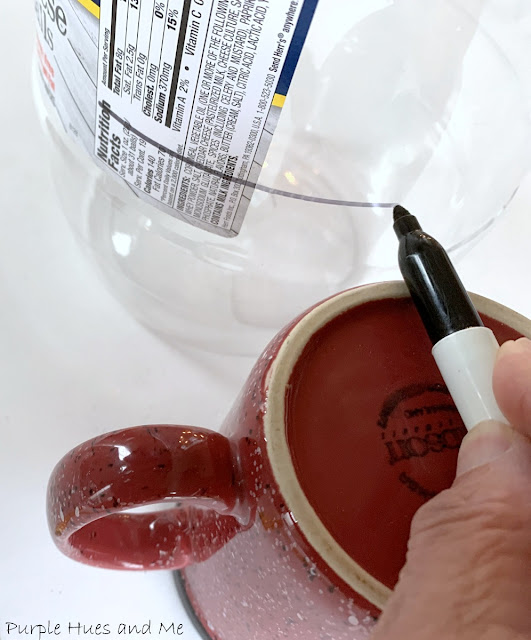
Next, turn a cup upside down and place a sharpie on top, making sure the tip is touching the side of the container. While holding the sharpie in place on top of the cup, move the container around to draw a line around the container.
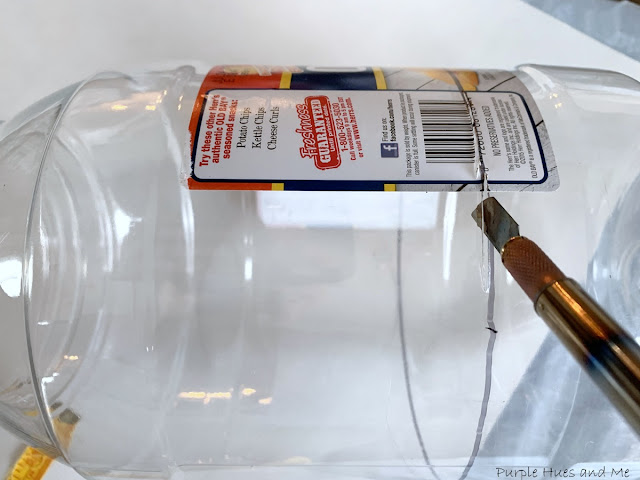
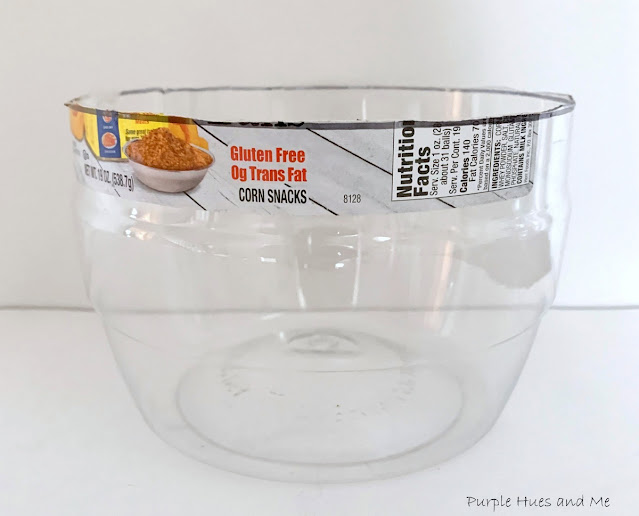
Use a hot knife or craft knife to cut the top off of the container at the marked line.
Then use acetone or nail polish remover to remove the sharpie line and what's left of the label. Clean off leftover residual with soap and water and let dry.
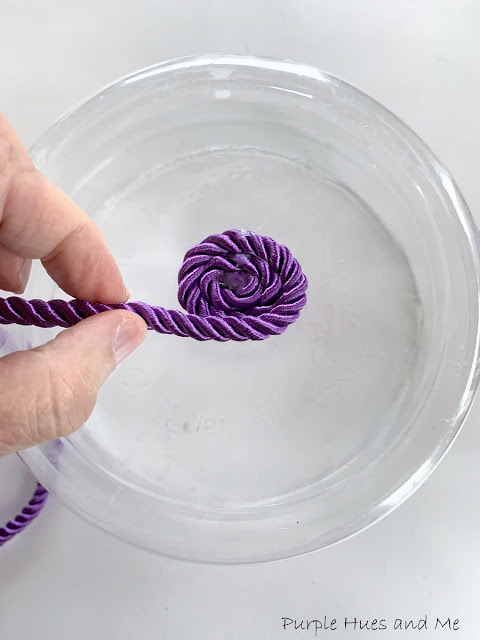
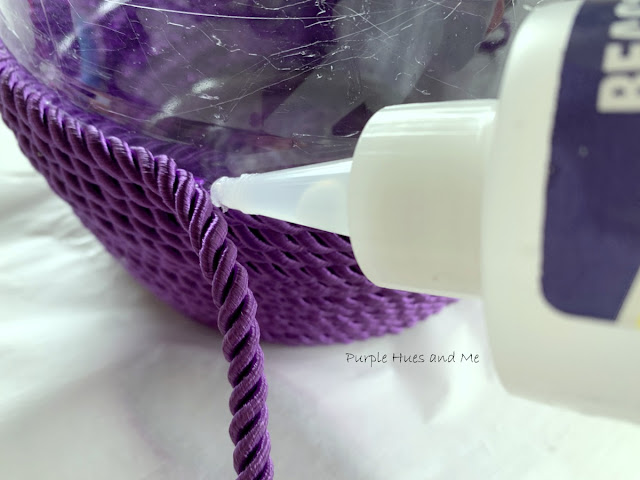
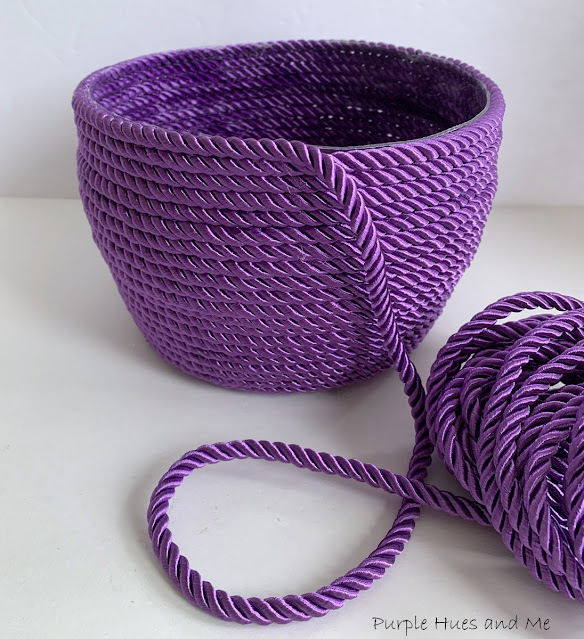
Begin coiling the twisted cord end into a circle and use hot glue to hold in place on the bottom of the container basket. Add lines of hot glue or fabric glue along the cord as you are coiling it around the basket base, making sure to keep the cord even, flat and together.
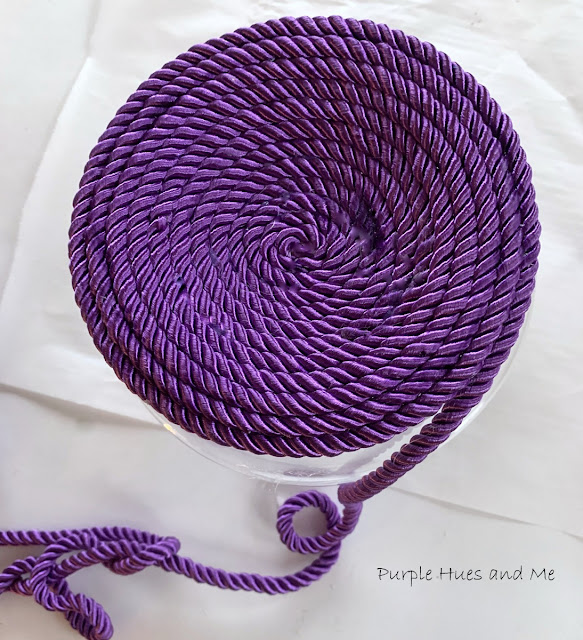
Continue coiling and gluing the cord around the basket, keeping the cord firmly in place as you are waiting for the glue to dry (a few seconds) until reaching the desired height.
Once reaching the top of the plastic container, add another row of cord to cover the plastic edge.
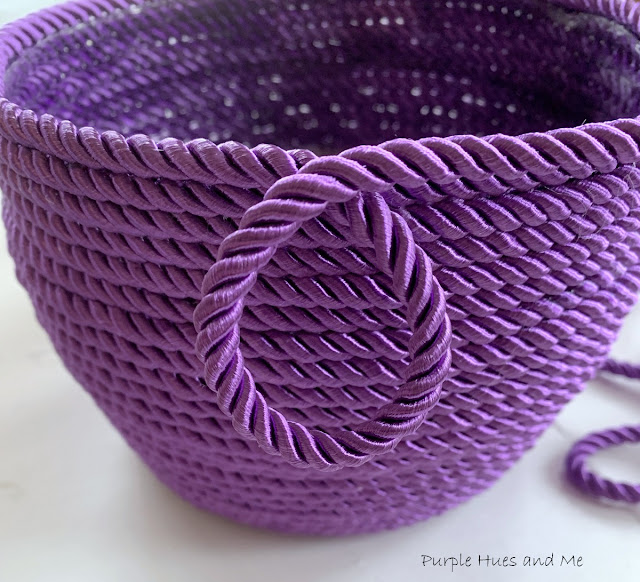
Then begin making decorative coil circles along the top edge by creating a small cord circle going down and around - up and over to the next one, gluing bottom and top, until covering the entire top with decorative coil circles. Make sure to keep the coiled circles evenly shaped and next to each one. 
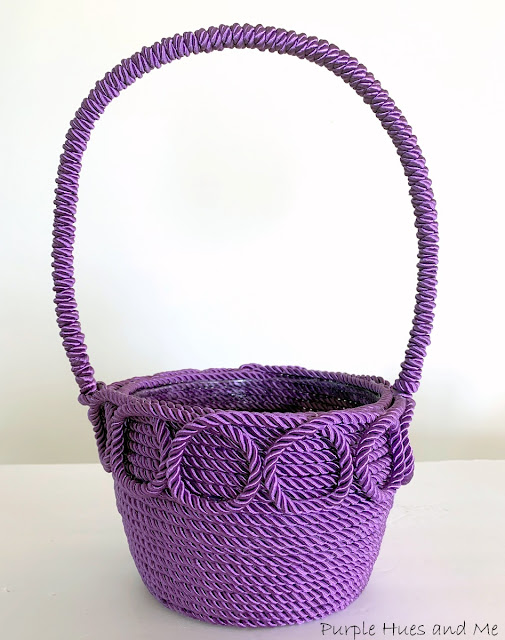
Then wrap wire in matching cord for the handle and insert in sides through the circle tops and gluing in place.
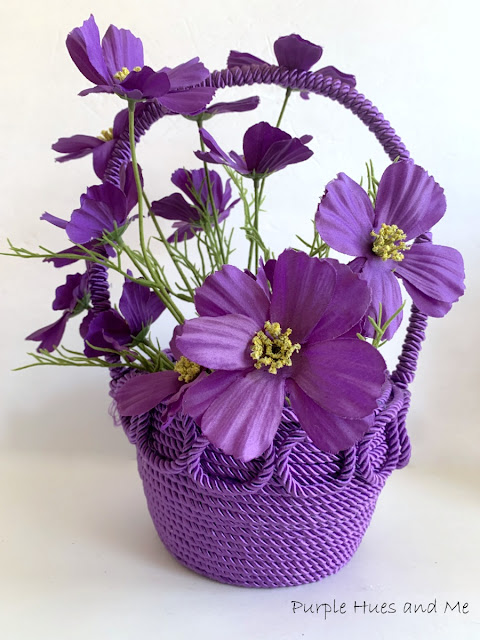
Use this gorgeous, unique basket for Easter decorations, as a centerpiece, or .  .  .
as a gift basket filled with flowers!

I hope you enjoyed how I transformed a container that was destined for the trash into a beautiful twisted silk cord basket! Created especially for this month's Upcycle Challenge Blog HopI've joined a group of creative bloggers to bring you a themed monthly challenge blog hop on the 2nd Monday of each month, hosted by Beverly @Across the Blvd.
Meet this month's Co-Hosts:

Beverly | Across the Blvd

And be sure to check out all of the awesome Upcycled/Repurpose/Recycle Projects listed below:

Wednesday, March 2, 2022

3D Decoupage Flower Napkins on Glass

Does a 3D decoupage flower napkins on glass craft sound like something you might be interested in creating? It's all about adding a pretty decorative dimension to glass with a 3D effect. The process involves applying napkin designs to clear plastic film using Mod Podge - a decoupage glue and let dry. Then cut out the napkin film designs. Heating it, and molding, embossing and layering the cut-outs into 3D shapes with a raised effect!

Doesn't that sound like fun - creating something pretty and quite unique - just in time for this month's DIY Challenge, hosted by Terrie @Decorate and More with Tip!  In case you don't know about this DIY Challenge, on the 1st Wednesday of each month, a group of talented bloggers create something based on a theme or material that's selected by Terri! This month's theme is all about Mod Podge - which is a decoupage glue! You won't believe how many different ways you can use it!
So let me show you how I created my 3D Mod Podge project!

Materials Used:
  • Napkin (flower design)
  • Scissors
  • Clear plastic film sheets (non-toxic)
  • Mod Podge
  • Plastic wrap for smoothing
  • Candle/Heat Gun
  • Embossing tool/Pad (foam) 
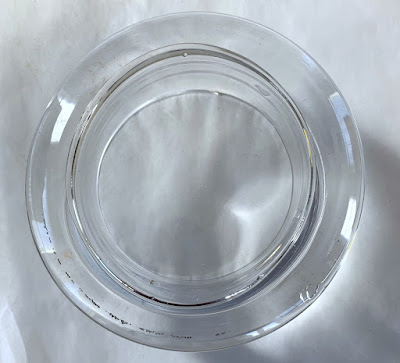
  • Glass container
  • Quick drying clear multi-purpose glue
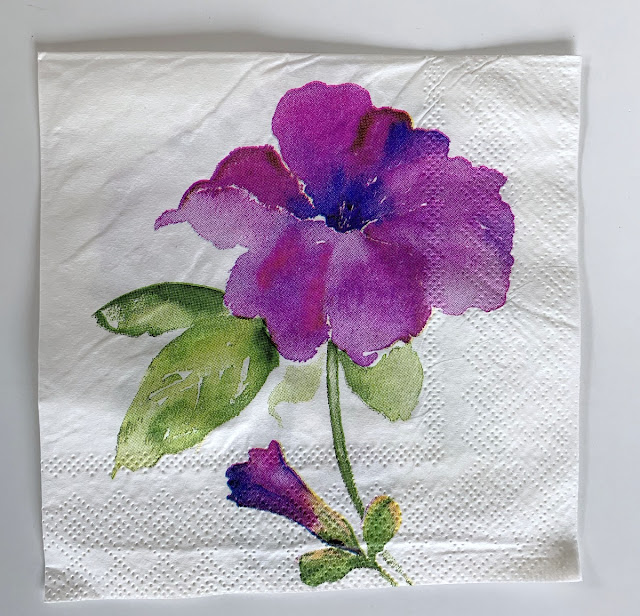
Let's begin with a flower design on a cocktail size napkin.
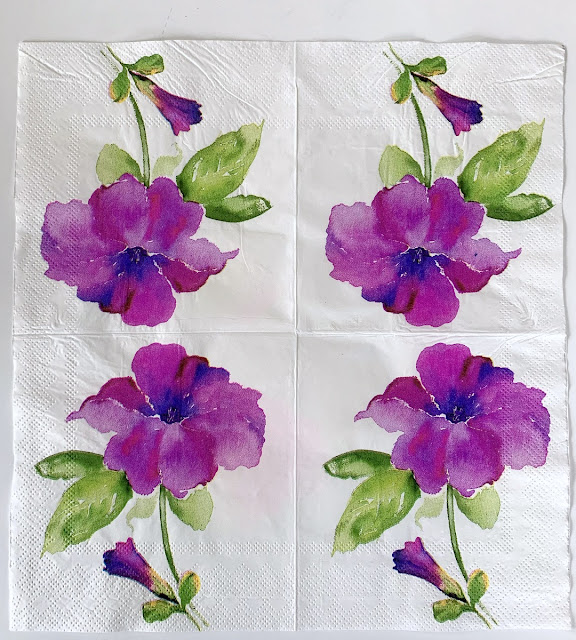
Open the napkin to reveal four individual flowers to cut out and .  .  .
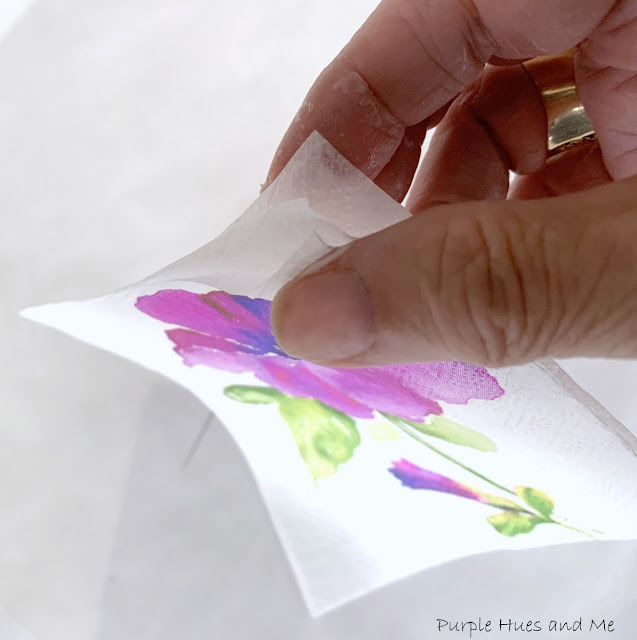
separate the two ply plain sheets from the flower printed ply by lightly touching a bit of Mod Podge with forefinger and thumb. Then gently tap the edge of the napkin to separate the layers.
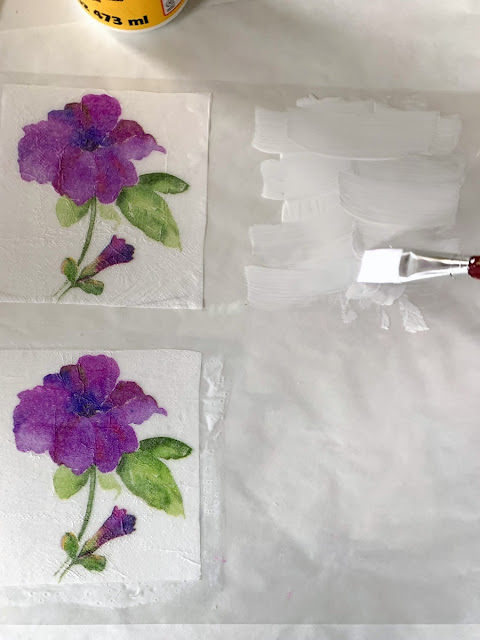
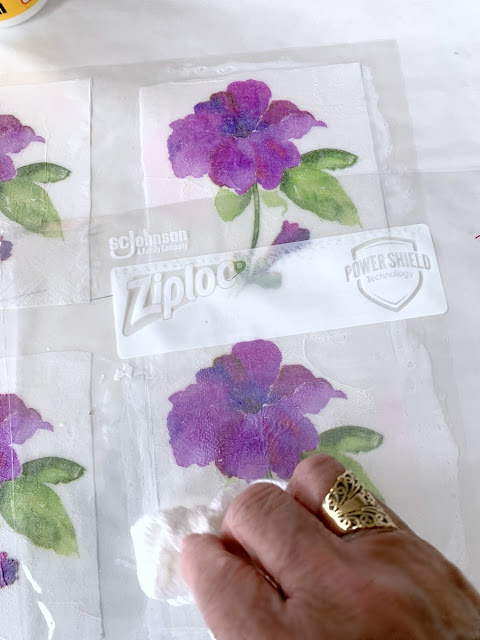
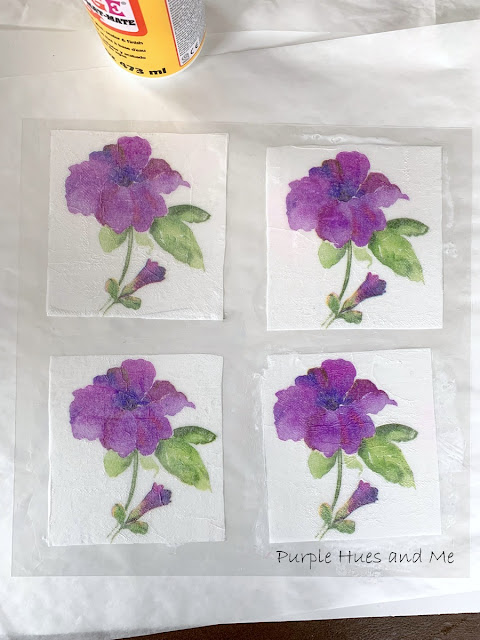
Next, paint on an even layer of Mod Podge to clear plastic film and lay the flower design face down onto Mod Podge. This will create a glossy, porcelain-type effect on the flower when dry.
Use a sheet of plastic wrap to smooth out the napkins.
Let dry.
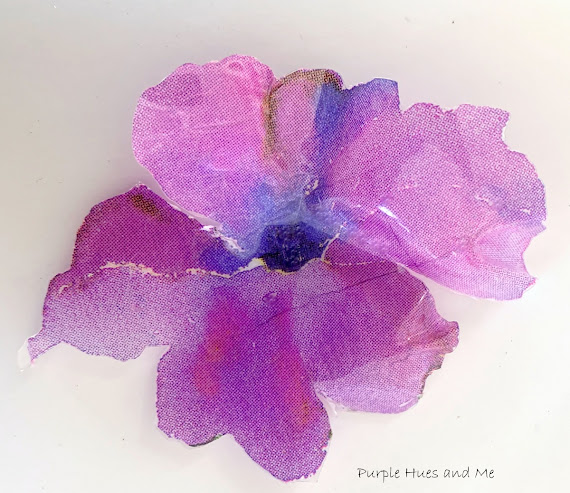
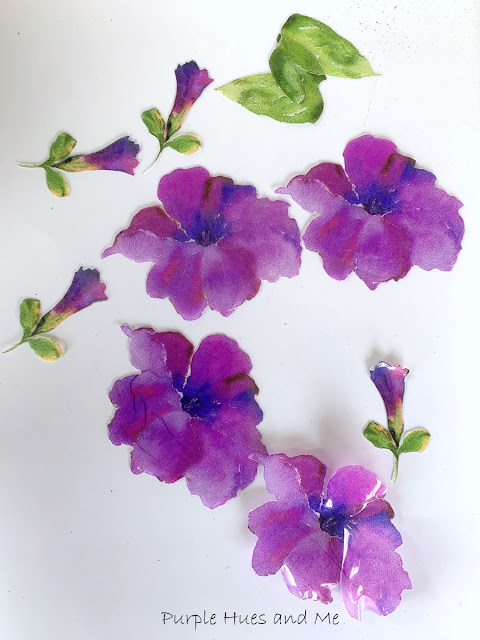
Once dry, cut out the individual flowers and make small cuts along the flower petal design toward the center to help shape it.

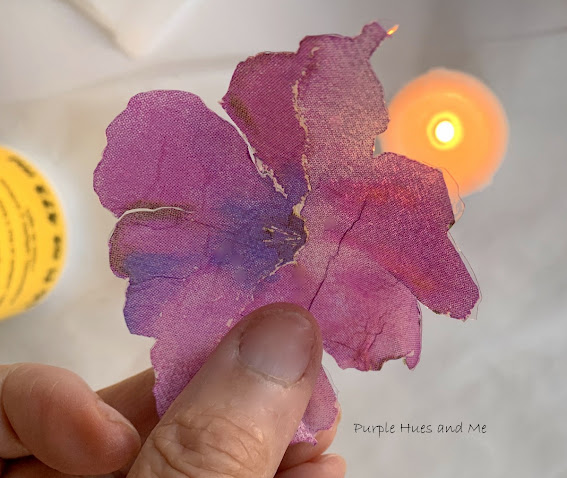
Then warm the petal with the flame of the candle - being careful not to get it too close. 
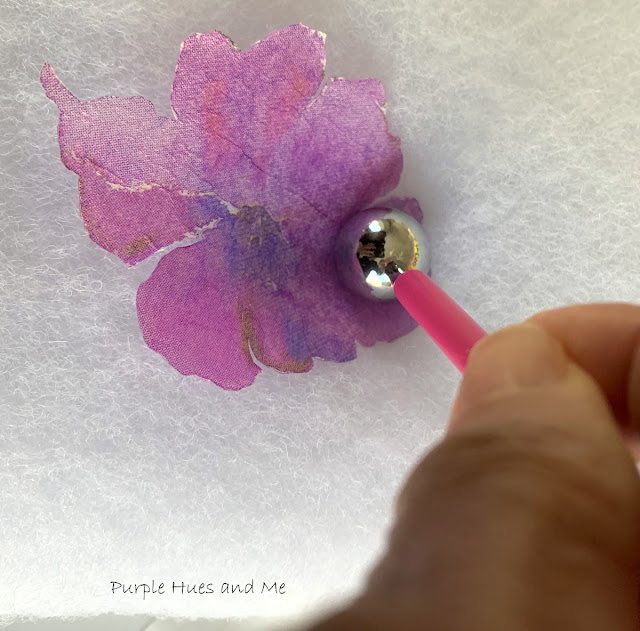
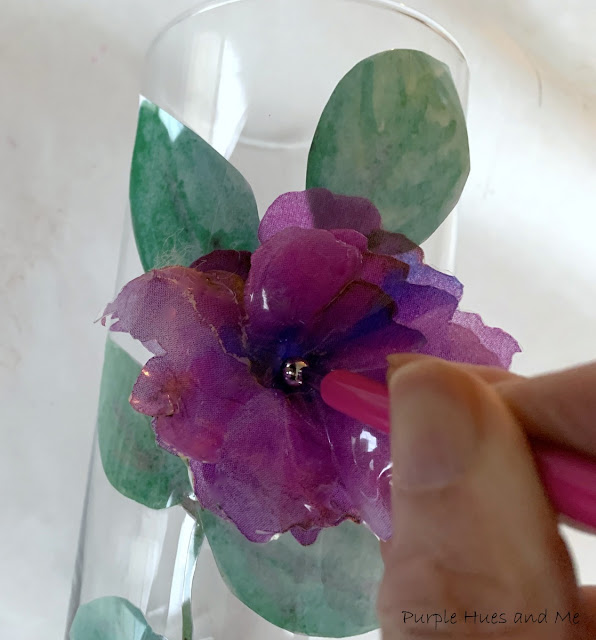
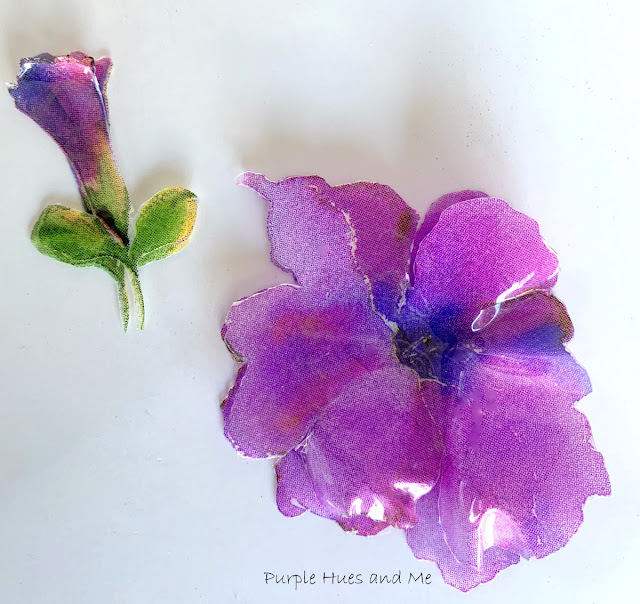
When the flower design is heated, it will magically curl and can be shaped into dimensional flowers using an embossing tool and foam pad to shape the flower.
Repeat process for each flower.
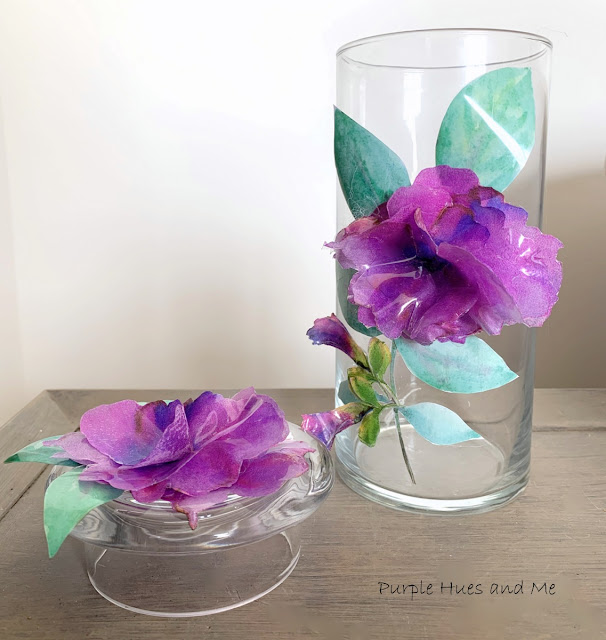
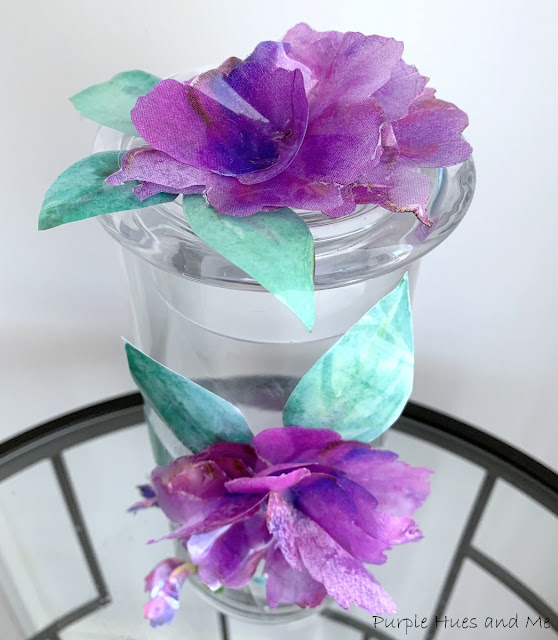
Notice how the bottom flower is molded and shiny. Doesn't that look awesome!

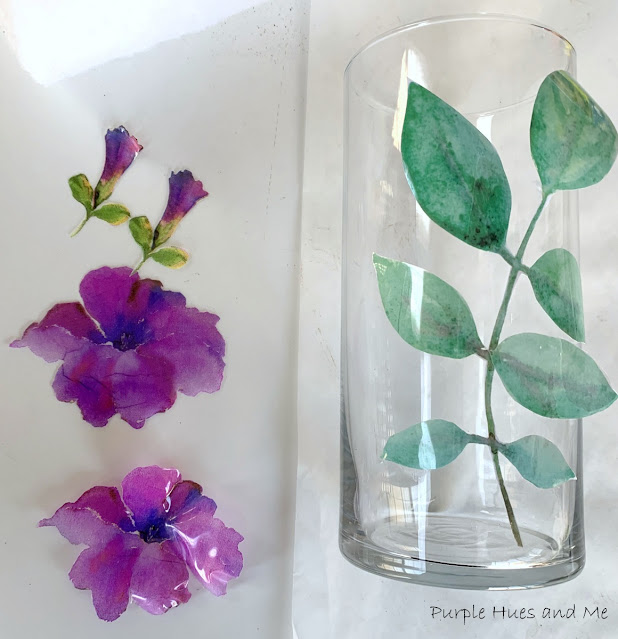
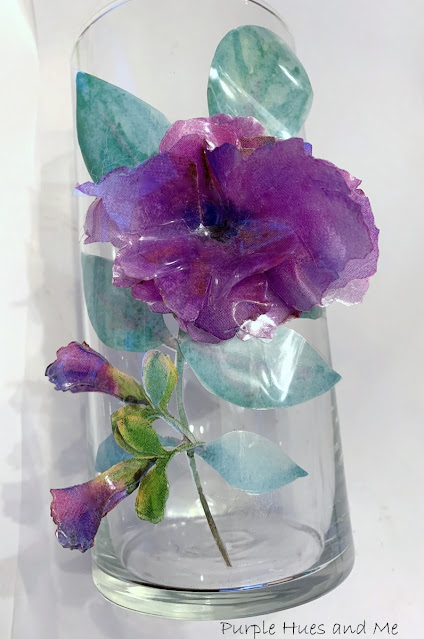
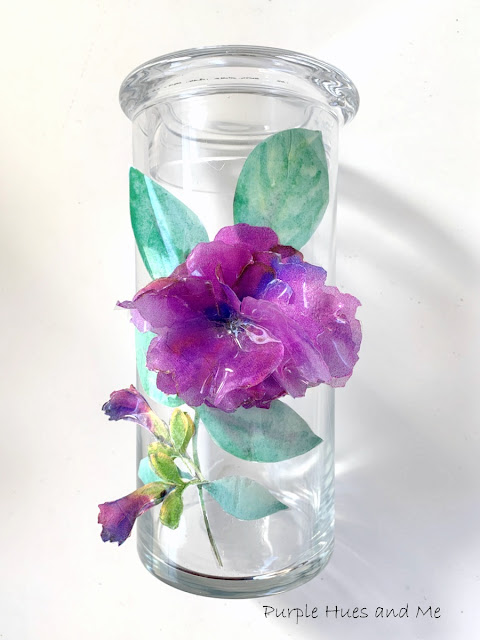
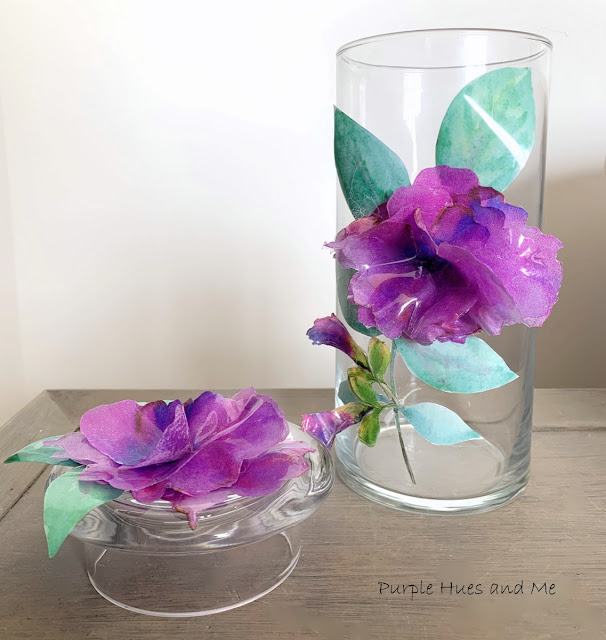
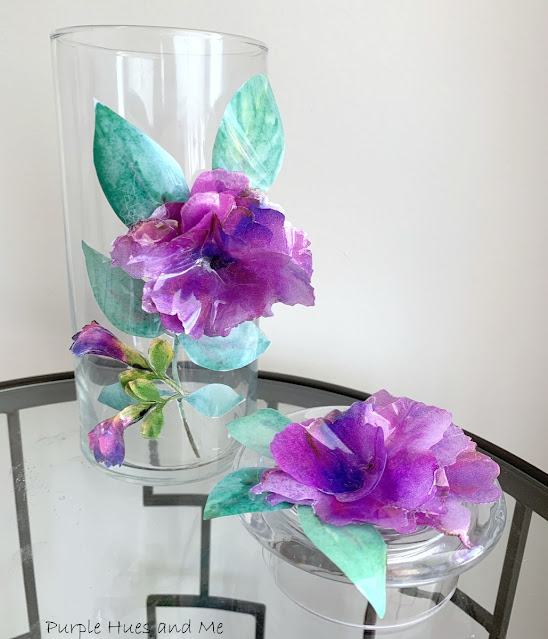
Since the glass container I am using is about twelve inches tall and with a top, I ended up not using the smaller leaves attached to the flower, but found a vine with leaves image online that I printed out on printer paper and decoupaged on to plastic film and .  .  .
cut out and attached to the glass container with quick drying glue.
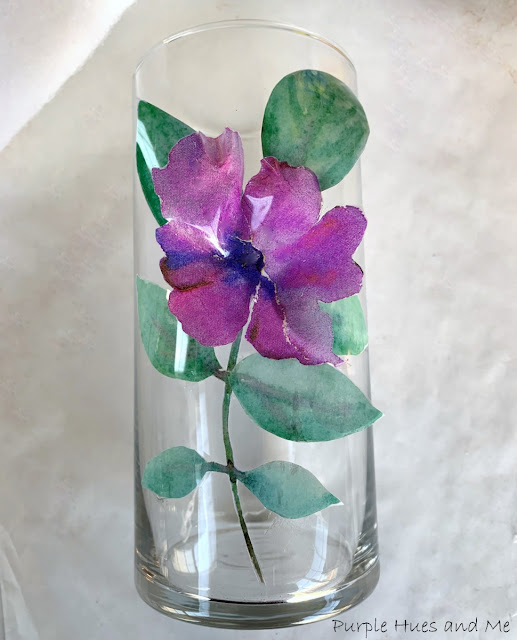
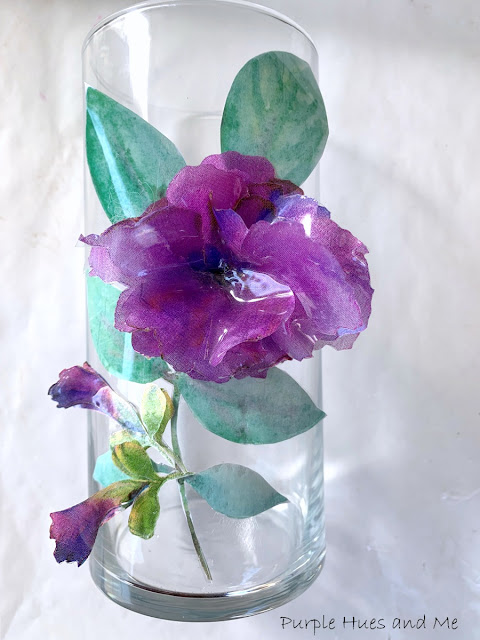
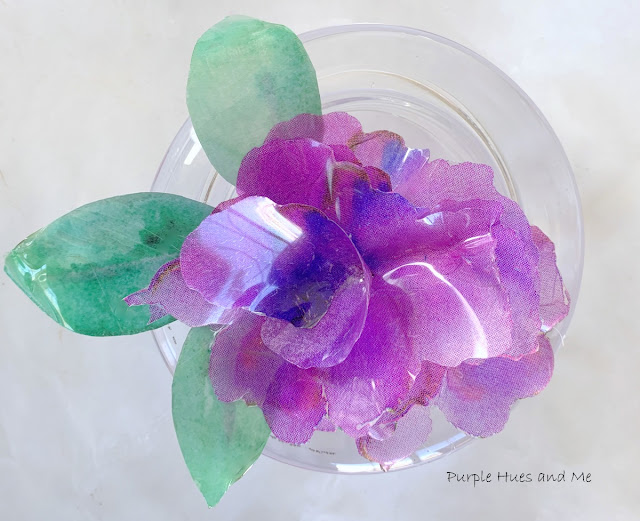
Next, began layering the flowers on top of each other .  .  .
to achieve the dimensional 3D effect.


Doesn't this technique look amazing!

Repeat steps for adding dimensional flowers to the top.

This is certainly a must try craft!


Be sure to check out all of the participants' Mod Podge projects listed below:
                      
DECORATE AND MORE WITH TIP • THE HOUSE HOUSE • PURPLE HUES AND ME
                        
SWEET SOUTHERN GRACEPATINA AND PAINT •      LECULTIVATEUR
                        
K'S OLYMPIC NEST •           HOOTSHACK •           BLUESKY AT HOME
 

Tuesday, March 1, 2022

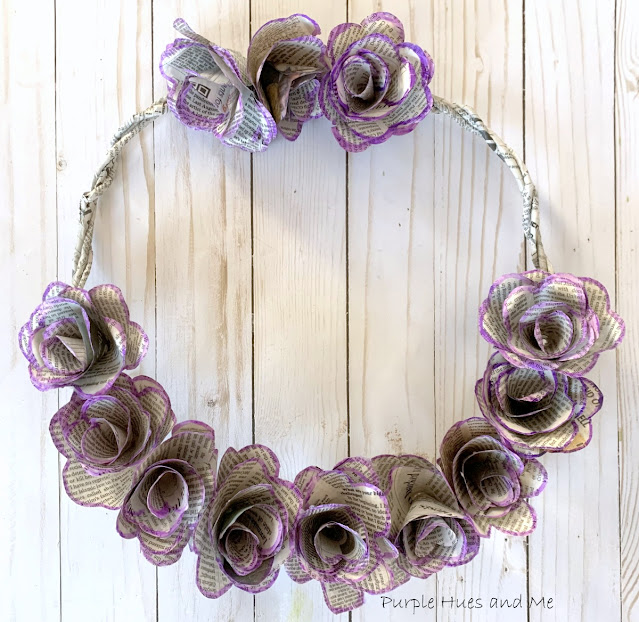
Upcycled Newspaper Flowers Wreath


 I'm old school and still get the newspaper each and everyday! I know I can read it online and I do that, too! Lol! I've been subscribing to the Washington Post newspaper since I was out on my own. My dad got me into reading the paper each day when I was growing up. Now I can't do without my daily routine! So why not put them to good use after reading, by upcycling or repurposing the newspapers into something fun and crafty!

There are tons of things you can create with newspaper - just look on Pinterest! I got really tickled when I came across this pin - by a fellow crafter who said she reads the New York Times each day - one of the papers I read online. And one day the NY Times had a diy article on 'Turn the News Into a Rose.' So, being a crafter, she had to make a few newspaper roses on a wreath that turned out really pretty! How cool is that!

Newspaper is a great source for upcycling and making something unique and creative! I love making things that are inexpensive and earth friendly for my home.  It's amazing how many different kinds of accent pieces you can create using ordinary newspapers. And it's interesting to see how newspaper can be transformed into very unique decorative objects like here, herehere, here, and here to share a few of the projects I've made!  And the best part, they costs next to nothing to create.

So, for this month's Sustainable Pinterest Challenge, hosted by Julie @Sum of Their Stories, it's all about Floral Crafts and I'm sharing how to make my very own newspaper flowers wreath!

Disclosure I am a participant in the Amazon Services LLC Associates Program, an affiliate advertising program designed to provide a means for us to earn fees by linking to Amazon.com and affiliated sites, this post may contain links. I may receive a very small commission at no cost to you! The affiliate money I earn helps pay my crafting expenses. Thanks so much for your support!

Materials used:


Let's get started by cutting newspaper into squares. I thought a four inch square would be a good flower size and divided a newspaper section into four inch wide 
strips with the help of a yard stick for measuring -
then 4" squares. 
Once the squares are cut out, take one newspaper square and  .  .  .
fold it in half diagonally creating a triangle .  .  .
and fold in half again.
Then draw what I call an 'ice cream cone' shape from the folded side around to the opposite side. 
And cut out.
Open, and you have created a flower with a total of eight petals!
Then fold 47 more flower petals from the newspaper squares you cut out. It's easier to use the first folded cone shape as a pattern to cut out each additional folded triangular shape.
Next, spread out sheets of parchment paper on your work surface and paint each flower with Mod Podge - first one side, let dry and .  .  .
then paint the other sides and let dry. The Mod Podge gives the newspaper a faux leather-like feel. Once all are dry, take a table knife to help unstick the newspaper  from the parchment paper. Picking them up by hand might cause them to tear - just saying!
To make one completed flower, you will need four single flowers. Take the first flower and cut out one petal. Take the second, and cut out two petals. The third, cut out three petals and the fourth, cut across (half) for four petals.

You will need five cut out pieces to make a decorative flower. Use the three petal cut-out for the fifth piece. The other pieces can be discarded.
To add color, I used watercolor paint to brush on a purple border. Then decided that using a purple magic marker would be easier and quicker. 
To shape each piece, apply tacky glue on the adjacent side petal and .  .  .
glue the petals together for a cupping effect.
Once all the pieces are glued, use a bamboo stick to roll the edges - if you want.

Then glue each one together by adding tacky glue to the bottom center -  graduating in size -  starting with the largest one on the bottom and ending with the smallest, inserted (glued) in the middle. Use the end tip of a large paint brush or utensil to hold in place until the glue takes hold.


To make a newspaper wrapped wreath - decide the diameter of the wreath (12") and cut out three pieces of vine wrapped wire - each one a little bit longer than the other to wrap around.  Then cut out thin strips of newspaper dipped in mod podge and begin wrapping a strip around the vine covered craft wire  - 
from one end to the other.
Once dry, wrap each newspaper covered vine wire over and under each other and around forming the wreath.  Secure by intertwining the wire ends together.
Glue flowers on to wreath and each other, using hot glue for a decorative look!
 Don't you just love it when an upcycle project comes together that looks really gorgeous!

Now, it's time to meet the other participants and their projects!

Julie | Sum of their Stories
Gail | Purple Hues and Me
Terri | A Good Life
Ann| The Apple Street Cottage
T’onna | Sew Crafty Crochet
Julie | Treasures Made From Yarn
Allyson | Southern Sunflowers
Mel | Decor Craft Design
Donna | Modern on Monticello
Niki | Life as a LEO Wife

And be sure to check out all of the Sustainable Pinterest Challenge Floral crafts shown below:

You are invited to the Inlinkz link party!

Click here to enter