Tuesday, January 16, 2024

Handcrafted Marbled Heart Shape Dish


 Welcome to our first Creative Craft Hop of the new year hosted by Sara @Birdz of a Feather! We are so glad you're here!

If you're coming over from Donna @Modern on Monticello, HELLO! Wasn't her fabulous Evergreen Winter Wreath gorgeous!   At the end of my post I'll share the next stop on this hop, but be sure to visit all of the other stops, too, for some amazing creations! 

     
Just in time for Valentines or any special occasion, try making this lovely red and white marble heart dish out of oven bake polymer clay! You won't believe how easy it is!  And they're so many ways to use the dish! Perfect to hold wrapped candies, jewelry and trinkets! Or use as a decorative accent anywhere in your home! It's also great for gift giving! There's something extra special about a handmade gift - one that comes from the heart - see the play on words, lol! So let's get started with what you'll need to make one!

Disclosure I am a participant in the Amazon Services LLC Associates Program, an affiliate advertising program designed to provide a means for us to earn fees by linking to Amazon.com and affiliated sites, this post may contain links. I may receive a very small commission at no cost to you! The affiliate money I earn helps pay my crafting expenses. Thanks so much for your support!

Materials:

How To:

Start by making a heart-shape template out of printer paper. You can fold a sheet of printer paper in half, drawing half of a heart shape on it!  Then cutting it out and opening  the paper to reveal a full size heart shape. How cool is that! The heart template is about 10" high and 8" wide. A great size for a heart shape dish! Next, draw the outline of the heart template onto a piece of cardboard for a sturdier pattern  . . .

then cut out using a craft knife or craft scissors.

After cutting out the cardboard template, it's time to start kneading the clay.
The last time I used oven-baked clay, I had a very hard time kneading the clay to make it soft, as you can see here  . I thought a newer pack would be easier. But in reality, it wasn't. Before, I had tried stomping the parchment covered clay with my shoes on. That was rough! This time, I used my rolling pin to pound it into softness. I made a lot of noise, but it worked.

I was able to roll the clay into two coils after pounding it out.

Then it was time to do the same to the red clay.
It didn't take me as long to roll the red clay into coils. I used just two ounces of red clay. Then I twisted the white clay coils together with the red clay coils. And rolled them together into a ball .  .  .
so I could roll it out with my rolling pen.
Not liking the looks of that marble clay roll, I smushed the clay together again into a ball to .  .  .
roll it out again.
The second roll was looking a bit better. And I probably should have balled it up again to blend more of the red, but the white clay was beginning to look pink from the red so I decided to go with the design I had.
The rolled out clay should be about 1/4" thick to make a dish. Lay the cardboard template on top of the clay and use a craft knife to cut out the heart design.
Once the heart is cut out, remove the excess clay and save it to make smaller hearts. You can see a pic of the smaller ones later.

Place the heart shape clay in an oven safe bowl, following the package directions to bake - "heat oven to 275 degrees and bake for 30 minutes". Using a bowl lets the heart shaped clay dish curl a bit instead of laying flat.
I made two smaller heart shaped dishes out of the leftover scraps and placed them in smaller heat resistant bowls. Then baked them all together in the oven.
Make sure to allow the oven-baked clay hearts to cool completely once they are finished baking.
Once the clay hearts are cooled, use a sanding block or sandpaper to remove any imperfections along the edges and elsewhere.
 And finally, apply a satin glaze by Sculpey that provides a smooth seal to set the clay and cover any imperfections. 
Here's how it looks as a candy dish!
And for one of the smaller versions, a place to lay jewelry while washing hands, etc. You can probably come up with lots of ways to use the heart shaped dishes!

Thank you so much for visiting! I hope you enjoyed seeing how I made these marbled heart shape dishes.
Up next is Cecilia @ My Thrift Store Addiction sharing her adorable Upcycled Whimsical Winter Birds

Be sure to visit all of the wonderful creations and inspirations listed below:


Wednesday, January 3, 2024

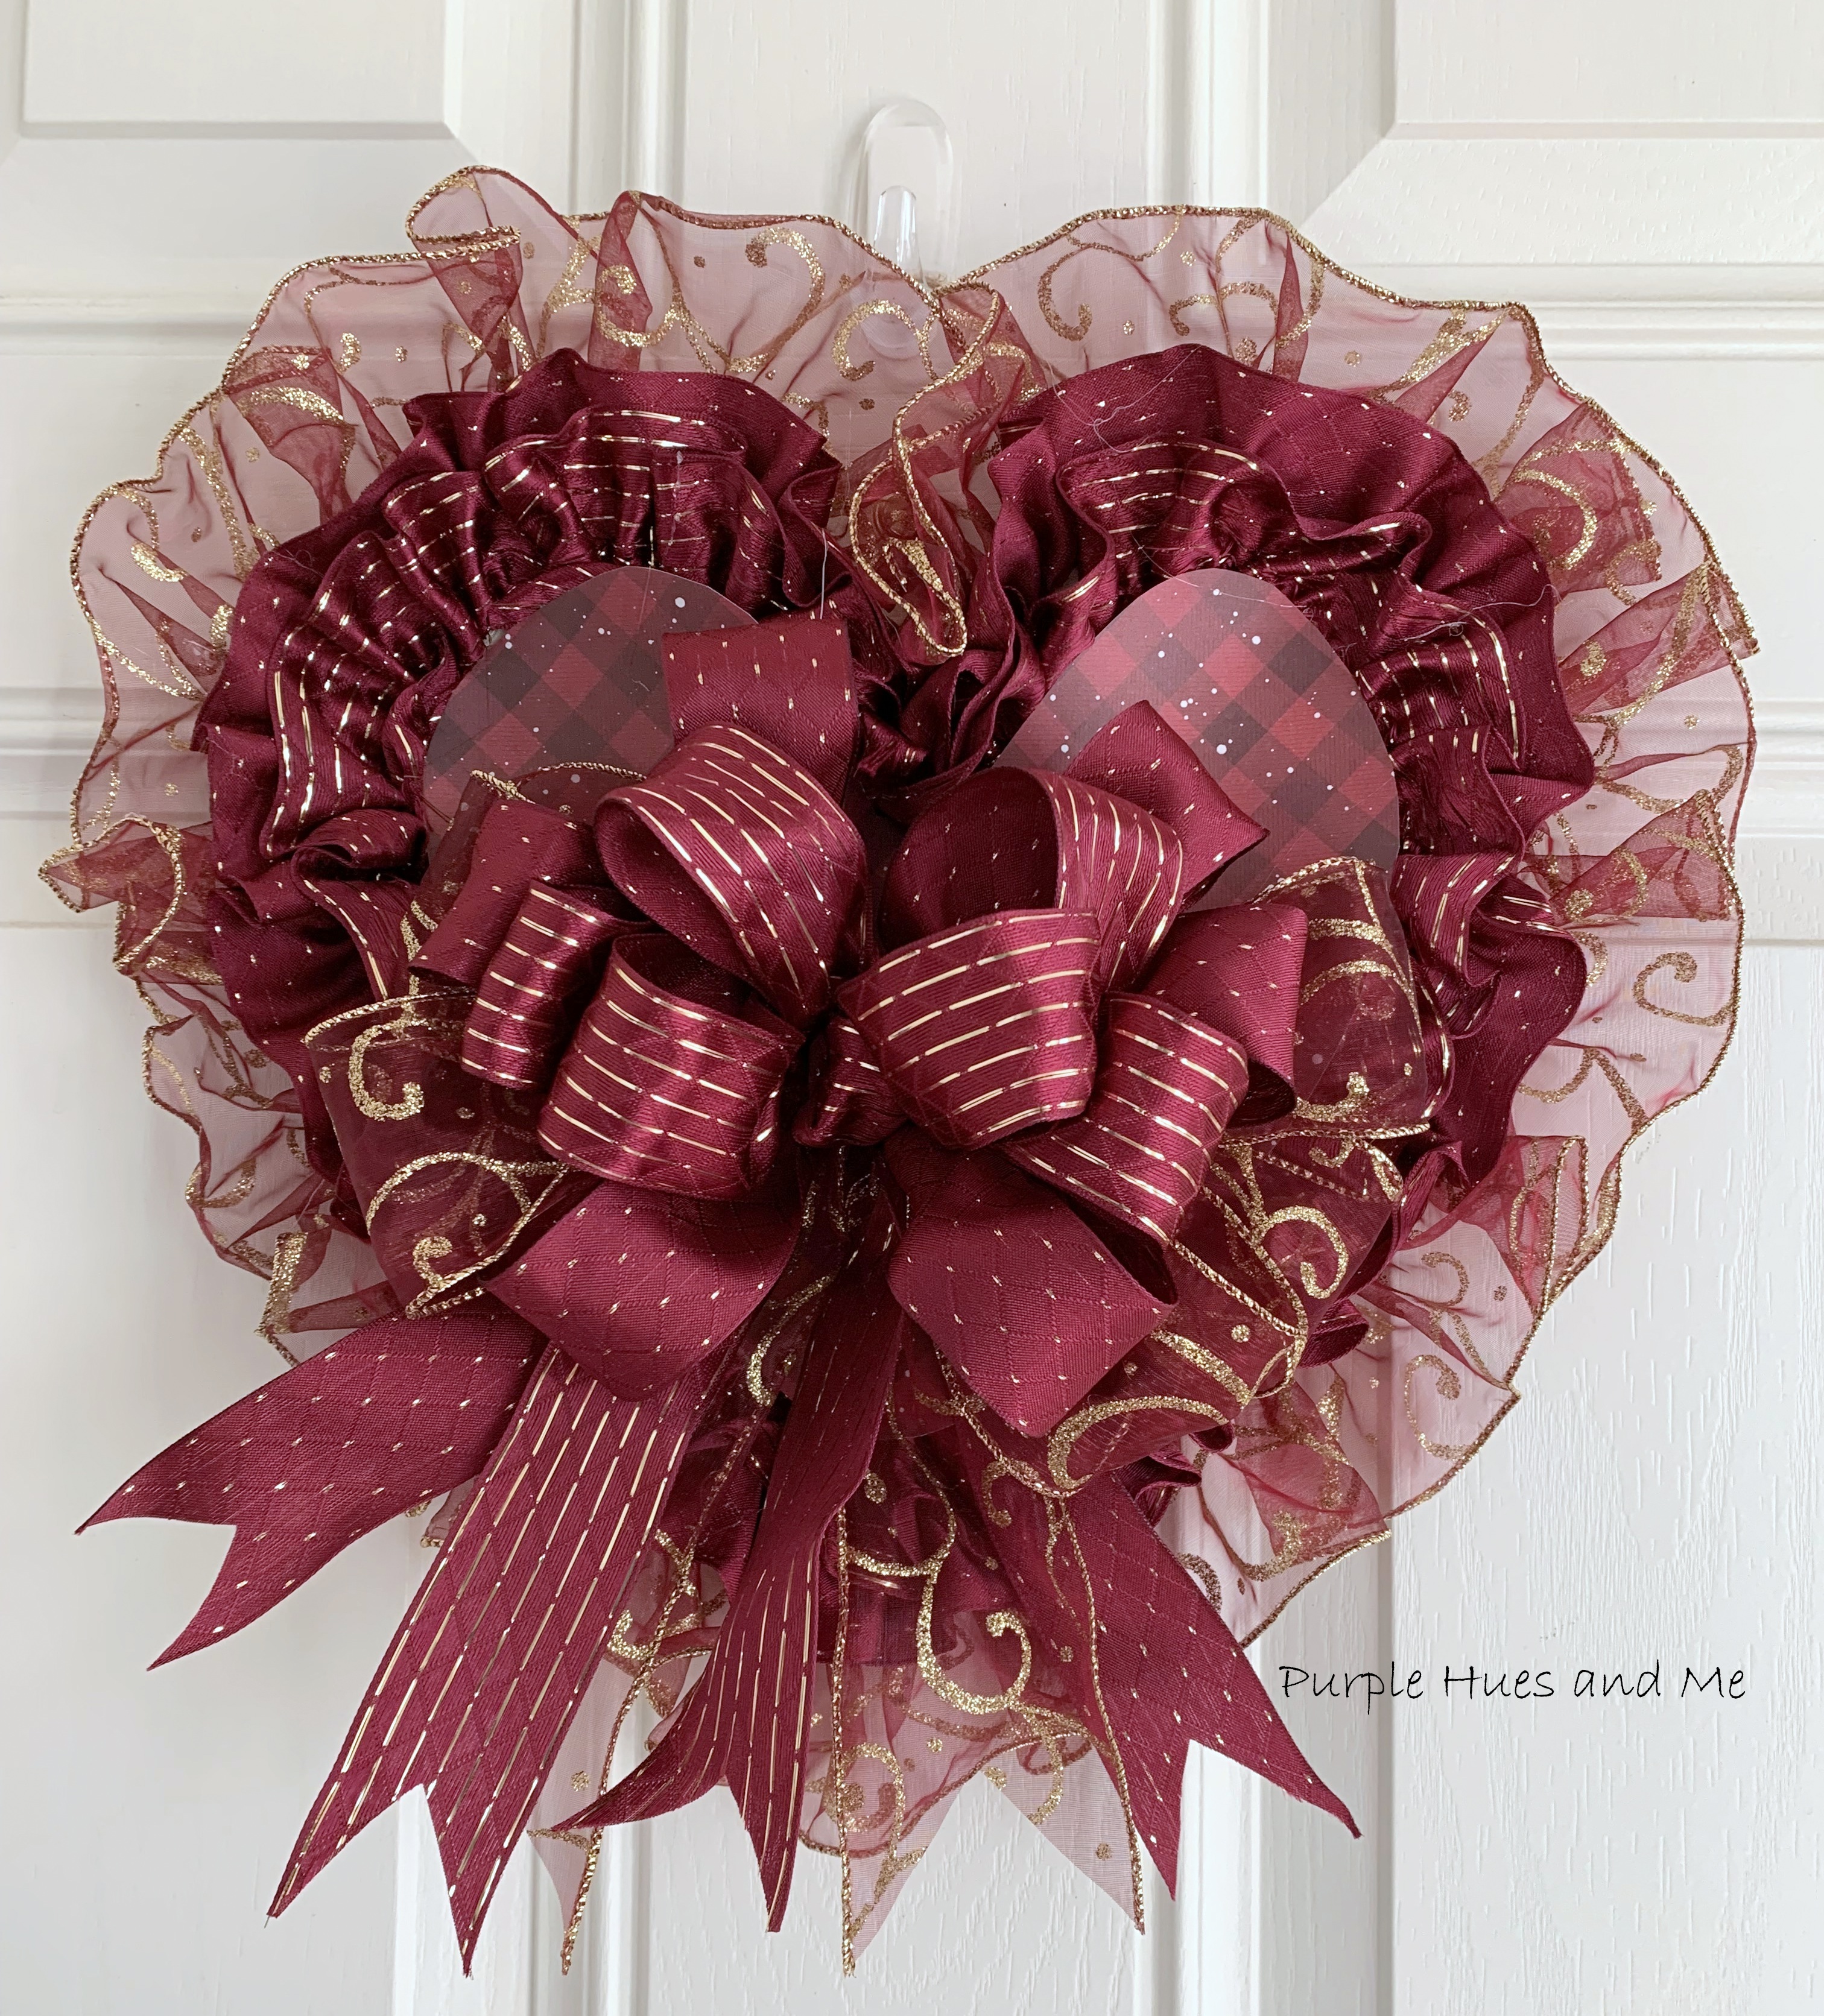
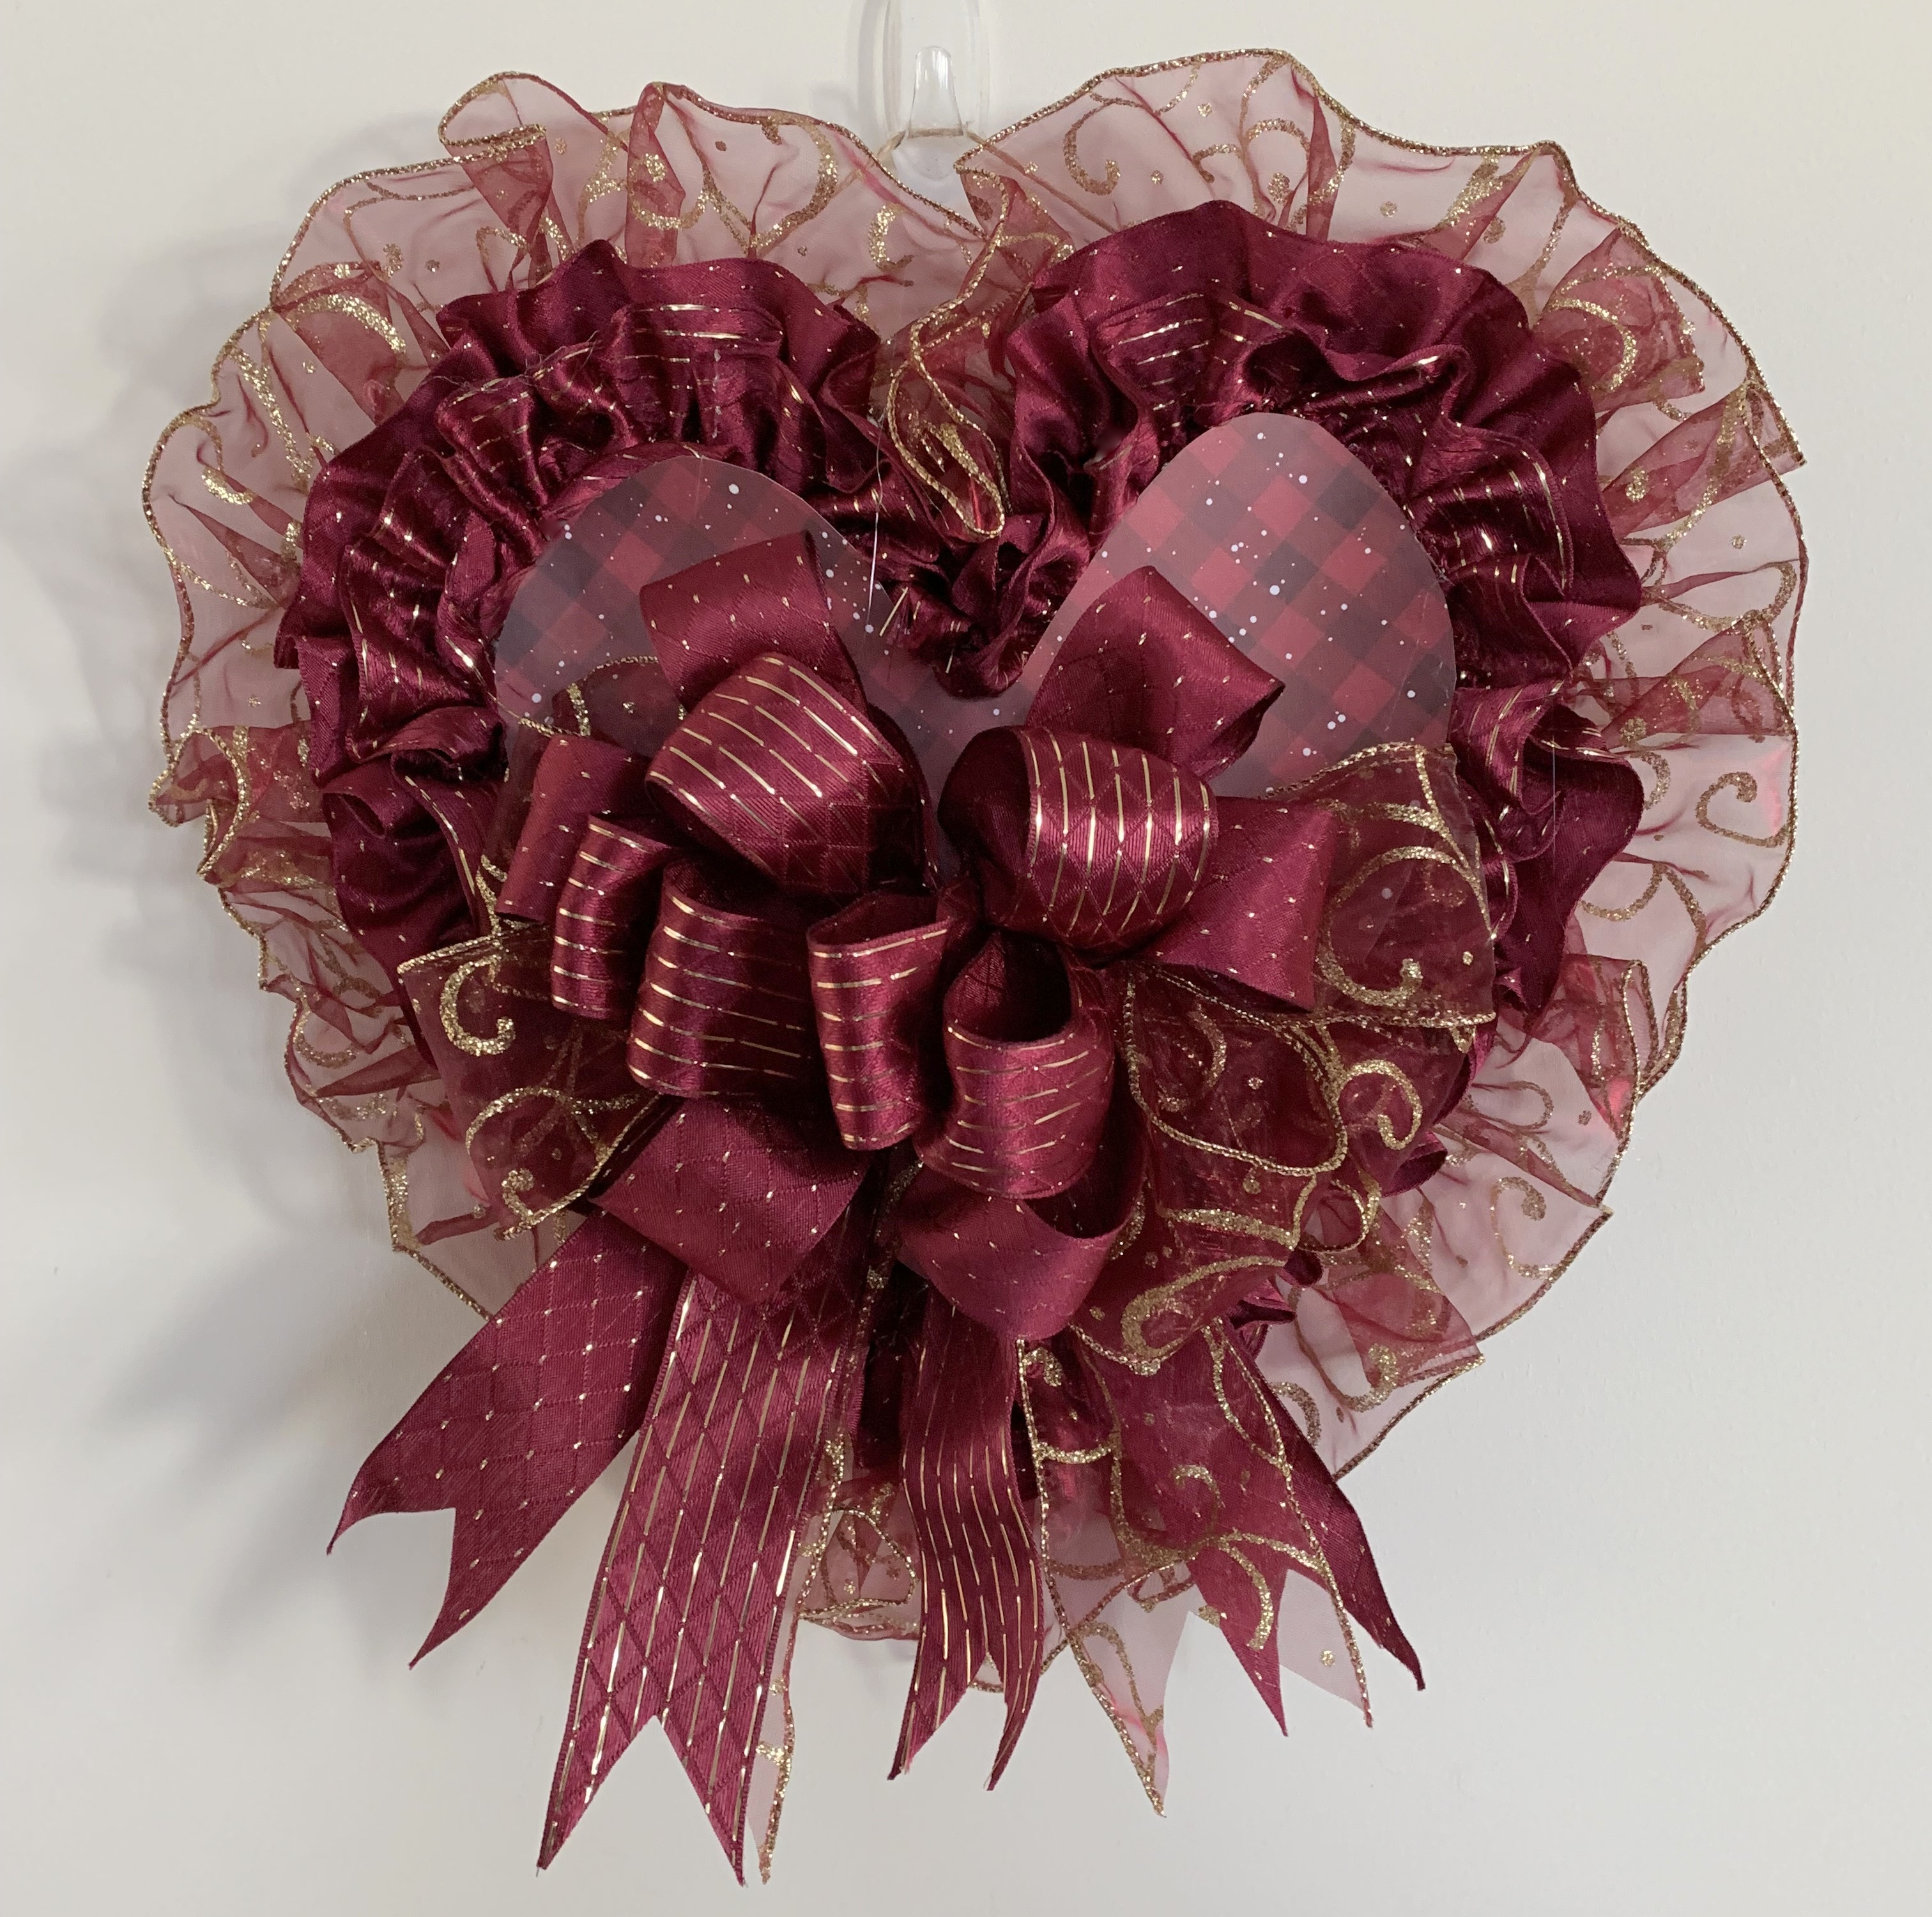
Ruffled Ribbon and Bow Heart Wreath


With Valentine's Day coming up next month, it's the perfect holiday for making crafts. In case you're wondering what to put on your front door after the new year, it's never too early to make a wreath! Have I got an adorable ruffled ribbon and bow heart wreath for that special day and more!  This post first appeared on bowdabra.com where I'm on the Design Team! The ruffled ribbon and bow heart wreath is super simple to make using a wooden heart shape from the dollar store as the base for the wreath. If you can't find a wooden heart, just cut one out of cardboard! And of course you will need lots of ribbon! 

Supplies:

Let's begin by removing the hanger on the heart. Be sure to save it to replace when finished decorating the heart. 

To Ruffle the Ribbon:
Take 9ft of the 2.5" wired ribbon and gently pull one side of the wire at the edge of the ribbon creating a ruffle. While you are pulling the wire out of the ribbon wrap the wire around your finger or a small wooden stick or pencil to keep the wire together.
Once you have gathered all 9 feet of ribbon, place a small dab of hot glue on the ends, folding over the edges of the ribbon to secure.
Begin attaching the ruffled ribbon to the wooden heart at the "v" shape position using a line of hot glue near the edge of the heart.
Continue adding hot glue along the heart edge and attaching the ruffled ribbon . . 
until the ribbon is completely covering the edge of the heart.
Repeat steps to ruffle and add the 1.5" ribbons - one side is dotted and .  .  . 
the other side is striped.

Once the ruffles were completely attached .  .  .

a heart was cut out of decorative cardstock and attached to the center of the wood heart.
To Make the Bow:
 Fold an 18″ length of bow wire in half and place in the Bowdabra, tucking ends under. Then pinch 16" strips of matching pattern ribbons in the middle, placing each one down into the Bowdabra for the bow tails. 
Next, leave the ribbon on the roll and crease the end and insert down into the Bowdabra. Then fold over a four inch loop, twist and press into the Bowdabra.
Fold and twist ribbon making a matching loop on opposite side, down into the Bowdabra. Then make four more loops on either side for a total of six loops. Then scrunch it all down using the Bowdabra wand.
Continue making a total of six loops for each of the 1.5" ribbons, for a total of 12 loops. Scrunch all the loops down with the Bowdabra wand.
While the bow is in the Bowdabra, thread the two loose ends of the bow wire through the loop, pulling tightly and tie in a knot at the back, gently pulling it out. The cut off excess bow wire. 
Dovetail all the ends by folding the ribbon together and cutting at an angle from the fold down to the corner tip. Then fluff the bow.
 Attach the bow to the center of the heart using hot glue. And replace the hanger.
How gorgeous is this ruffled ribbon and bow heart wreath!

Take a little time to enjoy
and
Happy Crafting!


Tuesday, December 5, 2023

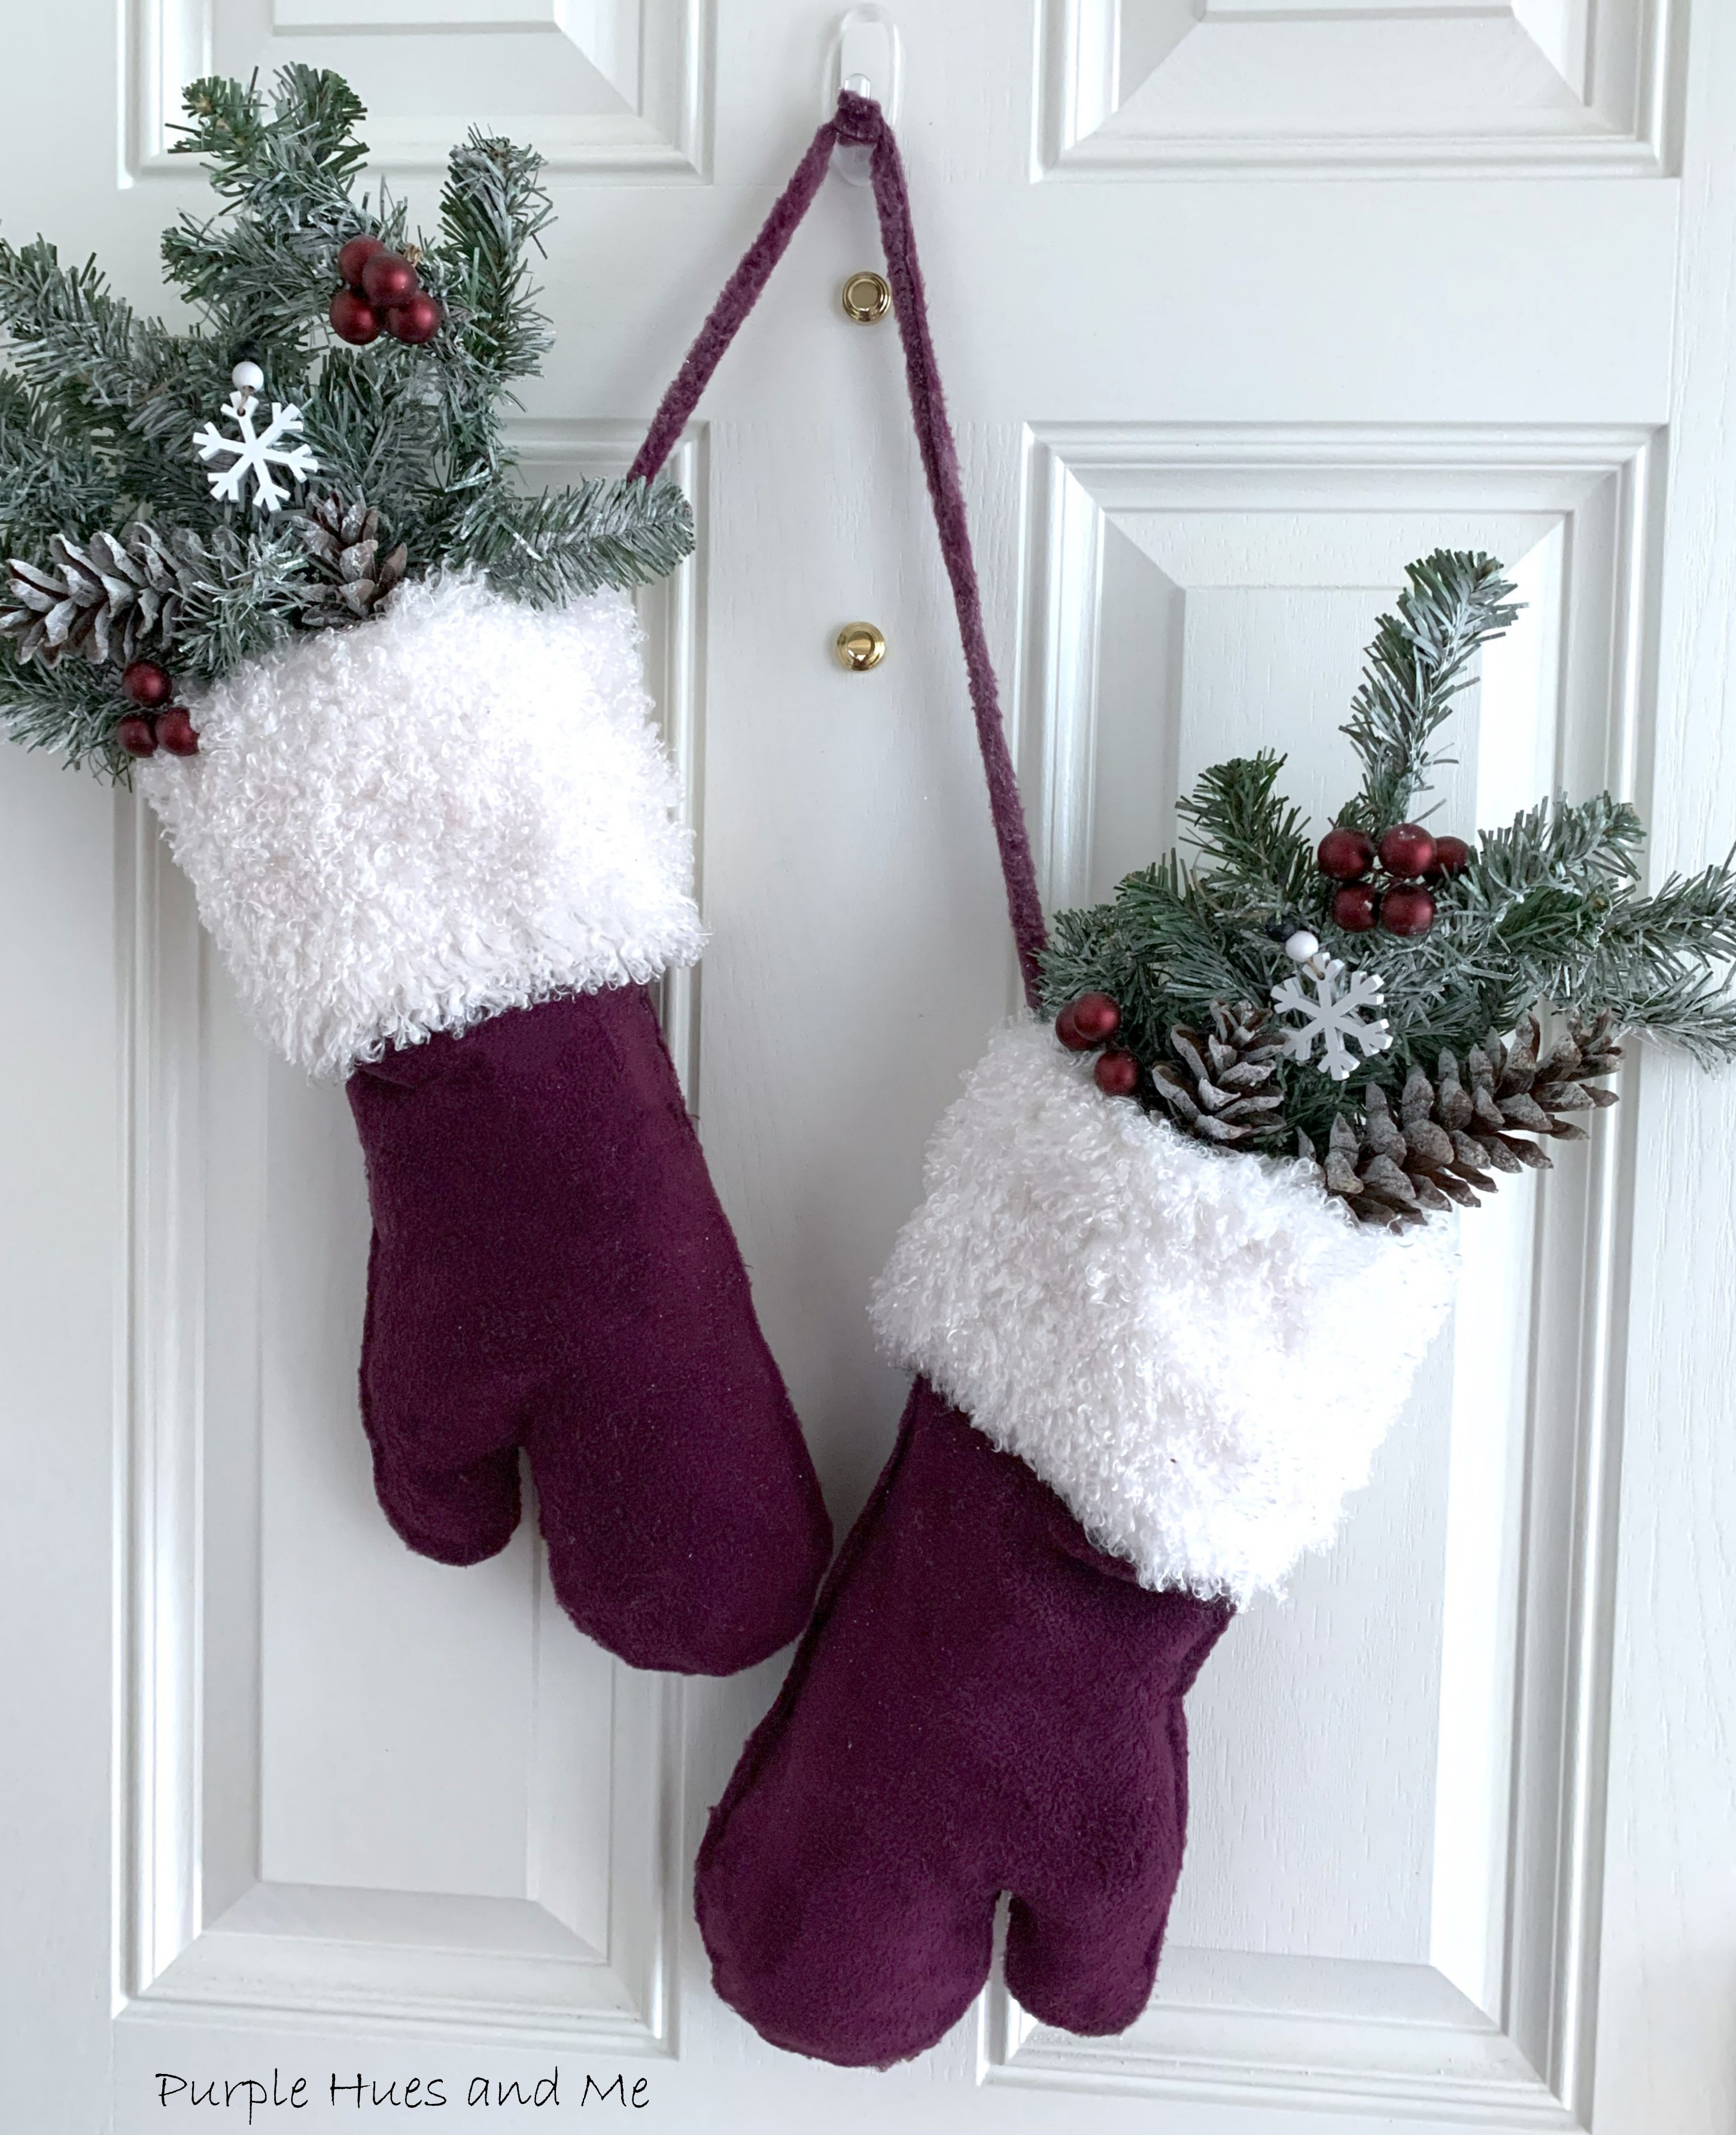
Winter Mittens Door Hanger


Nothing says winter more than cute fuzzy mittens! And to create an adorable wall hanger with mittens and winter florals is just the perfect way to welcome Winter! It's really a super easy winter fun craft to make using leftover scraps! A cute addition to winter seasonal decor!

Welcome to our monthly   Sustainable Craft Challenge hosted by Julie @Sum of their Stories!  This challenge is all about sustainable crafting! Each month is themed and all projects must have some sort of a sustainable element to them. This could be an upcycling or recycling element, or something that reduces waste, uses leftovers, etc. The theme for the month of December is Winter 


Materials Used:
  • Fleece fabric scraps
  • Kitchen oven mitt
  • Faux fur fabric scraps
  • Chalk pen
  • Fusible Interfacing (heavy weight)
  • Parchment paper
  • Fabri-Tac Fabric glue
  • Fiberfil 
  • Safety pins
  • Frosted pinecones, faux frosted evergreens, berries, snowflakes 


This adorable mittens door hanger was made using fleece scraps from a tree skirt I had started, but never completed. Maybe I will after making this. You know how that goes. lol! 


At first I thought I would draw a mitten using my hand as a guide but unfortunately, I can't draw a straight line, let alone a mitten pattern from my hand, so .  .

I cheated and used one of my kitchen oven mitts to draw a pattern using a chalk pen. This is one scrap piece. It looks really thick - and it is! I made three more - using four scrap pieces to .  .  .
create two mittens, front and back.
Then glued them together using Fabri-Tac fabric glue.


Once the glue was dry, I tried turning the mittens inside out, but they looked so much smaller than what I wanted so I turned them back to the original side.

For the cuffs, I'm also using a piece of faux fur scraps from a few years ago that was leftover from covering a stool - you can read about that here.
I wanted a 6" finished cuff - nice and deep, so I cut the faux fur fabric 12" in height. Then I measured around the width of the mitten, which was also 12" plus an inch for overlap and got 13 inches for the length of each cuff. Be sure to use short snips when cutting the faux fur to avoid cutting into the fur pile too much. You want a nice overhang of the faux fur at the edges.

Since the faux fur fabric was soft and flexible, I used fusible heavy weight interfacing to make the cuffs sturdier.  

I started by laying parchment paper on top of the interfacing and ironing the interfacing to the back of the faux fur fabric using a "hot" temperature setting to seal.
Once the interfacing is set, fold over the fur cuff, interfacing sides together. Then place the edge of the mitten about an inch from the end and edge of the fur. Apply fabric glue to both sides of the mitten being careful to not close the top of the mitten. You might want to insert cardboard into the top of the mitten to avoid closing it up. Then fold over the fur cuff onto the glued area of the mitten, smoothing it out. Overlap the faux fur edges and glue in place. Let dry. I laid down a heavy book on top to make sure all glued areas were sealed together. 
 Lightly stuff the mitten including the thumb area with poly-fil.
Repeat above steps for the second mitten.

. Each mitten is approximately 6.5" wide by 15" tall. This does not include the fleece selvage edge rope. 


I was able to cut off the selvage edge from the fleece to hang the mittens. I love that it's actually a self-finished edge that won't unravel and fray. Perfect to use for hanging.
Attach the fleece selvage ends to inside of each mittens using safety pins.

Then fill the mittens with frosted winter evergreens and pinecones plus berries, adding a couple of decorative snowflakes to the mix!


It truly is a wonderful Winter theme decoration for any home! 
Perfect to display during cold winter months!


Be sure to check out all the creative Winter Sustainable Crafts projects from my fellow crafters listed below:

Julie @Sum of Their Stories   Upcycled Block  Shelf Sitter

Terri @Our Good   Life  Plastic Bottle Snowman

Christine @Christine’s Crafts   DIY Waterless Snow Globes

Gail @Purple Hues and Me   Winter Mittens Door Hanger

Stephanie @Crazy Little Love Birds   Upcycling a Metal Can Into Winter Scenery

T’onna @Sew Crafty Crochet   Crochet Snowman Ornament

Marci @Old Rock Farmhouse   Friendsmas Fizzy Soaking Salt