


- Jute Rope - 50ft 10mm
- Heavy duty craft scissors or craft knife
- Clear cellophane tape
- Painter's tape
- Clamps
- Fabric glue
- Cardboard
- Pencil
- Large round container or compass to draw circle
- Hot glue gun/glue sticks
- Flower embellishments
- Command strip for hanging
Disclosure I am a participant
in the Amazon Services LLC Associates Program, an affiliate advertising program
designed to provide a means for us to earn fees by linking to Amazon.com and affiliated
sites, this post may contain links. I may receive a very small commission at no
cost to you! The affiliate money I earn helps pay my crafting expenses. Thanks
so much for your support!
First, decide how large you want the wreath to be. I decided on 15 inches wide - which happen to be the diameter of the bowl I was using to make the circle. I couldn't find my compass to actually draw on a circle.
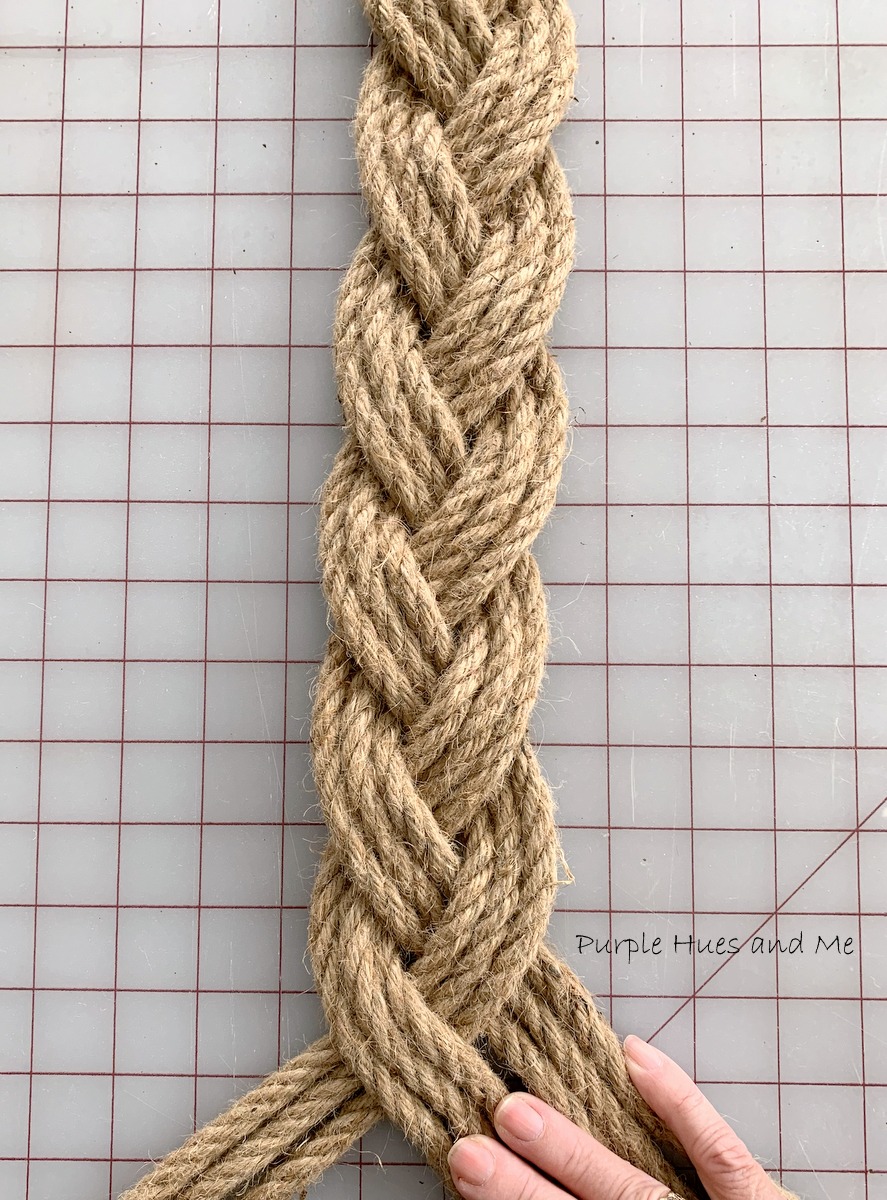
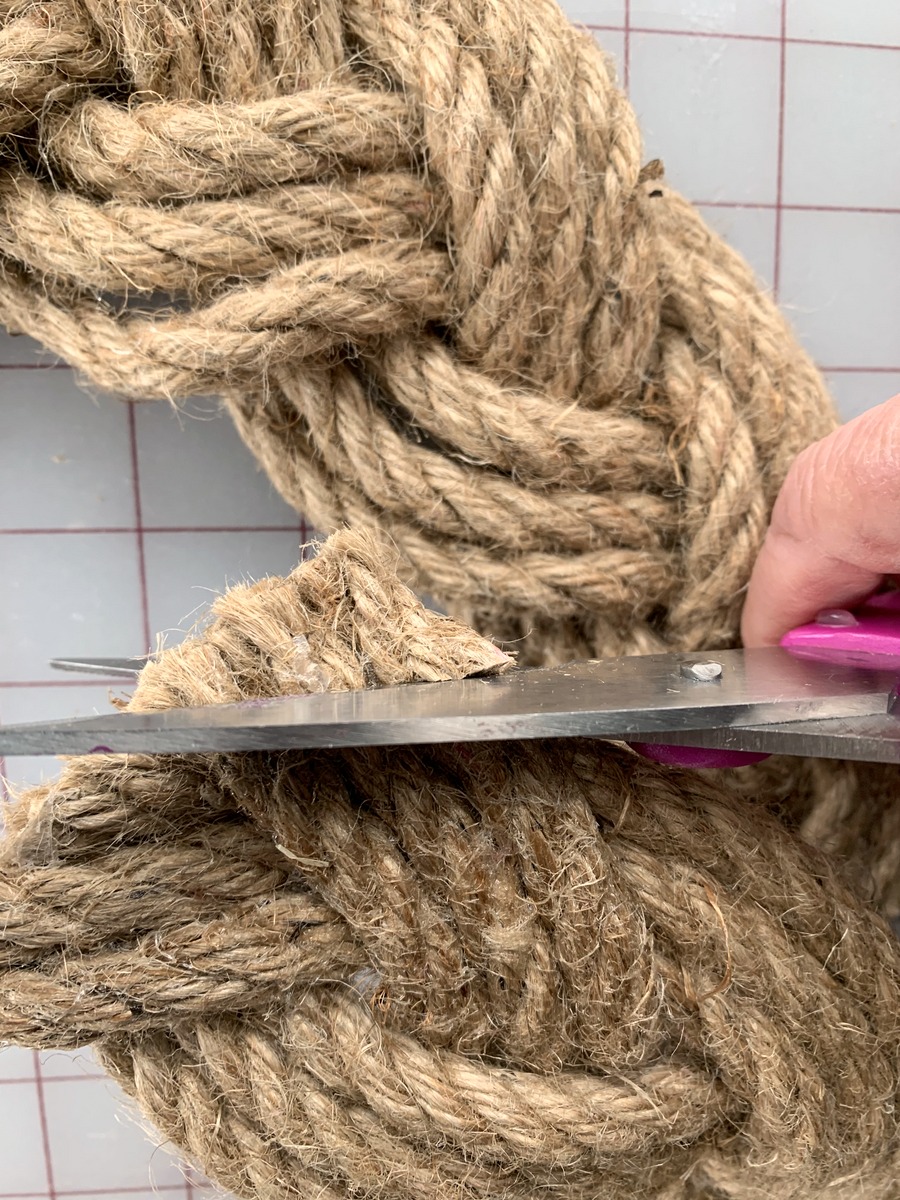
Then, begin by grouping the rope into three sections of three rope strands. To do this, start with a 50 feet length of rope and divide the 50' by 9 (strands) getting 5.5ft or 66 inches. More than enough to braid and cover the cardboard backing. Next, cut the rope into nine, 66 inch lengths. And tape the ends with clear tape to prevent fraying or unraveling. After taping, grouped the strands into three sections and secure the sections onto the work surface using painter's tape.






 For more Pinterest inspired projects from this month's Pinterest Challenge hosts, check out the links below ↓

Spring Pizza Pan Wreath @Cookies Coffee and Crafts

Braided Rope Spring Wreath @Purple Hues and Me

Easy Two Color Burlap Wreath @Our Sutton Place

Spring Tulle Rainbow Wreath @My Pinterventures

St. Patrick's Day Shamrock Wreath @Little Vintage Cottage

St. Patrick's Day Wreath Using a Charger @Our Good Life

Spring Bird Grapevine Wreath with Lace and Ivy @Mom Home Guide









