
I was quite intrigued with the plaster bandages craft, so afterwards I did a search for the Crafty Lumberjacks' blog site. For a couple of links I got a 404 codes but finally found their blog featuring them making their Easter egg vases on The Chew, a tv show I use to watch, no less! I read the post and looked at the comments - low and behold, I had left a comment - back in 2019! But I don't remember anything about seeing this technique before! Usually, I will write a craft or technique down in my project book if I'm interested in it. But not this time.
I'm so glad I found it again and I hope you will love it, too!
Plaster Cloth Egg Vase DIY
Plaster Cloth Egg Vase DIY
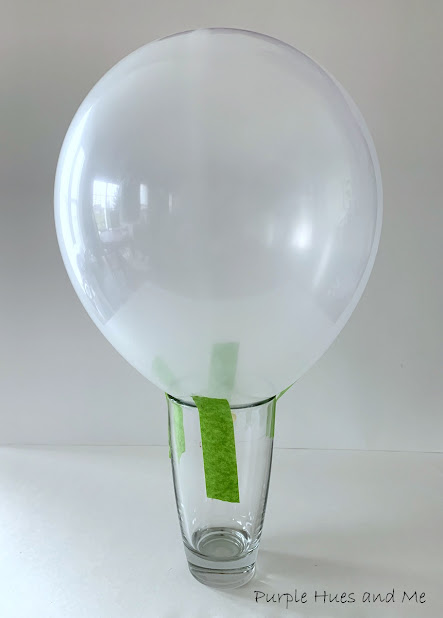
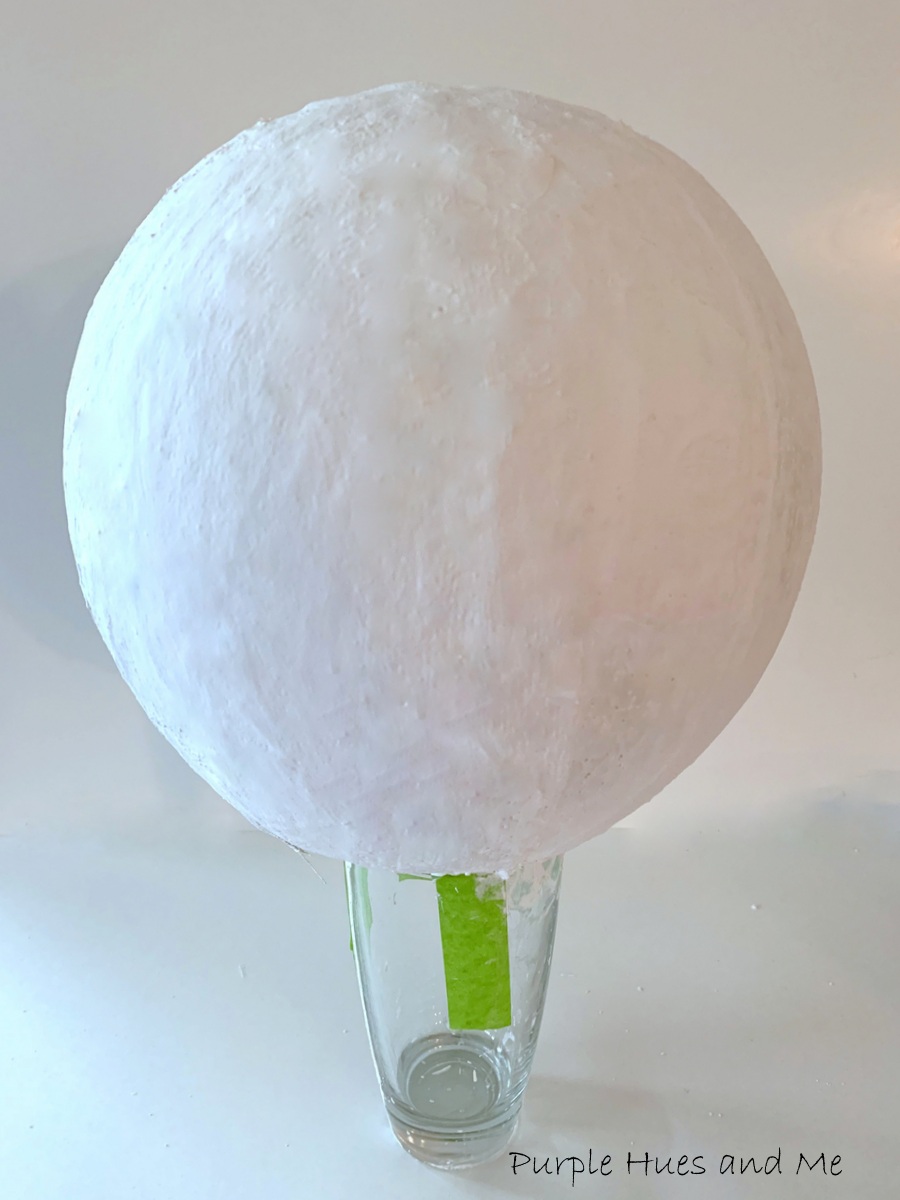
Materials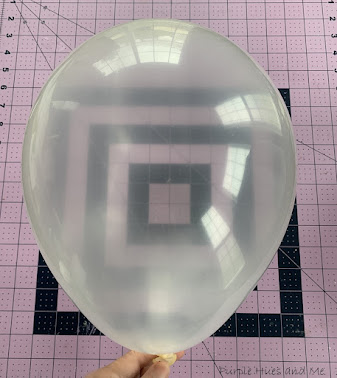 Next, insert the balloon into the opening of a sturdy glass and tape it to the glass using masking tape.
 Next, measure the area using a strip of plaster cloth from one side of the balloon - up, over and down the balloon leaving a gap near the knot (not shown). Cut several strips of plaster cloth about the same length measured from the roll. Then cut the strips in half.
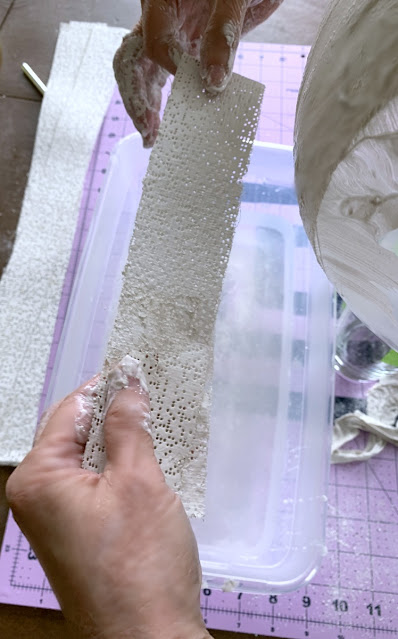
 Next, add water to the container and dip a plaster cloth strip into the water. Hold the strip as taut as possible since the cloth will wrinkle when wet.
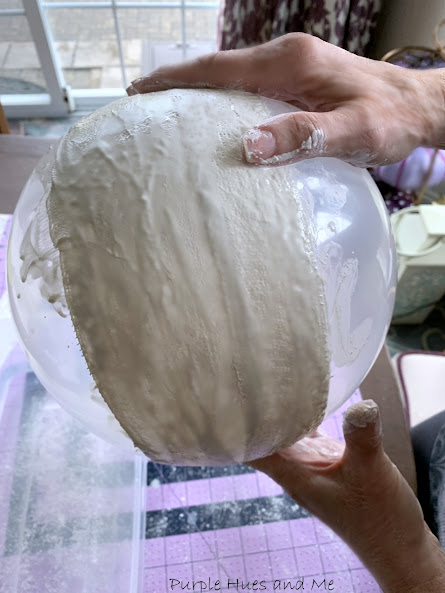
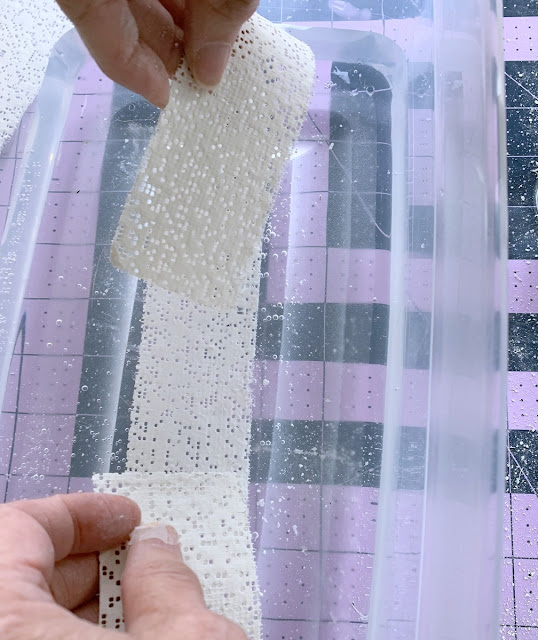 Then quickly wrap the balloon with the wet strip . . .
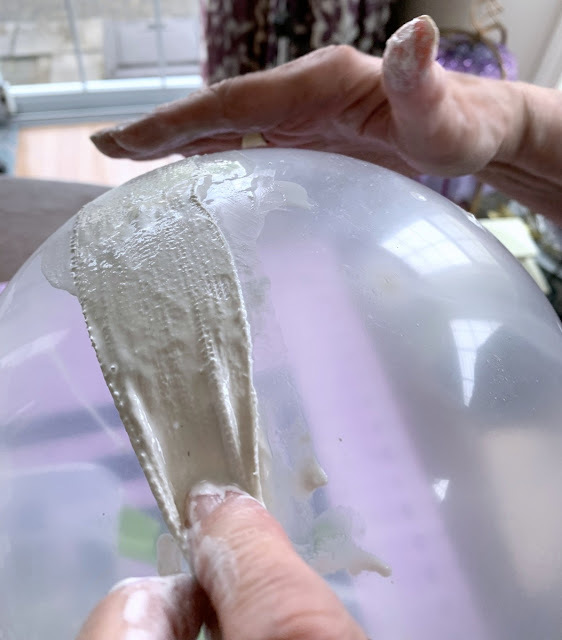 smoothing out the plaster cloth over the balloon. The water activates the plaster in the cloth. Smoothing it out gives it a smooth plaster appearance.
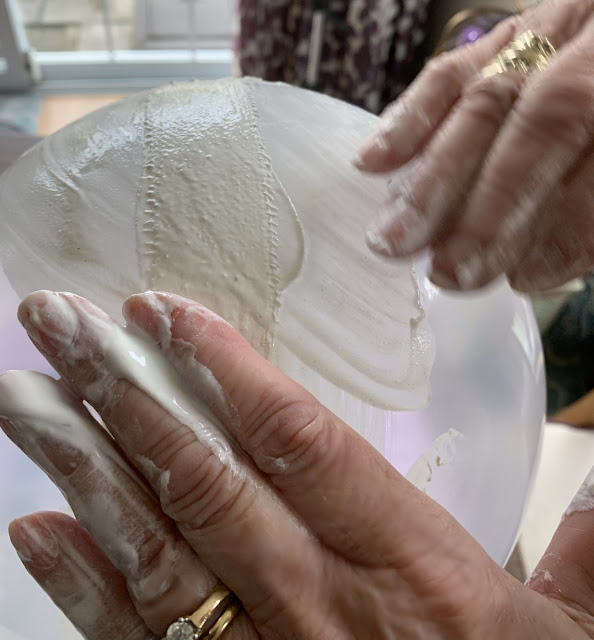

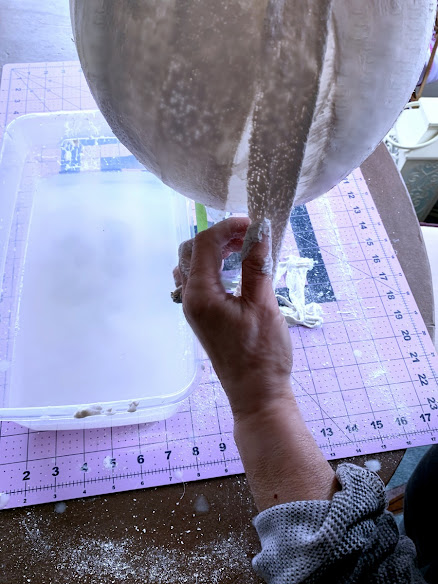
 Continue adding strips of plaster cloth over the balloon and . . .
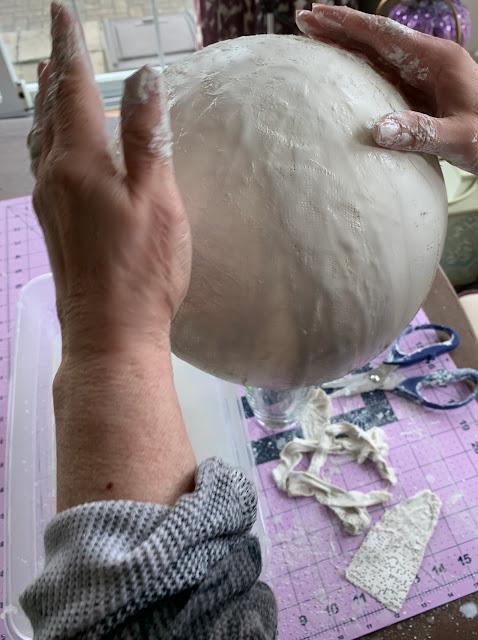
 smoothing them out - as best you can!
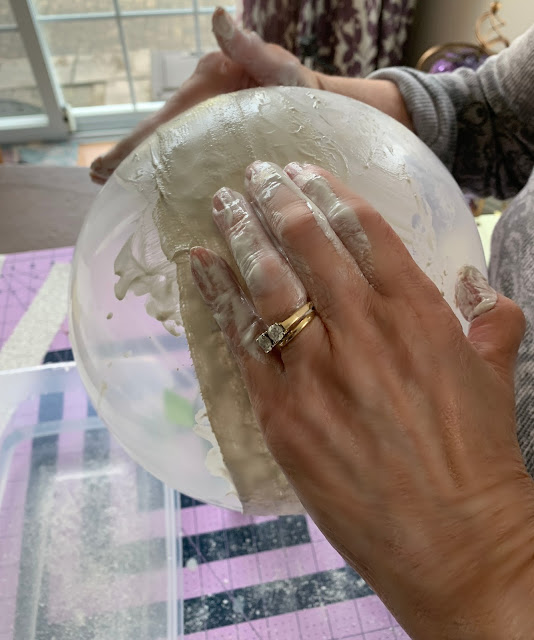
 As you add more plaster strips to the balloon, you might want to cut them shorter, since the area will get smaller and smaller.
 Carry on with placing plaster cloth strips over the balloon and smoothing them out. See the wrinkled strips on the table? I tried straightening them but that wasn't happening!
 Once dry, remove the tape from the plaster cloth egg and . . .
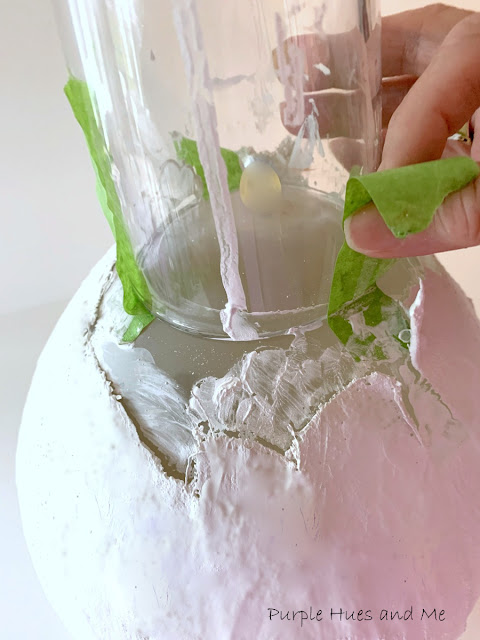 pop the balloon and remove after it deflates.
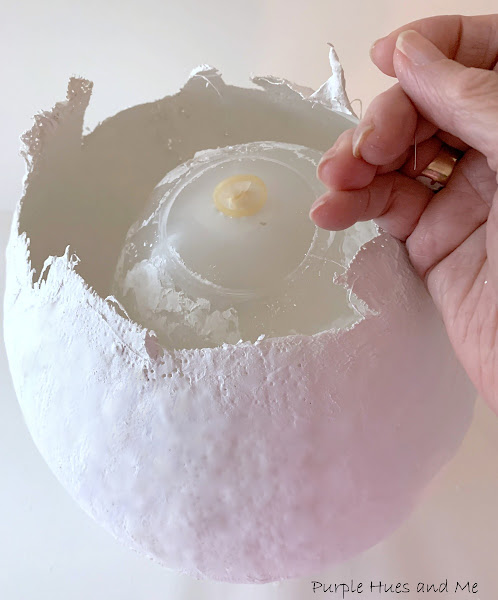 The edges of the plaster cloth egg will be rough, so use scissors to shape into a more cracked egg look.

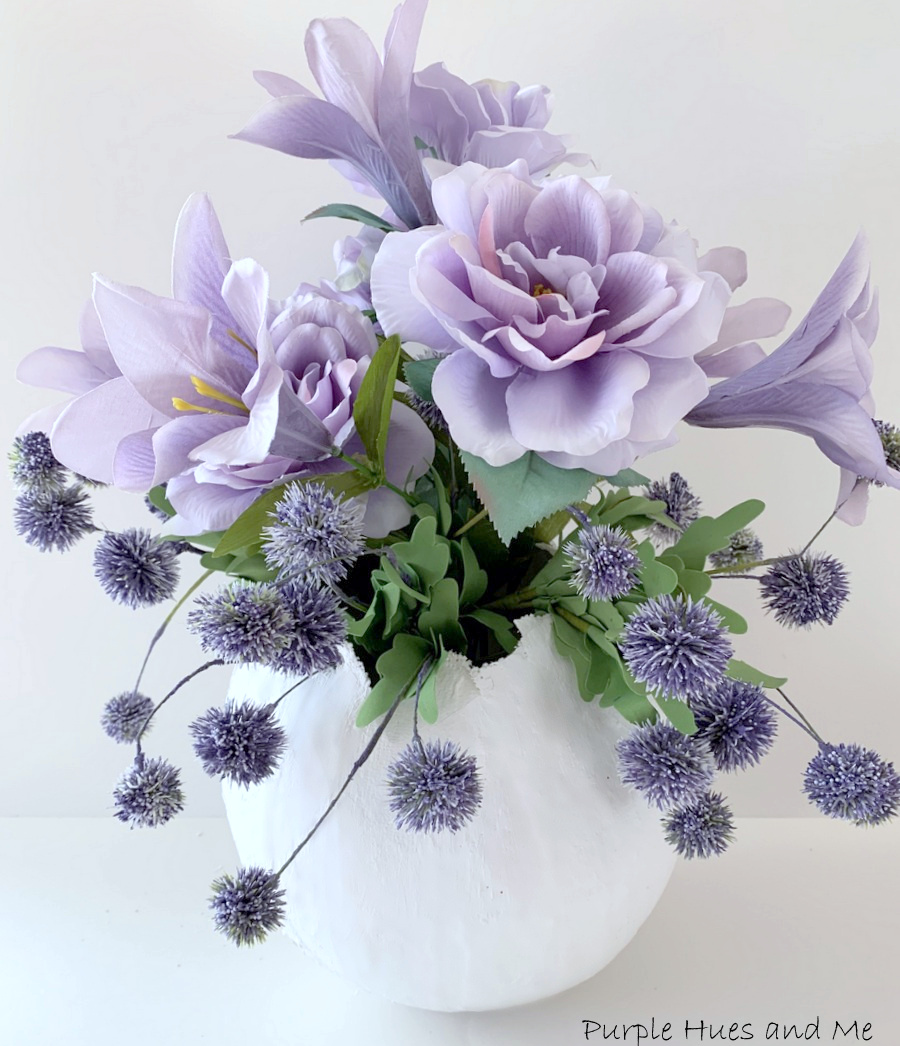
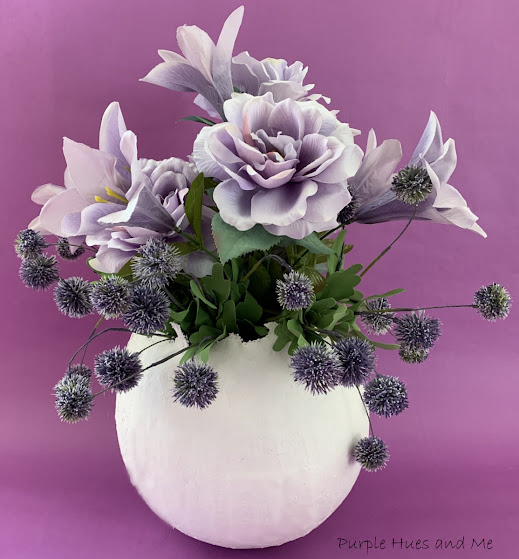
For the vase, place faux flowers in a sturdy glass . . .
 and place in the center of the plaster cloth egg for a pretty spring look!

- Balloon (12" oval)
- Masking tape
- Glass
- Plaster Cloth
- Scissors
- Plastic container
- Water
- Flowers
Disclosure I am a participant
in the Amazon Services LLC Associates Program, an affiliate advertising program
designed to provide a means for us to earn fees by linking to Amazon.com and affiliated
sites, this post may contain links. I may receive a very small commission at no
cost to you! The affiliate money I earn helps pay my crafting expenses. Thanks
so much for your support!
How To
Let's get started by creating a work surface that will be subject to plaster dust, water and a whole lot of messiness! Lol! Then gather the supplies and blow up the balloon, tying it off into a knot.


Continue wetting the plaster strips, laying them on the balloon - overlapping strips and smoothing them out.

Notice how messy this is! There's lots of watery plaster drips everywhere! I guess I should have used gloves, or taken my rings off since I got plaster all over them! But I always like to actually feel what I'm working on. I know, sounds crazy right, lol!


Once the balloon is completely covered, make sure no areas are missed or need more strips.

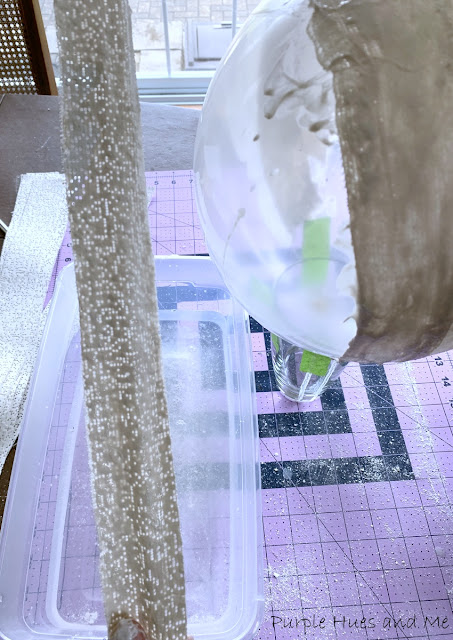
Once you're satisfied with how the plaster cloth egg looks and feels, let dry overnight. Be sure to clean up all the plaster dust particles and residue that's around. And please, do not pour the plaster water down the drain. Put it in a jar and throw in the trash.


Just perfect for Spring!

I hope you enjoyed this tutorial on making an adorable plaster cloth egg vase - created especially for this month's Spring Craft Challenge Blog Hop, hosted by Beverly @Across the Blvd. - where I've joined a group of creative bloggers to bring you a themed monthly challenge blog hop on the 2nd Monday of each month.

Meet this month's Co-Hosts:
Beverly | Across the Blvd
Gail | Purple Hues and Me
T’onna | Sew Crafty Crochet
Marci | Stone Cottage Adventures
Allyson | Southern Sunflowers
Joanne | Slices of Life
Julie | Sum of Their Stories
And be sure to check out all of the awesome Spring Crafts listed below:


Gail, this looks lovely! What a great DIY and your tutorial is great. Love the purple flowers in it, too.
ReplyDeleteHow FUN! When our children were small, I loved making paper mache' pinatas for their birthdays. This technique looks very similar. pinning for later -Marci @ Stone Cottage Adventures
ReplyDeleteThe final results look awesome! So pretty! I've never heard of plaster cloth. I learn something new every day.
ReplyDeleteI have often found comments I have written on blog posts that I don't remember either; funny enough it's often a craft or recipe I was so taken with that I wanted to try and usually didn't end up doing. Your final results are just fabulous!
ReplyDeleteI really love this idea! An egg shaped vase is so perfect for Easter! And your purple flowers are lovely.
ReplyDeleteI look at people's older blog posts all the time and then spot that I commented 2 or 3 years ago!! You just can't remember everything :-D
ReplyDeleteI love the Crafty Lumberjacks, they used to join my Handmade Monday link up now and again but I think they are too TV famous for that now! This craft looks so pretty, the way you've styled it with those beautiful flowers is just gorgeous.
Beautiful arrangement. I love paper mache. Thanks for sharing at Funtastic Friday.
ReplyDeleteI am grateful to this blog site providing special as well as useful understanding concerning this subject.
ReplyDeleteIf you are looking for online poster printing. Get connected with us for more details.
This is fantastic! I absolutely love it! Thanks for sharing on Happiness is Homemade! I'll definitely be trying this one. If you tried to link up on Crafty Creators this morning, I apologize. I accidentally added last week's InLinkz code to this week's party again. It's fixed now and open for posts!
ReplyDeleteXOXO,
Niki ~ Life as a LEO Wife
great article thanks for sharing this site. I look forward to your next post. https://www.kayaboxes.com/
ReplyDeleteNot so long ago, I found CoolCat Casino while searching for online slots in Canada. On this site, I could play many interesting and high-quality slot machines and even win real money. Everything worked smoothly, and I really enjoyed playing. You should definitely try this site too! Have a great day!
ReplyDeleteThis comment has been removed by the author.
ReplyDelete