Thursday, June 15, 2023

Upcycled Tuna Can Flower Trinket Box

 
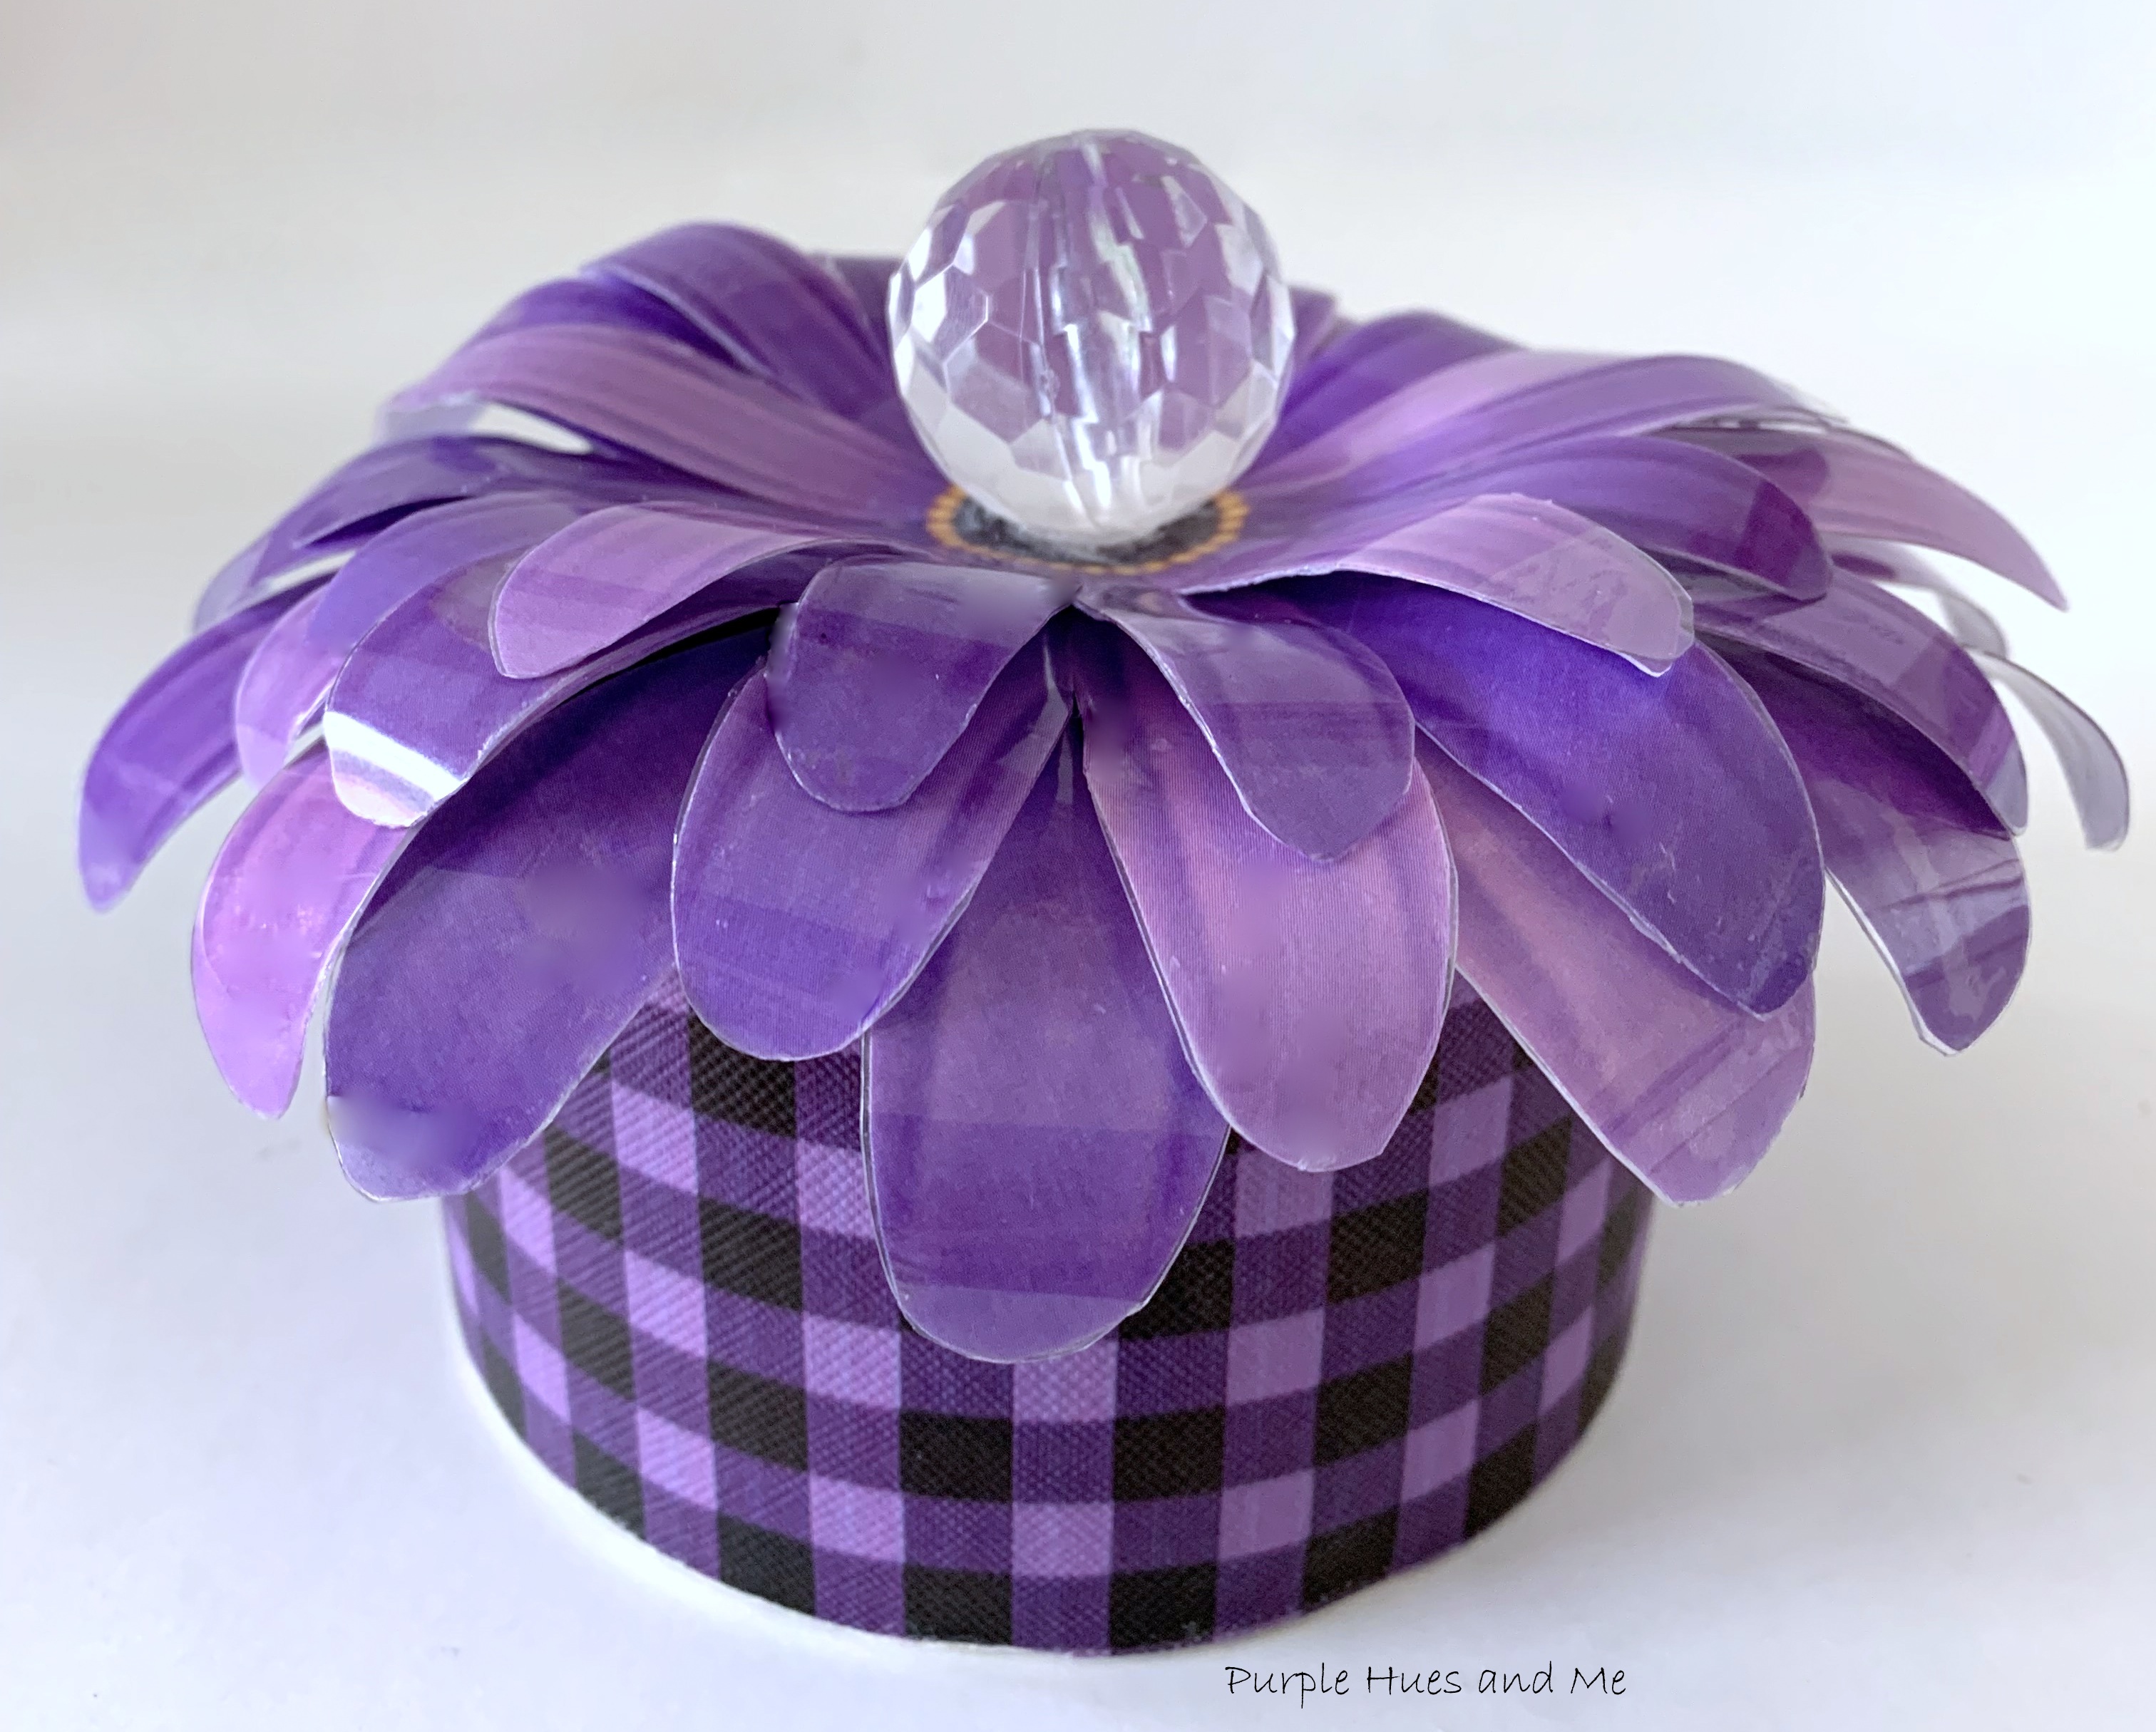
One of my favorite custom embellishment techniques is the look of 3D flowers on clear plastic film. This process involves applying flower designs on rice paper or plain napkins to clear plastic film using Mod Podge - a decoupage glue and let dry. Then cut out the film designs. Heating it, and molding, embossing and layering the cut-outs into 3D shapes with a raised effect! For my craft, I'm using an upcycled tuna can and transforming it into a flower trinket box using this technique.

But before I get started with my tutorial, welcome to this month's Creative Craft Hophosted by Sara @Birdz of a Feather! If you're coming from Jenna @ The Painted Apron, hello! Wasn't her sunflower snack jar fabulous! Jenna is so creative!

Materials Used:

  • Tuna can
  • Ruler or tape measure 
  • Faux leather fabric
  • Wood circle - (top)
  • RapidFuse - all purpose quick drying adhesive
  • Flower image - free clipart
  • Rice paper
  • Printer (HP Laser Jet)
  • Scissors
  • Clear plastic film sheets 
  • Mod Podge (Matte) - paintbrush
  • Parchment paper
  • Microfiber towel (for smoothing)
  • Candle (open flame) - matches
  • Embossing tool/Pad (foam) 
  • Crystal-like ball  (top handle)
Let's begin with the tuna can, faux leather and wood circle, first. Make sure the tuna can is thoroughly washed and clean.  Free of any paper and glue and dry.
Measure how tall (2") the can is and the circumference (12.5" around) of the tuna can and using those measurements, cut out a strip of faux leather to fit the can. Then place enough adhesive along the metal to attach the fabric.
Starting at one end .  .  .
and going around the can to where you started with applying the faux fabric.

For the top, place the wood circle on .  .  .
the back of the fabric, using a pencil to draw two images of the wood piece to cut out. One for the top and one to cover the bottom of the tuna can.
Then glue on the faux fabric pieces to the wood top and bottom of the can.
Next, download or copy the flower image in Word. I needed three sizes - the largest (6.5") with the petals curving over the top and adjusting the two other sizes to 5.5" and 4.6." Then print the images on rice paper using a laser printer.
Next, place a sheet of parchment paper on your work surface and lay a sheet of clear plastic film on top. Then paint on an even layer of Mod Podge to the clear plastic film and lay the flower designs face down onto the Mod Podge. This will create a glossy, porcelain-type effect on the flowers when dry.
Flip the film sheet over and .  .  .
use a microfiber towel to smooth out the film on the flower design. Let dry.
Once dry, add an additional layer of Mod Podge on each flower and  .  .  .
let dry.
It's amazing to see the flowers dry clear. It's now time to cut out each flower.
Cut out the individual flowers and make small cuts along the flower petal design toward the center to help shape it. Then warm the petals with the flame of a candle - being careful not to get it too close. 
When the flower design is heated, it will magically curl and .  .  .
can be shaped into dimensional flowers using an embossing tool and foam pad to help shape the flower.
Be sure to shape the petals on all three flowers so that they are curving over the edge of the top.
Once the petals are shaped, begin gluing the flowers on top of each other. Start with the largest one glued to the faux leather fabric top, first.

And then, the other two on top of each other while .  .  .
staggering the petals between each layer.
And finally, glue on the crystal-like ball to the center of the flower for a handle.

Isn't this flower trinket box really cool for trinkets and what-nots!

I hope you enjoyed my tutorial on making a Flower Trinket Box using an upcycled tuna can! Up next is Ann @ The Apple Street Cottage sharing her very creative and unique way of making firecrackers from essential oil tubes! Be sure to stop by each and everyone in our creative group listed below to check out their exciting and inspiring project! And don't forget to pin, too!


Vintage Dresser Re-Do with Chalk Paint | Carol | Bluesky at Home

Sunflower Snack Jar  | Jenna | The Painted Apron

Upcycled Tuna Can Flower Trinket Box | Gail | Purple Hues and Me

Firecrackers' From Essential Oil Tubes | Ann | The Apple Street Cottage


Watermelon Summer Sign | Tammy | Patina and Paint


3 Ways to Craft Simple Greeting Card Art | Cecilia | My Thrift Store Addiction

 Dollar Tree Wreath Tutorial |Terri | Decorate and More with Tip



Tuesday, June 6, 2023

DIY Lavender Bags A Fresh Alternative

Did you know lavender, a purple flowering herb has long been associated with cleanliness? Its name is derived from a Latin word, lavare, which means "to wash!" The ancient Romans used lavender in their baths. 

My neighbor recently gave me some dried lavender from her garden. She first took me to the area where the lavender is growing. As soon as I came close to the lavender, I could smell the wonderful fragrance of the plants! Lavender has a floral scent - one that's light and fresh! Just take a look at the lavender in her garden:

That got me to thinking. We are all familiar with lavender sachets and how wonderful they smell - to scent drawers, chests and closets, etc. - but did you know the delightful smells of lavender can also be used to naturally add fresh fragrance to laundry? One way is to make lavender bags for the dryer that would make our clothes smell fresh and heavenly! And the best part - you can toss out your chemical laden dryer sheets for easy to make fresh smelling lavender dryer bags! And making lavender dryer bags happens to be a cool project for this month's Sustainable Craft Challenge Blog Hop hosted by Julie @ Sum of Their Stories

This challenge is all about sustainable crafting! Each month is themed and all projects must have some sort of a sustainable element to them. This could be an upcycling or recycling element, or something that reduces waste, uses leftovers, etc.  The theme for June is - have you guessed it already - FRESH! And I'm sharing how I made lavender bags for the dryer - a better than expected "fresh" alternative to dryer sheets!

Materials Used:

  • Dried lavender buds
  • Small glass container (Oui jar)
  • Small cloth bags (all cotton)

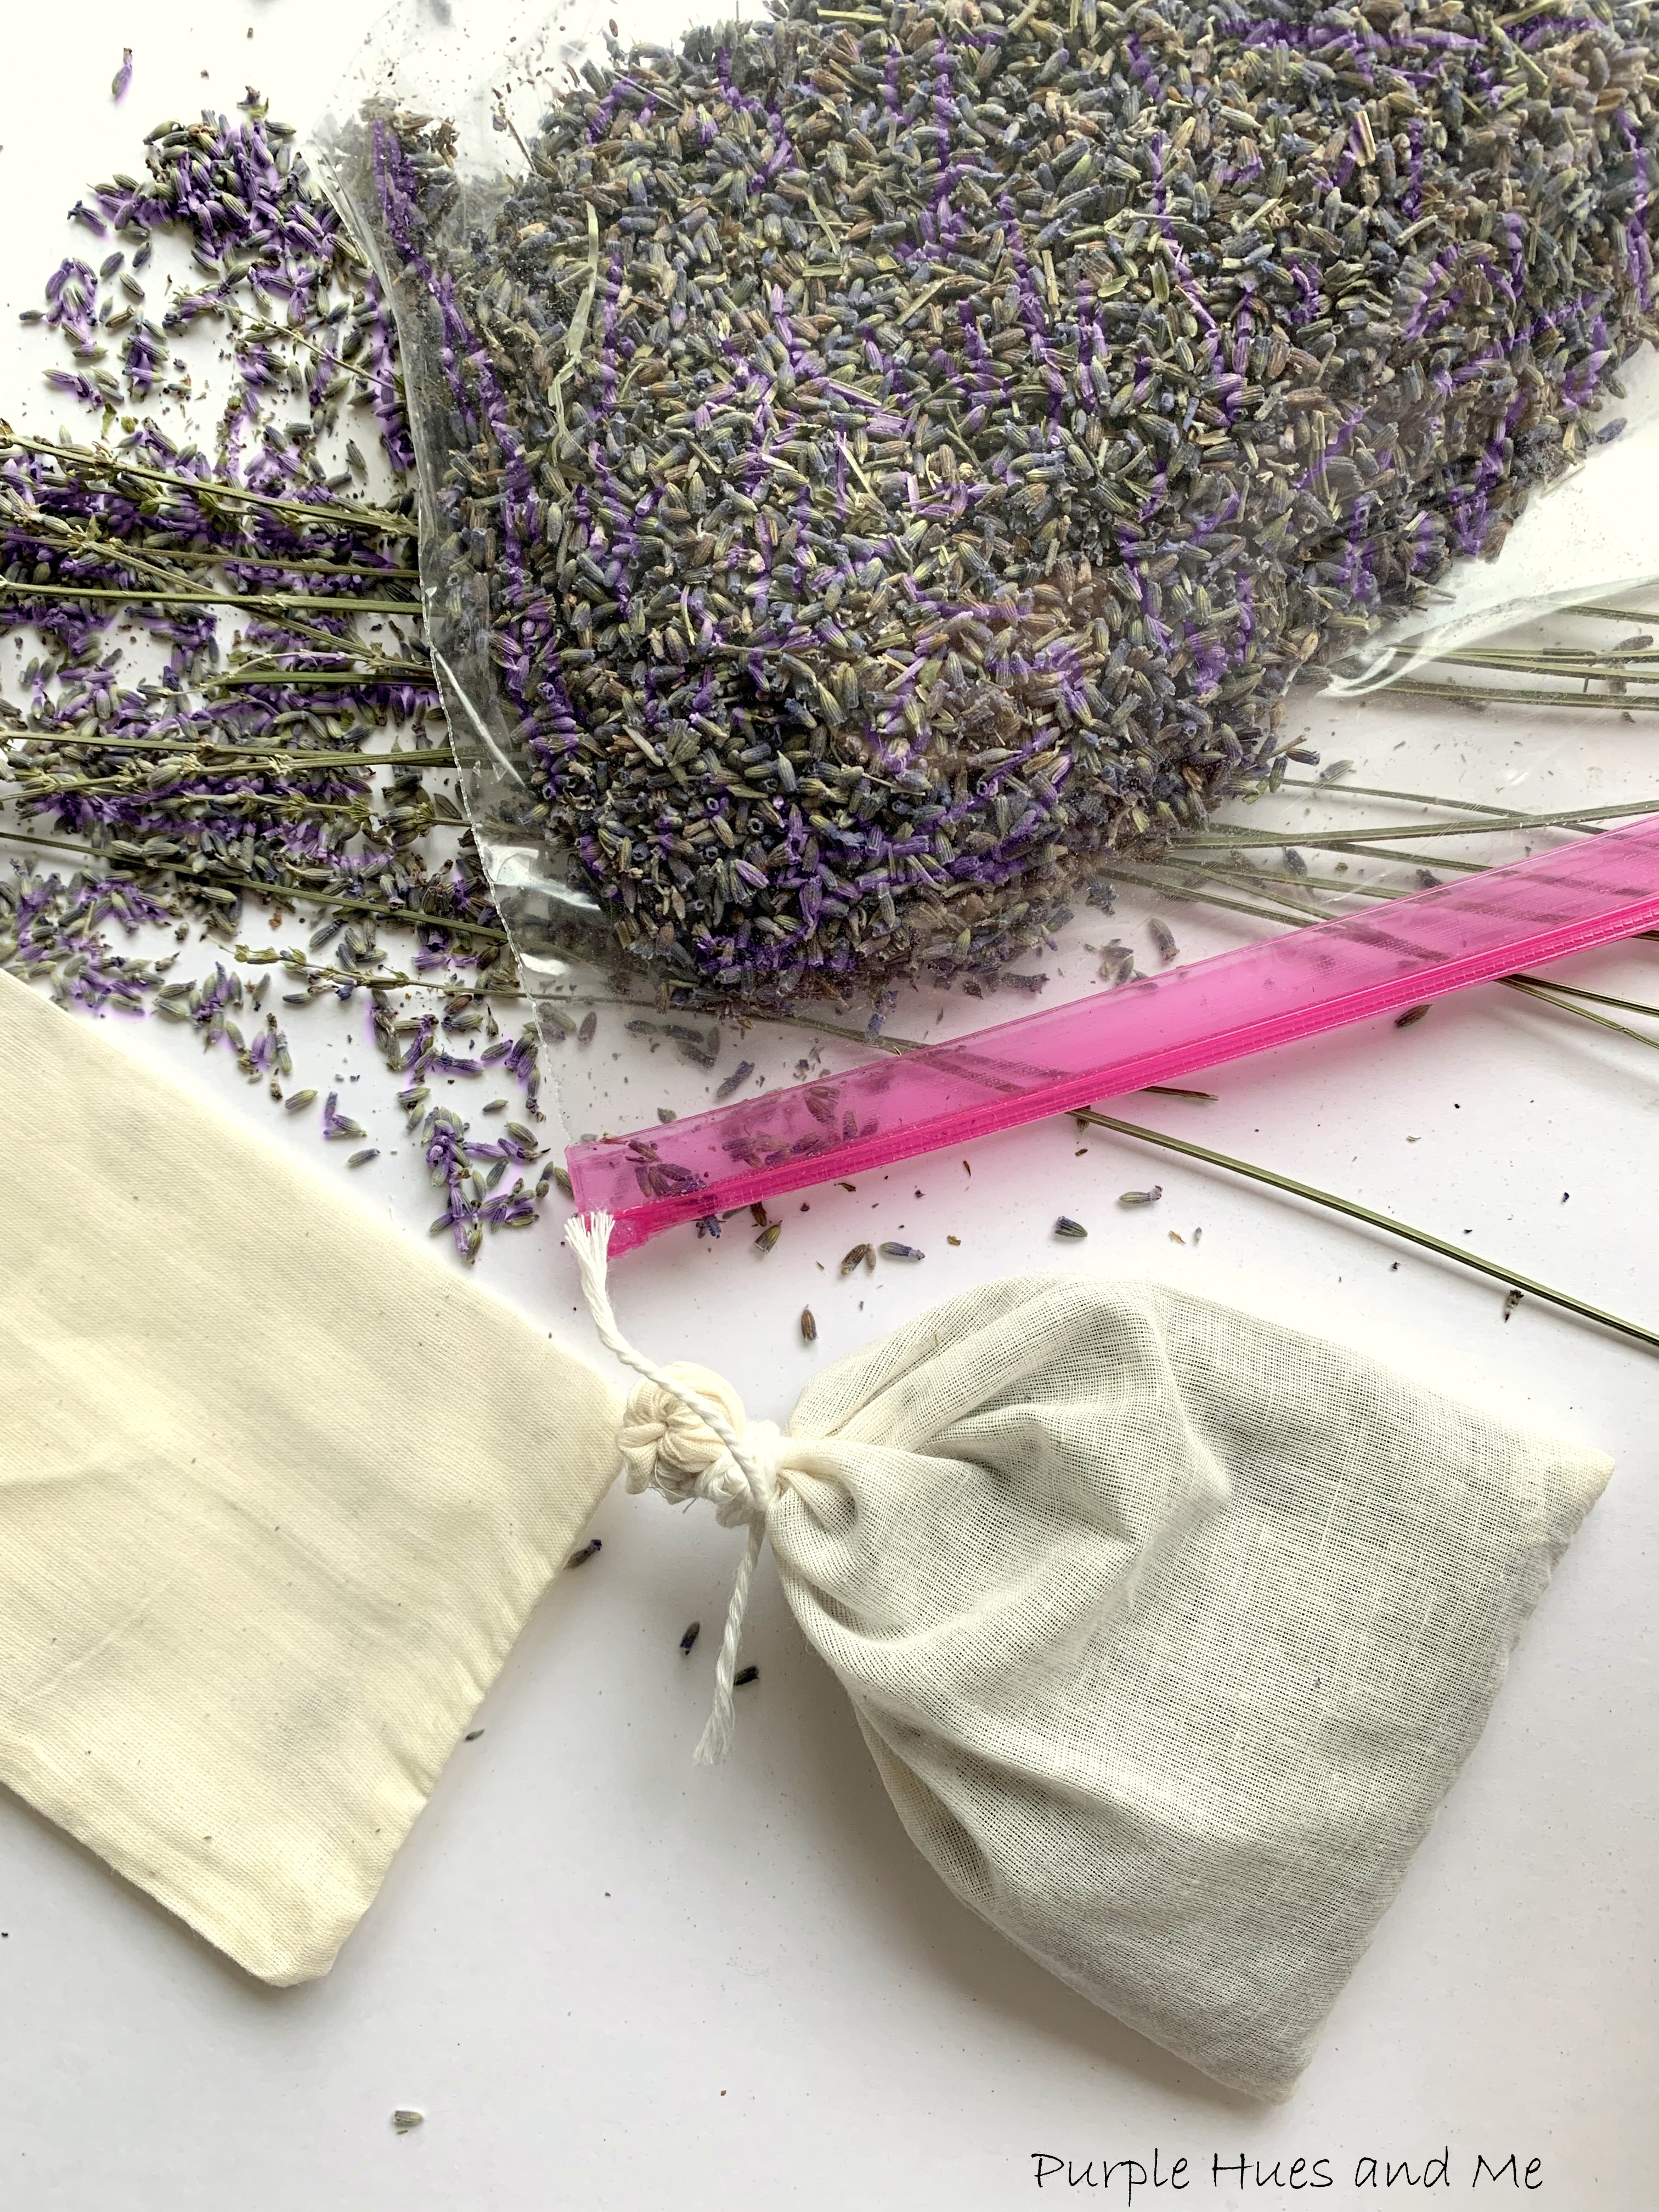
I believe this is one of the easiest DIY projects I've done! As I mentioned before, my neighbor gave me some dried lavender buds in a ziplock bag, plus a few dried out decorative stems! If you don't have a generous neighbor like I do, you can order fresh smelling lavender buds online. Plus, I already had some small all cotton bags in my stash which makes this craft free for me to create! 


First, I need to let you know that my measurements for this project are all guesstimates, lol! To begin, it was easier for me to use a clean, empty Oui yogurt jar that I placed the open cotton bag in to fill with lavender buds.  
I didn't want the bag to bulge with lavender buds, so I filled it half way and flatten it, spreading the buds around in the bag. Then I tied the bag as tight as I could, and double knotted it and .  .  .
wrapped the excess drawstring around the top of the bag several times, tying in a double knot again. You definitely don't want the bag to open while in the dryer. I can't believe how easy these lavender dryer bags were to make!
Now, you're ready to toss the lavender bags into the dryer when drying a load of laundry. The lavender dryer bags will last about five to eight cycles depending on the size of the dryer loads before losing their fresh scent. You can gently squeeze the bags to refresh before re-using. They can also be refreshed using lavender essential oils. Or you can crush the used buds and sprinkle on your carpets before vacuuming for a fresh, natural room deodorizer. So many cool, fresh uses!


Be sure to check out all of the "Fresh" Sustainable Crafts projects listed below:


Julie @Sum of Their Stories - How to Give a Denim Jacket a Fresh New Look

Mel @ Decor Craft Design - DIY Lemon Raised Tray

Gail @Purple Hues and Me - DIY Lavender Bags a Fresh Alternative

T'onna @ Sew Crafty Crochet - Antique Desk Makeover


Maria @ Simple Nature Decor - Outdoor Porch Refresh/Table Makeover


Saturday, May 27, 2023

DIY Wooden Patio Lantern


Welcome to this month's "Do It Over" Designers! In case you didn't know, the "Do It Over Designers" is a group of talented bloggers who love to recycle/upcycle/ DIY, hosted by Anne @The Apple Street Cottage. It happens the 4th Saturday of every other month and it's all about taking something old and/or unused and 'doing it over' into something new. Anything from fabric, old dishes, and decor, to dressers and hutches. Items found in closets, cabinets, barns, garages, yard sales, thrift stores, you name it! 

Usually there is no theme and we're on our own to choose whatever we want to "do over!" But this month Anne decided to switch it up and wanted us to do over anything wood! Oh boy! You don't know how I agonized about doing over something wood. My resolution for 2023 was to use items already in my stash for projects! I rarely use wood. And if I did, it was something very simple!  I don't have any carpentry skills and I don't have space or tools to take on a woodworking project, either. So please forgive me for picking something you've probably seen lots of on Pinterest, YouTube, and online! I decided to make a patio lantern! But I think you'll be surprise at how I "do over" something to make it work for this wood theme! So let's get started with what I did!

Materials Used:
  • Harvest wood picture frames (2 - DT 5.75"x5.75")
  • Square dowels (2 - 1/2"x36")
  • Screw driver (flat head) or staple remover
  • Acrylic or chalk paint/brush
  • Ruler
  • Hand saw
  • Sanding block
  • RapidFuse All Purpose Adhesive
  • Craft wood square (5.5"x5.5")
  • Wood hoop (5")
  • Wood stain and sealer (all in one)
  • LED candle

Disclosure I am a participant in the Amazon Services LLC Associates Program, an affiliate advertising program designed to provide a means for us to earn fees by linking to Amazon.com and affiliated sites, this post may contain links. I may receive a very small commission at no cost to you! The affiliate money I earn helps pay my crafting expenses. Thanks so much for your support!

For this project, I'm taking two harvest decorative picture wood frames that I got from the Dollar Tree last fall and two square wood dowels that I found in my garage to "do over" into a lantern for my patio. 

But first, the decorative wood beads on top need to be removed using a flat head screw driver.
Then use a sanding block to smooth out the holes from the staples.
Next, paint over the wording on both pieces using acrylic paint or chalk paint and let dry. I had to do several coats of acrylic paint to cover up the wording. I was out of white chalk paint.

While the paint is drying, cut two 15" pieces from each of the 36" long square dowels using a hand saw, for a total of four, 15" square dowels. I didn't want to cut the dowels in half, which would have made the lantern over eighteen inches tall. I thought that would have made the lantern too tall for the LED candle I planned to use. Use a sanding block to smooth the cut edges. Sorry, I didn't take pictures of this - I was too involved with cutting straight lines on the dowel, lol! 

To attach the dowels to the frame, add RapidFuse adhesive in one corner bottom and corner sides of the wood frame and .  .  . 
insert the square dowel in the corner, pressing down and making sure the dowel is touching the corner sides of the frame and is straight. Hold in place until the adhesive sets - which is thirty seconds (according to the label). I love how the glue sets in no time!


Repeat previous process for the remaining three dowels.
Once all four dowels are set in place .  .  .

add adhesive to the top of the dowels and in the corners of the frame, as before, and place the other frame on top. Hold in place until the adhesive sets. 
Next, take the flat wood square piece and add adhesive along the edges and in the center  and .  .  .
place down in the center of the top frame - making sure it's centered on the frame.

For a decorative look, take a 5" wood hoop and cut about an inch of it out to open it. Add adhesive along the left center side and on top of the frame edge. Then set one end of the hoop on top of the frame on the left, placing additional adhesive on the side.
Gently stretch the hoop across the wood to the opposite side .  .  .
 adding adhesive first and then to the side of the hoop, as before.

Make sure the hoop is centered and straight on top. Let adhesive dry.
Once dry, I actually lifted the lantern up by the wood hoop.
Gee, I'm really loving the simple lines of this lantern!
Now, it's time to stain the lantern. Staining should be done in a well ventilated area so I took the lantern outside. But shortly after I started staining the lantern, the wind picked up and then it started raining. 
So I had to finish staining the lantern indoors. 
Looking at this now, would you believe it all started with two picture frames and square dowels?
Just perfect for the patio!


Be sure to visit all of this month's creative wood projects by the 
"Do It Over Designers" listed below: