Tuesday, September 3, 2024

Busted Canvas on Bottle Transformation


Looks like everybody is jumping on the latest trend of making bust-out canvas crafts! The possibilities seems unlimited with what you can make! You can adapt the canvas or whatever you're using to "bust-out" to suit any theme, season, or holiday. While looking around Pinterest, I discovered that the bust out canvas design is not new. I found a couple of crafts dating back to 2016 and 2017. Back then I think it was called canvas shadow boxes but they look the same as what's out there now! You know what they say, "trends come and go and come again!" Can you imagine all the busted canvas creations we'll see between now and the end of the year? Anyway, I want to share my take on this busted canvas trend - with me using a bottle instead of a canvas frame. 

It's something different and perfect for this month's Sustainable Craft Challenge Blog Hop hosted by Julie @Sum of their Stories! Welcome! This month's theme is Transformation! The challenge is all about sustainable crafting with a different theme each month!  The projects must have some sort of a sustainable element to them. This could be an upcycling or recycling element, or something that reduces waste, uses leftovers, etc. 

For this blog hop, I am going to show you how I transformed a bottle I saved from the trash into a gorgeous bust out candleholder! Here's what I did:

Supplies:

  • Bottle - not sure what was in the bottle before I took off the label but I think it was syrup if I had to guess
  • Canvas                 
  • Staple remover or tack lifter
  • Paper napkins
  • Measuring tape/ruler
  • Parchment paper
  • Mod Podge Matte/brush
  • Ziplock bag or plastic wrap
  • Scissors
  • Loctite glue/Quick Hold
  • Rubber bands
  • Craft knife
  • Hot glue gun/glue sticks
  • Ribbon 2.5" wide
  • Small velvet pumpkin
  • Candle

How To:

Start with a clean bottle. As I mentioned in the supplies list, I'm not sure what was in this bottle before I took the label off and cleaned it.  I usually clean my recycled items before I put them in my stash bags. I don't want to create a nesting area for any bugs or insects. I love the shape of the bottle and since it's basically flat on two sides, it would be perfect to use with canvas. 
                         

Plus I had a few stretched canvases in my stash to use on the bottle.
 
But first, I had to used a staple remover to pull out the staples from the canvas frame.
              
Once the canvas was removed from the frame I cut the folded canvas sides off, leaving a nice smooth surface to use.
            
Shown are the three napkin designs that will be used on the bottle and canvas.

One section of this adorable pumpkin design will be . . .

cut out from the other pumpkin designs. 
Then separate the printed layer of the paper napkin from the plain layers by tapping the corner of the napkin with your thumb and forefinger until the edge of the layers loosen to separate them.

To adhere the napkin design to the bottle, paint on a layer of Mod Podge.
Place the napkin (design up) down on top. In hindsight, I should have painted the Mod Podge on the canvas and then laid the pumpkin napkin on top. But either way works!
                  

Use a piece of a ziplock bag or plastic wrap on top to smooth the napkin out over the bottle (sorry, I forgot to take a picture) Let dry and then add a layer of Mod Podge to seal. 


For the next canvas - which will be the one to cut and "bust" out, I took the measurements of the bottle - the height, just from the base of the opening (12 1/2") and the circumference (6 1/2") of the bottle and cut a piece of canvas in those measurements from an old canvas frame I had in my stash. And I also cut the napkin design in the same measurements, too. 
 Apply a layer of Mod Podge to the  flat canvas. 
 Carefully place napkin design on top. Lay plastic on top and smooth out any wrinkles and bubbles. Let dry.
Remove any excess napkin from the canvas using scissors.

Separate the layers (like before) of the third napkin design - the one that will show on the outside of the bottle.
 Repeat the process of applying Mod Podge to the canvas which is actually the back of the canvas with the black and white plaid napkin .  .  .
and placing the napkin design on top. Smoothing out any wrinkles and bubbles using clear plastic. Let dry.
Wrap the decoupage canvas around the bottle and seal with a clear drying glue. I used a Loctite adhesive which stated to tape the glued area down until dry, but it was easier for me to use rubber bands instead. I didn't want to chance pieces of the napkin coming off using tape.
   
After I had glued the decoupage canvas on the bottle, I discover that the design was upside down - silly me!
Fortunately, the glue hadn't dried so I quickly and carefully removed the canvas and turned it right side up, adding a bit more glue, to close it and let dry. I did have to touch up a few areas that lifted up using napkin pieces that matched.


Once the canvas was dry, it was time to create the "bust-out" effect on the front.  First, imagine cutting a canvas pattern that basically looks like a large asterisk. 

 
Using a sharp craft knife, gently cut a small X and then a cross over the X. Make sure to only cut through the canvas and not the image below it.
Then use scissors to extend the lines to open the canvas.

Cut top, sides .  .  .


and bottom  . . .
 to reveal . . .
the pumpkin design underneath.
Since the top edges of the first decoupage napkin was showing, I needed to extend the napkin design of the busted canvas. Using the same decoupage technique of brushing on Mod Podge and . . .
extending the napkin design with a matching napkin piece.  Smoothing it out using clear plastic. Let dry.
Secure the busted triangular edges around the canvas using hot glue!  
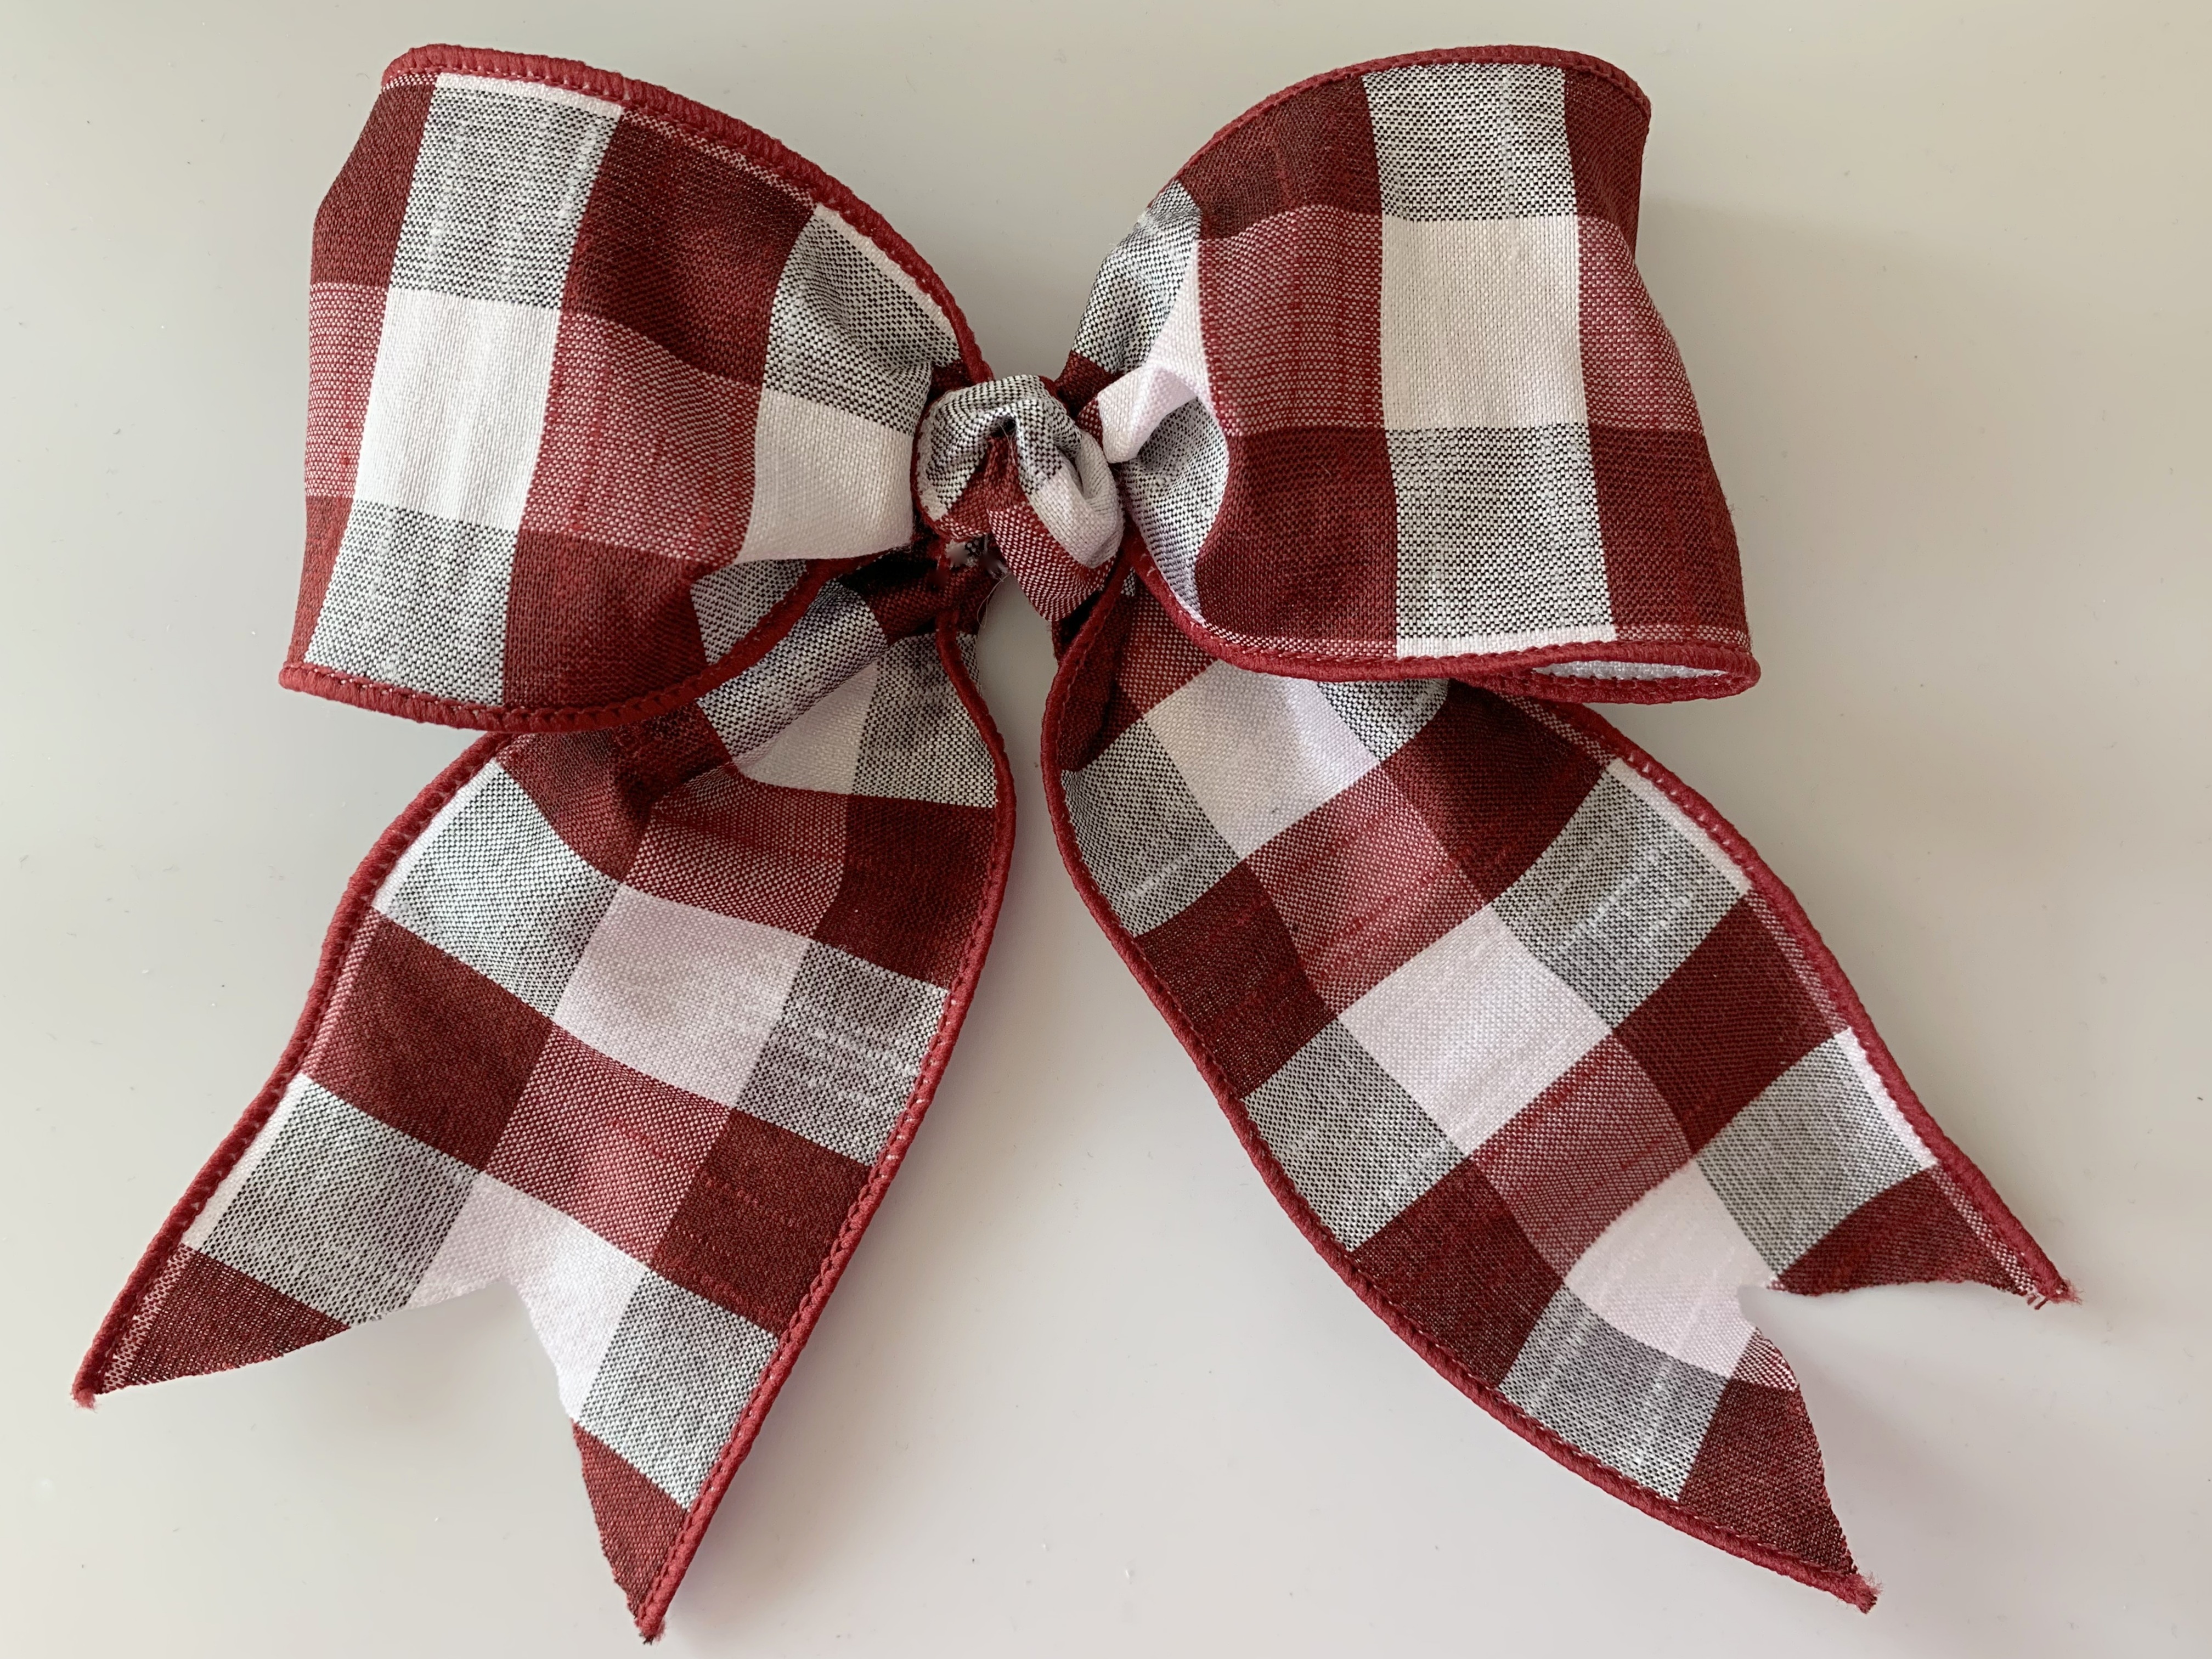
It was then time to decorate the busted canvas with a bow and other embellishments! Make a four loop bow with tails that match the design of the busted napkin.
To give the bow tails a finished look called dove-tail, fold the ribbon ends together and using scissors, cut at an angle from the fold to the end corner. 
Fluff bow and glue it on at the top of the busted canvas.
I might have gotten carried away with the size of the bow, lol!
Glued on a decorative velvet pumpkin in the center of the bow.
Complete the transformation by adding a tapered candle for a cool 
busted canvas bottle candleholder!

           I hope you enjoyed my Busted Canvas on Bottle Transformation!

Welcome again to our Sustainable Craft Challenge Blog Hop!


Be sure to check out all the creative Transformation Sustainable Craft projects from my fellow crafters listed below:


Julie @Sum of Their Stories - Embroidered Aran Sweater Bag Upcycle

Terri @Our Good Life - Transforming a Mason Jar to a Solar Light

Gail @Purple Hues and Me - Busted Canvas on Bottle Transformation

Christine @Christine’s Crafts - Upcycle Denim Jacket: Fun and Easy Upcycling Project

Donna @Modern on Monticello - Transformed Truck Suspension Spring to DIY Bird Feeder Stand

Vicky @Vicky Myers Creations - Cover a Logo On a Bag

Marci @ Old Rock Farmhouse - Cultivating Autumn Arrangements

Mel @Decor Craft Design - How To Transform A Vintage Powder Container Into A Jewelry Box


Wednesday, August 28, 2024

DIY Mesh Tube Bows Centerpiece or Wreath for Fall or Halloween


Have I got a cool centerpiece or wreath to make for Halloween or Fall using bows made out of colorful mesh tubes! And the best part, you can easily change the colors of the mesh and types of centers for any holiday or season! Wow your family and friends with this adorable craft!
 
This post first appeared on Bowdabra.com where I'm on the design team.

Supplies:
Mesh Tubes - 4Pkgs. (dollar store)
Craft Foam Wreath - 10"
Hot Glue/Scissors
Mini Bowdabra/Measuring Tool/Wand

How To:
Let's begin by wrapping a craft foam wreath with mesh tubes. Use hot glue to attach to attach to the foam at the beginning and at the end.

This looks cool already!

To Make the Mesh Tube Bows:
Insert an 8" strip of mesh tube into the Mini Bowdabra. Straighten the mesh tubes and gather the ends of four assorted colors, inserting them down into the Mini Bowdabra.
Then fold the tubes together into loops at the 3" mark on the measuring tool,  inserting all into the slot in the Mini Bowdabra.

Continue folding the tubes into loops on each side until satisfied with the fullness of the bow. Use the Bowdabra Wand to scrunch down and hold the mesh tubes in place.
While the wand is holding down the tubes, cut off the excess tubes using scissors.
Then use the 8" strip of mesh tube to tie a couple of knots to tighten and hold the bow together.
Apply a dab of hot glue to the tube wrapped wreath and hold the bow in place until the glue sets. It will take a couple of minutes for the glue to firm up and secure the mesh bow.
Continue making more mesh tube bows to cover the wreath, gluing them on and around the mesh tube wrapped wreath. 
Don't you just love how adorable this looks!
Have fun decorating the wreath .  .  .
or centerpiece for Halloween! The cool thing about this centerpiece or wreath is that you can easily change the colors of the mesh and types of centers for any holiday or season! Making this creation very versatile!

Take a little time to enjoy
and
Happy Crafting!

Tuesday, August 20, 2024

How to Make a Quick and Easy Ribbon Gift Bag


With the holiday and gift giving season upon us, here's a quick and super easy way to make a gift bag out of ribbon! You know a handcrafted giftbag offers a personal touch to gift giving and makes the gift that more special! And the best part, once you know how to make this lovely no-sew giftbag, you'll be making them throughout the year for those special occasions! All you need is any type of four inch wide decorative wired ribbon and fabric glue! It's a pretty simple design that comes together in no time - especially when you top the bag off with a beautiful Bowdabra bow! 

Supplies:

Begin by cutting one strip of 4"wide wired ribbon, 16" long and two strips, 6" long. I am making a gift bag approximately 6" tall. To get to this measurement of the longer strip at 16 inches, take the width of the ribbon (4") and subtract it from the length (16") to get 12". Divide by 2 (short sides) to get 6 inches for the height. You can use this formula to make any height for a gift bag.

Once you have the lengths of the ribbon lined up, place the longer strip in between the two shorter strips. Fold over (1/4") the top edges on each strip and glue down, making sure the lengths are even. Also fold down and glue together the bottom edge of the longer strip (not shown).
Begin adding glue along one edge of the shorter strip and one edge of the longer strip, stopping where the shorter strip ends and .  .  .
press edges together to bond. Let dry.

Once that side has bonded together, continue adding glue to the next side of the short strip edge to the longer strip edge and .  .  .
bond together.

Make sure to add glue in the corners and press firmly together. Continue to the third side, moving around the short strip adding glue to its' edge and .  .  .


then the long strip edge, to bond the two pieces together.


Be sure to go around all three sides, pressing together, making sure all the edges are glued together, especially the corners. Add additional glue if needed.


Repeat the steps to glue on the last strip, starting at the top side edge and then the bottom and finally the side to connect all the edges - pressing the edges together. Let dry.
To make the handles, cut two strips of ribbon, 1/2" wide and 8" long. Lay on work surface. Cut two cording pieces 12" long. Lay ends of one cord on top of one ribbon strip in a horseshoe shape. Add glue along strip and under cord ends. Add additional glue on top of the cord ends that are on the ribbon strip.


Fold ribbon strip over the cord ends, matching edges and pressing together to secure.

Use clamps to hold cords in place while drying.
Once the handle strips are dry, add glue to the back of the each strip, one at a time, and attach each one to the front and back inside top of bag. Clamp in place and let dry.


To make the bow:
Cut an 18″ piece of Bowdabra bow wire, folding in half and placing down into the Mini Bowdabra, tucking ends under. Then cut a strip of wired ribbon 12" long. Dovetail the ends by folding each end together and cutting at an angle from the end up to the fold at an angle.


Then take the 12″ strip of ribbon and pinch the ribbon in the middle and insert down into the Mini Bowdabra for the bow tails.


Next, pinch the end of the ribbon on the roll placing it down into the Mini Bowdabra.
                           
Create a loop by folding over the ribbon at the 3″ mark on the Bowdabra measuring tool. Twist the ribbon down into the Mini Bowdabra smoothing the ribbon out.
On the opposite side, fold over the ribbon at the 3″ mark creating another loop, twisting the ribbon down into the Mini Bowdabra. Leave about two inches of ribbon for the finish center and cut off ribbon.
Use the Mini Bowdabra wand to crunch down the bow.
While the bow is still in the Mini Bowdabra, thread the two loose ends of the bow wire through the loop, pulling tightly while gently pulling the bow out.
Take the end of the ribbon in the center over the bow wire, tucking under into a decorative knot for a finished look! 
Attach the bow to the top center of the ribbon gift bag, gluing in place. Fluff the bow for a fabulous designer look!

Take a little time to enjoy
and
Happy Crafting!