Showing posts with label Decoupage. Show all posts

Saturday, September 23, 2023

Transform a Tissue Box Cover


I sneeze all the time. I don't know what sets me off, but I have Kleenex tissue boxes all over the house just in case I have to sneeze. Once I get started, I can sneeze several times before it stops. It doesn't matter where I am - the bedroom, greatroom  or kitchen. If I could put a tissue box in the shower, I would, lol!

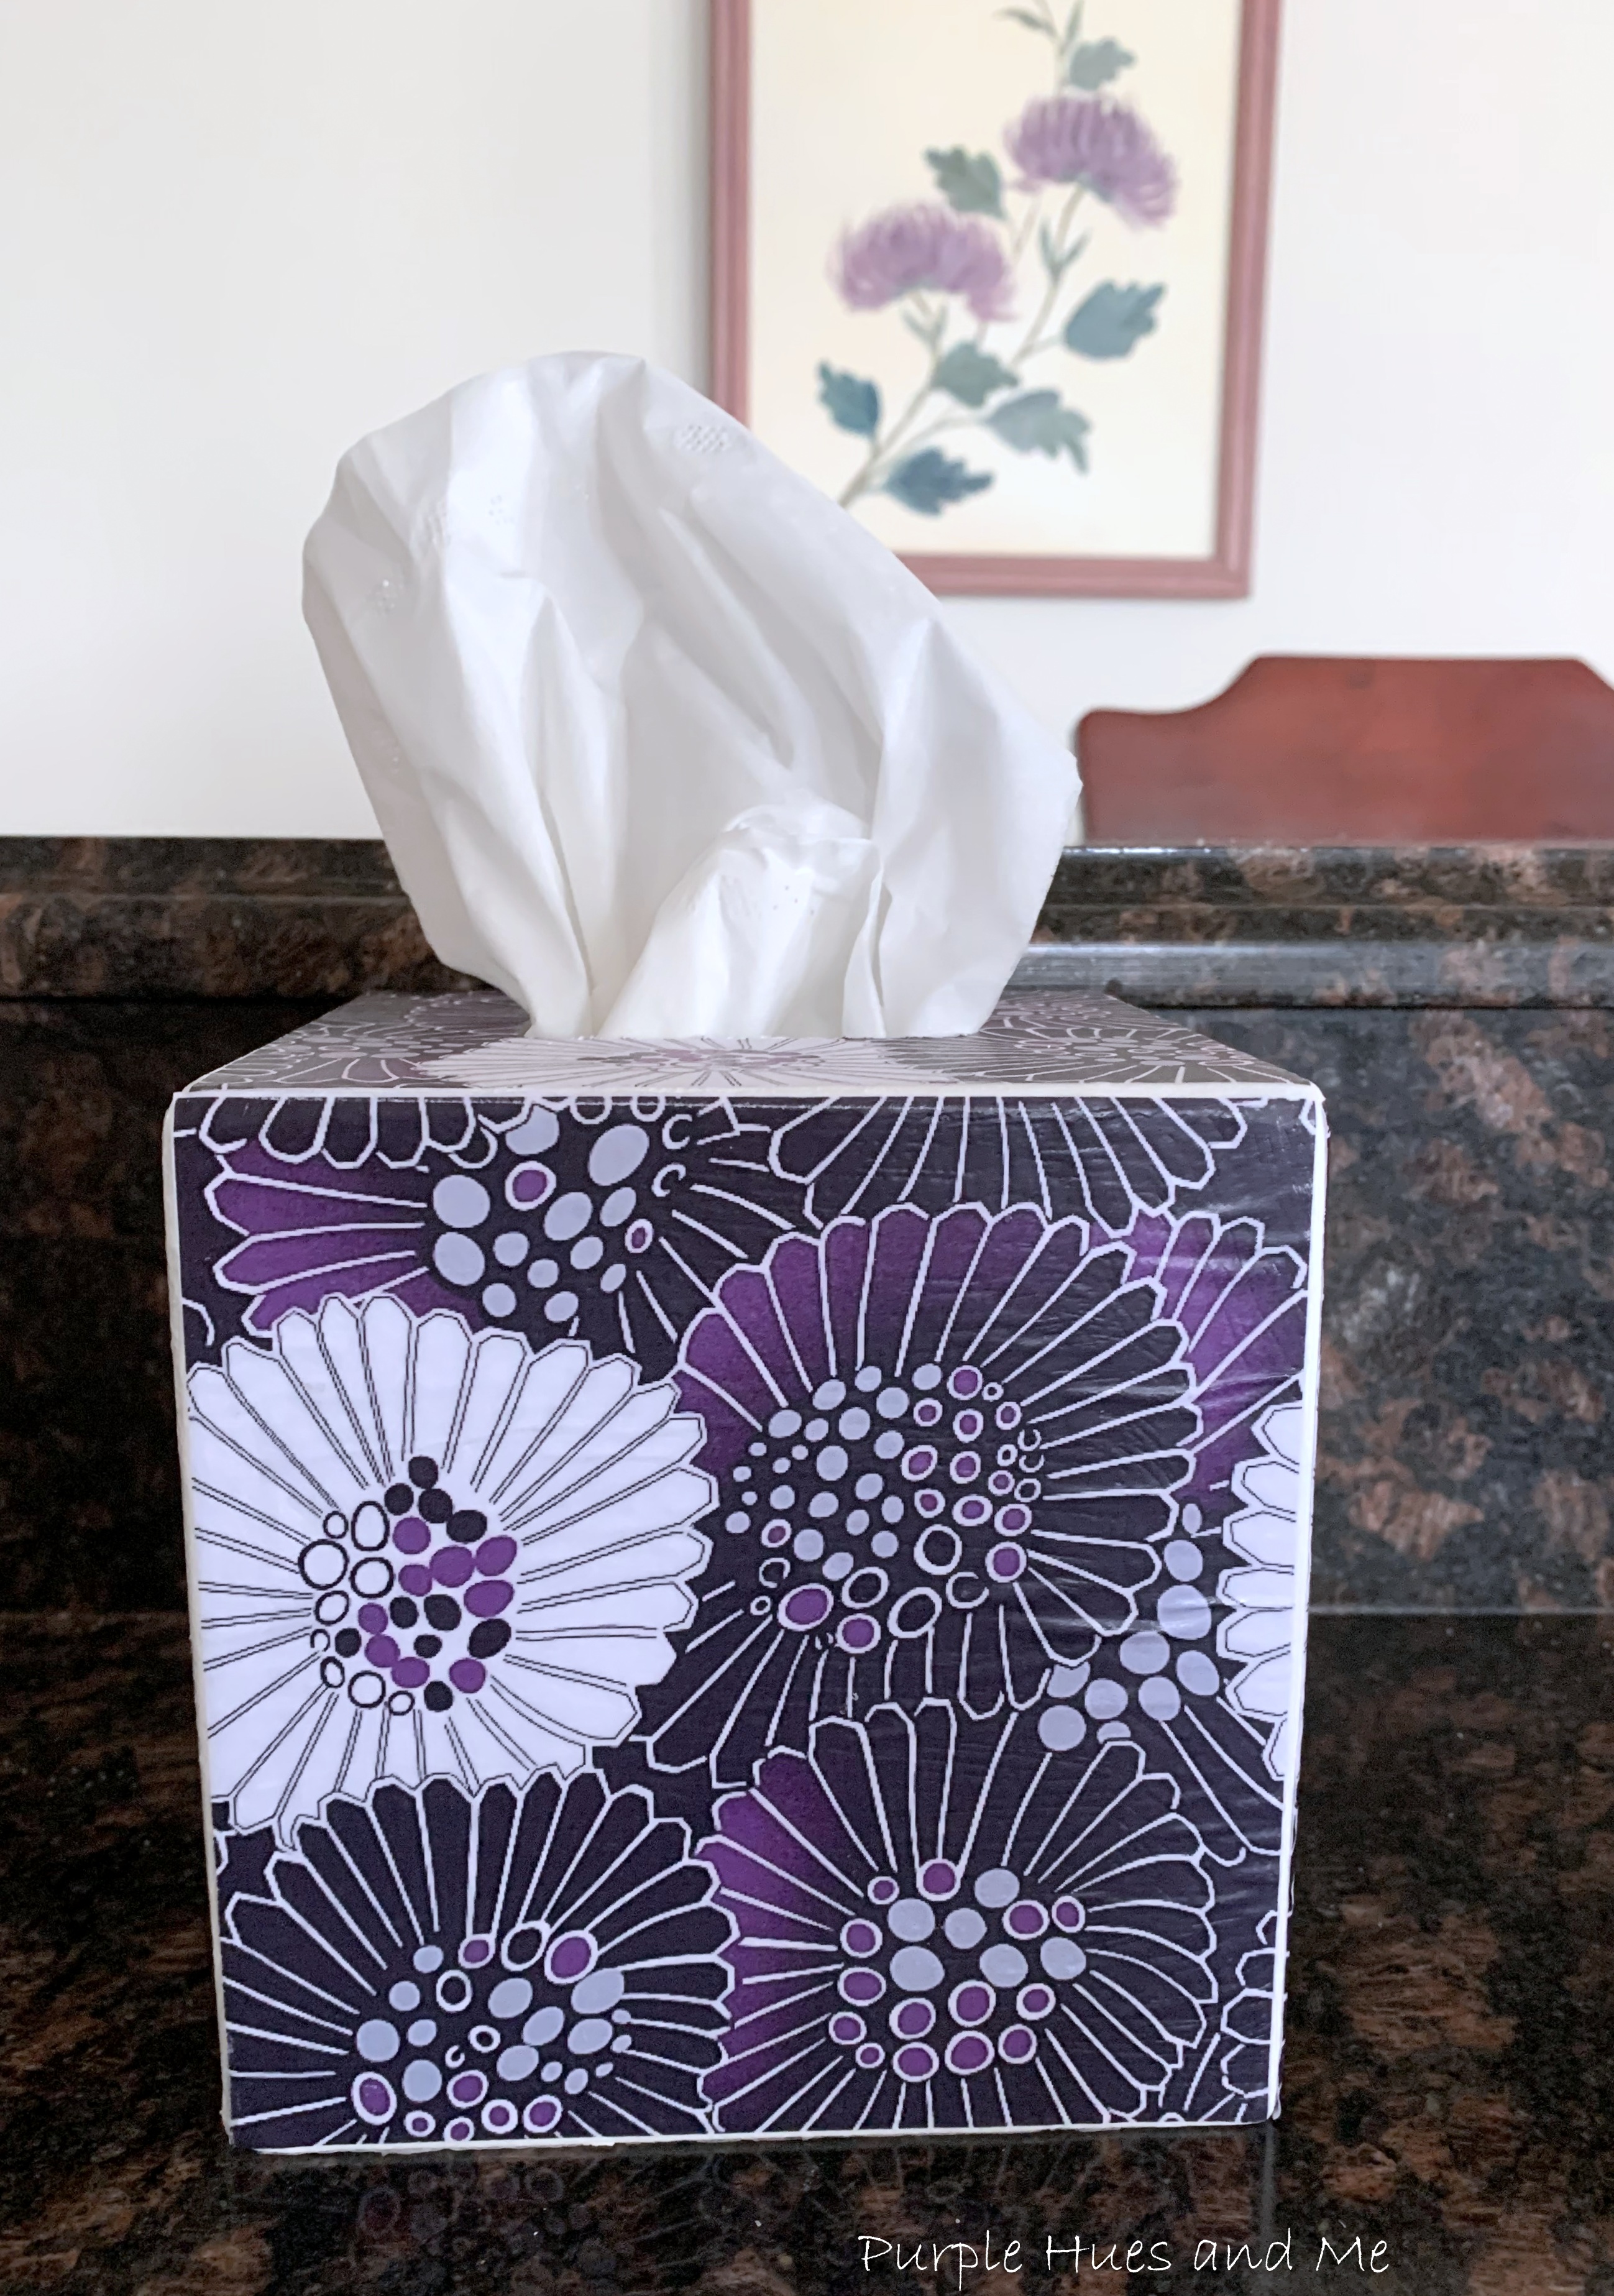
I must say that I am very particular about how the store bought tissue boxes are decorated. I can't buy just any design color! I'm always on the lookout for ones decorated with a bit of purple or more and sometimes that's hard to find. So I have to "settle" for whatever is out there. I've always said to myself, I need to make my own tissue box covers, but I never did - until now!  

I was in a Goodwill and saw a plain old gray tissue box cover. It was tagged at $3 and thought, now is the time - so I bought it along with a couple of other items I might upcycle in the future. 

When I got home, I looked online at Michaels and found an unfinished wood tissue box cover for $6.99.  Hobby Lobby didn't have any, so three dollars was quite the bargain - just in time for this month's 'Do It Over' Designers Blog Hop!

The "Do It Over Designers" is a group of creative bloggers who love to recycle/upcycle/ DIY, hosted by Anne @The Apple Street Cottage. It happens the 4th Saturday of every other month and it's all about taking something old and/or unused and 'doing it over' into something new. Anything from fabric, old dishes, and decor, to dressers and hutches. Items found in closets, cabinets, barns, garages, yard sales, thrift stores, you name it! 


You won't believe how easy it was to transform the thrift store tissue box cover!

Supplies Used:
  • Wood tissue box cover
  • Tape measure or ruler.
  • Laser printed design/scissors
  • White acrylic paint/sponge brush
  • Matte Mod Podge/paint brush
  • Parchment paper
  • Clear plastic bag (Ziplock) 
  • Craft knife
  • Mod Podge Spray Acrylic Sealer

Let's begin by making sure the wood surface of the tissue box is clean and free of any dirt, grime or oils.  It's best to use a damp cloth to do this. You don't want to soak the wood with water or cleaning solution. They might cause the wood to swell. Once the surface is cleaned and dry, use a tape measure or ruler to measure the tissue box cover. I measured it at 5.5" on all five (top included) sides. Then I looked online for a purple print design that I liked which I copied onto WORD using the 5.5" measurements and printed it out using my laser printer.

Once the first design sheet was printed, I cut it out to see how it would look on the tissue box cover. Perfect! Then printed out four more copies to cut out. I planned to put this tissue box cover in my kitchen, especially since my kitchen cabinets are white.

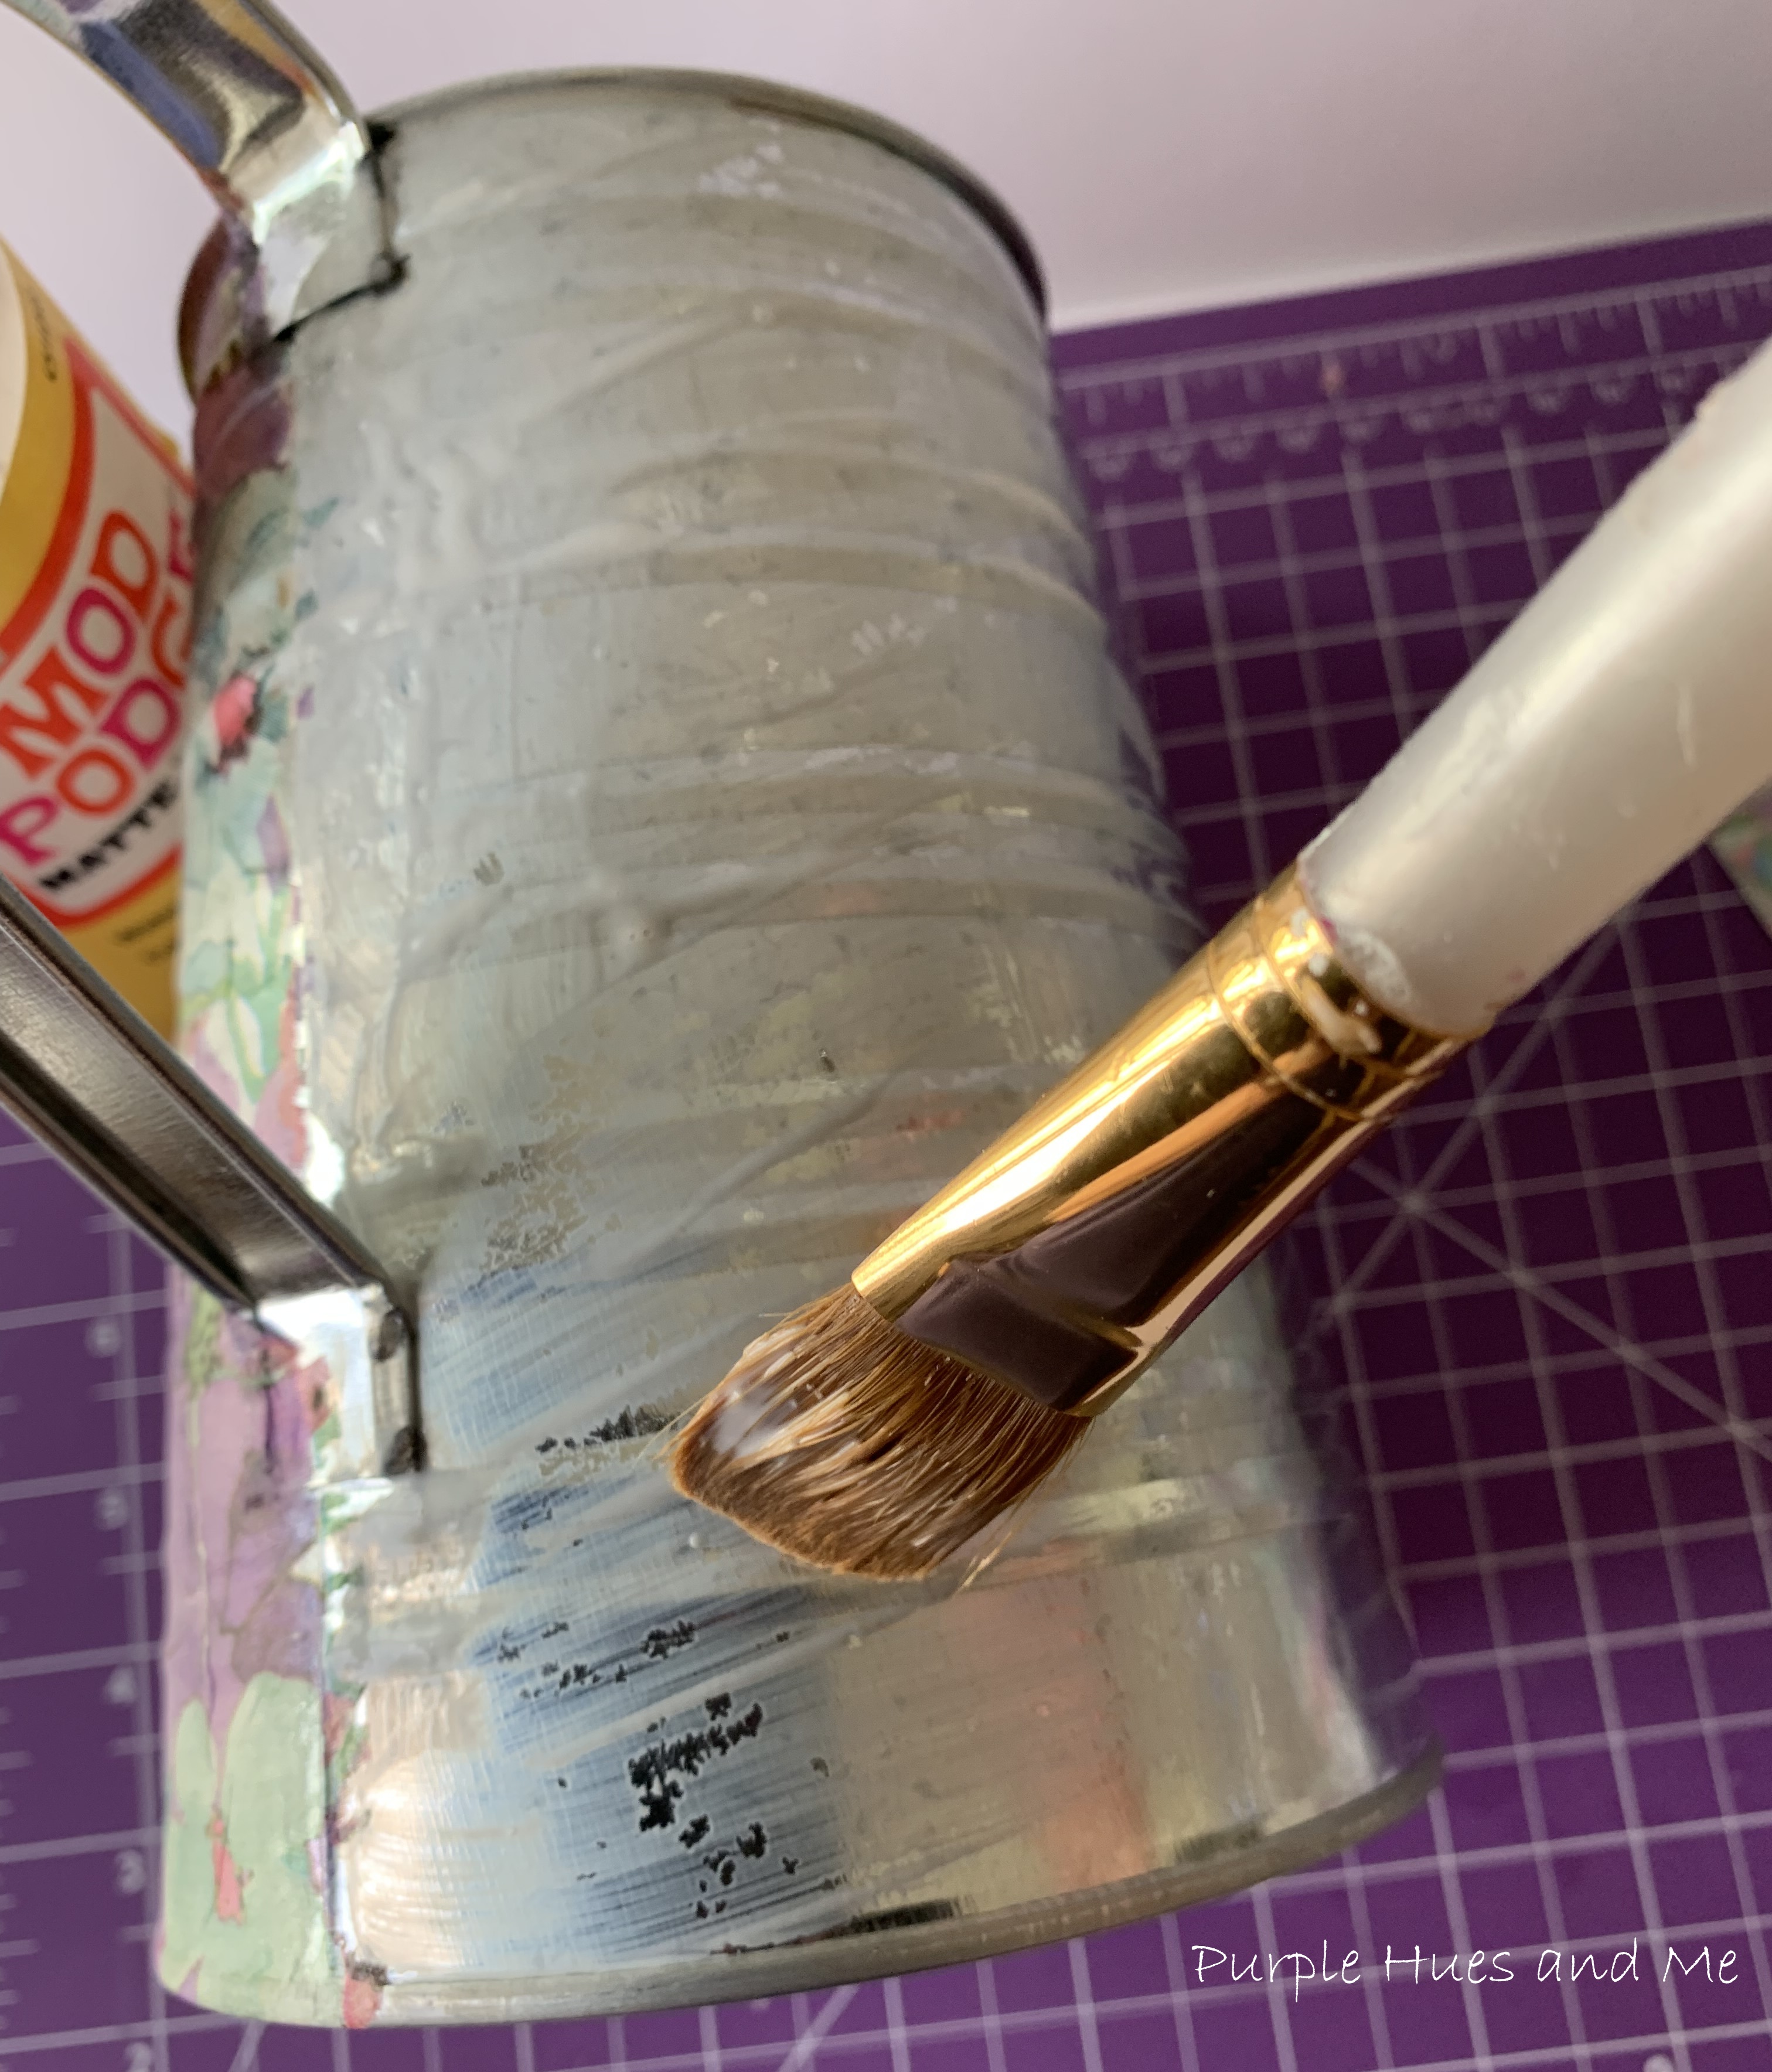
The next step is to place a sheet of parchment down on your work surface and paint the box with a couple coats of white acrylic paint, letting it dry between coats.

Once the acrylic paint is thoroughly dry, using a paint brush, begin applying a generous layer of Matte Mod Podge (for a flat finish) on the surface of the tissue box - one side at a time. 

Gently lay one of the square sheets down on one side of the tissue box cover, starting in one corner and moving toward the opposite corner, down and over until that side is covered with the design sheet. Repeat for the other three sides matching the flower design.
Use plastic food wrap to smooth out the paper and prevent wrinkles. Let dry.

Once all four sides are completely dry, begin adding Mod Podge over the design - 
on all four sides.
Let dry completely or overnight.
I love how the corners and edges of the tissue box cover are showing the painted white edges of the tissue box cover - especially since my kitchen cabinets are white.
For the top, apply a generous layer of Mod Podge and lay the final design sheet on top.  
Smoothing out, as before. Pay close attention to smoothing the paper down and around the opening - making sure it's sealed down.
Once the top design sheet is completely dry, begin cutting out the opening using a craft knife.
How cool does this look!
And finally, take the tissue box cover outside to apply Mod Podge Spray Acrylic Sealer to protect the finish.

Hope you enjoyed my decoupage transformation!

Be sure to visit all of this month's creative Projects by the 

"Do It Over Designers" listed below:


Monday, April 10, 2023

Spring Fling Decoupage Watering Can

Welcome to our Monthly Blog Hop Challenge! The theme for this month is Spring Crafts/Projects! After basically being cooped up during the winter months, we all certainly welcome Spring and its' new beginnings! There is so much to be done during this time! So I'm looking through my stash to see what I can make since I vowed to use what I have in crafting this new year! I came across a watering can that I got on clearance from Hobby Lobby some time ago. Updating a watering can by creating a colorful spring look using decoupage and DT Spring Fling paper napkins is the perfect project for this challenge! A watering can is so easy to spruce up for spring! Decoupaging watering cans are quite popular. Most are painted first and then decoupaged. But I like the metal finish of a watering can and decided to leave it as is to decoupage!

But first, we need to gather the supplies to work with! 

Materials:

  • Watering Can
  • Paper napkins
  • Matte Mod Podge
  • Brush
  • Water brush pen
  • Tweezers (optional)
  • Plastic ziplock bag
  • Sanding block 
  • Outdoor Mod Podge (to seal)

The watering can must be clean and grease free! After thoroughly washing and drying the can, use an alcohol soaked cloth to wipe down to remove any residual dirt and grime. I found a pack of napkins at the Dollar Tree appropriately labeled Spring Fling - which I take to mean "an event held in spring" - and not the romantic kind, lol! I love that there are purple flowers included in the napkin design!

After opening the napkin and laying it on my work surface, I used a brush pen filled with water to outline the portion of the napkin I will use. I love how the brush pen works! Instead of dipping a regular brush in water, you simply add water to the barrel of the pen and squeeze it to wet the brush!
Then tear the water outlined portion of the napkin out and separate the plain layers from the printed one.
Any straight edges were feathered out using the tip of tweezers or your fingernail.
Next, lay the napkin design down (right side up) on the outside of the can for fit. 
Apply a layer of Matte Mod Podge onto the can surface. 
Place the napkin design on top of the MP, smoothing out from the center to edges using a sheet of plastic from a ziplock bag. Apply additional MP using a soft brush to smooth out wrinkles after using the plastic, and not before. Sometimes the napkin will lift up if you apply MP on top before using the plastic.
See, nice and smooth! 

As you move around the can, continue to apply the mod podge and .  .  .
napkins in sections and .  .  .
using the plastic to remove wrinkles.
Once dry, use a sanding block to remove excess napkin on top and bottom edges.
I elected not to add napkins to the spout and handle. I love the exposed look of metal.
Since the watering can may come in contact with water and or outside, once dry, apply Outdoor Mod Podge to seal.
I love how the shiny finish on the metal watering can comes through the decoupaged napkin!
 The perfect addition to your Spring decor!
Which can be used as a vase or decorative watering can!
For this project, I've joined a group of bloggers to bring you a themed blog hop challenge on the 2nd Monday of the month, hosted by Beverly @Across the Blvd. This month, it's all about Spring Crafts!


Be sure to check out all the awesome bloggers and their projects listed below:

Beverly | Across the Blvd | Spring Napkins Made with Cricut

Gail | Purple Hues and Me | Spring Fling Decoupage Watering Can

Marci | Stone Cottage Adventures | Tropical Cosmetic Bag

Allyson | Southern Sunflowers Spring Door Hanger Dollar Tree DIY Idea

Niki | Life as as LEO Wife | Dollar Tree Spring Floral Arrangement

T'onna | Sew Crafty Crochet | Lilac Crochet Neckerchief


Tuesday, September 15, 2020

Decoupage Jack O Lantern Wood Cutout

It's time again for our monthly Pinterest Challenge Blog Hop, hosted by Erlene @My PinterventuresThe purpose of the Pinterest Challenge is to motivate us to not just pin, but to make it happen! This month's challenge is to create a project using a pumpkin or Halloween theme! I think I've nailed this for both pumpkin and Halloween! 

There are so many projects on Pinterest highlighting pumpkins and Halloween! I'm always attracted to decoupage projects, which I love - checking out how others decoupage and the techniques they use, so I was drawn to this pin  because it uses ribbon (fabric) to decoupage the wood pumpkin cutout. I had gotten a jack-o-lantern cutout from the Dollar Tree either last year or the year before. It's just been sitting in my stash with me wondering how I might use it. Seeing this pin help me decide what to make with my jack-o-lantern! Plus, I couldn't believe finding buffalo check fabric in the new craft section at the Dollar Tree! Imagine how surprised and thrilled I was!

Supplies Used:
  • Jack-O'-Lantern Wood Cutout
  • Buffalo Plaid Fabric
  • Mod Podge-Matte
  • White Acrylic Paint/brush
  • Scissors/Utility craft knife
  • Bowdabra
  • Embellishments
  • Hot glue gun
Let's begin by painting the unfinished wood .  .  . 
with white acrylic paint and let dry.
Next, cover the painted side with a layer of Mod Podge.
Then smooth the fabric over the Mod Podge covered jack-o'-lantern and then cover the right side of fabric with an additional layer of Mod Podge.
Once the fabric has dried, begin cutting off the excess following the outline of the wood . .  .
around the entire pumpkin, including the stem.
Use a utility craft knife to cut out the eyes, nose and mouth.
How cute is this!
To make ribbon strips for a bow, apply Mod Podge to the wrong side of the fabric to stiffen. Once the fabric has dried, cut into strips and  .  .  .
create bows for embellishment using the Bowdabra.
Then attach the bows to the stem with hot glue .  .  .
adding additional embellishments of leaves and sunflowers for a lovely Fall hanger.
For more Pinterest inspired projects from this month's Pinterest Challenge hosts, check out the links below ↓

Now, let's see what the other hosts have created ⇓⇓

You are invited to the Inlinkz link party!

Click here to enter