Showing posts with label pinterest challenge. Show all posts

Tuesday, November 1, 2022

Glitter Foam Christmas Tree Ornament


 Eva Foam sheets is one of my favorite craft mediums. I love using it because you can twist, pull and even heat it to form amazing craft items. Just take a look at a couple of  Christmas decorations I made several years ago here and here. And I love making flowers of eva foam, too! 

There are lots and lots of diy glitter foam ornaments on Pinterest. I love using glitter foam sheets, as seen here and here. It's such a versatile and easy material to work with, that's why I chose it to make a darling eva foam tree ornament similar to one I first saw on Pinterest for this month's Christmas Pinterest Challenge, hosted by Julie @Sum of Their StoriesThe purpose of this Pinterest Challenge is to motivate all of us to create a project that a) is inspired by a pin on one of our Pinterest boards and b) have some sort of a sustainable element to it. This could be an upcycling or recycling element, or something that reduces waste, uses leftovers, etc.


Did you know that eva foam is used in a range of everyday products, "from the soles of your athletic shoes to your flip-flops." It can also be found in certain adhesives, packaging, medical equipment, and plastics. And a "diverse range of industries uses EVA-based materials in their products, including: athletics, automobile manufacturers, construction, electronics, footwear, healthcare, leisure and recreation." It's basically everywhere.

Eva foam is recyclable but it takes special equipment to recycle it. Recycling of EVA foam is not only environmentally friendly, but also help businesses to control and reduce production costs. Which is a good thing! 

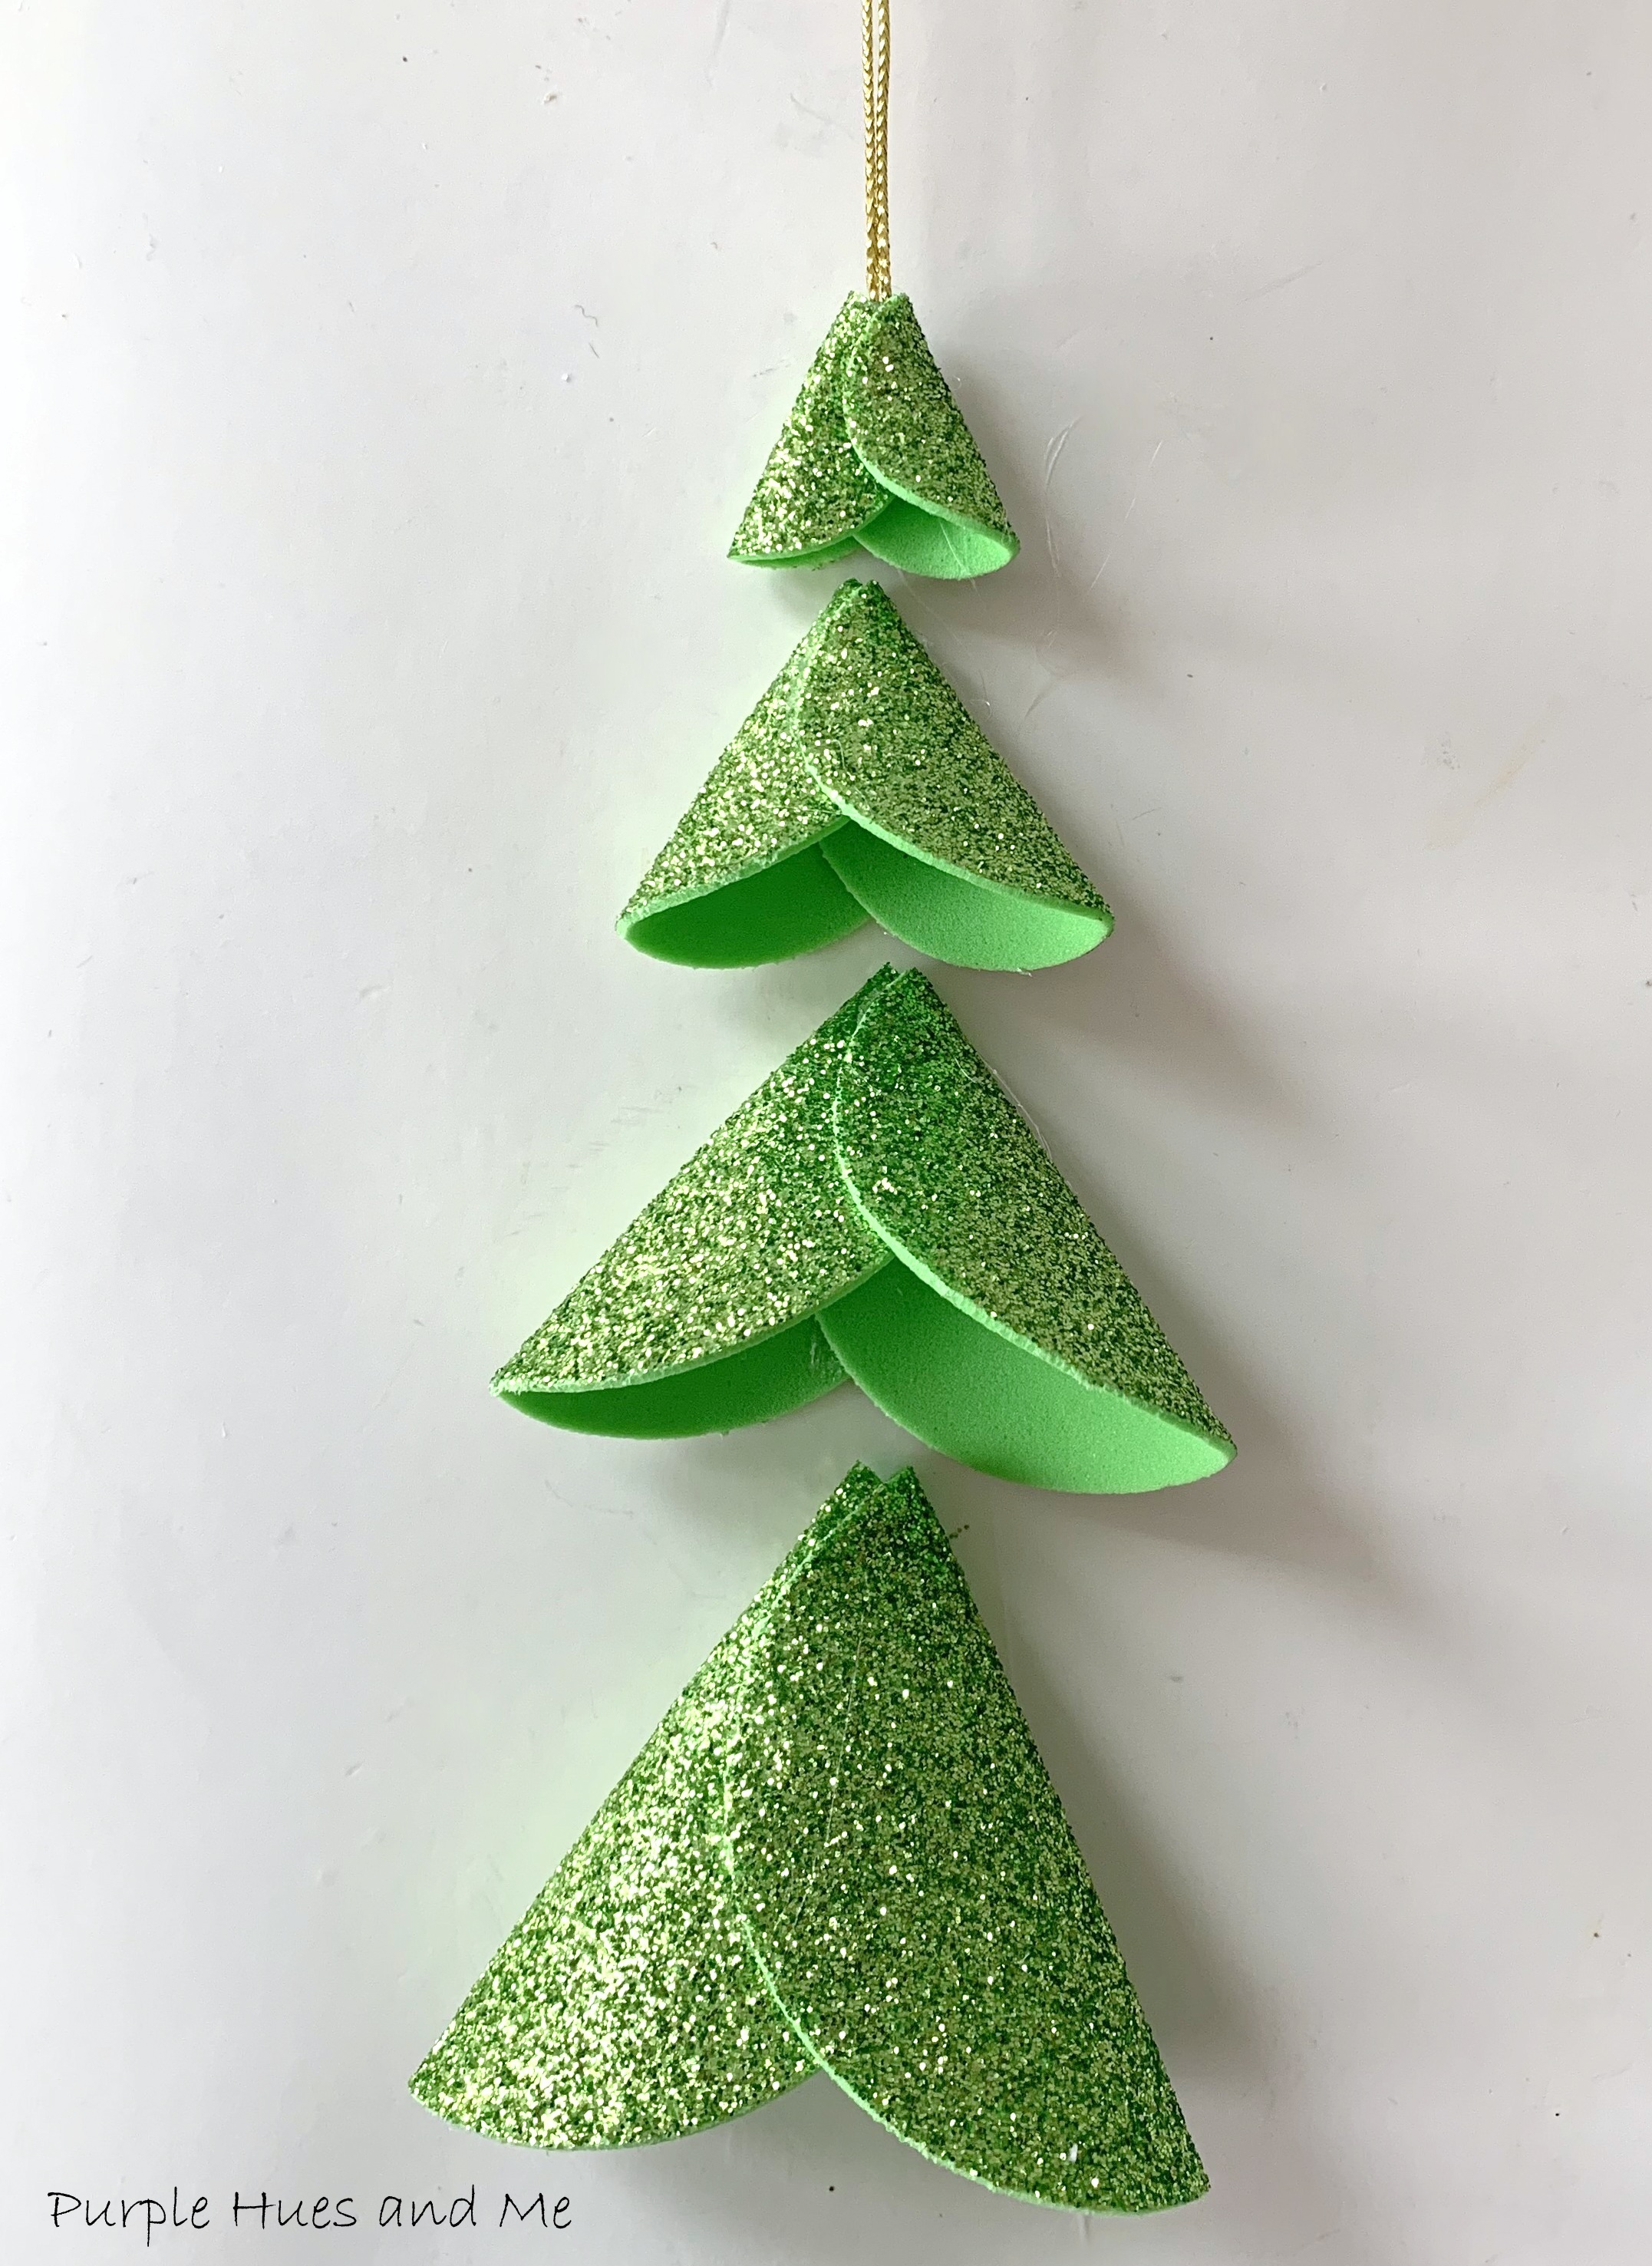
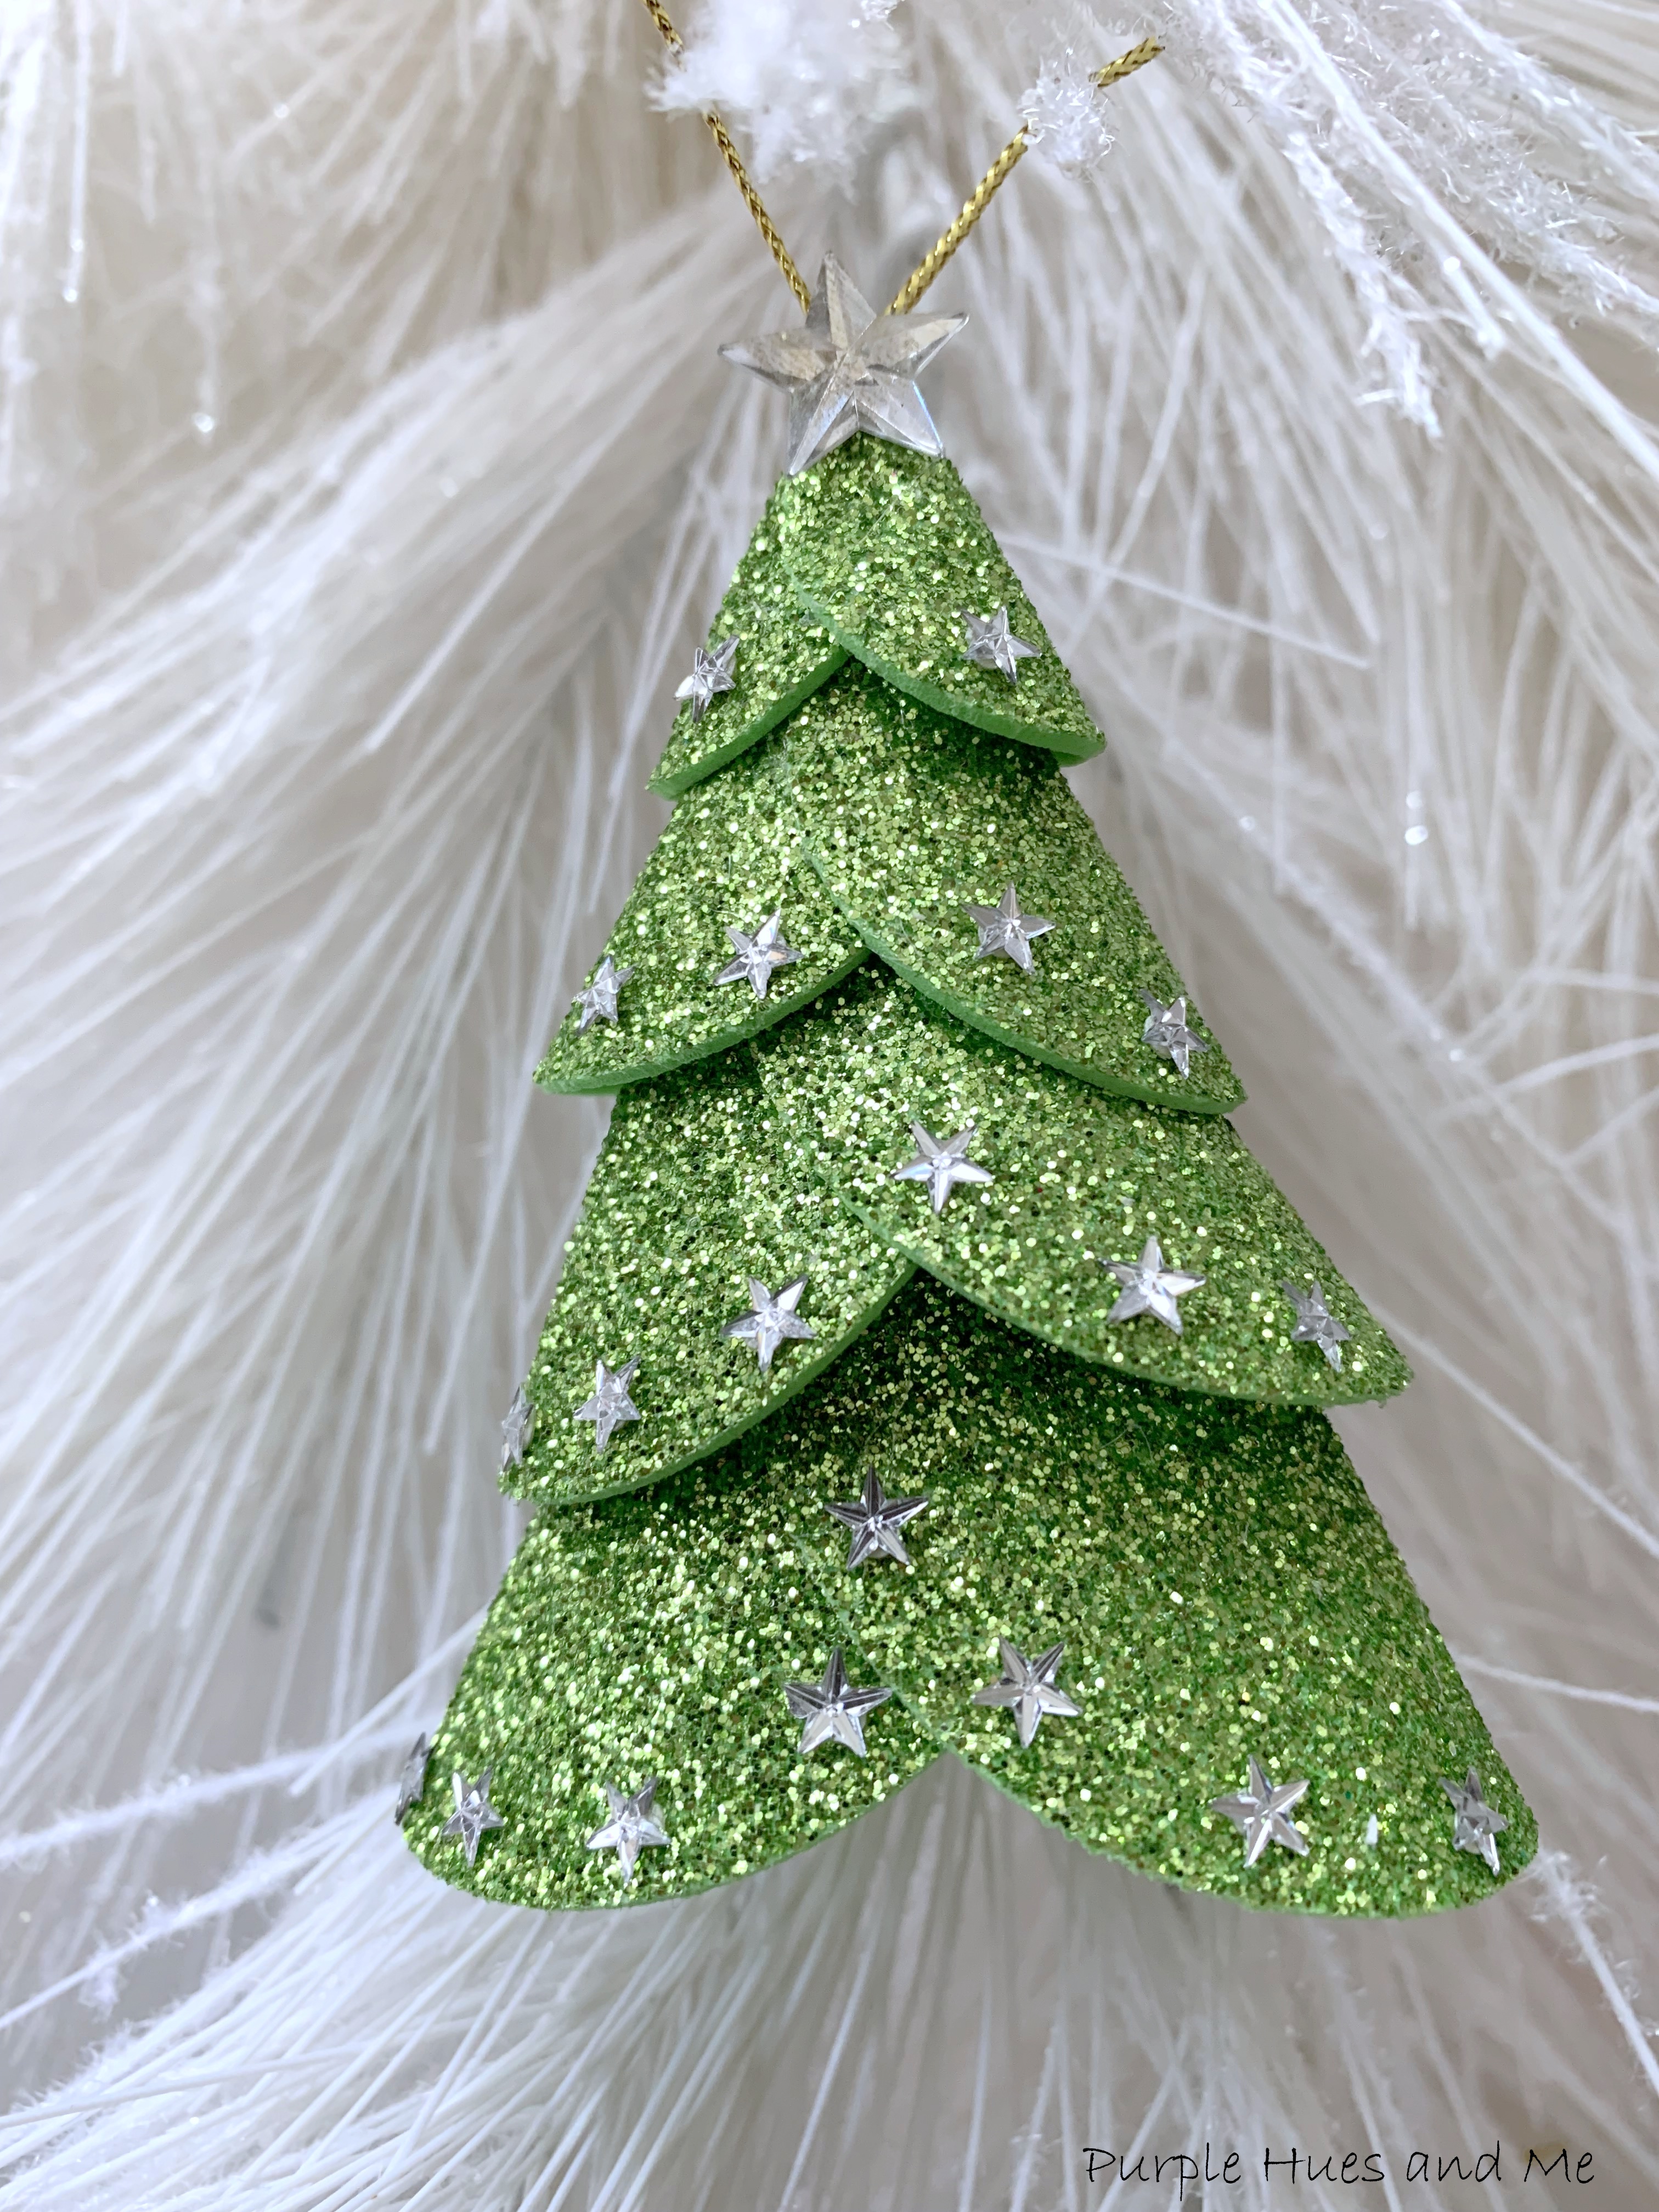
So let's get started with this fun and easy to make glitter foam Christmas tree ornament! 

Materials:
  • Glitter eva foam sheets
  • Compass or circle punches
  • Scissors
  • Hot glue gun
  • Bowdabra bow wire/twine (hanger)
  • Embellishments

How To:
To begin, I actually had circle punches to punch out two of each size starting at one inch, and increasing in half inch increments - 1", 1.5", 2" and 2.5 inches. And if you don't have circle punches, you can use a compass to draw two of each size and cut out. If you don't have a compass, look online for free circle templates in those sizes or just improvise using graduated round containers. 

Once the circles are cut out, fold each one in half.

Then take the two smallest circles and place a dab of hot glue in the upper right corner of one of the circles and .  .  .

place the left hand side of the second circle on top of the dab of glue to secure, making sure the circles are evenly placed. Fold a 9" strip of bow wire or twine in half, placing the ends in the center of the circles. Place a dab of hot glue on top and .  .  .            
close the left side of the circle. Then place a dab of glue along the top right side of the circle .  .  .
and close to form a cone shape.

Repeat gluing the circles together to form a cone shape for each of the three remaining sets of circles.  


Once all the circle cone shapes are formed .  .  .

begin adding glue to the top of the next smaller size cone .  .  .
and insert into the smallest cone shape (with hanger).

Glue the other cones on the top tip, one inside of the other, in ascending order of size to make the Glitter Foam Christmas Tree Ornament.

And finally, glue on embellishments like tiny rhinestone stars to decorate the glitter foam tree ornament.
Wouldn't it look pretty with a tree filled with these!
The fun thing about making this glitter foam Christmas tree, the size can vary just by using different size circles - from a small ornament to a decorative centerpiece! Imagine how cool that would be! 

Now, it's time to meet the other Sustainable Pinterest Challenge participants and their awesome Christmas projects:

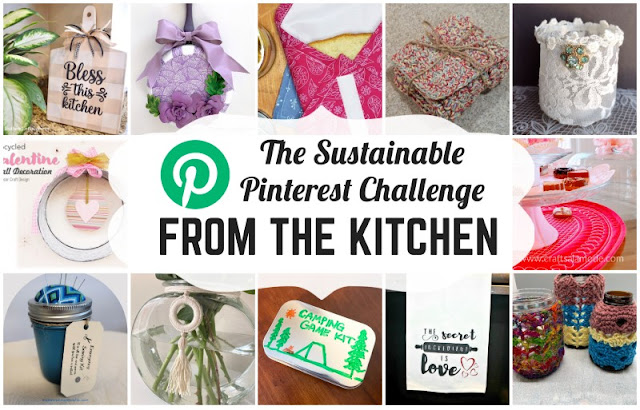
Julie | Sum of their Stories - How to Make Festive Gift Tags from Old Business Cards 
Gail | Purple Hues and Me -  Glitter Foam Christmas Tree Ornament
Julie | Treasures Made From Yarn - Knitted Gift Bag
T’onna | Sew Crafty Crochet - Easy Upcycled Crochet Christmas
Niki | Life as a LEO Wife - Christmas Card Holder
Mel | Decor Craft Design - DIY Christmas Can Holder
Christine | Christine’s Crafts - Easy Kids Crafts Christmas Tree Decoration
Vicky | Vicky Myers Creations - DIY Candy Christmas Decoration
Donna | Modern on Monticello - DIY Toilet Roll Gnomes
Allyson | Southern Sunflowers - Christmas Burlap and Denim Wreath
Ann | The Apple Street Cottage - Vintage Satin Ornament
Jo | A Rose Tinted World - 
How to Make a Toilet Roll DIY Advent Calendar

You are invited to the Inlinkz link party!

Click here to enter

Tuesday, February 1, 2022

Upcycle Fry Pan DIY

Hi everybody! Welcome! It's the first Tuesday of the month and time for our Sustainable Pinterest Challenge  hosted by Julie @ Sum of Their Stories!   

The purpose of this Pinterest Challenge is to motivate all of us to create a project that a) is inspired by a pin on one of our Pinterest boards and b) have some sort of a sustainable element to it. This could be an upcycling or recycling element, or something that reduces waste, uses leftovers, etc. This month's challenge is all about sustainable projects From the Kitchen! This is the pin that inspired me.

 I loved my pretty, speckled purple fry pan! It was part of a seventeen piece set that I purchased at a Paula Deen store while on vacation in Myrtle beach a number of years ago!


But the non-stick Teflon began to bubble and then peel and no longer safe to use. I'm not sure if my recycling center would take it because of the many materials it is made of - especially the non-stick coating. That would have to be removed first before dismantling the pan for recycling. And special equipment is required to do that!
So instead of throwing it in the trash and ending up in a landfill destined to waste away - probably taking more than most lifetimes to do, plus causing lots of environmental problems, I  decided to upcycle my favorite fry pan by decoupaging it, and then decorating it with handmade soda can flowers! Resulting in a pretty decorative kitchen item - perfect in any kitchen decor - especially mine, lol!  
Materials used:
  • Fry pan
  • De-greaser/alcohol
  • Chalk paint/sponge/brush
  • Paper/pencil/scissors for template
  • Decorative napkins
  • Matte Mod Podge
  • Washi tape
  • Aluminum can flowers and leaves
  • Utility knife/craft knife
  • Hot glue gun/glue sticks
  • Faux leather ribbon
Instructions:
Let's begin by cleaning the fry pan with a de-greaser or wipe down with alcohol after cleaning with dish detergent and water to remove grease and cook-on stains. Next, apply chalk paint to bottom and sides. Two or three coats are needed! Let dry.

The handle was in excellent condition and left untouched. It's a beautiful shade of purple! 
The bottom of the pan had a clearly defined round area to decoupage so a paper template was made using a pencil to draw around the area .  .  .
and then used to draw on and cut-out a decorative napkin to decoupage.
Once the napkin was cut-out, the white layers of the napkin were separated from the print backing.
Next, the printed napkin needed to be glued down in small sections since it is thin, delicate and easily tears when wet with mod podge. To do this, position the printed portion of napkin on the pan and lift up an end side to lightly apply mod podge over a small area of the pan. Carefully, replace napkin on the decoupage glue and lightly pat the napkin down smoothing out as you pat.
Continue applying mod podge in small sections and smoothing napkin out .  .  .
until the entire napkin is applied to pan. Let dry. Then apply a top layer of mod podge over the napkin to seal once it's completely dry. 
I couldn't decide how to decorate the side of the pan - whether to paint stripes or dots, etc. But took the easy way by using an old roll of washi tape that I found in my stash to apply strips along the pan side.
Sorry about the lighting - different times of day affects the coloring.
Amazingly, the colors and design of the washi tape match perfectly with the decoupage napkin.
Next, I wanted to add dimension to the pan by using a couple of leftover aluminum can flowers and leaves I had made previously. You can find the tutorial here.


And finally, toping the pan below the handle with a handmade leather-like bow!
How cute is this!

Be sure to visit each participant listed below to see their 
From the Kitchen Inspirations!

You are invited to the Inlinkz link party!

Click here to enter


Tuesday, November 16, 2021

Gnome Wine Bottle Gift Wrap


Welcome to the November Pinterest Challenge Blog Hop hosted by Alexandra @ EyeLoveKnots  If you aren't familiar with the Pinterest Challenge, it's a monthly event that challenges us to not just be pin hoarders, but to make it happen by creating a few of the pins we love! This month's challenge is Creative Gift Wrap!

Gnomes are so trendy and popular right now. You see them everywhere! And it's very fashionable to give wine as hostess gifts during any season but especially for the holidays. But who wants to show up with a plain wine bottle for a festive occasion?  Why not present something you've made that would be the talk of the party and a wonderful conversation piece just by combining the two trends -  by gifting a wrap a wine bottle as a gnome! 

A gnome wine bottle gift wrap is the perfect solution to a plain wine bottle gift and only takes about 10 minute to put together using a pair of socks. I was inspired to make one by this pin. It's a fun way to give two gifts in one - a pair of socks, one sock for the gnome hat while tucking the second sock into the sock hat for support, and of course, the wine!

Materials Needed:

·         Thick Christmas socks w/cuffs

·         A bottle of wine

·         DT Microfiber duster/mop pad

·         Round wood ball

·         Hot glue 

·         Scissors

·         Rubber band


1. Begin by cutting the backing of the microfiber pad (fur) to the width of your bottle, shaping into a beard with scissors.

2. Glue the fur to the bottle using a hot glue gun - holding it in place until glue dries.

3.  Stuff one sock with the other sock rolled up.


4.  Gather the tip of the stuffed sock and wrap a rubber band around the sock tip creating a ball. Adjust sock to shape and curve slightly at the top of the bottle.

5. Then pull the sock down over the neck of the wine bottle stopping at the beginning of the beard - making sure the heel is in the back.

6.  Glue wood ball onto the center of the fur for the nose. 

How cute is this! And created in ten minutes or less!

For more Pinterest inspired projects from this month's Pinterest Challenge hosts, check out the links below ↓

You are invited to the Inlinkz link party!

Click here to enter