Saturday, July 22, 2023

DIY Candleholders from Thriftstore Glassware


Welcome to this month's "Do It Over" DesignersIn case you didn't know, the "Do It Over Designers" is a group of talented bloggers who love to recycle/upcycle/ DIY, hosted by Anne @The Apple Street Cottage. It happens the 4th Saturday of every other month and it's all about taking something old and/or unused and 'doing it over' into something new. Anything from fabric, old dishes, and decor, to dressers and hutches. Items found in closets, cabinets, barns, garages, yard sales, thrift stores, you name it! 

Disclosure I am a participant in the Amazon Services LLC Associates Program, an affiliate advertising program designed to provide a means for us to earn fees by linking to Amazon.com and affiliated sites, this post may contain links. I may receive a very small commission at no cost to you! The affiliate money I earn helps pay my crafting expenses. Thanks so much for your support!

Usually there is no theme and we're on our own to choose whatever we want to "do over!" But once again after the success of May's "Do Over," Anne decided to switch it up again for July and asked us to do over anything glass

For 2023, I made a resolution to use what I had in my stash to create my craft projects! But after looking around my home, I couldn't find any type of glass I wanted to mess up, I mean use, to make something out of. So one day after shopping at the grocery store, I ventured into the Goodwill store which was right next door to look around to see what I could find. I hadn't been in a thrift store since before the pandemic started and boy did I find some goodies! 

Check out this haul! 
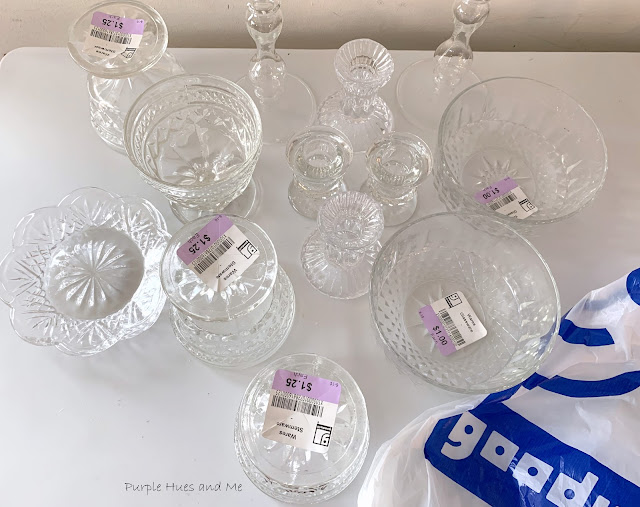
Can you imagine all the different ways you can combine these adorable pieces of glassware such as candy bowls, canape plates and small candleholders, etc. into unique and one of a kind candleholders! Perfect for gift giving, housewarmings, and many other occasions, including weddings!

You won't believe how easy it is to assemble the recycled glassware using a permanent glass adhesive!

Let's begin with thoroughly washing and cleaning each glassware piece. Let dry completely.

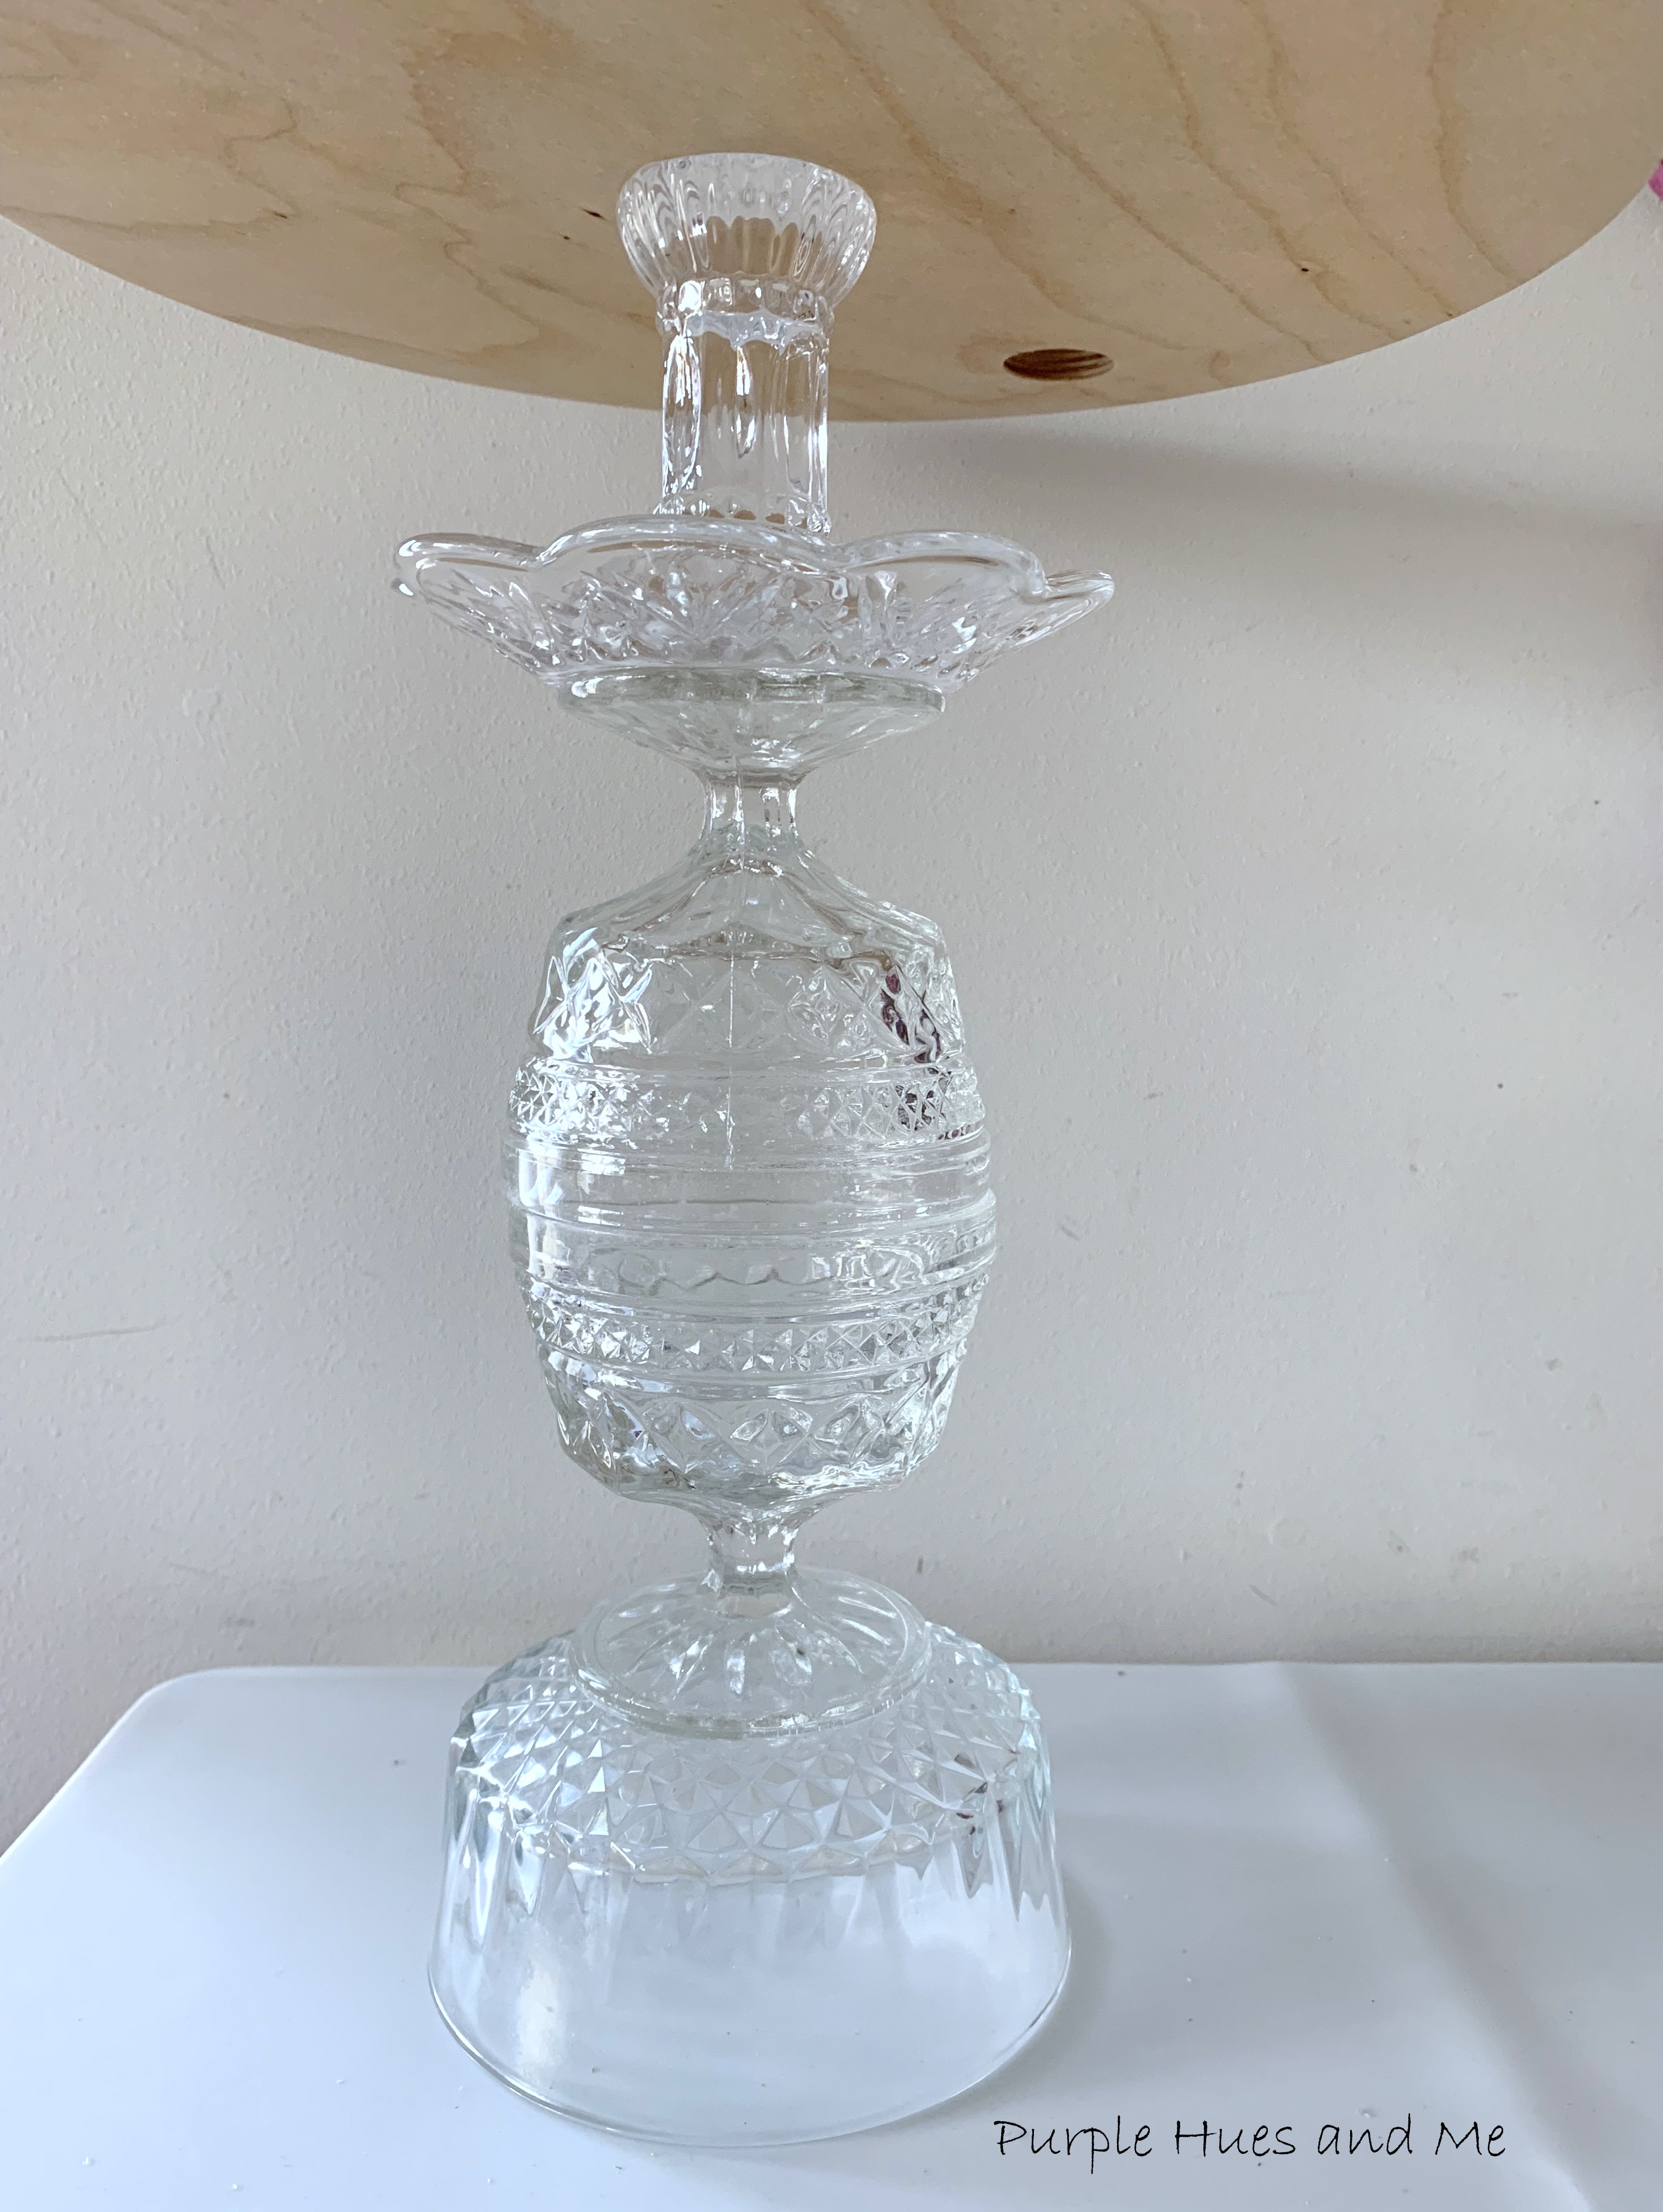
Group similar items together and play around with grouping the pieces to create a candleholder style you like. After playing around with different shapes, I settled with the following design.  Starting with an upside down bowl on the bottom. Then placing an upright sherbet dish on top. Next came another sherbet dish, only this time it's upside down. On top of the base of the sherbet dish, a canape dish is placed. And finally a small candleholder is placed on top of the canape dish. 

I'm loving this look and I hope you are, too! I'll share once it's all glued together to show you how unique this candleholder is!
First, the foot of the sherbet dish is glued to the center of the upside down bowl.  I started out using RapidFuse Adhesive which is an all purpose adhesive that "sets in 30 seconds" to glue the pieces together. 
Even though RapidFuse Adhesive is a quick drying glue, I used a wooden cutting board and a heavy glass vase to add weight to hold the pieces down while the glue dries. It's also a great way to see if the items glued together is level.

Next, applied glue to the rim of the sherbet glass and .  .  .

placed an upside down sherbet glass on top, rim to rim.

Again placing the wood board and heavy vase on top to apply pressure and to secure the pieces while drying.


For the next piece, a canape dish, I switched to Starbond Adhesive. It states that it's an instant adhesive and I like the way it flows out of the bottle, more so than RapidFuse Adhesive I applied Starbond Adhesive around the rim of the bottom of the sherbet dish.                          

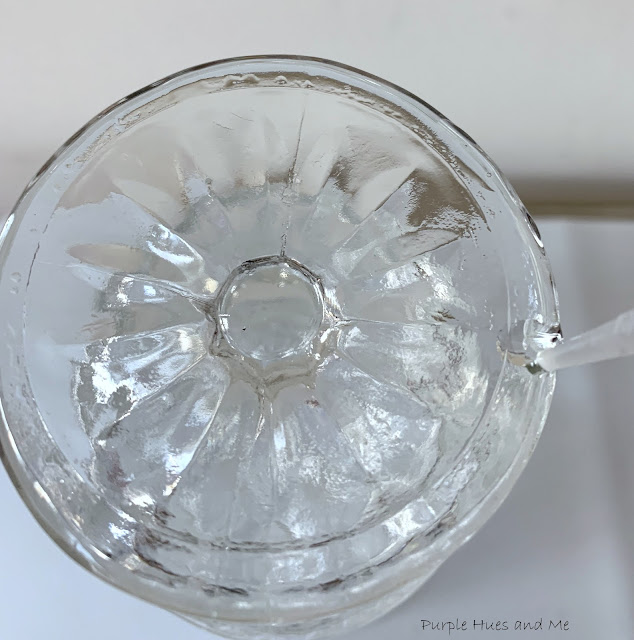
And placed the canape dish on top.

Once again placed the weights on top to secure the items together while drying.
And finally, placed adhesive around the base rim of a small candleholder and .  .  .
placed in the center of the canape dish. Then placed the usual weights on top while the adhesive dries.
Looks pretty cool, doesn't it!
And with a taper candle!

Remember I said I would share with you how unique the candleholder is?
Well, how about this:

You can use a large pillar candle by turning the candleholder upside down!
It's a dual purpose candleholder!!!!!

I had enough glassware pieces to make two candleholders!
I'm loving the ornate look!

And as an added treat, I picked up this bowl at the Goodwill the same day, too!

I hope you are inspired to make one, two or three candleholders, lol! It was a lot of fun! 

Be sure to visit all of this month's creative Glass Projects by the 
"Do It Over Designers" listed below:


Thursday, July 20, 2023

Pet Keepsake Christmas Ornament DIY


Welcome to this months' Creative Craft Hop! For the next three months, Creative Craft Hop will be hosted by Donna @Modern on Monticello who's filling in for Sara @Birdz of a Feather while Sara is dealing with  health issues.  Please keep Sara in your thoughts and prayers. And thank you Donna for keeping this awesome hop going! If you're coming over from Terrie's @Decorate and More with Tip, isn't her fluffy snowman wreath adorable!

Since it's Christmas in July,  I'm making a pet keepsake ornament for my niece, Patricia to hang on her Christmas Tree. The pet keepsake ornament is in honor of Patricia's furbaby, Xena who passed away in late June. She had cancer. Patricia and all of her family was devastated to say the least. Xena was a rescue pup and had been with Patricia and her husband for over ten years. Xena was devoted and loyal to Patricia, as well as Patricia being devoted to Xena! I was fortunate to have Xena and her family visit us in early June. I could tell by the way Xena looked at Patricia that showed me how much she loved Patricia and vice versa. There was no greater love between the two. 

A pet keepsake ornament is a great way to honor Xena during the Christmas holidays - especially one that's handmade by her aunt, Gail!
So let's get started!

Materials: 
  • Flat disc clear glass ornament (4")
  • Rice paper
  • Photos
  • Laser printer
  • Refillable watercolor brush pen 
  • Acrylic paint (white)
  • Sponge brush/paint brush
  • Parchment paper
  • Mod Podge (matte)
  • Plastic (cut open ziplock bag)
  • Modeling paste/painting knife
  • Gold rope trim
  • RapidFuse all purpose adhesive (quick dry glue)
  • Wired ribbon
  • Bowdabra bow wire
Begin with a clean clear glass disc ornament around four inches in diameter. Lay down parchment paper over work surface. Remove the attached metal hanger and dab white acrylic paint over the entire glass ornament.
Let dry completely. I made a drying concoction using a small rod stuck in a styrofoam cube to hold the ornament while drying. You can create whatever drying mechanism is best for you.
Once the paint is dry apply a layer of matte mod podge to seal the paint. Let dry.
While the mod podge is drying, print out the photos and wording to be used on rice paper using a laser printer.
Then use a refillable watercolor brush to soften the paper around the pictures to feather the edges.  

Once the edges are feathered (torn) .  .  .
check the sizing of the photo on the ornament and .  .  .
apply mod podge to the ornament .  .  .
placing Xena's photo on top. Use an open ziplock bag to smooth out any wrinkles and let dry.
Apply a layer of mod podge on top of the photo to help smooth out any missed wrinkles and to seal. 
Let dry.
Once the front of the ornament is dry, feather the edges of the other pieces that will go on the back.
Then apply those pieces just like the ones on the front. First, the wording and then the small photo on top. Let dry.

Add modeling paste using a painting knife along the outer edges of the photos and wording for texture and enhancement. 
Let dry overnight.
For a decorative effect, measure rope trim around the ornament and cutoff excess.
Then glue on trim using RapidFuse all purpose adhesive.
Attach the metal hanger to the top of the ornament.
The make two small simple bows for either side of the ornament top and

make an ornament loop to tie on using Bowdabra bow wire.

I sent these ornament pictures to Patricia and she said, " Oh I love it! I can't wait to honor my little girl on the tree!!!! So sweet my little girl thank you very much!! "😘😘😘😘

I hope you enjoyed my tutorial on making a pet keepsake Christmas ornament as much as I enjoyed making it! Up next is Allyson @ Southern Sunflowers sharing her easy and fun way of making Dollar Tree potholders! Be sure to stop by each and everyone in our creative group listed below to check out their exciting and inspiring projects! And don't forget to pin, too!


DIY Dollar Tree Knotted Rope Vase | Niki | Life As a Leo Wife

DIY Plant Trellis For Indoor Plants | Donna | Modern on Monticello

DIY Fluffy Snowman Wreath |Terri | Decorate and More with Tip

Pet Keepsake Christmas Ornament DIY | Gail | Purple Hues and Me

Easy Dollar Tree Pot Holder Craft | Allyson | Southern Sunflower

Lace Tree On Burlap Christmas In July | Ann | The Apple Street Cottage

DIY Pollinator Puddler and Self-Watering Olla | Cecilia | My Thrift Store Addiction

Up-cycled Ornament Door Hanger | Tammy | Patina and Paint

Side Table Makeover | Jenna | The Painted Apron