

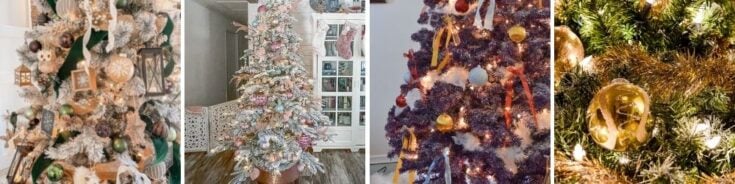
Purple is my favorite and signature color! I love using it throughout my home and especially during the holidays! Did you know it's actually one of the colors of Christmas? Purple or violet is considered the main color of Advent as it symbolizes fasting and repentance. Purple has always been known as the color of royalty, (not that I am, lol). It also symbolizes luxury and a sense of magic or whimsy!
Imagine my surprise when I saw a purple flocked tree online that wasn't a bright purple! I had to get one! I looked around and found the best price using a coupon at Bed Bath and Beyond!

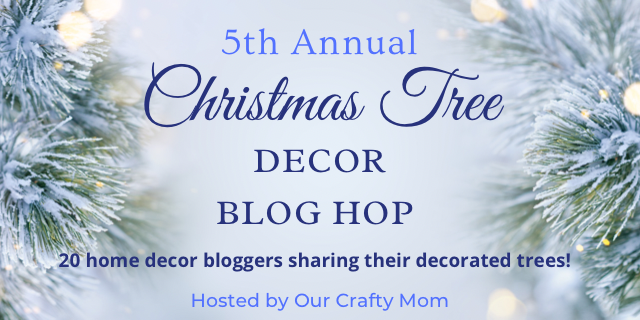
I'm excited to be participating once again with a great group of creative bloggers sharing Christmas tree decorating ideas with you. I'm thrilled to be showing you my purple flocked decorated tree this year at the annual Christmas Tree Decor Blog Hop hosted by Michelle @Our Crafty Mom. You can check out my last years' tree here. If you're coming over from the Zucchini Sisters, welcome!


Since the tree is only 4.5 feet tall, I had to place it on a table located by my sliding patio door. There was a lamp there so it was an easy exchange. However, as you can see, there are a lot of patterns going on with the tree and my drapes hanging close by. In some photos, I pushed the drapes back trying to get the perfect picture!

The purple flocked tree truly is a lovely decorated tree in rich jewel tones starting with the ribbon used throughout in purple and silver metallic.

Purple ornaments proved to be elusive in stores this year. So I decided to make some of my own. I love how the velvet and crushed glass and pearls ornaments look on the tree. They add an air of softness in lavender velvet. And the purple pearls adds a bit of lavishness to the mix! You can checkout my easy to follow tutorial here.


Don't you just love how all of these purple hues flow together!


And I love the purple glitter berry and poinsettia stems placed throughout, too!


Instead of a skirt or collar, I placed a few designer wrapped presents around the base of the tree! I really love that look!


When lit, the tree gives off an extra cozy feeling at night!

I hope you enjoyed seeing my decorated purple flocked tree! It truly is
a one of a kind beauty!

Up next, is Kirsten @Tribe of Burton sharing her pretty minimalist tree!
More Christmas Tree Decor Ideas:
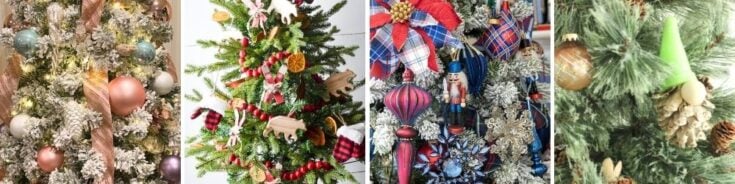
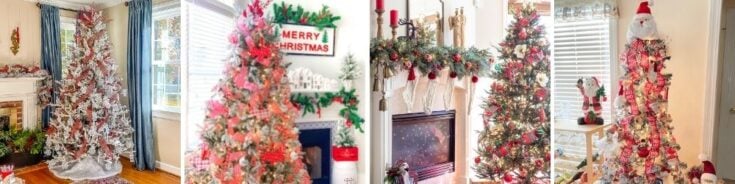
Be sure to visit all the participating bloggers for decorating inspiration for your Christmas tree...
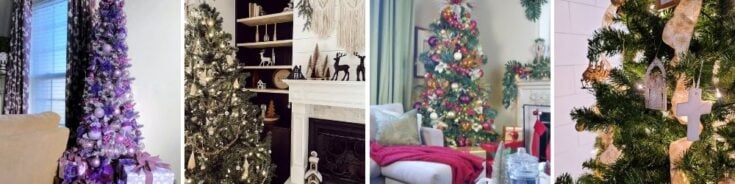
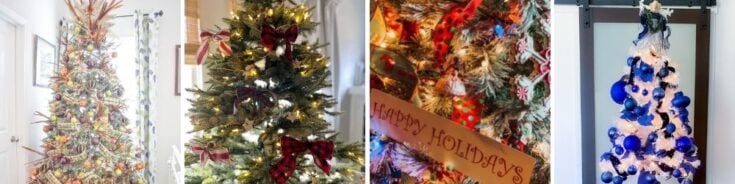
Our Crafty Mom // Red Cottage Chronicles// From House to Home// Simple Nature Decor
Virginia Sweet Pea// 2 Bees in a Pod// First Day of Home// Across the Boulevard
Simply Beautiful by Angela // Happily Ever After, etc.// Madness and Method// Zucchini Sisters
Purple Hues and Me// Tribe of Burton// My Pinterventures// Modern on Monticello
Jenron Designs// Design Morsels// Oh Fiddle Dee Dee // Redneck Rhapsody


