
Sun painting on fabric is a fun and easy way to capture the summer sunshine and the design of just about any type of flat objects or plants onto fabric. For this project, I'm using 100% cotton bandanas I had gotten from Hobby Lobby back at the beginning of the pandemic. They were a whopping 99 cents apiece and I'm putting them to good use for this month's Sustainable Craft Challenge Blog Hop hosted by Julie @ Sum of Their Stories.
This challenge is all about sustainable crafting! Each month is themed and all projects must have some sort of a sustainable element to them. This could be an upcycling or recycling element, or something that reduces waste, uses leftovers, etc. The theme for August is SUNSHINE! And for this project, you'll need a SUNNY day with plenty of sunshine! LOL!
Other Supplies:
Disclosure I am a participant in the Amazon Services LLC Associates Program, an affiliate advertising program designed to provide a means for us to earn fees by linking to Amazon.com and affiliated sites, this post may contain links. I may receive a very small commission at no cost to you! The affiliate money I earn helps pay my crafting expenses. Thanks so much for your support! First, get a sturdy board for the bandana to lay on. I am using a thick foam board that I had in my stash. Place the board inside a clear plastic trash bag. I don't want the paint to get on the board or anything else, for that matter. Make sure the bandana is clean and free of any stains or residue from chemicals. Iron out all of the wrinkles and lay flat on top of the plastic covered board.
Spray water all over the bandana making sure it's completely wet - but not dripping wet.Apply paint randomly across the moistened cotton fabric. First one color, violet, and . . .
then the other color, claret. Spraying on more water will help lighten the paint - less, will darken it.
Make sure the fabric is completely covered with paint, leaving no white areas showing.
Most sun painting tutorial use leaves, flowers and natural items from the garden to sun paint. But I wanted to use a stencil and other objects from my stash to see how they would work with the sun.
So I'm placing a stencil on top of the wet fabric, pressing it into contact with the paint. Since the stencil only covered the center of the fabric, I'm also folding the fabric edges around the stencil . . .to see what type of design in the fabric would appear from the sun.Once everything is placed down on the fabric, take the board with the fabric and stencil outside to a sunny location for the sun to work it's magic!It was a sunny 85 degrees outside the day I did this and it didn't take long - about 30 minutes - for the fabric to dry. Then take everything back inside to . . .lift off the stencil and be amazed at the design created on the fabric from the sun!Folding the fabric around the stencil also created a lovely, pleated-like boarder, too!
And finally, iron the bandana to heat set the paint and design!
To make a kerchief out of the newly sun painted bandana, take one corner across to the next corner, creating a triangle. Tie it at the nape of your neck and you're done! Doesn't this look so cool! And the unusual design of the fabric is quite apparent and looks lovely!
For the second bandana, moisten the fabric by spraying on water, as before. This time, make circles all over the fabric using a paint brush dipped in fabric paint.Use a sponge brush to cover center of circles.Have fun blotting on the paint!
Filling in the white portions of the fabric, covering all exposed areas.Place cutout cardstock designs randomly over fabric, pressing down to make contact with paint. They should easily stick to the fabric.Then take covered board outside, as before, and let dry in the sun. It was somewhat windy so I placed heavy objects on the sides of the board to keep it down. Also, some of the edges of the cardstock designs lifted up so I use straight pins to tack them down. You couldn't see the pin holes once dry.
Check ever so often to see if the fabric is dry. After about 30 minutes, the fabric was dry. Here, I'm checking to see how the sun painted designs looked.
This sun painted design turned out very pretty. The paint colors really compliment each other!
To tie this bandana, take one corner across to the next corner, creating a triangle. Fold the two bottom points up about an inch, folding until you have a long narrow strip. To wear around neck or as a headband, place around neck or on head, tying the ends together.With Sun Painting, your very own, one of a kind item is created! No two are ever alike! There are so many ways to use a sun painted bandana like the two I've shared! As a kerchief adding an interesting flair to an outfit! A neck scarf - tied in the front, or at the side or even tucked in! As a head scarf, tied around a ponytail or as a headband! You can also use it as a belt - threading it through pant loops or you can tie it around your wrist for a bracelet. You can also use it to decorate your handbag as an accessory! And finally, on a hot, sunny day, use it as a bralette, oh my, tied in the front to help keep you quite cool and fashionable, lol!
Be sure to check out all the SUNSHINE Sustainable Crafts projects listed below:


.png)


.png)
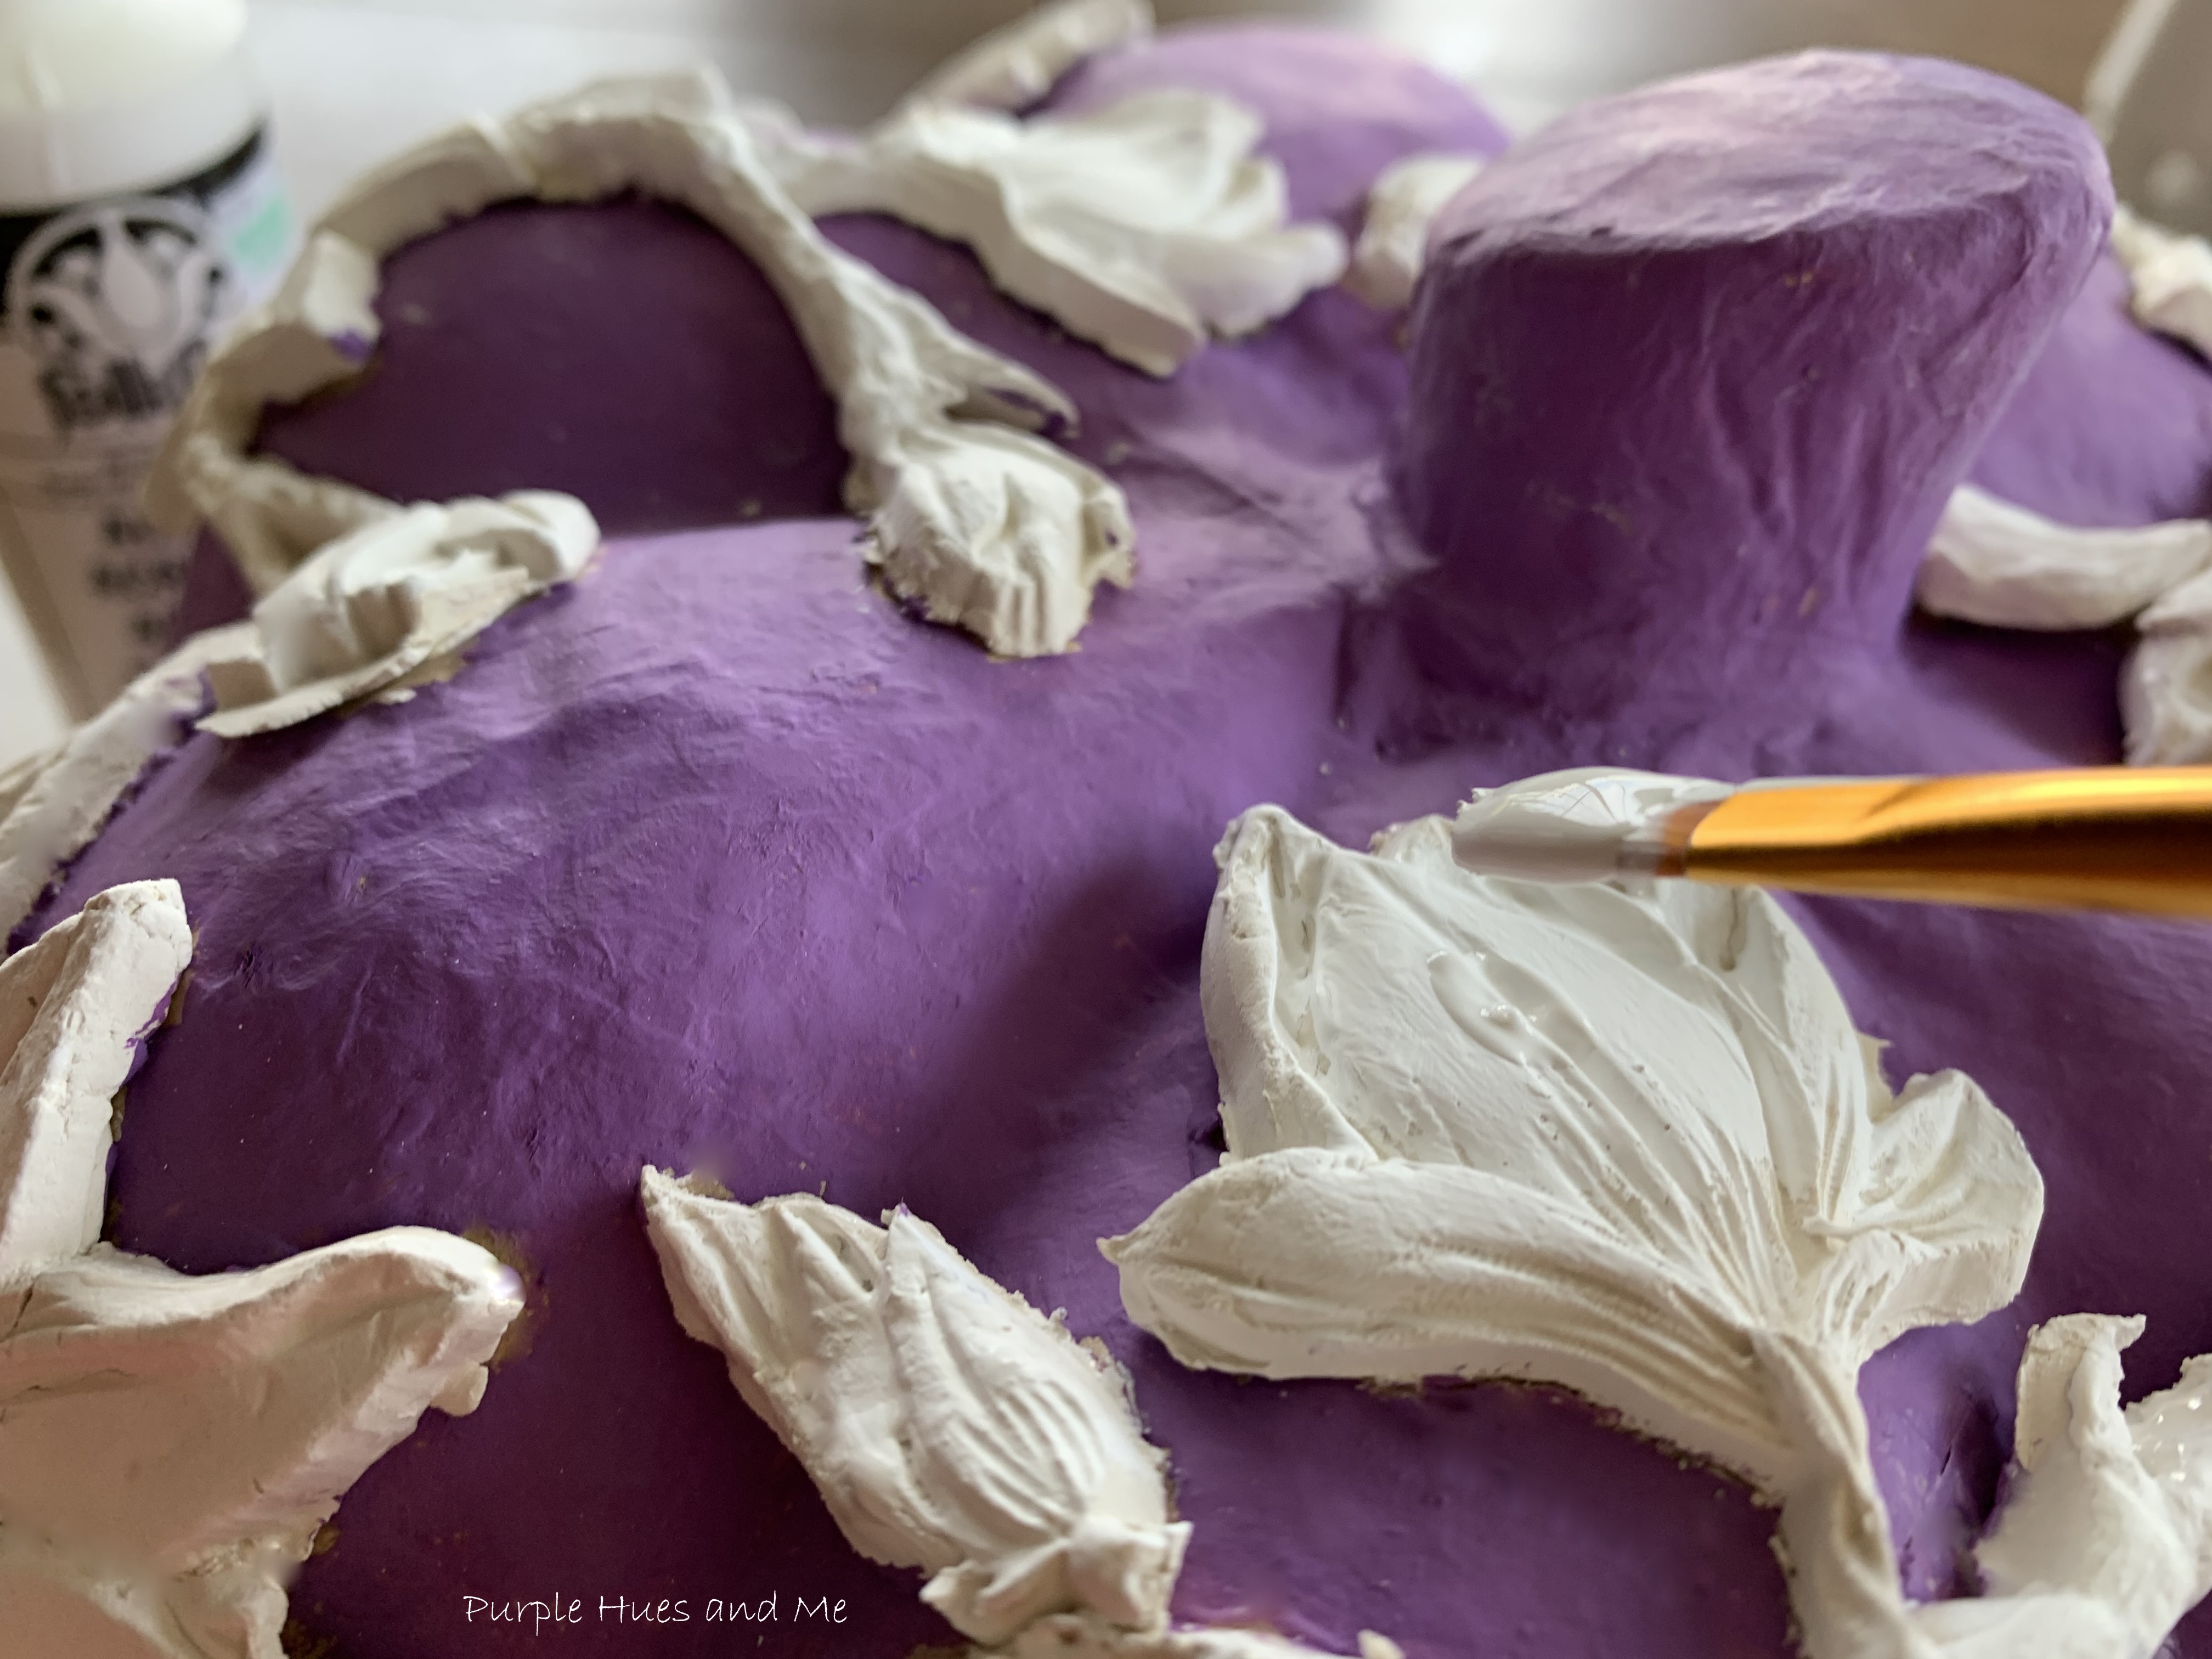
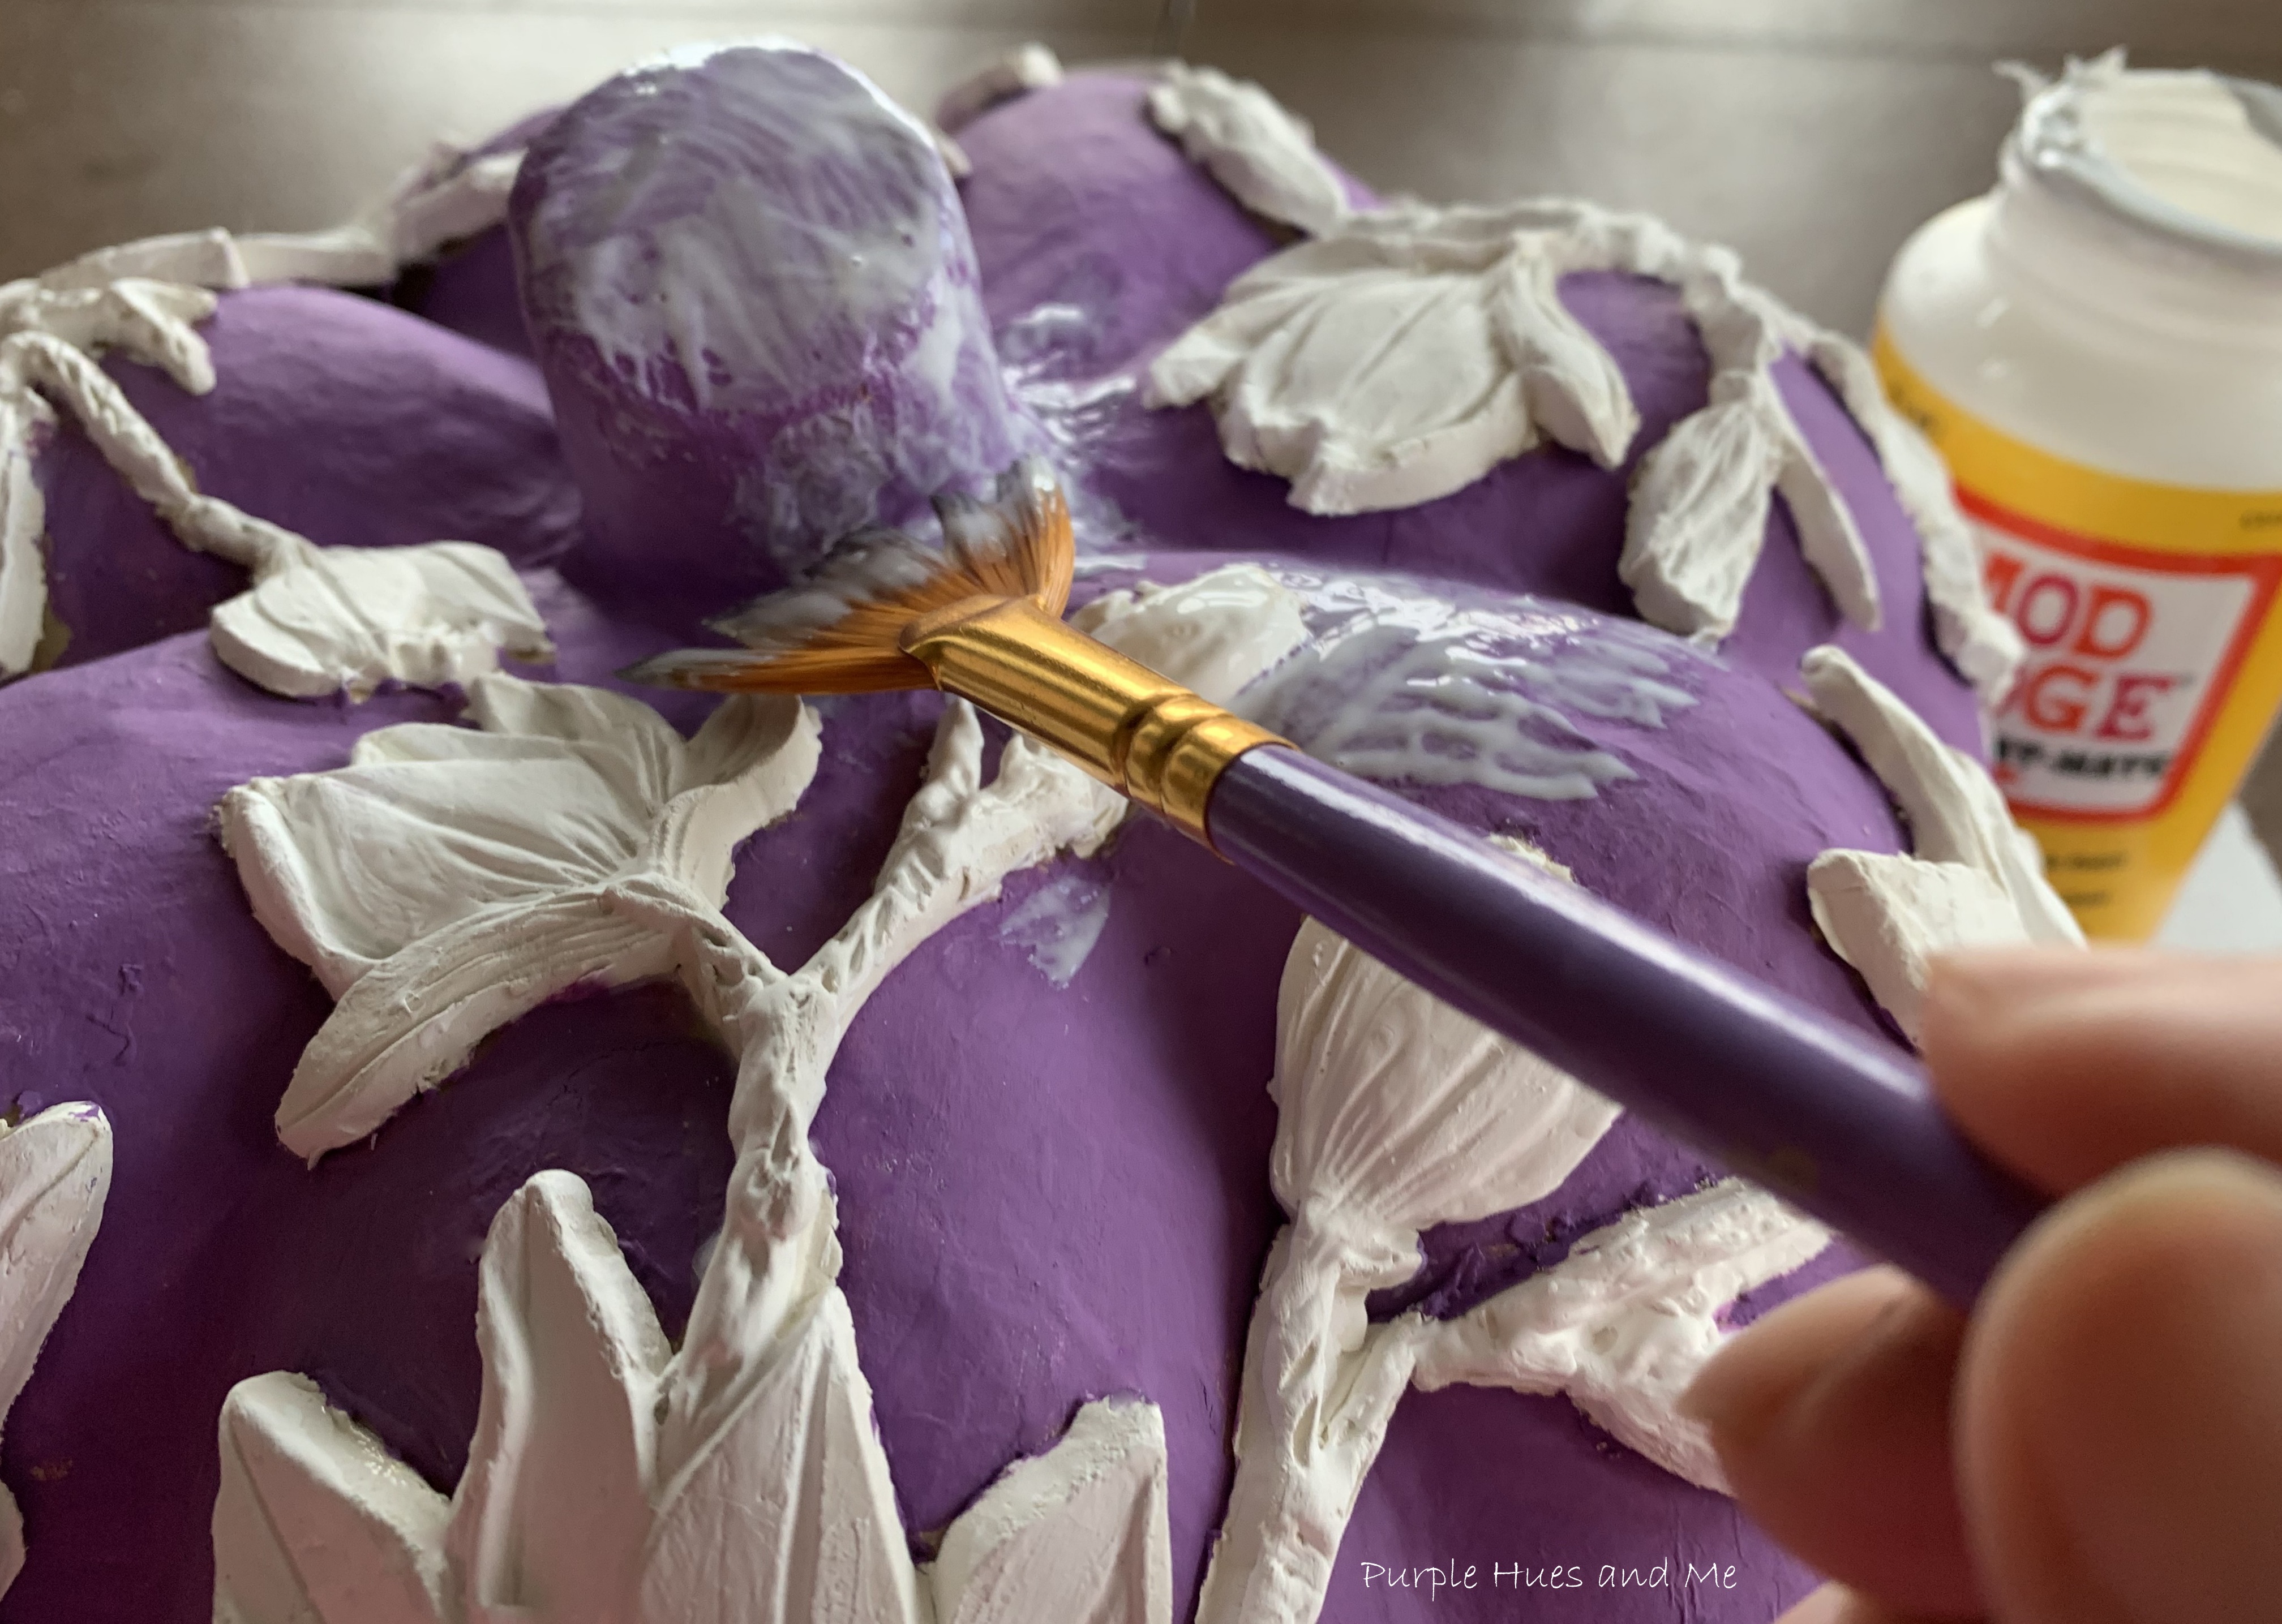
 I hope you enjoyed how I embellish a pumpkin with clay flowers and inspired you to make one, too! Up next is Ann @Apple Street Cottage sharing her beautiful Milkweed Pod Wreath! Be sure to stop by each and everyone in our creative group listed below to check out their exciting and inspiring projects! And don't forget to pin, too!


