Showing posts with label Crafts. Show all posts

Monday, March 13, 2023

Milk Jug Vase Knockoff

Are you like me and browse online stores for inspiration? Doing this is one of my favorite pastimes! So you can imagine how excited I was to see milk jug vases in various colors at West Elm! Just take a look:
To me, the cool thing about these vases is that #1 - I have a milk jug in my refrigerator that looks very similar and #2 - the vases show what looks like imperfections! My kind of upcycle crafts, lol! Just in time for this month's Monthly Blog Hop Challenge!

So let's get started with gathering the materials used:
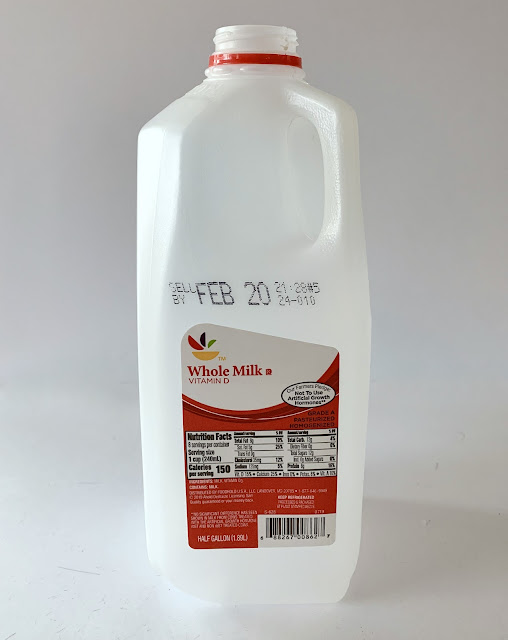
  • Milk jug
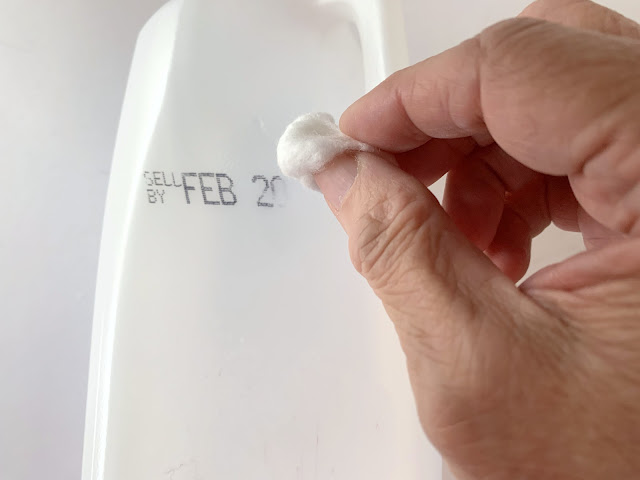
  • Acetone/nail polish remover/cotton ball
  • Mod Podge (matt) brush/sponge
  • Parchment paper/paper towels
  • Plaster of Paris/bowl/stirring spoons/measuring cup
  • Water
  • Spreading tools
  • Sandpaper
  • Acrylic Paint/brush

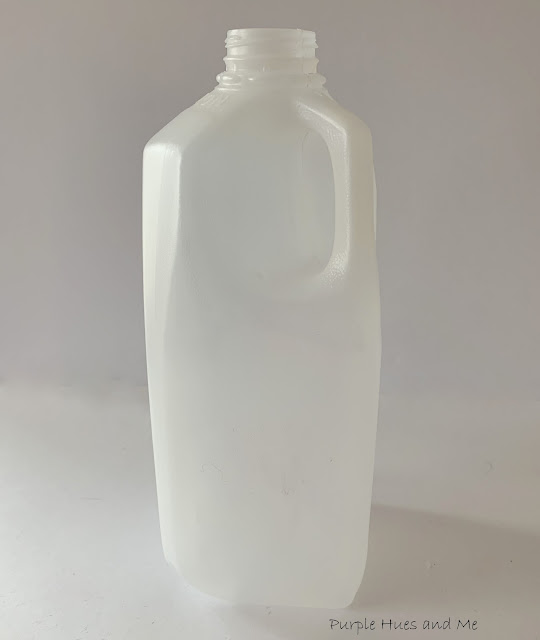
First, make sure the milk jug is clean both inside and out, removing all labels, tabs and .  .  . 

markings. Use a cotton ball soaked with acetone or nail polish to remove the lettering and any sticky residue on the jug. 

I wasn't quite sure if Plaster of Paris would adhere to plastic so I thought I would apply a layer of mod podge and tissue paper first. 
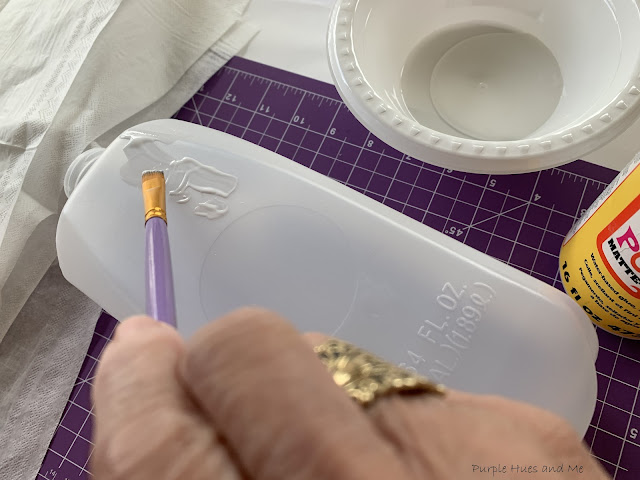
But that seemed like an unnecessary messy chore so I washed it off before I added more.

And applied a layer of Mod Podge as a sealant instead and let that dry.
 
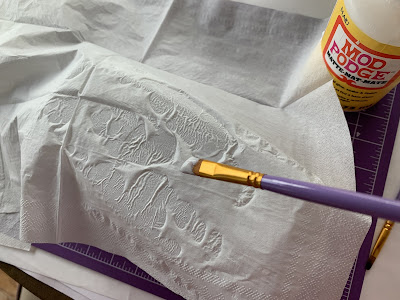
Following the Plaster of Paris directions, mixed two parts (cups) of plaster with one part (cup) of water .  .  .
stirring together until reaching a smooth consistency.
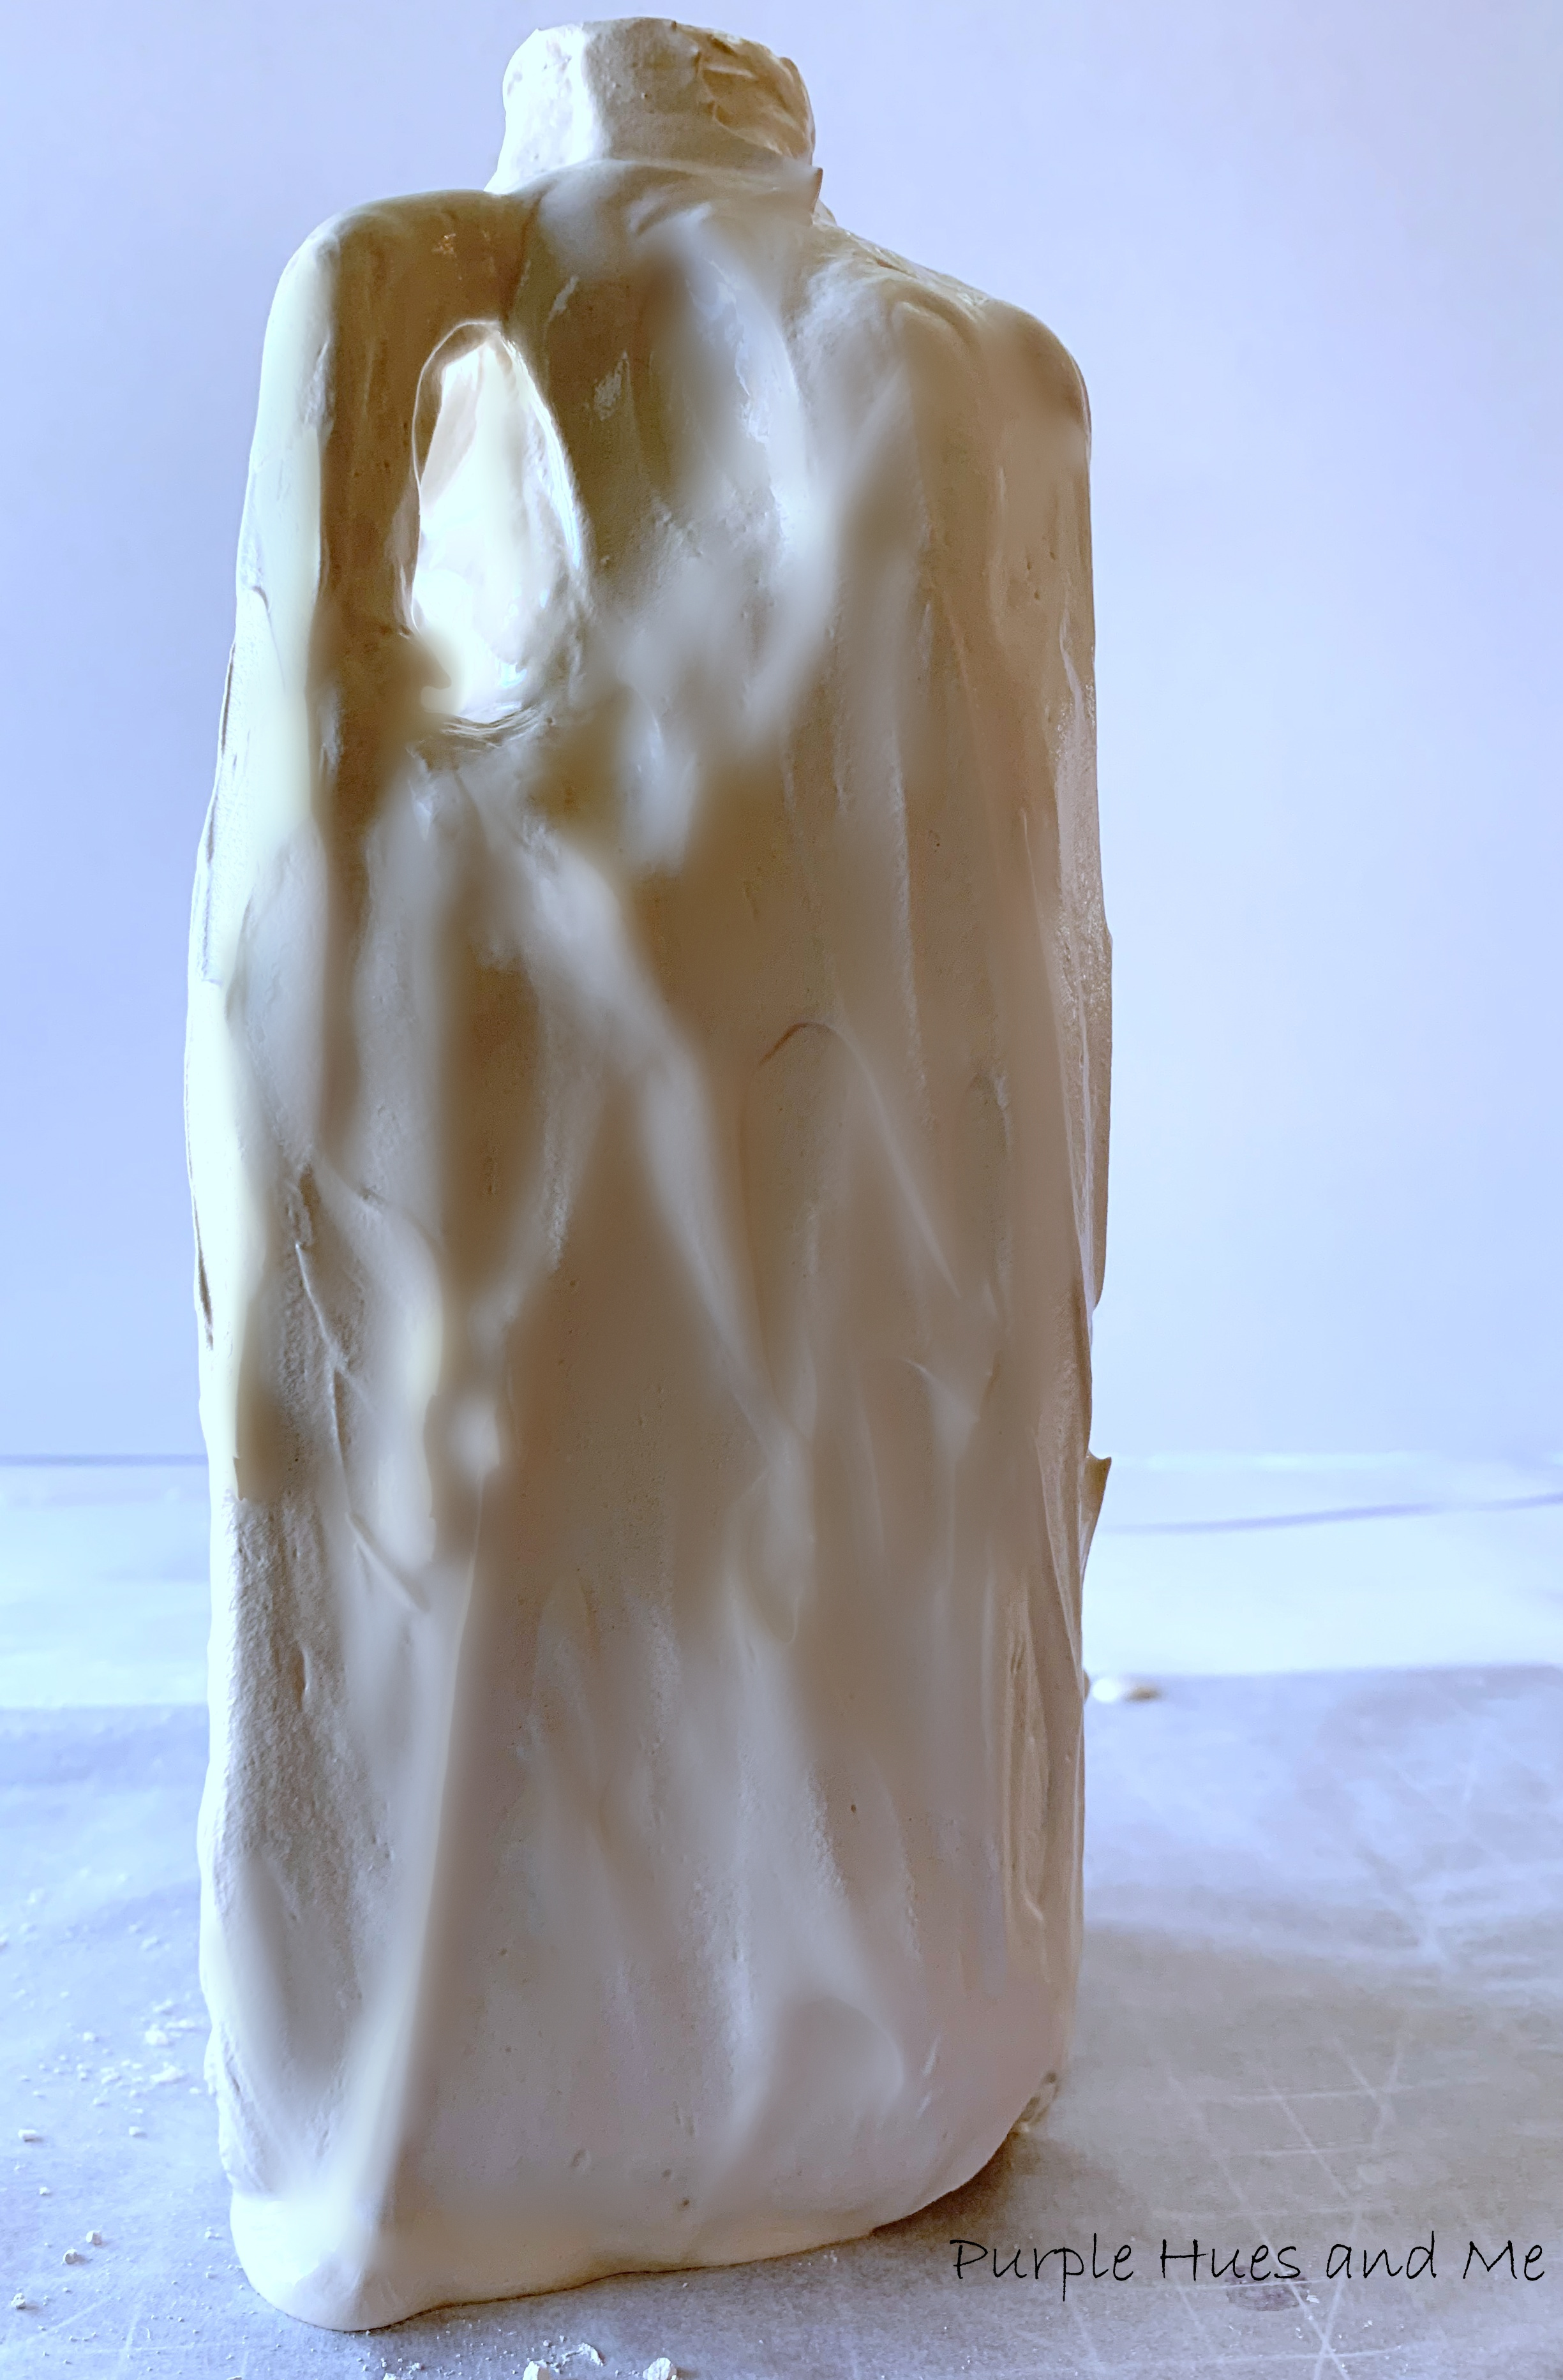
Applied over jug, smoothing out with spoon or spreading tools.


I probably could have smooth the plaster out a bit better, but . .  .
this was the best I could do. It took about 30 minutes for the plaster to set But needs twenty-four hours to dry completely before .  .  .
sanding. After that, I applied another layer of Mod Podge to seal the plaster before .  .  .
painting.

The West Elm description mentioned that it was a one of a kind vase .  .  .
and I tend to agree! Especially done in purple, lol!
For this project, I've joined a group of creative bloggers each month to bring you a themed blog hop challenge on the 2nd Monday of the month, hosted by Beverly @Across the Blvd. This month, it's all about creating a project/craft using items that you have upcycled, repurposed, or made-over!
Be sure to check out all the awesome bloggers and their projects listed below:


Monday, April 13, 2020

Sunshine Yellow Foam Flowers DIY

"Where Flowers Bloom, So Does Hope"
                                                     - Lady Bird Johnson

One of the best things about Spring - the season of renewal - is seeing all the pretty flowers  - whether they're fresh or faux. And in these trying times if fresh blooms are not available, why not make your own! It's a wonderful way to uplift your spirits and keep yourself busy as you shelter in place!

Foam flowers are quite easy to make! You only need a few items:
  • Foam Sheets
  • Square templates - cardstock in various sizes (2-4")
  • Scissors
  • Iron
  • Hot glue
  • Acrylic paint (optional)
For these flowers, I used a few old packs of foam sheets I had on hand from the Dollar Tree. I don't think they sell them like this anymore but the sheets are nice and thin, perfect for flowers.
To begin, cut out the foam into squares using templates. I wanted my flowers to be rather large so I started with a four inch square, two 3 inch and two, 2" squares.  
And then folded the squares two times. 
Next, cut out a petal shape starting at one fold, curving around to the next folded side. 
Open the folded square to reveal the four petals shape. Trim petals around folds to make them more define. 
Place petal on iron for a few seconds to soften and curl the edges. 
Continue to shape petals by using the round end of a tool and pressing down in the center on a soft pillow or sponge, and twisting the edges, as if tearing. Repeat the steps for all the petals. 
To make the center bud, loosely gather one of the smallest petals, dabbing closed with hot glue. 
Cup the opposite petal and glue the edges around the first petal. 
Continue cupping the third and fourth petals around the first two and seal edges with hot glue to form the center bud.
Assemble the flower by applying hot glue to center of the largest petal and placing the next size on top. Continue attaching each petal to the center with glue in gradual sizes, staggering the petals until .  .  . 

the flower is formed. 
Isn't this beautiful! 
Cut out leaf shapes and use the tip of a phillips screwdriver to add leaf lines. 
Use scissors to serrate the edges for a realistic look. 
Soften the leaves by placing on an iron for a few seconds and then twist to shape.
Rub on acrylic paint with a damp towel to shade the leaves. 
Cut out sepals to encase the flower at the bottom the same way to make the petals, except cut a center point instead of curving. 
Then heat .  .  . 
and twist .  .  . 
and then glue on the bottom of the flower. 
They look just as pretty as real flowers!


Meet this month's co-hosts!
You are invited to the Inlinkz link party!
Click here to enter

Saturday, September 28, 2019

All Things Fall Link Party

Happy Fall! We're excited to be joining a group of bloggers to bring you a link party for all things fall! Share your crafts, diy projects, decor, recipes, and activities! We're looking forward to seeing fall, Halloween, and Thanksgiving ideas!

11 talented bloggers are co-hosting the party! That means lots of ideas & exposure for your posts!

Meet the Hosts!

As one of the co-hosts joining the all things fall festivities, I'm sharing a tutorial - Add Diy Burlap Leaves to Purple Pumpkins - it's a step by step tute on how I combined purple burlap ribbon and jute twine into lovely dimensional leaves! An adorable way to dress up purple pumpkins or any pumpkins for Fall! And a fun way to bring an exciting autumn atmosphere using purple to your fall decor!


To kick off the party, all of the hosts are sharing a fall post today. You'll find their posts in the first link up below. You're sure to find lots of inspiration! Please visit their links and check out their posts. We would all appreciate your support by pinning our projects.
You are invited to the Inlinkz link party!
Click here to enter

Now it's your turn! By adding your link, you give the co-hosts permission to use one photo with a link to your post on social media or in round up posts, including our featured posts from the party. Posts that are not related to fall will be deleted. The party will be open through October 18. Each co-host will share a features post of their favorites from the party on October 23.

We can't wait to see your Fall, Halloween, & Thanksgiving ideas!

You are invited to the Inlinkz link party!
Click here to enter

Tuesday, February 28, 2017

How To Make a Tulle Dress Bow Holder


Hi everybody! Did you know March is National Craft Month?  For me, every month is national craft month, but today, in anticipation of this wonderful event, I'm over on Bowdabrablog.com celebrating and sharing with you how to make an adorable bow holder!  This is something every girlie girl needs for her growing collection of hair bows and accessories and .  .  . it looks great, and also makes for a lovely gift, too!  So head on over to get the full tutorial


Thanks for stopping by


and take a little time to enjoy -

Happy Crafting!