


So let's get started with gathering the materials used:
- Milk jug
- Acetone/nail polish remover/cotton ball
- Mod Podge (matt) brush/sponge
- Parchment paper/paper towels
- Plaster of Paris/bowl/stirring spoons/measuring cup
- Water
- Spreading tools
- Sandpaper
- Acrylic Paint/brush
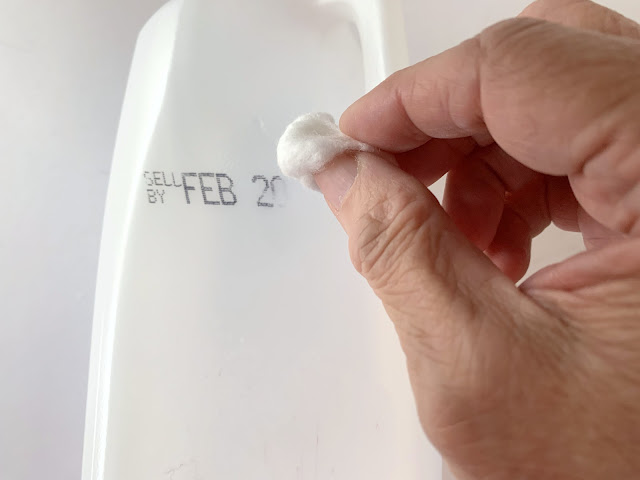
First, make sure the milk jug is clean both inside and out, removing all labels, tabs and . . .
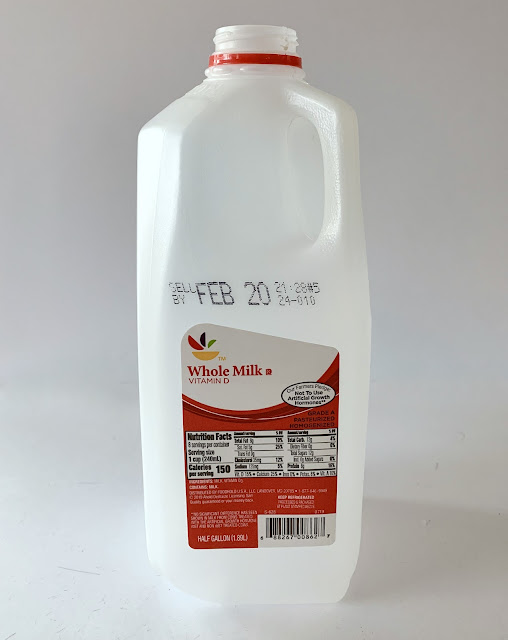
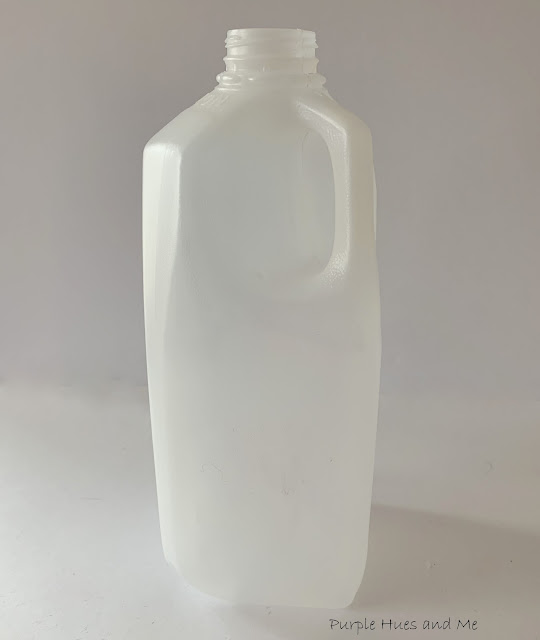 I wasn't quite sure if Plaster of Paris would adhere to plastic so I thought I would apply a layer of mod podge and tissue paper first.
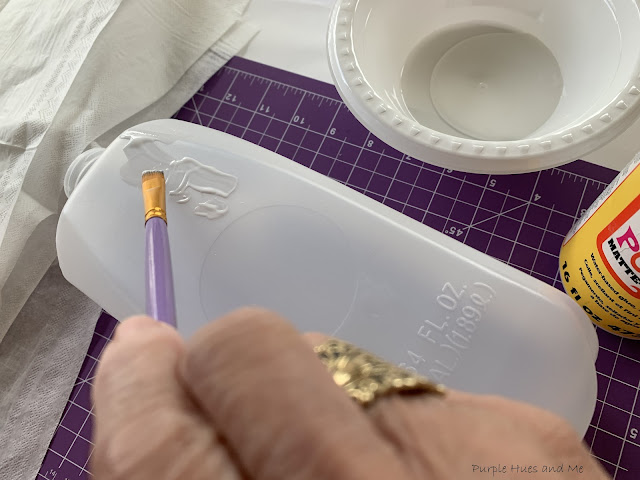 But that seemed like an unnecessary messy chore so I washed it off before I added more.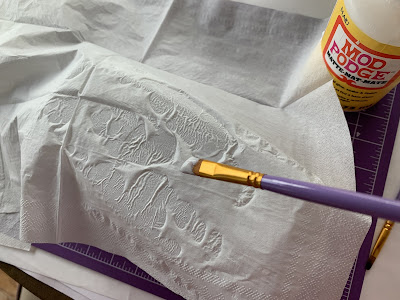
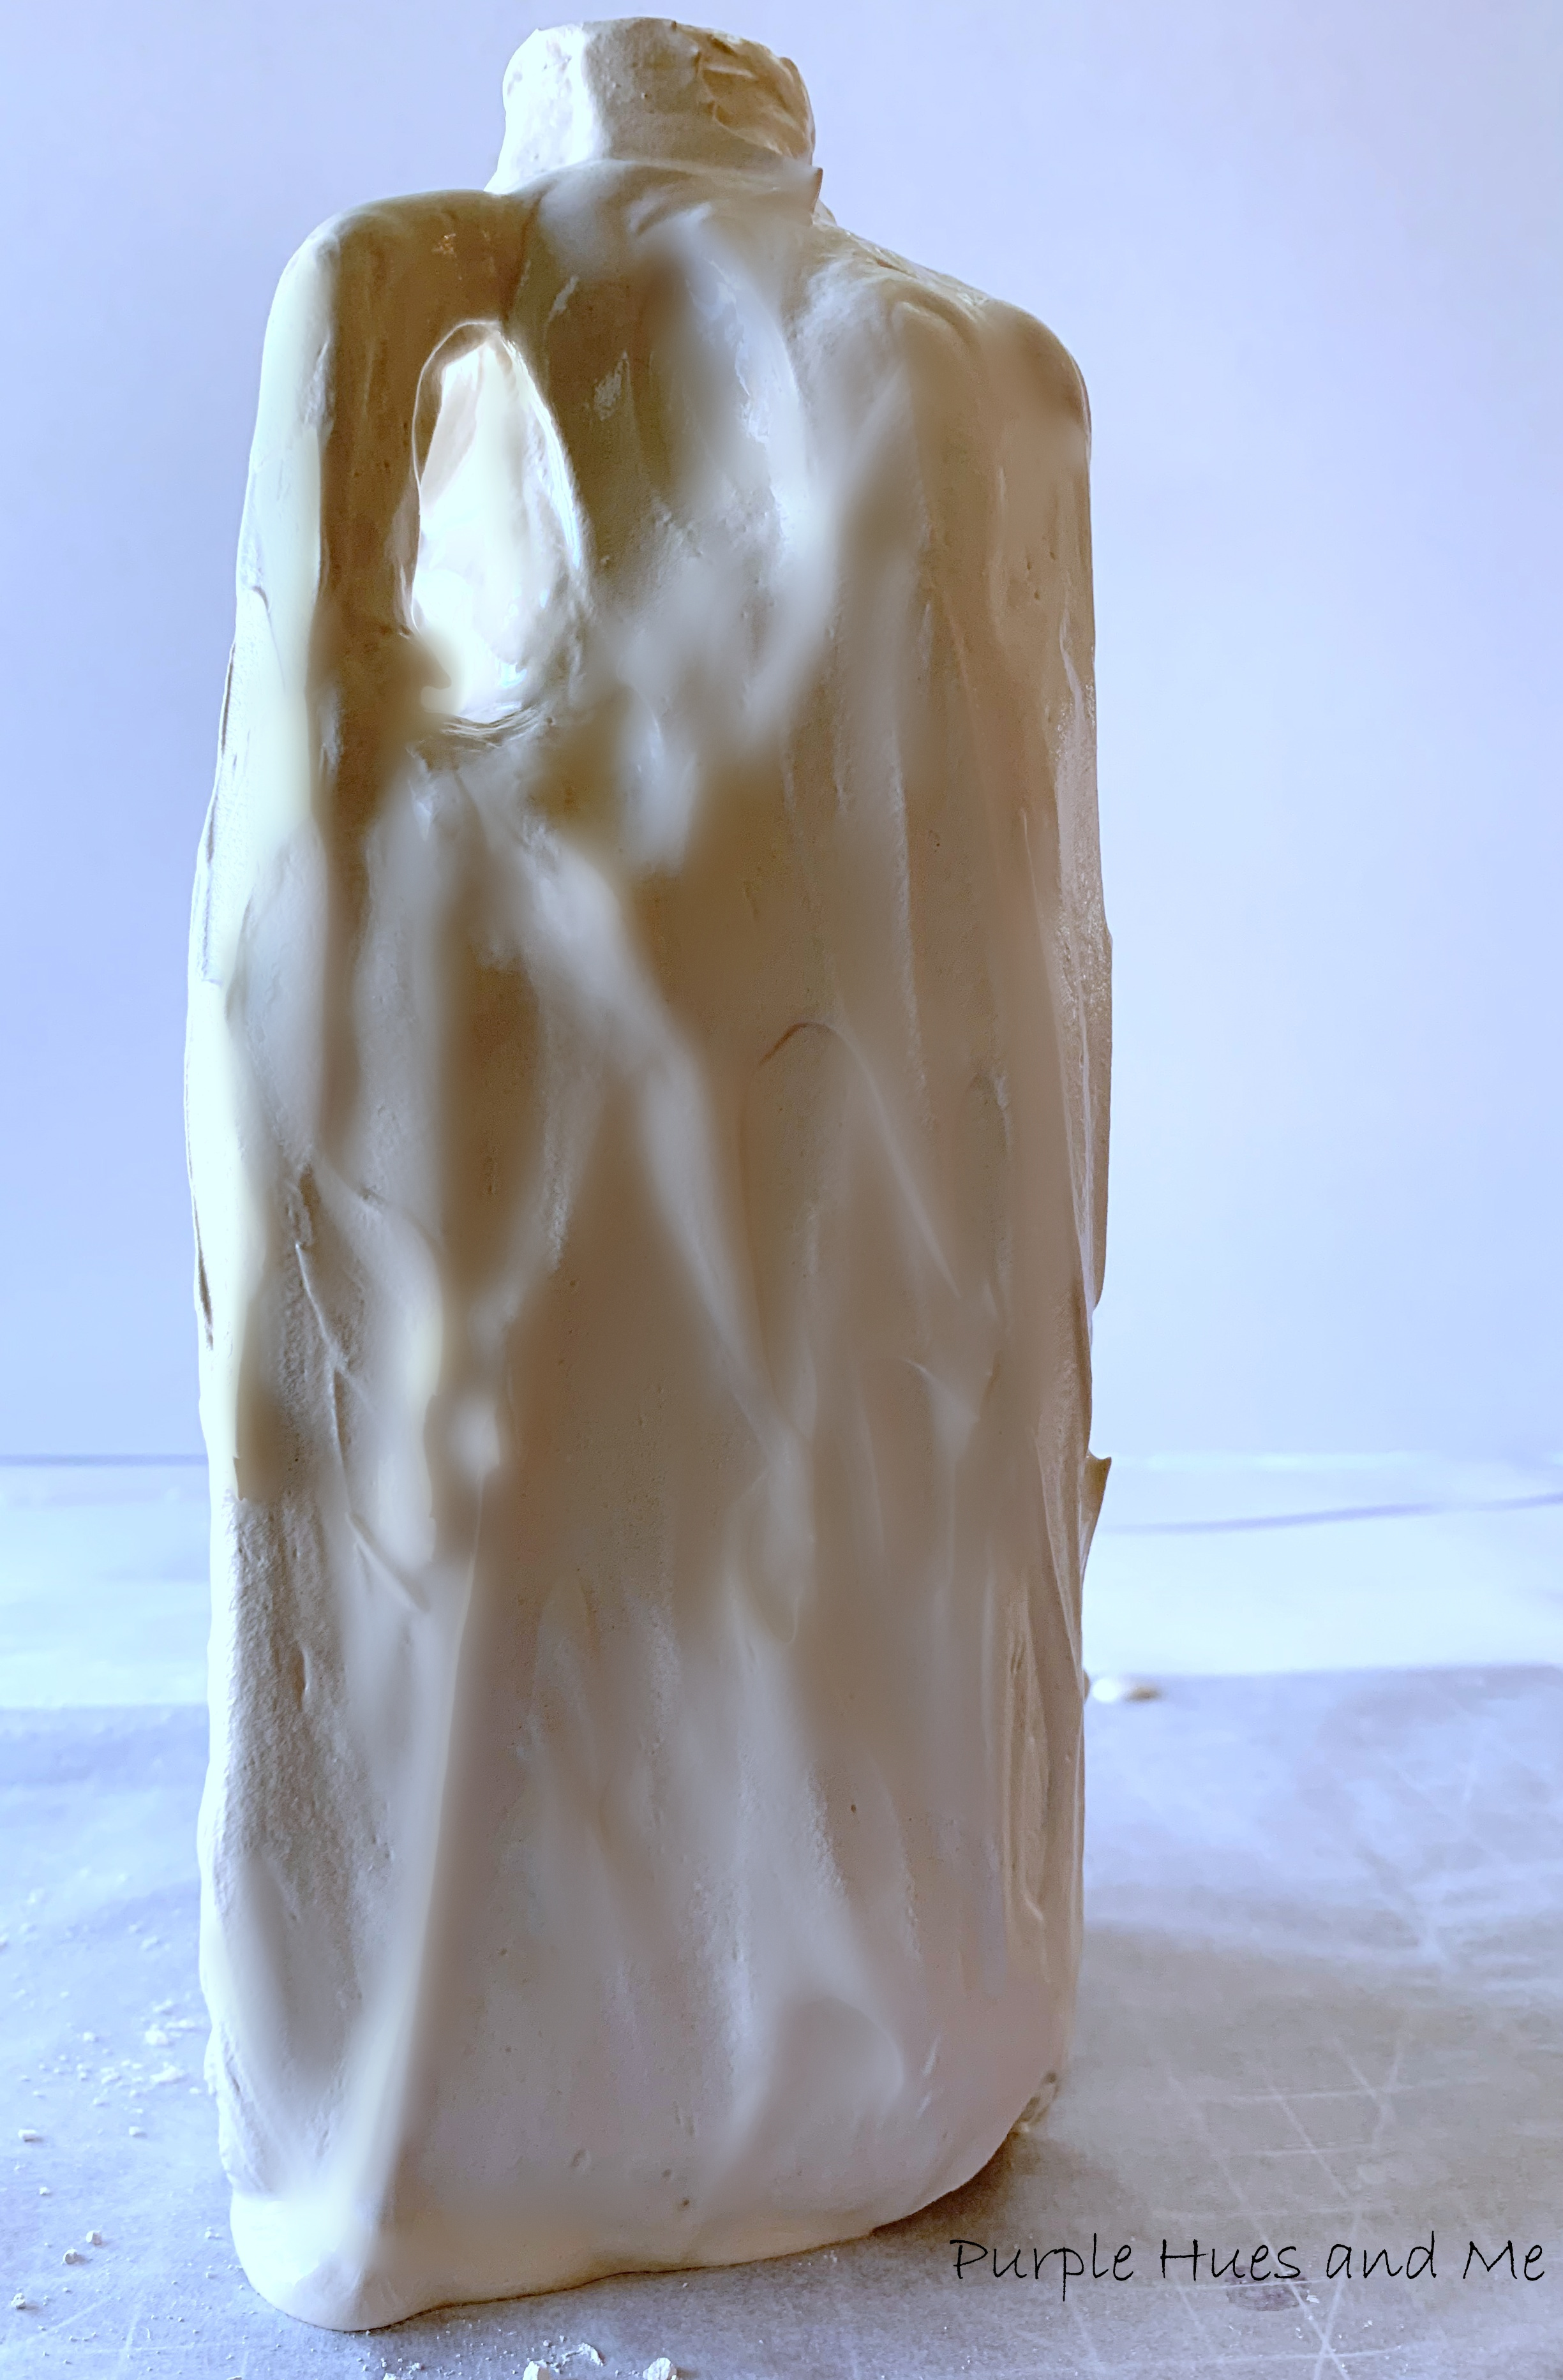
 Following the Plaster of Paris directions, mixed two parts (cups) of plaster with one part (cup) of water . . .
 stirring together until reaching a smooth consistency.
 Applied over jug, smoothing out with spoon or spreading tools.


 I probably could have smooth the plaster out a bit better, but . . .
 this was the best I could do. It took about 30 minutes for the plaster to set But needs twenty-four hours to dry completely before . . .
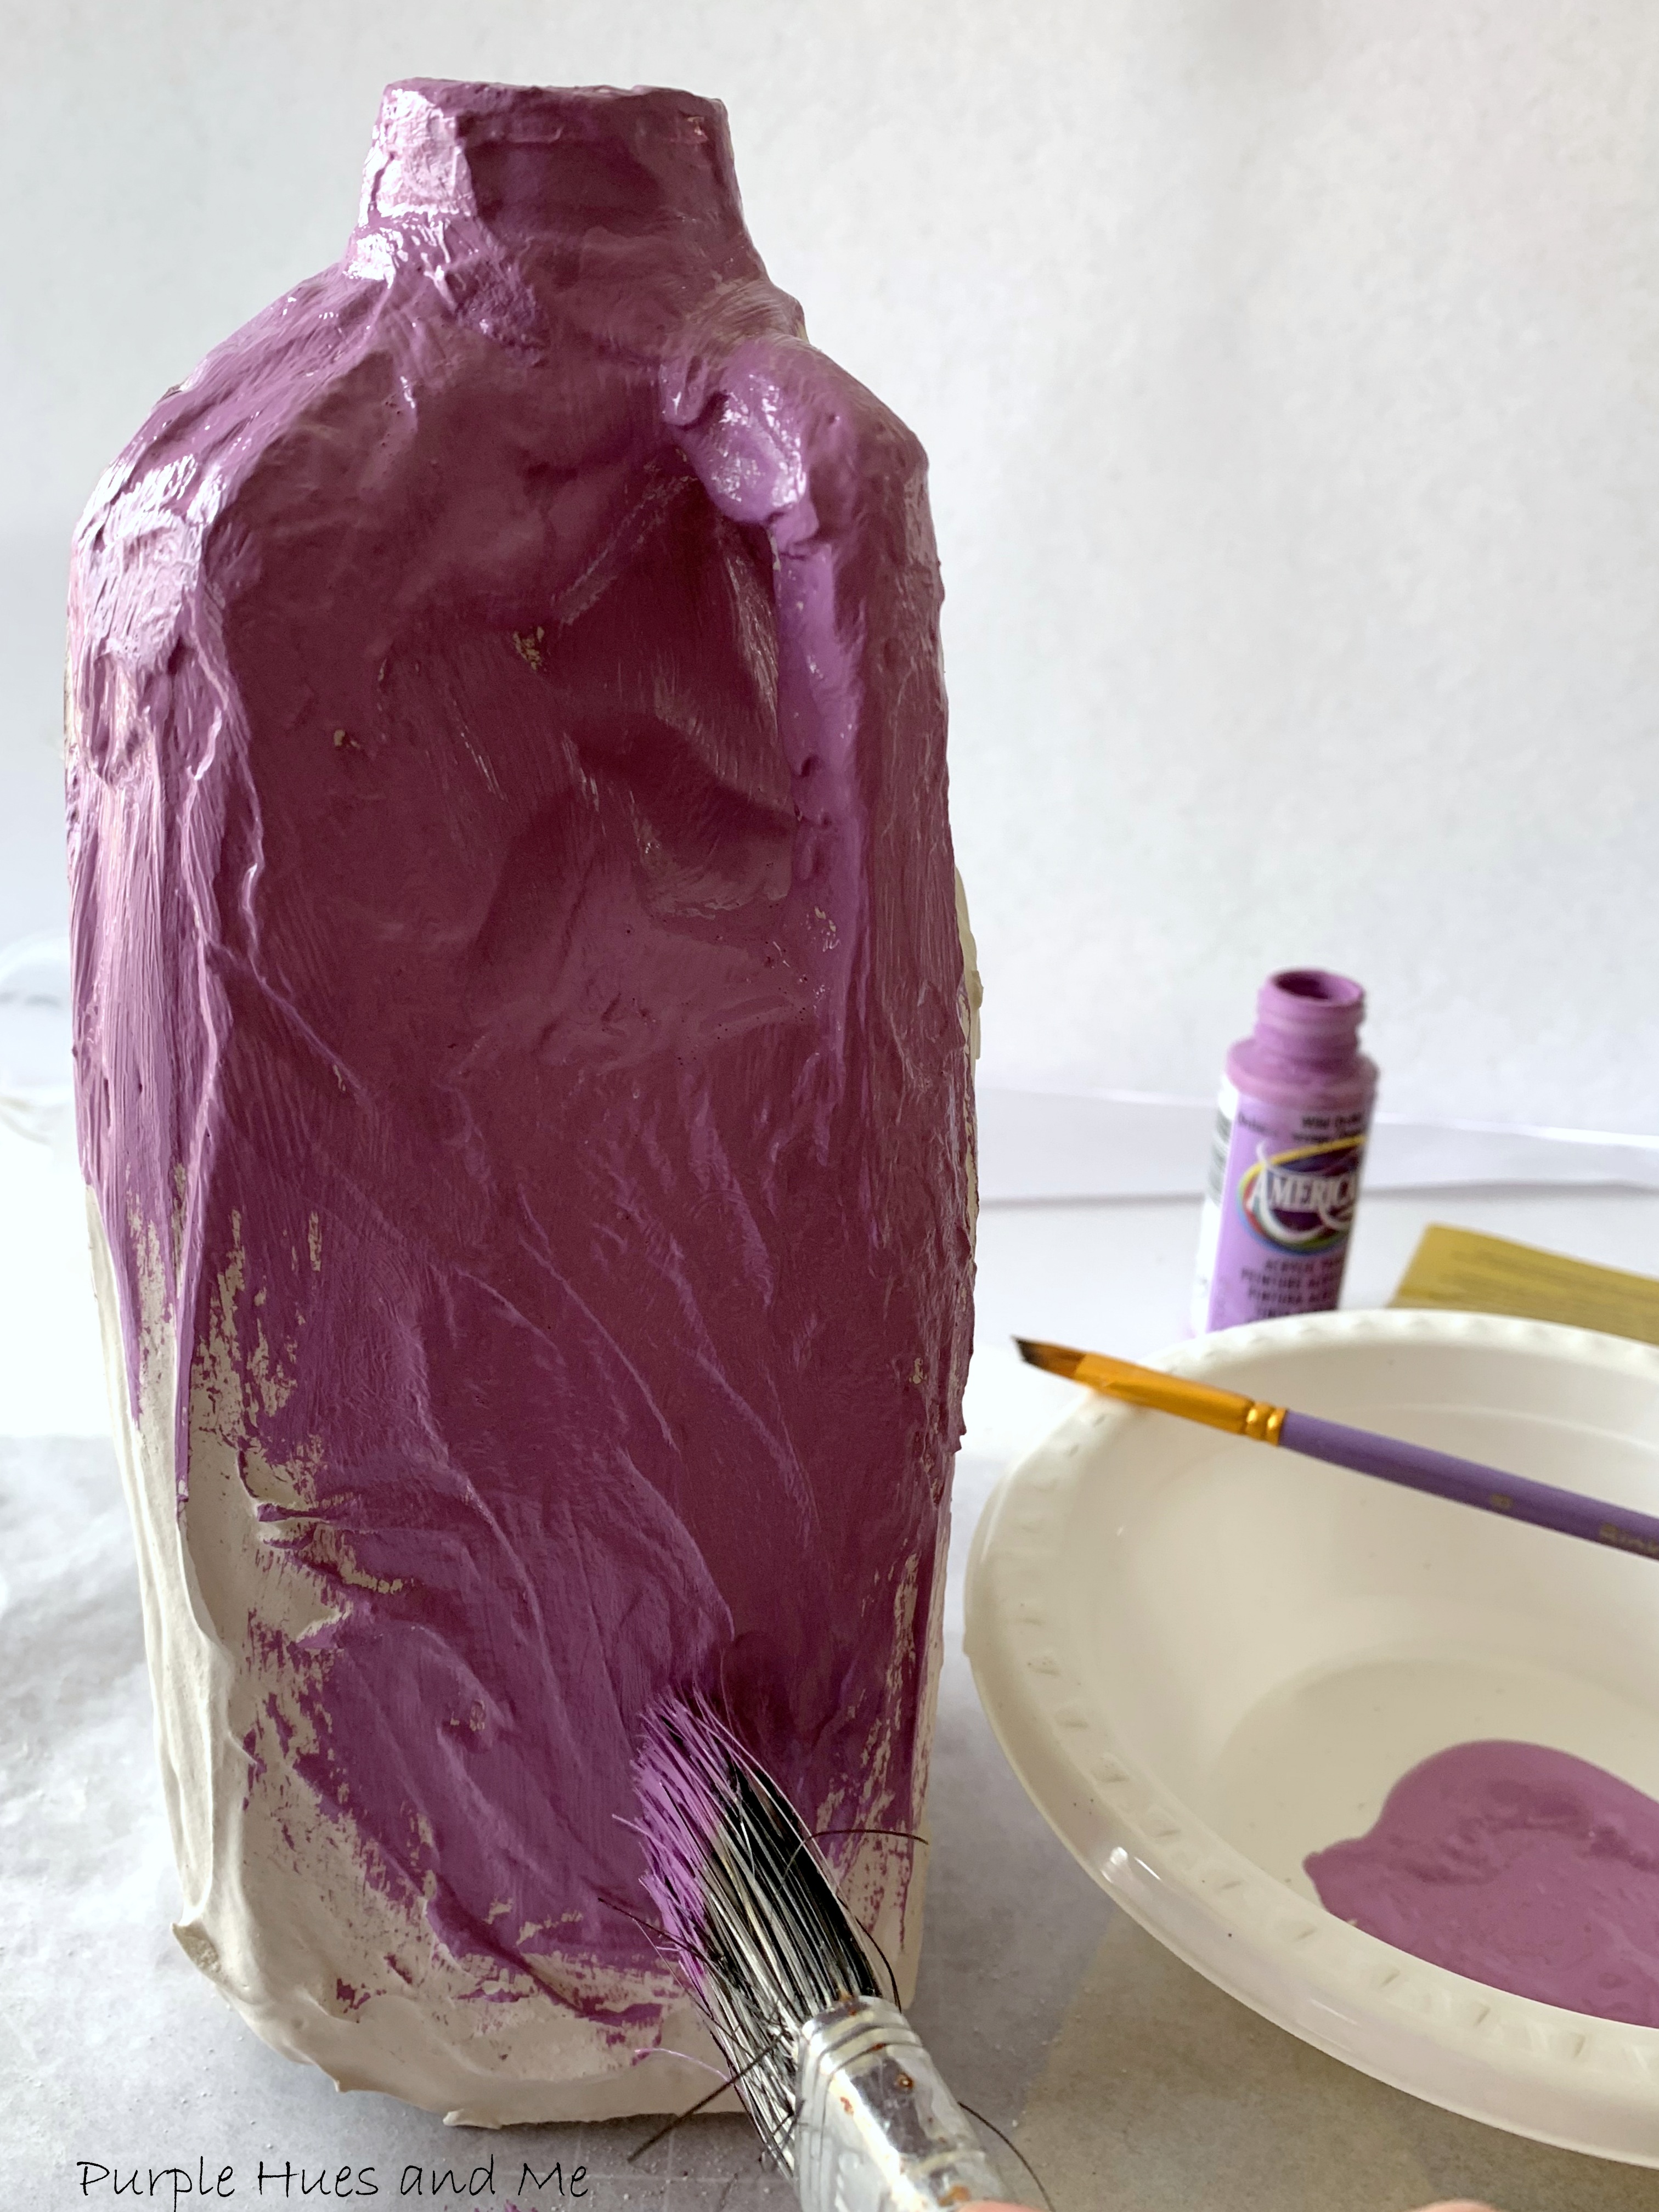
 sanding. After that, I applied another layer of Mod Podge to seal the plaster before . . .
 painting.

 The West Elm description mentioned that it was a one of a kind vase . . .
 and I tend to agree! Especially done in purple, lol!


markings. Use a cotton ball soaked with acetone or nail polish to remove the lettering and any sticky residue on the jug.


And applied a layer of Mod Podge as a sealant instead and let that dry.






For this project, I've joined a group of creative bloggers each month to bring you a themed blog hop challenge on the 2nd Monday of the month, hosted by Beverly @Across the Blvd. This month, it's all about creating a project/craft using items that you have upcycled, repurposed, or made-over!

Be sure to check out all the awesome bloggers and their projects listed below:
Beverly | Across the Blvd | Easter Bunny Decor DIY
Gail | Purple Hues and Me | Milk Jug Vase Knockoff
Niki | Life as as LEO Wife | Farmhouse Bunny Sign










