Showing posts with label napkin rings. Show all posts

Tuesday, September 17, 2019

DIY Buffalo Check Napkin Rings

Welcome to the September Pinterest Challenge Blog Hop hosted by Erlene @ My Pinterventures.  If you aren't familiar with the Pinterest Challenge, it's a monthly event that challenges us to not just be pin hoarders, but to make it happen! 
Pinterest Challenge Blog Hop
There're some trends in home decor that never go out of style and buffalo check is one of them! It's been around forever and keeps on re-inventing itself over and over. Today, it's used mostly as accents - especially in decorative accessories. You can find lots of craft items on Pinterest using buffalo check.

And the best part, you can find ideas to mix it up with whatever suits you! Like these buffalo check flowers (made out of faux leather) and crystal clear napkin rings - Casual + Glam = Classic! 

There're not too many buffalo check napkin rings showing on Pinterest and most of them are quite plain! That's why I was eager to create my own design. And my napkin rings are right at home with the upcoming Thanksgiving and Christmas holiday decor, too! And oh, don't let my using red & black fool you - buffalo check can be found in almost any color, including purple! Stay tuned for that!

Materials:
Faux Leather Buffalo Check Ribbon Fabric
Flower Template/scissors/pencil
Parchment paper/iron/fluffy pillow/round end handle
Super glue or quick grab multi-purpose permanent glue
Clear acrylic napkin rings

Instructions:
Let's start with a roll of buffalo check faux leather ribbon that I found at Hobby Lobby. It's a nice and wide, 24"x 8" roll! Just enough to make four napkin rings.
Next, find a free, flower template you like online, then copy in word. Make a slightly smaller version while in Word and print and cut-out the two sizes.  Next, trace the two patterns on the back of the faux leather .  .  . 
and cut out.
Then, place each of the faux leather flowers between two layers of parchment paper and heat with a medium heat iron for a few seconds to warm up the material. Quickly place the paper and flower on top of a fluffy pillow and use the round handle end to twist down on the faux leather flower to give it curvature, depth and dimension.  
 Also, while the material is still warm and pliable, pinch and twist the tips of the flower to   help shape the petals. 

To make the center, cut a 1/2" strip of faux leather six inches long. 

  Run a bead of glue along the wrong side edge and fold lengthwise in half, sealing edges together. Cut small slits on folded edge along the entire six inch length. Place a dab of glue on one end and begin rolling tightly together. Continue adding dabs of glue while rolling until reaching the end. Add dab of glue at end to seal and secure. Then fluff out the tiny slits.
To assemble the flower, glue the two flower petals together at the center, staggering between petals. Be sure to use either super glue or a quick grab permanent glue to seal. Hot glue will not hold faux leather together! Ask me how I know? I tried it!
Add glue to the decorative piece and apply to center. Let dry.
Measure and cut a strip of faux leather to fit around the center of the acrylic napkin ring. Apply glue to edge and along the middle of the strip.
Wrap fabric around napkin ring, smoothing out and sealing with glue when reaching opposite end.
Glue flower to center of napkin ring where fabric strip ends meet.

How cute is this!

Repeat steps to finish three more napkin rings.
Enjoy using these adorable buffalo check napkin rings in your fall and holiday tablesettings!

 I am a participant in the Amazon Services LLC Associates Program, an affiliate advertising program designed to provide a means for sites to earn advertising fees by advertising and linking to Amazon.com. This post also contains affiliate links.  I may receive a very small commission.  It does NOT result in additional charges to you or cost you anything extra.  The affiliate money I earn per month helps pay my crafting expenses. Thanks so much for your support!


Let's meet this month's Pinterest Challenge hosts!

To join next month's #pinterestchallenge, click here to sign-up ⇒ October Pinterest Challenge

 Now, let's see what the other hosts have created ⇓⇓


Monday, December 18, 2017

Bleached PineCones Napkin Rings and More


Celebrate the beauty and colors of the season by bringing nature indoors with pinecones and combining it with your favorite holiday hues.


 I first bleached pinecones on a whelm back in 2013. Pinecones have always been popular in crafts and bleaching them has proven quite well liked to use in projects. You can read about my original process here. Four years later I'm back at it again making simple pinecone napkin rings this time.

Of course I started with using full strength dollar store bleach once again. Here,you can see areas of the cones lightening already.

 After leaving the pinecones in bleach overnight, I let them dry off on paper towels first and then .  .  .
placed them on parchment paper and into a 250 degree oven  until they opened again. That took about a couple of hours.

 Isn't the coloring gorgeous!
 Next, I initially hot glued the pinecones onto 2 inch cabone rings for a quick grab set, but once the hot glue dried, I added E6000 glue for a more permanent hold. 

The color of the cabone rings matched the undertones of the pinecones perfectly.


 Then, I mixed purple glitter and mod podge into a thick paste and  

applied the mixture onto the edges of the pinecone scales.

and let dry.

So pretty!
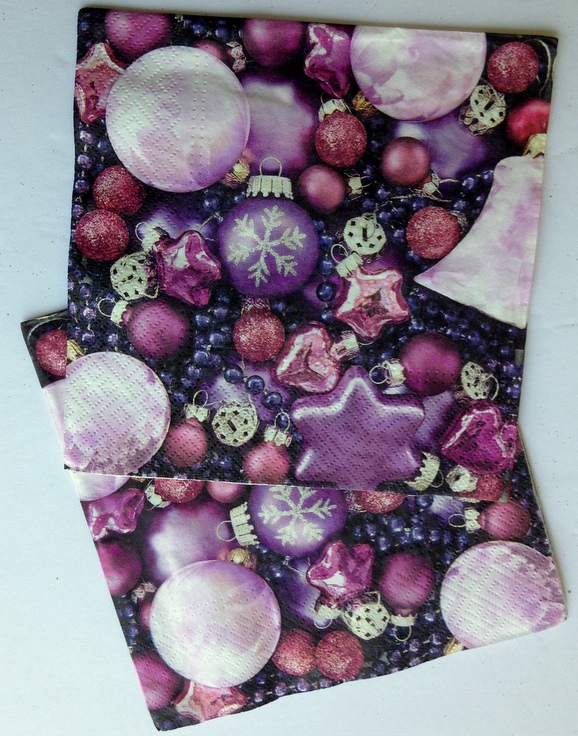
Then I removed the layers of paper napkins  .   .  .
and mod podge the printed side onto the back of a plain glass plate.
Once dry, used sandpaper to remove the napkin edges from the glass. 


 And sealed the back with more mod podge for a wonderful effect!

 Makes for a lovely holiday place setting!


What an easy way to make adorable pinecone napkin rings!


Thanks for stopping by

and take a little time to enjoy -

Happy Holiday Crafting!