This stunning spring centerpiece will surely be the highlight or focal point around your home. It's fun and festive and full of springtime! And you really only need a few items to create:
- Glass plate stand
- Paper Mache egg
- Foliage
- Poster board
- Acrylic paint/brush/scissors
- Ribbon
- Foam sheet
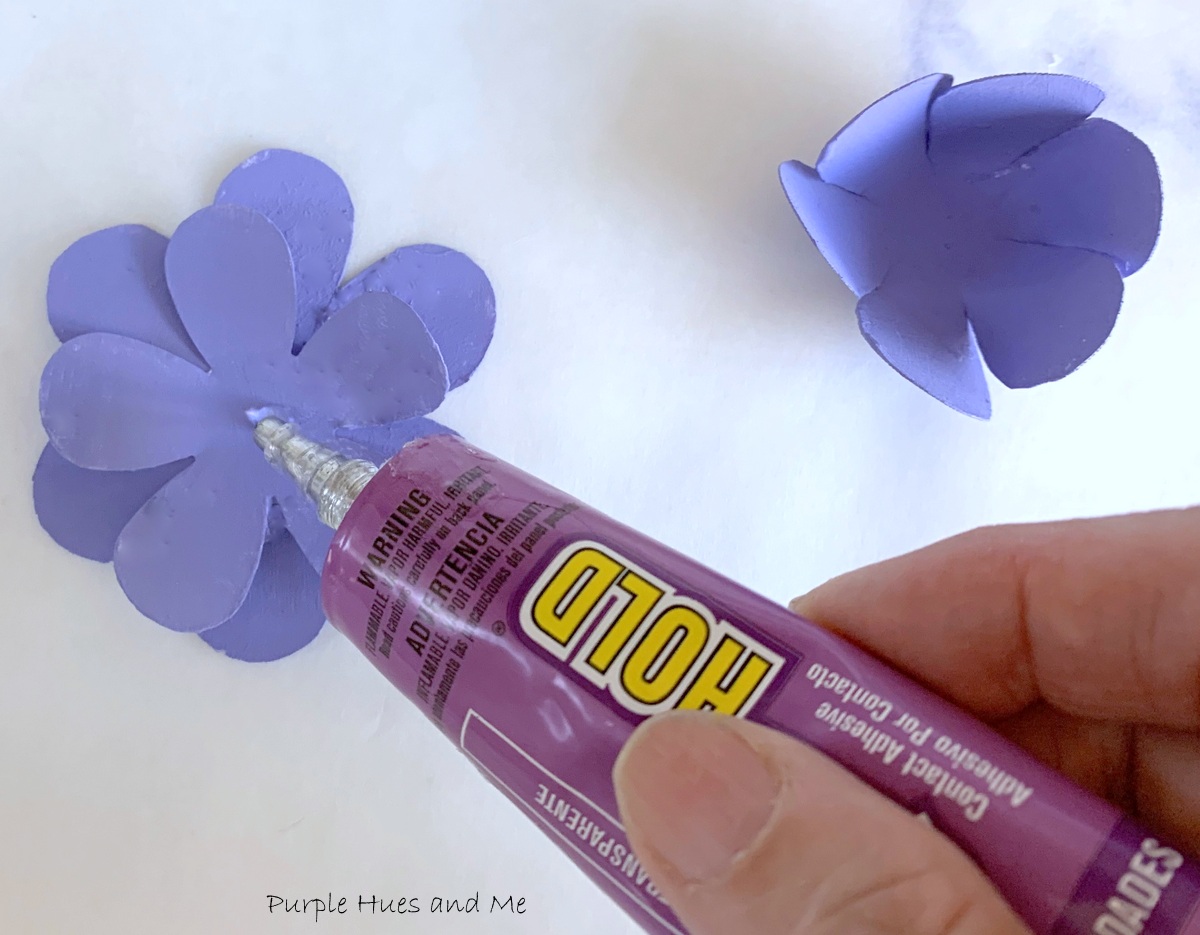
- Mod podge/fabric glue/hot glue
- Iron
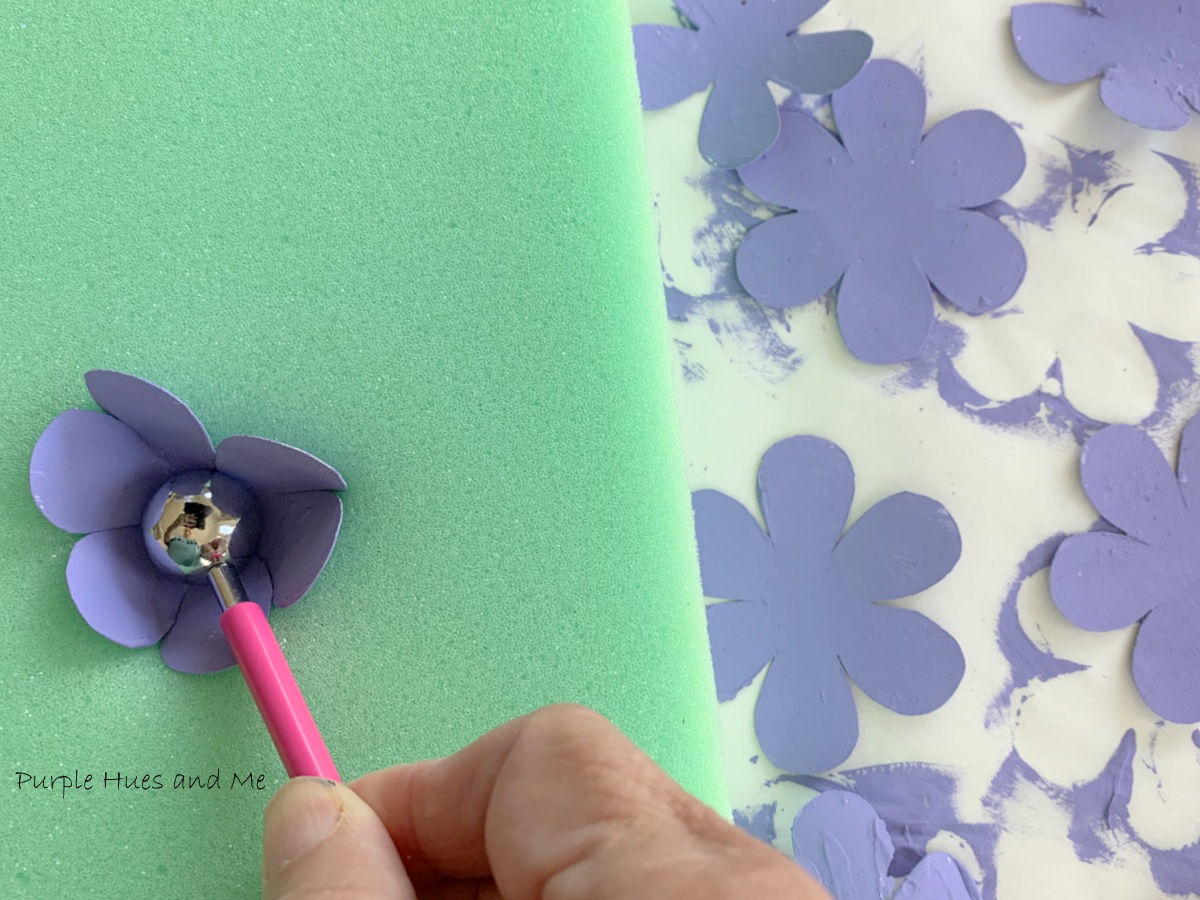
- Ball stylus/sponge


Painting the ears pink to match the egg.
Then gluing the ears onto the back of the egg.


Don't forget to check out all the creative bloggers and their Spring DIY Challenge projects listed below: